- Here are 4 easy ways to run multiple Skype sessions simultaneously in Windows 7 and in Windows 10:
- 1. Make Use of Skype for Web
- 2. Create Additional Desktop Skype Accounts
- 3. Run Skype as a Different User
- To do that in Windows 10, follow the instructions below:
- To restore your registry, do the following:
- Another way to save yourself the trouble is to create a system restore point:
- Here is how you can roll your PC back to an earlier point:
- Here is how you can do that in Windows 10:
- Here are some simple and effective ways to do that:
- First, enable the File History option on your computer:
- Here is how to restore your data:
- Now you can edit the registry to enable the ‘Run as different user’ feature on Start menu in Windows 10:
- You can also add the ‘Run as different user’ through the Group policy editor:
- 4. Use Skype and Skype for Business in Parallel
- P.S.

‘I want it all and I want it now’
Freddie Mercury
We suppose, as do many people, that multitasking is quite a talent. And if you consider yourself hopeless in it, we have great news for you: good old Skype can promote this rare gift in anyone.
So, for some reasons, you need two separate Skype accounts running alongside on your computer. For instance, in a situation like this, you can use one account for work while being always available for your family and friends thanks to your second Skype account. Sounds nice, doesn’t it? Then it is time to learn how to use two different Skype accounts at the same time and not to spread yourself too thin. Spoiler: that is not rocket science.
Here are 4 easy ways to run multiple Skype sessions simultaneously in Windows 7 and in Windows 10:
- Make Use of Skype for Web
- Create Additional Desktop Skype Accounts
- Run Skype as a Different User
- Use Skype and Skype for Business in parallel
It is time for us to walk you through them:
1. Make Use of Skype for Web
The web version of Skype can come in very useful in achieving the aim in question: Skype for Web supports messaging as well as voice calls and video chats, so you can use it as a separate communication tool besides your main desktop Skype app to stay in touch.

What you need to do is:
- open the Skype web application via your web browser;
- create a secondary user account;
- log in to the Skype web app with your secondary account.
Now you can use two Skype accounts at the same time.
But what if you need more concurrent Skype instances on your PC?
To create as many web Skype accounts as you want and run them all at once, you can use:
- different web browsers;
- multiple browser profiles;
- the incognito mode of your browser besides your normal-browsing mode.
2. Create Additional Desktop Skype Accounts
Note: Unfortunately, this method will not work for the new desktop Skype. Thus, you should get the classic Skype app to perform the following trick.
To be able to access two Skype accounts at the same time in Win 7/10, do the following:
- First, find out whether you are running a 32- or a 64-bit version of Windows: My Computer -> Right-click on it -> Properties -> System -> Find your system type.
- Now open the Run command box: Windows logo key + R (or type ‘run’ (without quotes) into the Start menu search box and click on the result).
- Insert the following command:
- If you use a 32-bit version Win 7/10, type: “C:\Program Files\Microsoft\Skype
for Desktop\skype.exe”/Secondary - If you run a 64-bit OS, type: “C:\Program Files (x86)\Microsoft\Skype for
Desktop\skype.exe”/secondary
- If you use a 32-bit version Win 7/10, type: “C:\Program Files\Microsoft\Skype
Note: Make sure you installed the Skype app to the default folder. Otherwise, you will need to edit the instructions above (the pathway part, to be precise) to make them work properly.
Now you can sign in to each of your two Skype apps with a separate account and run them simultaneously. In fact, using the instructions above, you can create as many Skype accounts as you need and use them concurrently.
In addition, you can create special shortcuts to make things much easier.
Here is how you can do that:
- File Explorer / Windows Explorer
- If you use a 64-bit version of Windows, go to: “C:\Program Files
(x86)\Microsoft\Skype for Desktop\” - Those who run a 32-bit OS should navigate to: “C:\Program Files\Microsoft\Skype
for Desktop\” - Locate the Skype.exe file -> Right-click on it -> Send to -> Desktop
- Now go to your desktop -> Right-click on the shortcut in question
- Properties -> Shortcut
- Target -> Add ‘/secondary’ (without quotes) to the end of the line
Call the shortcut ‘MultipleSkype’ or something like this. To run multiple Skype accounts, keep double-clicking this shortcut.
To close your multiple Skype instances:
- Press Ctrl+Alt+Del to open Windows Task Manager
- Locate the Skype instances you want to close
- Click on End Task to stop them
3. Run Skype as a Different User
Here is another method to help you enjoy multiple Skype accounts at once: you should run your Skype as a different user every time to get its multiple instances running in parallel.
The trick is actually not as simple as it may seem. Thus, if your OS is Windows 7, you can carry out the manoeuvre in question without much effort:
- Press and hold Shift
- Right-click on the Skype shortcut on your desktop
- Select Run as different user
- Type in the username and password for the account under which you wish to run your Skype app
- Click Yes
However, if you have a Windows 10 computer, you will need to manually add the ‘Run as different user’ option. To do that, you should edit your Windows Registry, which is quite a risky procedure. Indeed, one false move, your PC is irreparably damaged. That is why you should be really careful when performing registry edits or tweaks. Besides, we strongly advise you to take the following precautions. Better safe than sorry, full stop.
First and foremost, back up your registry.
To do that in Windows 10, follow the instructions below:
- Windows logo key + R -> Type ‘regedit.exe’ (without quotes) into the Run box -> Press Enter
- In your Registry Editor, select the registry keys (and/or subkeys) you want to secure
- File > Export -> Choose the location for the backup file -> Choose the name for your backup -> Save
To restore your registry, do the following:
- Windows logo key + R -> Type ‘regedit.exe’ (without quotes) into the Run box-> Press Enter
- Enter your Registry Editor -> File -> Import
- Import Registry File -> Search for your backup file -> Open
Another way to save yourself the trouble is to create a system restore point:
- Windows logo key + S -> Type ‘restore’ (without quotes) into the Search box -> Select Create a restore point
- System Properties -> Create
- Give a name to the point you want to create and describe it -> Create
Here is how you can roll your PC back to an earlier point:
- Start -> Control Panel
- System and Security -> File History
- Recovery -> Open System Restore -> Next
- Select the working restore point you wish to take your system to
- Next -> Finish -> Yes
We also recommend you to back up your Skype history.
Here is how you can do that in Windows 10:
- Windows logo key + R -> Type ‘%appdata%\skype’ (without quotes) into the Run box -> Click OK or press Enter
- Copy the ‘My Skype Received Files’ and the ‘Your Skype Name’ folders
- Insert them somewhere
To retrieve your Skype history, take the steps listed below:
- Windows logo key + R -> Type ‘%appdata%\skype’ (without quotes) into the Run box-> Click OK or press Enter
- Place your ‘My Skype Received Files’ and ‘Your Skype Name’ folders into the folder which you are in now
On no account should your data be at stake if things do not go as planned. Therefore, back up your personal files to secure them against permanent data loss.
Here are some simple and effective ways to do that:
- Transfer your files to another device. Another laptop will suit very well for that task. You can move your important files to it by using a transfer cable or an ethernet cable. Also, you can migrate your data through a wireless network or a HomeGroup. To know more about safe file transfer, check out this article of ours.
- Use a portable storage device, be it a compact disk, flash drive, an external hard drive, or something else. It is a simple backup method, but it requires a certain amount of manual work, which might seem a bit tedious.
- Make use of a cloud solution. No doubt, cloud drives are awesome: they can sync your data across your devices so that you can easily access it. However, you can use only a limited amount of their storage space for free.
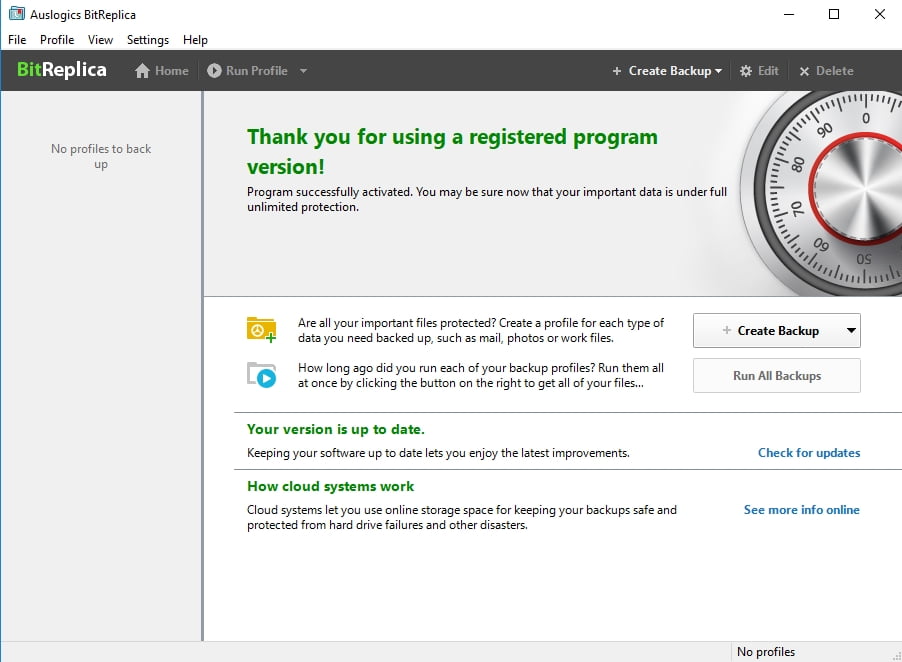
- Use special software to have all your files safe and sound. For example, Auslogics BitReplica allows you to tailor and schedule backups. Besides, it can keep your files in the cloud and save your disk space.

You can also perform a backup with the File History feature. You will need an external hard drive for this purpose.
Here is how to do that:
First, enable the File History option on your computer:
- Connect an external hard drive to your PC
- Start menu -> Settings -> Update & Security
- Backup -> Back up using File History
- Add a drive -> Select your external hard drive
- You will see the “Automatically back up my files” option -> Your system will enable it automatically
- Select More options to customize your File History settings
Here is how to restore your data:
- Connect the external hard drive with your backup to the PC
- Start menu -> Settings -> Update & Security
- Backup -> Locate the external drive in question
- More options -> Restore files from a current backup
- Select what you would like to restore -> Click on ‘Restore’
Now you can edit the registry to enable the ‘Run as different user’ feature on Start menu in Windows 10:
- Windows logo key + R -> Type ‘regedit’ (without quotes) into the Run box
- Open your Registry Editor
- Navigate to: HKEY_CURRENT_USER\Software\Policies\Microsoft\Windows\Explorer
- Right-click on ShowRunasDifferentuserinStart -> Modify
- Value data -> Set it to 1 -> Click OK to save the changes
- Reboot your PC
You can also add the ‘Run as different user’ through the Group policy editor:
- Taskbar -> Cortana search box
- Type ‘gpedit.msc’ (without quotes) -> Click on the result to enter the Group policy editor
- User Configuration -> Administrative Template
- Start Menu and Taskbar -> Show “Run as different user” command on start
- Right-click on ‘Show “Run as different user” command on start’ -> Edit
- Check the Enabled option -> Apply -> OK
- Restart your computer
Now you can run your Skype as a different user on Start menu in Windows 10. Just right-click on the app, choose the option in question and enter your credentials. Do that as many times as you want to employ multiple Skype instances.
4. Use Skype and Skype for Business in Parallel
You can easily keep your work and personal contacts separate and stay available for them all by using both Skype and Skype for Business. Although these apps have surprisingly similar names and are often confused with each other, Skype and Skype for Business are by no means the same thing. Actually, they are independent apps: you can run them simultaneously without any conflict of interest, which means you have at least 2 accounts to make use of at once. And if you want to know more about the powerful business communication tool entitled ‘Skype for Business’, just visit this page – there you will find how to tailor this app to your preferences.
P.S.
And here is a final point worthy of mention: Skype is by all means a resource-hungry app, which means running its numerous sessions in parallel might slow down your PC and cause it to lag. To avoid this dispiriting outcome, you should reinvigorate your system so that it can allow your Skype-related escapade go smoothly.
In this regard, it would be prudent of you to sweep out junk files, optimize your internet connection settings, ensure proper resource allocation, and tweak your registry. Naturally, you can carry out all those onerous tasks on your own – we have all the faith in the world in you. Nevertheless, you are welcome to employ Auslogics BoostSpeed, which is an intuitive tool designed to skyrocket your computer’s performance so that you can get the most of your system.
We hope now you have no difficulty using multiple Skype accounts at the same time.
Do you have any ideas or questions regarding this issue?
We are looking forward to your comments!


 Done! Great to see you among our subscribers!