‘There is always a sadness about packing’
Richard Proenneke
A move to another PC is both a feast and a challenge. It requires plenty of planning and research, and lots of things are supposed to be thoroughly considered. For example, you might be wondering how to migrate your files from your old laptop. If so, you are on the right track – we have prepared some useful tips to help your relocation go smoothly.
To begin with, how do you transfer information from one computer to another? What tools do use for this purpose? What steps to do you take to avoid negative consequences? These are the main questions when it comes to migrating to another laptop. Let’s search for the right answers together.
To start with, you need a clear plan of action to seamlessly move to another computer.
For this purpose, we recommend you to take the following steps:
- Declutter Your Laptop
- Scan Your Computer for Malware
- Transfer Your Files
So, let the journey begin:
1. Declutter Your Laptop
Migrating to another computer is a great way to start everything from scratch. Such a change certainly raises the question of whether all those files should be carried into your new life. Indeed, you have to be smart about this to avoid cluttering your new laptop.
Here are some tips on how to ‘pack’ for a move:
1) Purge your PC of duplicate files and PC junk
First and foremost, sweep out all the mess that has accumulated on your computer – no junk will be welcome on your new laptop. You are free to declutter your current system manually or to use special software. For instance, Auslogics BoostSpeed can clean up your machine and skyrocket its performance – you know, your old-timer still has the stamina to do its job.
2) Get rid of the programs you do not need
Removing unnecessary programs and everything associated with them is another step to a better data transfer. The point is, the cleaner your current PC is, the less cluttered your new laptop will be after you have migrated your files to it.
3) Organize your files properly
Hoping for a smooth move? Then it is time to create order from chaos:
a. start thinking in hierarchies
b. design a convenient file-naming system
c. create file categories
d. subdivide your folders
e. sort your files – be careful and consistent when doing that
f. archive your data
2. Scan Your Computer for Malware
Now you should scan your computer for malicious software. Otherwise, you run the risk of infecting your new laptop.
The following solutions can prevent a malware drama and save you a lot of trouble:
Windows Defender
Windows Defender is a built-in Windows security tool. It comes as part of your OS and does its best to keep malware issues at bay.
To scan your PC with Windows Defender, go this way:
- Settings -> Update & Security
- Windows Defender -> Open Windows Defender -> Full
Your Third-Party Antivirus
If you use a third-party antivirus as your main security solution, let it scan your computer to ensure a safe file transfer.
An Anti-Malware Solution
The sad thing is, some malware threats are so stealthy that your main antivirus might miss them. That is why we strongly recommend you to enhance your security by using a special anti-malware tool. For example, Auslogics Anti-Malware is an easy-to-use and flexible solution which can banish the most treacherous intruders from your PC.
3. Transfer Your Files
If your PC is malware-free now, it is time for you to decide on the best way to move your data to another laptop.
Feel free to choose any of the following options:
- A Portable Storage Device
- A Cloud Solution
- A Transfer Cable
- A Wireless Network
- Windows HomeGroup
- An Ethernet Cable
- File History
- BitReplica
Now let’s take a closer look at them:
1) A Portable Storage Device
Portable storage devices serve well for backup purposes and data relocation. Besides, they are intuitive and quite affordable these days.
Make sure both of your computers have fully functional USB ports. Then choose the storage device which is most adequate for your purposes.
For instance, an external hard drive is particularly suitable for storing and migrating large amounts of data. And flash drives are available at a relatively low cost, come in many different shapes, sizes, and colours, and are really convenient to carry around. Anyway, the choice is yours.
The problem is, this method requires lots of manual work and therefore can be quite time-consuming.
2) A Cloud Solution
To transfer your files, you can make use of cloud drives, such as:
- OneDrive;
- Google Drive;
- Dropbox;
- Yandex Drive;
- etc.
Cloud drives are pretty handy when it comes to migrating data to another device.
Here are some pros of using them for this purpose:
- They usually provide a certain amount of storage space for free and offer advanced storage options at an affordable cost.
- Cloud drives are intuitive: you can simply drag your files or folders to your cloud platform or even have them uploaded automatically.
- Cloud drives can back up your important data and enable it to sync across your devices.
However, transferring files using a cloud drive can take a lot of time if the internet connection is slow.
3) A Transfer Cable
To move your files to another laptop, feel free to use a transfer cable. This method turns data migration into a relatively fast procedure, especially if you use USB 3.0 ports. However, to perform the trick, you might need special software, depending on what OS types and device brands you use.
4) A Wireless Network
In Windows, you can connect your laptops to the same network and move your data between them.
To set up a wireless network, follow these simple steps:
- System tray -> Right-click on your network connection icon -> Open Network and Internet Settings -> Status
- Network and Sharing Center -> Set up a new connection or network -> Set up a new network -> Next -> Follow the on-screen prompts to set up a wireless network
To connect to a wireless network, do the following:
- System tray -> Click on your network connection icon
- Select the network you would like to connect to -> Connect -> Enter the security key -> Next -> OK
Here is how you can share your data on a local network:
- This PC -> Network -> Make sure the ‘Network discovery and File sharing’ option is turned on
- Locate the folder / file you want to share -> Right-click on it -> Properties
- Sharing -> Advanced sharing -> Tick ‘Share this folder’ -> Now it can be accessed from another computer on your network
To access shared files and folders on a local network, you are supposed to:
- Go to This PC -> Network -> Make sure the ‘Network discovery and File sharing’ option is turned on
- Windows logo key + S -> Type ‘View network computers and devices’ into the Search box -> Select the computer you wish to access from the list -> Enter the username and password -> Now you can copy the data your need
5) Windows HomeGroup
You can securely move your files to another PC on the network, using the HomeGroup feature.
Here is how to create a HomeGroup and use it to your advantage:
To set up a new HomeGroup:
- Start -> Control Panel -> HomeGroup -> Create a HomeGroup -> Next
- Choose what you want to share -> You will see the password -> Write it down -> Finish
To join a HomeGroup:
- Start -> Control Panel
- HomeGroup -> Join the HomeGroup you have created
To share a file or a folder from your old PC:
- Right-click on what you would like to share and select ‘Share with’ – > HomeGroup
- Now you can copy files from this folder to your new laptop
6) An Ethernet Cable
One of the cheapest and fastest ways to move your data between two Windows 10 computers is using an Ethernet cable.
Here is how you can do that:
- Connect your computers with an Ethernet cable via their LAN ports
- Control Panel -> Network and Internet ->Network and Sharing Center -> Change Adapter Settings
- Select your LAN connection -> Right-click on it -> Properties
- Networking -> Internet Protocol Version 4 (TCP/IPv4) -> Properties
- For the first PC, set the following:
IP: 192.168.0.1
Subnet mask: 255.255.255.0 - For the second PC, set these values:
IP: 192.168.0.2
Subnet mask: 255.255.255.0 - This PC -> Properties -> Change Settings -> System Properties
- Change -> Set a workgroup for each of your computers -> Its name should be the same on both machines
- This PC -> Network -> There you will find a list of devices connected to this network -> Make sure the ‘Network discovery and File sharing’ option is enabled
You are free to share your drive now:
- Right-click on your drive -> Properties
- Sharing -> Advanced sharing -> Tick ‘Share this folder’ -> Apply > OK
Now you can access the data on the shared drive from your new computer. Bear in mind that you might need to enter the username and password you use on your old PC.
7) File History
File History is a built-in Windows backup solution. You can use it to migrate your data to a new laptop. For this purpose, you will need an external hard drive, so get it ready beforehand.
Now follow the instructions below to enjoy a safe and fast data transfer:
Enable File History:
- Sign in to your Microsoft account on your current laptop
- Connect an external hard drive to your machine
- Start menu -> Settings -> Update & Security -> Backup
- Back up using File History -> Add a drive -> Select your drive to back up to it
- You will see the “Automatically back up my files” option appear -> It will be automatically turned on -> Now your Windows 10 is set up to back up your files to the drive in question whenever you connect it to this computer
- Select More options to configure your File History settings
Restore your files on your new laptop:
- Sign in to the same Microsoft account you used on your old laptop
- Connect the external hard drive to this computer
- Start menu -> Settings -> Update & Security -> Backup
- Select the drive that contains your old File History
- More options -> Restore files from a current backup
- Select the files and folders you would like to restore -> Click the Restore button
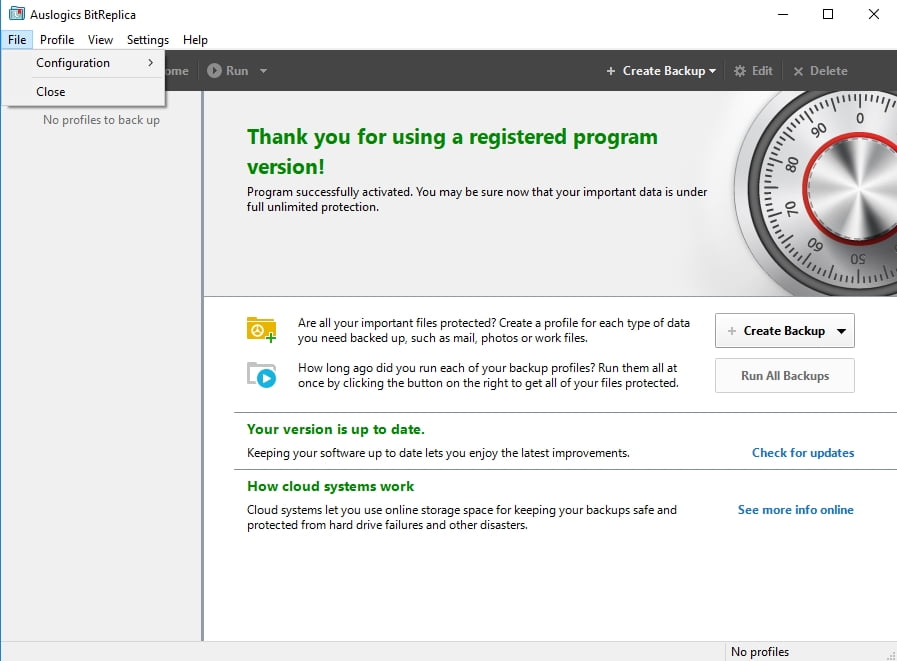
8) BitReplica
To save time and effort when migrating to another laptop, make use of powerful backup software – it will be well worth it. Auslogics BitReplica is a case in point: this tool allows you to tailor and schedule your backups as well as save your valuable disk space. And most importantly, BitReplica’s cloud system safely stores your data so that it can be easily accessed from all your networked computers.
We hope your files are doing fine on your new laptop.
Do you have any ideas or questions regarding this issue?
We are looking forward to your comments!


 Done! Great to see you among our subscribers!