
‘If you find a path with no obstacles,
it probably doesn’t lead anywhere’
Frank A. Clark
If you are looking for the best way how to fix 0xC1900101 – 0x20017 error, you have definitely come to the right place – we know how dispiriting this issue is and have done our utmost to compile an exhaustive list of the proven fixes for this problem.
Getting a message saying, ‘The installation failed in the SAFE_OS phase with an error during BOOT operation’ while trying to upgrade to or install Windows 10 is, by all accounts, a most undesirable experience. The error actually crops up at the moment of joy, right when the installation of Win 10 hits 100 %, and makes the process fail.
This error is quite difficult to account for, since it is impossible to point to one clear cause of this issue: faulty peripherals, bad drivers, buggy registry entries, incorrect system settings, malfunctioning hardware, PC junk, and BIOS issues make up the list of possible culprits. This means you should work your way down through the methods below, giving each of them a try. We do hope your troubleshooting adventure will not take too long, as your triumph might be just around the corner.
So, it is time to learn how to fix 0xC1900101 – 0x20017 error in order to ensure a smooth upgrade to Windows 10:
1. Disconnect all your external devices
The point is, some of your peripherals might be responsible for the Windows 10 installation failure on your PC. Thus, unplug all your external pieces of hardware, such as USB hubs, flash drives, or Wi-Fi adapters, before performing an upgrade.
2. Remove conflicting drivers
If you are trying to upgrade from Windows 7 or Windows 8.1, you should uninstall your Bluetooth and Wireless Network drivers, since they have been reported to be incompatible with Windows 10.
To remove them, use the instructions below:
- Press the Windows logo key and X (simultaneously).
- Select Device Manager from the list.
- Locate your Bluetooth driver. Right-click on it and select Uninstall.
- Find your network driver. Uninstall it.
To resolve your issue, you might need to enter your BIOS and disable the drivers in question:
- Restart your PC and enter your BIOS at boot (the exact combination of keys depends on your PC model and manufacturer).
- Navigate to the Advanced tab. Locate the Wireless section and press Enter.
- Disable the Internal Bluetooth and Internal Wlan options.
- Go back to the main screen (press the Escape button).
- Save your changes.
Now try to install Win 10 on your computer and check if the issue has gone.
3. Update your drivers
Windows installation issues often stem from out-of-date or corrupt drivers, which means you should regularly scan the horizon for new updates. With that said, this might seem quite an onerous burden if you prefer to take care of your drivers yourself: you should know the exact models of your devices and what driver versions are recommended by the manufacturers. Searching for the latest drivers and installing them on your PC is by no means a quick procedure. As a result, your update may turn into an epic struggle.
The good news is, you can automate the process. Check out the previous fix and use the instructions for running the built-in Device Manager tool. Locate the device which driver you wish to update, right-click on it, and configure the manager to search for the necessary software online. Nonetheless, this method has its drawbacks. First, updating all your drivers one by one is extremely time-consuming. Second, Device Manager may fail to find the versions needed.
The third method of fixing driver issues implies using special software. For example, you can opt for Auslogics Driver Updater: with just one click of a button, you will have all your drivers fixed or updated.
4. Improve certain startup settings
The problem might not be that deep-rooted: setting certain services to automatic is a reportedly effective way how to fix 0xC1900101 – 0x20017 error. Here is what you should do:
- Press the Windows logo key + R shortcut to open Run.
- Then type ‘services.msc’ into it (without quotes). Hit Enter.
- Locate the following:
- BITS (Background Intelligent Transfer Service)
- Windows Update Service
- Cryptographic Service
- Double-click on each of them and choose to enter Properties.
- Set the Startup type to Automatic.
- Remember to save your changes by clicking OK.
Finally restart your PC and try to install Win 10 again.
5. Tweak your RAM
RAM, which stands for Random Access Memory, is what stores and retrieves the information on your PC. If your installation problem persists, RAM issues may be behind this adversity. Reportedly, removing extra RAM modules has helped some users to prevent Win 10 installation failures. On the other hand, some users say that adding RAM can also help.
6. Set the number of active cores to 1
This is quite an effective workaround for the 0xC1900101 – 0x20017 error. What you need to do is enter your BIOS settings (look up the instructions in your manual) and locate active core settings. Change the number of active cores to 1 and exit BIOS. Then try to upgrade to Windows 10.
7. Remove the wireless card
This is quite a subtle procedure, so if you feel uncomfortable about having a poke around the insides of your good old laptop, consider hiring a technician – this might be a way out.
Anyway, back up your files first. Human beings are prone to error, so a little foresight won’t hurt. Move your important data to a cloud, or a flash drive, or an external drive. You can even migrate your files to another computer – the choice is yours.
The instructions below will help you extract your wireless card. Keep in mind that they might slightly differ from those needed for your laptop model.
So, to remove your wireless card:
- Switch off your laptop and remove its battery.
- Unplug all your external devices and cables.
- Locate the wireless card compartment.
- Remove the cover, using a screwdriver.
- You will see the two small wires attached to the card. Detach them carefully (use the clips at the ends of the wires for this purpose).
- Unlatch the clips that keep your wireless card in its slot.
- Remove the wireless card.
- Place the cover back. Insert your battery.
Finally, you should boot your PC and run the installation process.
8. Update your BIOS
If the 0xC1900101 – 0x20017 issue keeps reoccurring, your BIOS might be out of date. We recommend you to update your BIOS, using the tips from our article.
9. Modify Windows Registry
If all the fixes above have been to no avail, you can perform certain registry tweaks to resolve your problem. Bear in mind that manual registry editing is exceptionally risky – a tiny mistake can make your system unbootable, so there is no room for error.
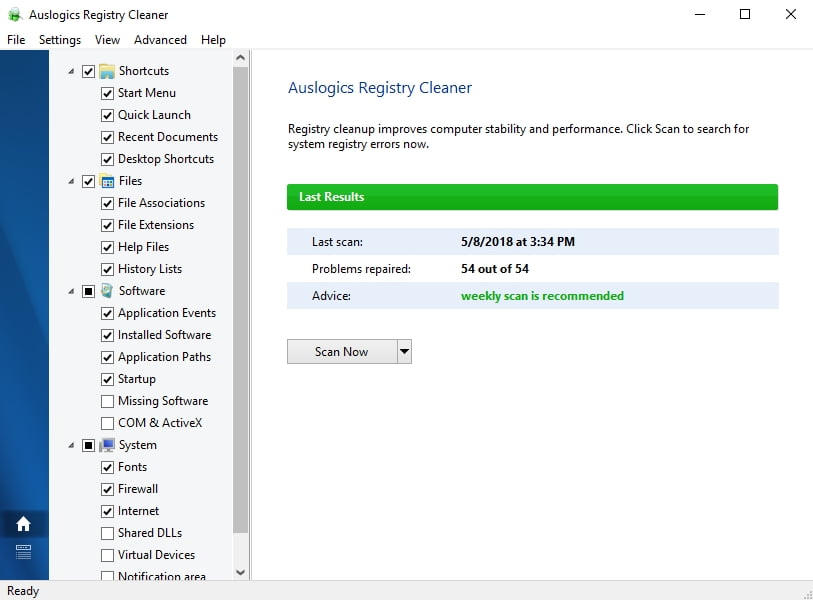
Therefore, if you believe that registry issues are to blame for your 0xC1900101 – 0x20017 problem, we strongly advise you to use reliable software to fix them. For instance, 100 % free Auslogics Registry Cleaner will carefully scan your registry and repair the corrupt keys and entries responsible for the installation mess on your computer.
However, if you still wish to edit Windows Registry yourself, make sure to back it up before performing any tricks:
- Press the Windows logo key + S shortcut.
- The Search box will open. Type ‘regedit.exe’ (without quotes) into it.
- Press Enter to proceed. Registry Editor will open.
- Select the entries and keys that you wish to back up.
- Click on File and select Export.
- Name your backup file and save it to a desirable location.
If things go astray, you will be able to restore your registry:
- Open Registry Editor and navigate to File.
- Click on Import and retrieve your backup file.
To modify your system registry, do the following:
- Open Registry Editor and select HKEY_LOCAL_MACHINE\SOFTWARE\Microsoft\WindowsSelfHost\Applicability.
- Set Ring to WIF.
- Configure RingBackup to WIS or Enabled.
- Set EnablePreviewBuilds to 2.
- Configure BranchName and UserPreferredBranchName to TH1.
Close your Windows Registry and restart your computer. Check if the manipulations above have resolved your issue.
10. Optimize your system
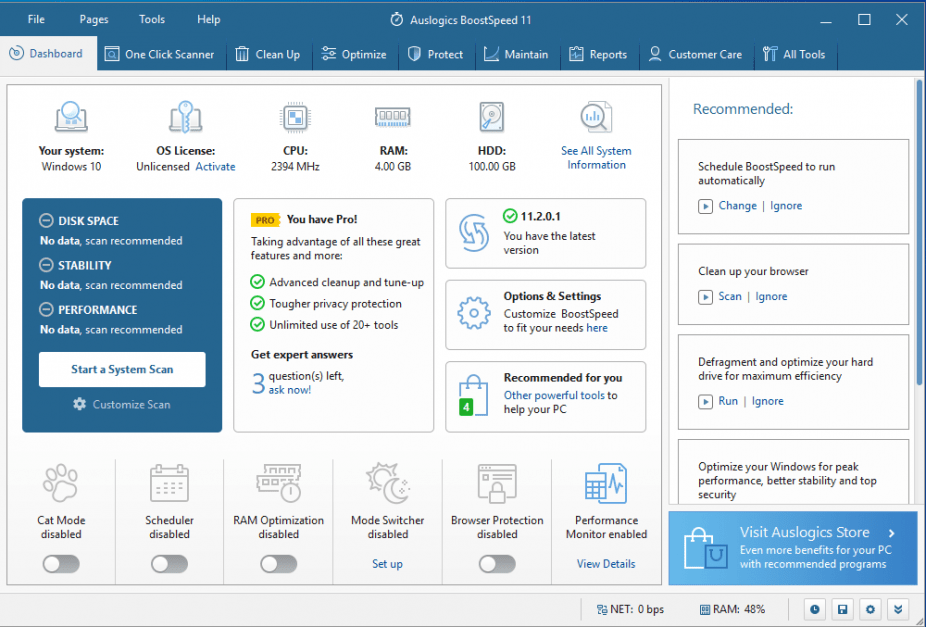
No luck yet? Then your OS might be too messy: software leftovers, obsolete temporary files, unneeded cache, and other PC junk might have clogged your PC, which can cause things to go haywire. To upgrade to Windows 10 as smooth as possible, you should declutter your current operating system and tweak its settings. You can do that manually or use special software such as Auslogics BoostSpeed for this purpose.
If despite all your efforts, there has been no success whatever in tackling the issue in question, do not give up and see what else you should do if you still can’t install Windows 10.
Hopefully, our tips have helped you get Windows 10 up and running on your computer. Now that you can enjoy its cutting-edge boons, remember to keep your software up to date. If Windows 10 seems a bit intrusive, do not worry: there is no need for downgrading to your previous OS – you are free to remove the Windows 10’s most distressing features.
Do you have any ideas or questions regarding this issue?
We are looking forward to your comments!


 Done! Great to see you among our subscribers!