
‘If there is no struggle, there is no progress’
Frederick Douglass
With all its shortcomings and imperfections, Windows 10 is certainly a game changer: it has plenty of breathtaking features to offer and is considered a Microsoft’s major breakthrough. By all accounts, this operating system is really worth its weight in gold. So, why not give it a try?
The problem is, installing Win 10 may seem an extremely hard nut to crack as multiple complications and nuisances tend to accompany the process in question. But in fact, there is no need to get anxious if you can’t upload Windows 10: the fixes below are sure to save your day. Just read on to open the door to your best Windows experience ever.
To start with, make sure your files are properly backed up. To secure them against permanent data loss, you can use such solutions as cloud drives (e.g. OneDrive, Google Drive, Yandex Drive, Dropbox, etc.), portable storage devices (e.g. flash drives, external hard drives, compact disks, etc.), and special backup software (e.g. Auslogics BitReplica).
And here are our top 8 tips on how to resolve Windows 10 install issues:
- Make Sure You Have Enough Space on Your PC
- Remove Extra Hardware
- Update Your Drivers
- Scan Your PC for Malware
- Disable Your Third-Party Antivirus
- Check Your Hard Disk for Errors
- Perform a Clean Boot
- Fix Your Windows Update
1. Make Sure You Have Enough Space on Your PC
To install Windows 10, you need at least:
- 16 GB of free space to upgrade a 32-bit OS;
- 20 GB of free space to upgrade a 64-bit OS.
Otherwise, the installation is likely to fail.
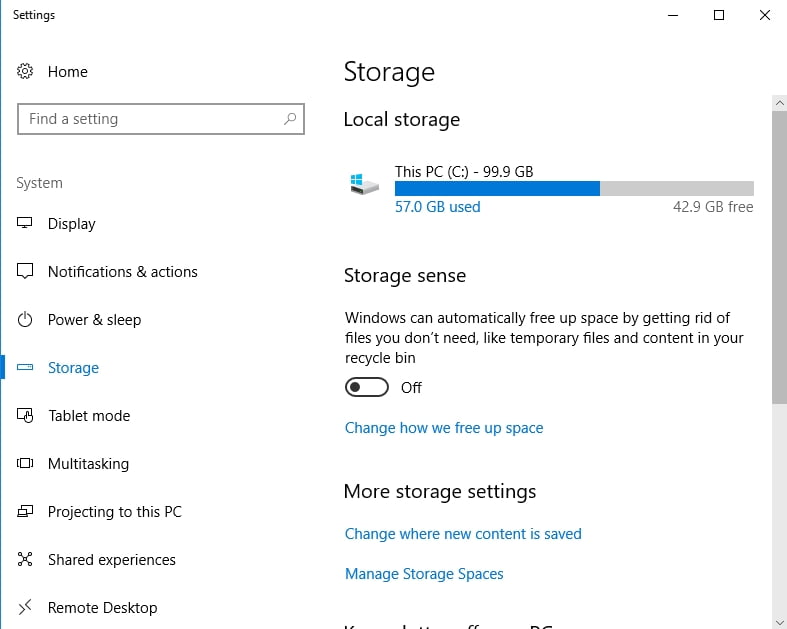
To free up some drive space, you should:
- Remove the apps you do not use.
- Delete the files you do not need anymore.
- Get rid of duplicate files as well as space-hungry apps.
- Relocate your files.
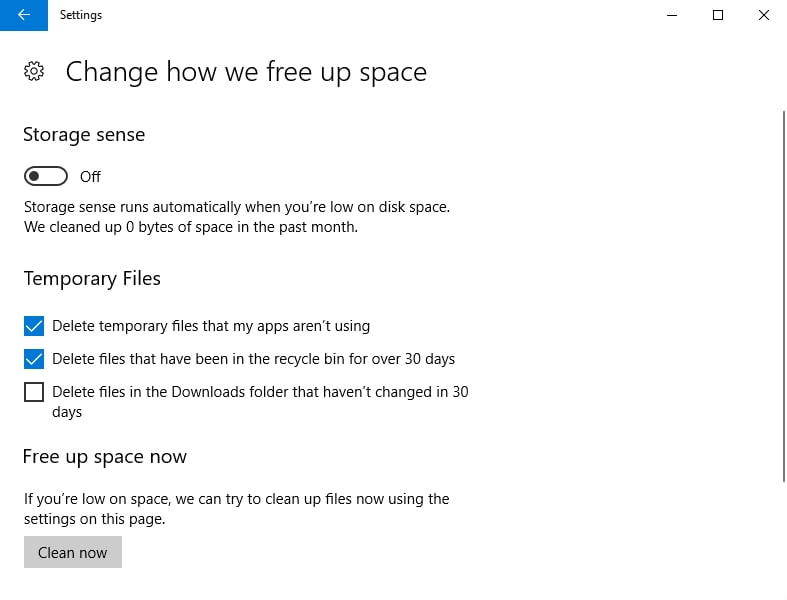
You know that cloud drives, storage devices, and Auslogics BitReplica are always ready to help you. - Make use of Disk Cleanup. To run it in Win 7, do the following:
- Go to: Start Menu -> Control Panel -> System and Security -> Free up disk space.
- Follow the on-screen prompts to configure the cleanup and free up some valuable disk space.
- Sweep out PC junk.
You can do that manually or use a special tool, e.g. Auslogics BoostSpeed, to save your effort and boost your PC’s overall performance.
2. Remove Extra Hardware
To help your upgrade go smoothly, remove all the hardware that is not of crucial importance for the basic functionality of your computer. Thus, unplug flash drives, external storage devices, docks, hubs, or other hardware items you can do without while installing Win 10 on your PC.
3. Update Your Drivers
If Win 10 installation problems persist, take a closer at your drivers: the catch is, if they are outdated or corrupt, they are most likely hanging over your system like the sword of Damocles, causing your update issues to grow to epic proportions. So, if you want to seamlessly switch from Win 7 to Win 10, hurry up to fix your driver issues.
To do that, you can:
Troubleshoot your drivers by yourself
If your drivers seem suspicious, you can reinstall or update them manually. In this case, you will need to install the latest driver versions for your hardware. For this purpose, go to your manufacturers’ official websites and download the appropriate .exe files.
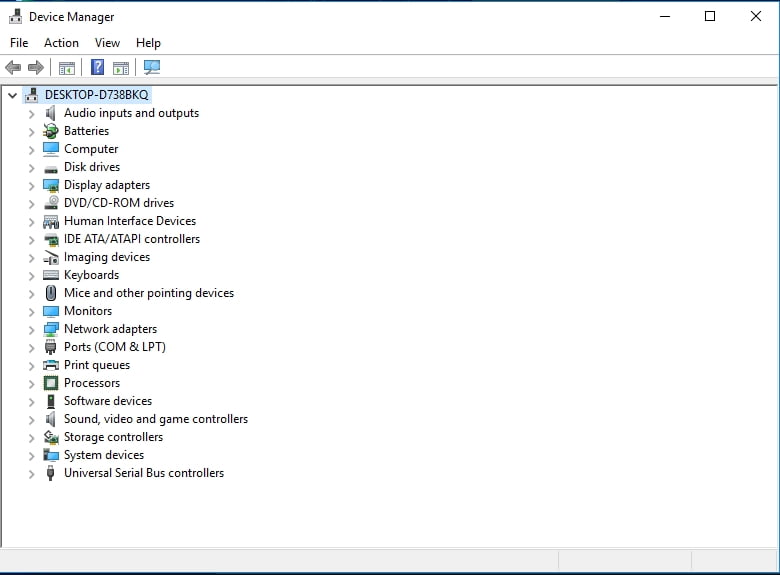
Use Device Manager
You can get things done by using Device Manager, which is a built-in Windows tool designed to resolve your driver problems.
Here is how you can use it to update drivers in Windows 7:
- Start -> Right-click on Computer -> Manage ->Device Manager
- Select a device from the list -> Right-click on it -> Select Update Driver Software
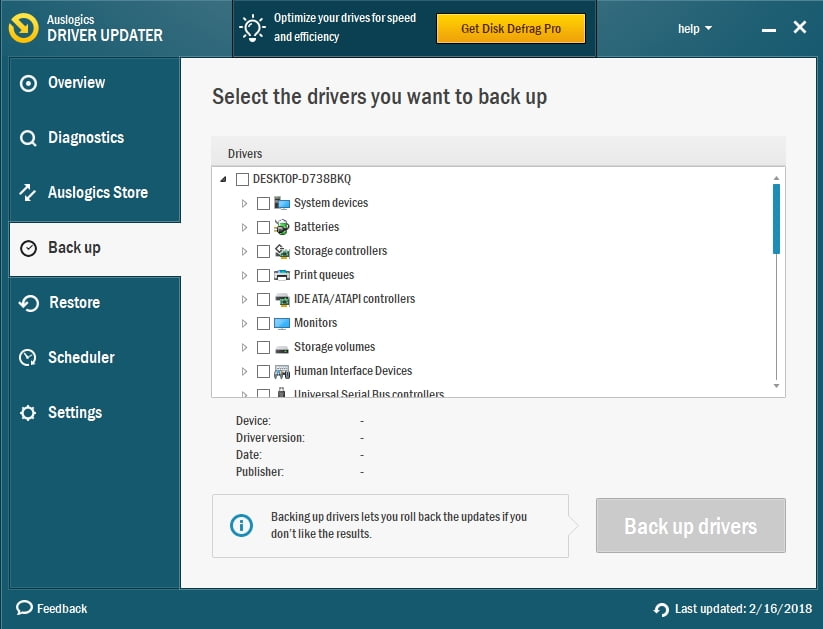
Update all your drivers at once
These days you do not have to move mountains to fix your drivers. In fact, you can get them all back on track with just one click. Auslogics Driver Updater knows how.
4. Scan Your PC for Malware
If you cannot install Windows 10 on your PC, consider scanning your system: the thing is, your computer may be malware-infected. Actually, some nefarious entities are particularly gifted at triggering update issues. In this regard, we strongly advise you to run a full scan.
Feel free to use any of the tools below to hunt down and remove malicious software:
Windows Defender
Windows Defender is a built-in Microsoft anti-malware tool. Its main purpose is to keep your system safe and secure and prevent hostile programs from wreaking havoc on it.
Let Windows Defender search every nook and cranny of your Windows 7:
- Start -> Type ‘Defender’ (without quotes) into the Search box
- Windows Defender -> Scan -> Full scan
Your third-party antivirus
If you have a trustworthy third-party antivirus installed, make it check whether your PC’s security is being violated. And the sooner, the better.
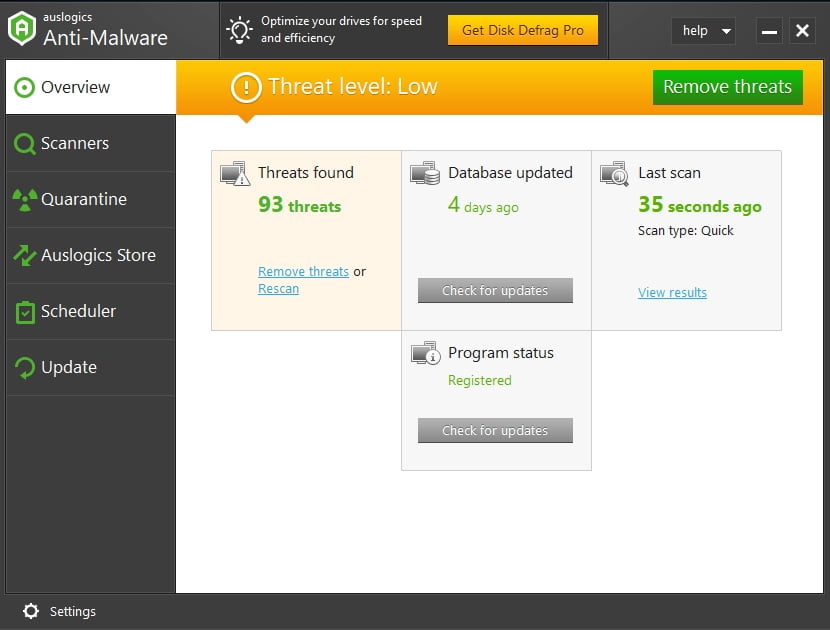
Auslogics Anti-Malware
These days malware attacks computers with unprecedented barbarity. Auslogics Anti-Malware believes none of those crimes should go unpunished: therefore, this tool is tuned to detect and bring down even those enemies that your main security solution may miss.
5. Disable Your Third-party Antivirus
Unfortunately, your non-Microsoft antivirus may cause Windows 10 installation problems. In a situation like this, disable your security solution and try to upgrade your OS to Win 10 once more. There is no need to worry about your PC’s safety as Windows Defender can keep malware attacks at bay during the upgrade.
6. Check Your Hard Disk for Errors
Hard drive errors can bring about multiple update problems. So, if you keep running into Win 10 installation issues, the time has come for you to check up on your disk.
To do that in Win 7, follow the steps below:
- Start -> Open Windows Explorer -> Computer
- Locate the disk you want to check -> Right-click on it
- Properties -> Tools -> Check now
- The Check Disk window will open
- Select ‘Automatically fix file system errors’ as well as ‘Scan for and attempt recovery of bad sectors’
- Start -> Schedule disk check -> Exit your programs -> Reboot your computer
The check-up will start automatically before your PC’s next startup. Bear in mind that this operation can take quite a while to finish.
7. Perform a Clean Boot
If all your attempts to install Win 10 have fallen short of your expectations, chances are that one of your items has taken a deep dislike to the wind of change. In such a case, try performing a clean boot to trace the culprit.
Here is how you can do that in Windows 7:
- Log in to your admin account
- Start -> Search box -> Type ‘msconfig.exe’ (no quotes) -> OK
- General -> Selective startup -> ‘Load startup items’ check box -> Clear it
- Services -> Hide all Microsoft services -> Disable all
- OK -> Restart
After restarting your PC, check whether your Win 10 install issues have been resolved. If they have, you are supposed to carry out a thorough investigation – one of the disabled startup apps or services is to blame for all that installation mess.
8. Fix your Windows Update
Another thing to keep in mind is that Windows Update malfunction can literally doom all your upgrade efforts to failure. Therefore, if you have not find the way to get Win 10 into your life so far, look up the fixes for Windows Update issues in this article of ours.
We hope nothing can stop you from enjoying Windows 10 now.
Do you have any ideas or questions regarding this issue?
We are looking forward to your comments!


 Done! Great to see you among our subscribers!