‘Millions saw the apple fall,
but Newton was the one who asked why’
Bernard Baruch
Mysteries facilitate thought and excitement. Indeed, few things are more conducive to intellectual rigour than a good puzzle. Fortunately, you can have a field day with your computer – its components and features are complicated enough to make you rack your brains.
So, why not have a crack at BIOS? By all accounts, it seems a bit of an enigma – for instance, not everyone knows what this mysterious acronym stands for. Not surprisingly, the expressions ‘check my BIOS version’ or ‘manage BIOS’ might sound like epic magic.
To tell the truth, dealing with BIOS settings is way easier than you think. And although BIOS has its reasons to hide itself away from the prying eyes of Windows 10 users, it might be a good idea for you to gain some insight into it.
Here are 6 BIOS-related questions that are well worth asking:
- ‘What is BIOS?’
- ‘I want to know my BIOS version – how can I check it?’
- ‘How can I access my BIOS?’
- ‘How can I change my computer’s BIOS settings?’
- ‘How can I update my BIOS?’
- ‘How can I reset my BIOS to its default settings?’
So, it is time to touch the fundamental truths of your computer:
1. ‘What is BIOS?’
BIOS stands for Basic Input/Output System. It resides on a chip on your computer’s motherboard and helps your PC operate. BIOS loads your OS, maintains your hardware and allows you to control the low-level functions of your computer.
Thus, if you want to:
- change the boot order
- change the basic settings for your hardware
- set your system clock
BIOS is your go-to person.
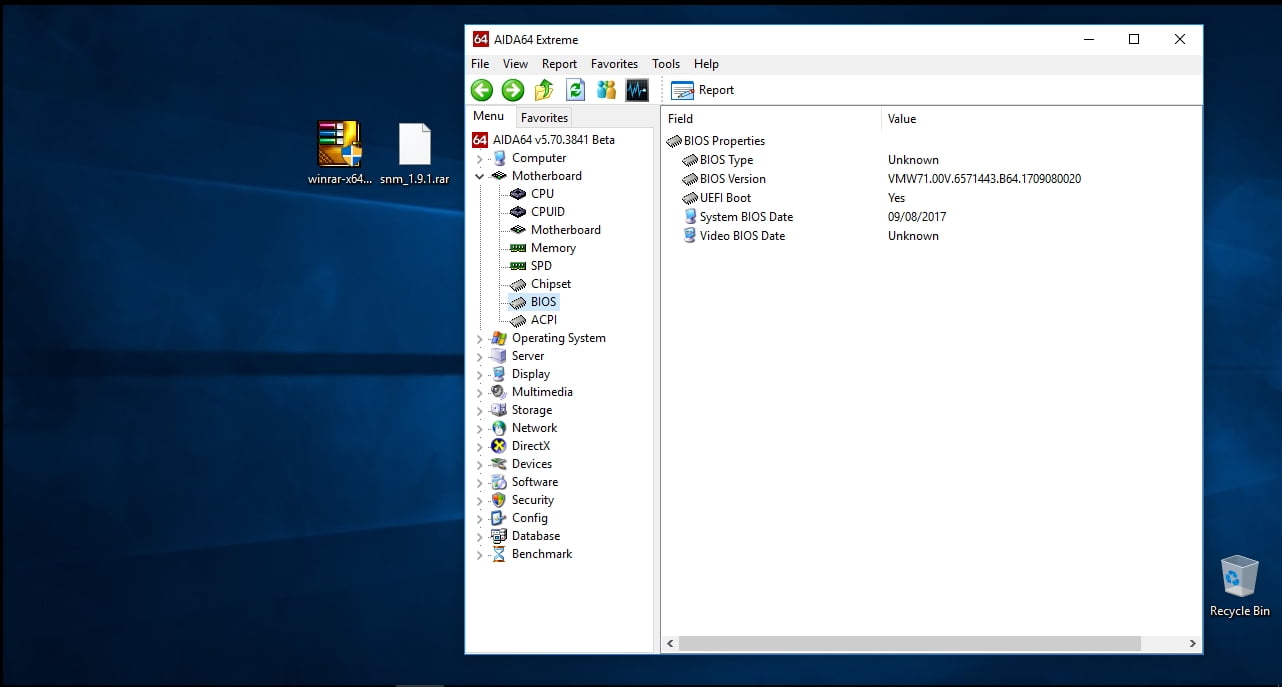
2. ‘I want to know my BIOS version – how can I check it?’
Here are 2 quick ways to check your BIOS version:
Use the Command Prompt
- Windows logo key + S -> Type cmd into the search box -> Click on the Command Prompt
- Type wmic bios get smbiosbiosversion -> Enter -> Check the version number of your BIOS
Use the System Information Panel
Windows logo key + R -> Type msinfo32 into the run box -> Enter -> System Summary -> BIOS Version/Date
3. ‘How can I access my BIOS?’
Entering your PC’s BIOS requires certain knowledge.
Here’s what you can use to do that:
Function Keys
Turn on your laptop and simultaneously press F2, DEL or F12 (the exact key depends on your laptop brand) -> You will enter your BIOS settings
It might be difficult to use function keys to access your BIOS in Windows 10 due to the Fast Startup option.
Therefore, we recommend you to disable this feature:
- Start -> Control Panel -> Power Options -> Choose what the power buttons do -> Change settings that are currently unavailable -> Shutdown settings -> Disable Turn on fast startup -> Save changes
- Restart your PC -> Enter your BIOS at startup by pressing the function key
Advanced Settings
- Windows 10 Desktop (the lower right corner) -> Notification icon -> All settings
- Update & Security -> Recovery -> Advanced Startup -> Restart now -> Access the UEFI firmware and the BIOS settings
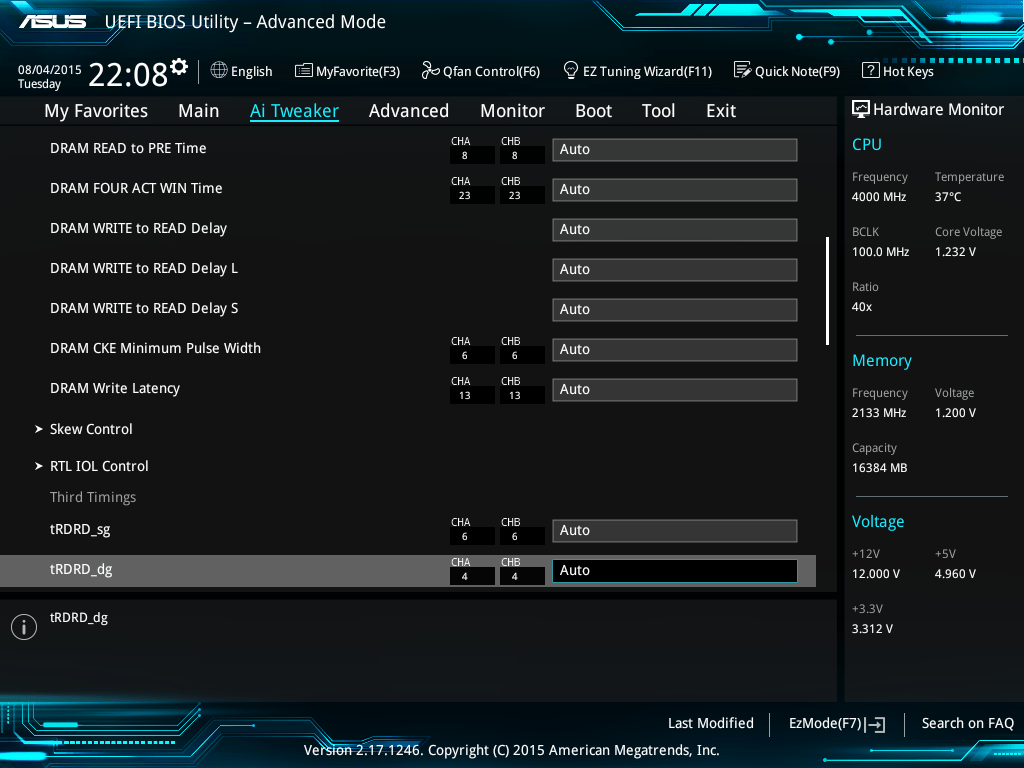
4. ‘How can I change my computer’s BIOS settings?’
BIOS utilities vary greatly. Nonetheless, they all are quite similar in structure and purpose, being sets of menus that give you control over the PC’s hardware settings. And although the setting locations may differ depending on the hardware you use, they follow the same logic. That is why the following instructions make sense no matter what BIOS setup utility you have.
To navigate your BIOS, use arrow and other computer-specific keys – regrettably, mouse input is not supported.
Bear in mind that you should be extremely careful when customizing your BIOS – one false move and the game is over. Therefore, to avoid OS or hardware failures, adjust your computer’s BIOS settings only if you know the drill. Or if you really need them tweaked.
Can’t get scared?
So, Braveheart, here are 5 nice tricks for you to try out:
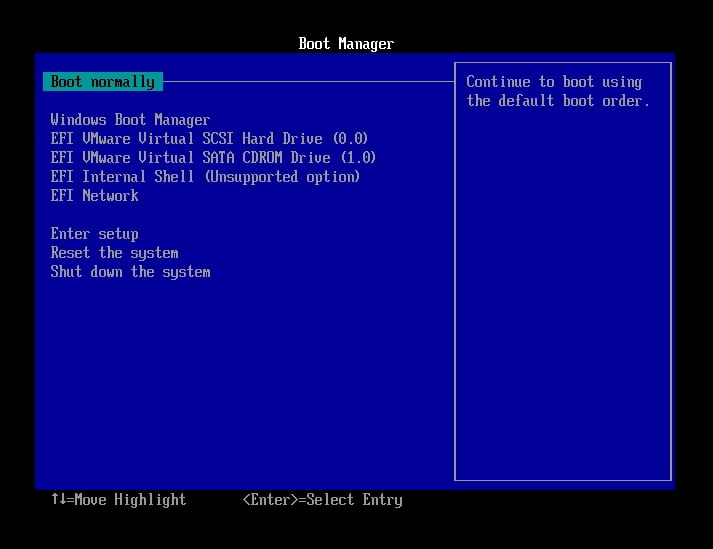
1. Change the Boot Order
Willing to change the boot sequence for some technical reasons?
Here is how to do that:
- Enter the BIOS Setup Utility -> Navigate to Boot
- Perform boot order changes by using specific keys (look them up on the BIOS setup utility screen) -> Save the changes.

2. Create a BIOS Password
You can protect your PC’s most sensitive areas by enabling a BIOS password. Honestly, it never hurts to be a little cautious.
To set a BIOS password:
- Enter the BIOS Setup Utility -> Navigate to Security
- Set User Password (or something like this) -> Create a strong password -> Save configuration changes
3. Set Your System Clock
Time management is essential. So, why not adjust your PC’s time settings so that it can stay organized?
Here are some easy-to-follow steps:
Launch your BIOS -> Navigate to Main -> System Time & System Date -> Save the changes
4. Change Fan Speeds
You might wish to change your PC’s fan speeds for better performance:
- Enter the BIOS Setup Utility -> Navigate to Power
- Search for the fan settings -> Enable the ‘fan control’ feature -> Change the settings to what you want
5. Tweak Your CPU
Your BIOS gives you an opportunity to underclock or overclock your CPU.
By the way, overclocking your CPU is not recommendable: this technique can overheat your PC and cause it to go slightly mad – too high a price to pay for a temporary performance gain, right?
Nonetheless, here’s how overclocking/underclocking can be performed:
using FSB Clock
- Enter the BIOS Setup Utility -> Navigate to the Advanced Settings menu
- Search for the option including some of the following words: FSB, Clock, CPU, or Frequency-> Select the CPU Frequency settings -> Change the value (here you can turn down or increase the CPU’s speed)
using CPU Multiplier
- Enter the BIOS Setup Utility -> Navigate to the Advanced Settings menu
- Search for the CPU Multiplier or CPU Ratio option -> Select the CPU Multiplier Clock option -> Set it to another value (you can speed up or slow down your CPU)
5. ‘How can I update my BIOS?’
Keep in mind that BIOS is a cornerstone of your PC’s architecture: if it gets infected or corrupted, your system may run into a persistent malware presence or a permanent denial of service. Thus, avoid suspicious or untrustworthy update sources.
Besides, it is vital that you have power backup while updating your BIOS: a sudden system turnoff can cause the rewriting process to fall through and corrupt your BIOS – which is a most dispiriting experience indeed.
Follow these steps to update your BIOS:
- Go to your motherboard manufacturer’s official website.
- Search for the updates for your specific motherboard model.
- Download the updated BIOS version.
- Extract the contents from the downloaded archive.
- Check out the README file.
- Place the compressed file on the root of your formatted flash drive.
- Reboot your PC -> Enter the BIOS at boot.
- Choose the BIOS-updating option -> Select your flash drive -> Select the BIOS file.
- Wait for the system to reboot and start updating your BIOS.
- Wait for the process to finish.
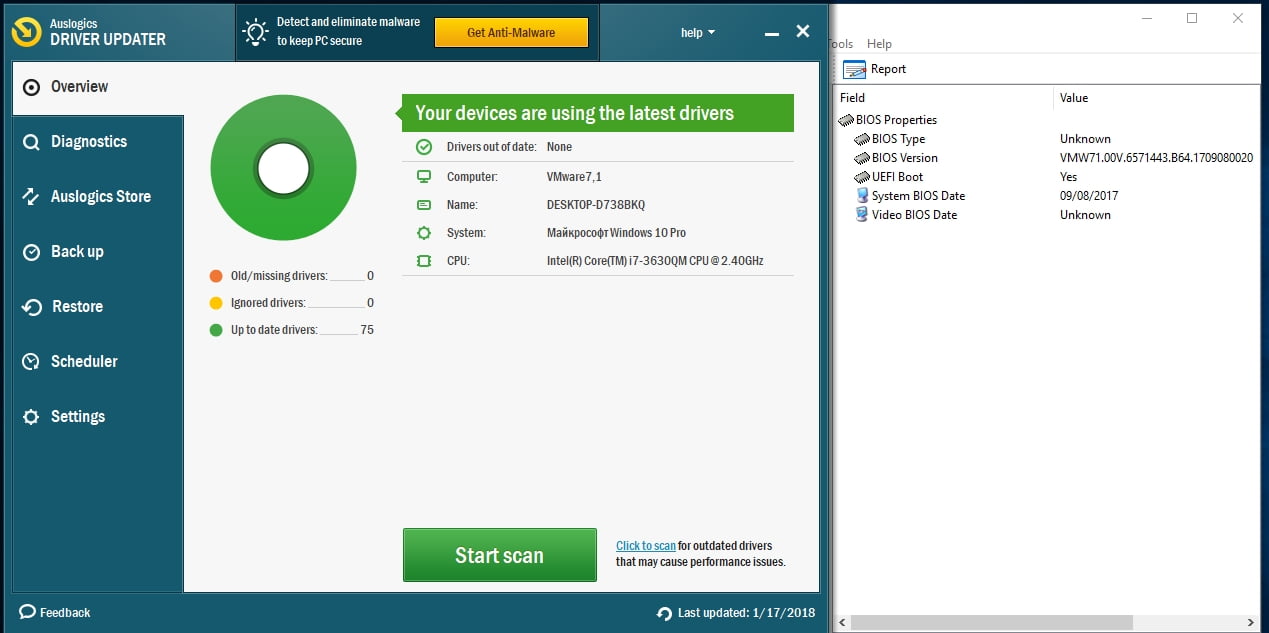
Besides, make sure your drivers are up-to-date as well. You can:
- update them manually;
- use Device Manager: Win + X -> Device Manager -> Expand the device entries -> Search for the problematic driver -> Right-click on it and select Update Driver Software;
- utilize a special tool, e.g. Auslogics Driver Updater, to fix all your drivers in one click.
6. ‘How can I reset my BIOS to its default settings?’
You might need to flash your BIOS or fix certain bugs on your PC, which means you should know how to reset your BIOS.
To do that, follow these instructions:
Enter your BIOS settings -> Find the ‘reset to default settings’ option (it can be called Reset to default, Clear BIOS settings, Load setup defaults) -> Select it -> Enter
We hope your BIOS has let you in on its secrets.
Do you have any ideas or questions regarding the issue in question?
We are looking forward to your comments!


 Done! Great to see you among our subscribers!