- Here are the main features coming in the next feature update:
- How to try out the Windows 10 21H1 update early
- To join the Windows Insider program, you need:
- First step:
- Second step:
- Third step:
- That’s how to upgrade to Windows 10 21H1 through the Windows Insider Beta channel.
- Using the Media Creation tool
- Follow these steps:
- Using the Windows Update tool
- Using the Update Assistant
- Using Rufus
- Now, follow these steps to use the program:
- Follow these steps to install Windows via the bootable USB:
- Keeping your drivers up to date
- Follow these steps to download and use the tool:
- Conclusion

Windows 10, version 21H1, is set to hit Windows computers by mid-April in 2021. It’s the 11th overall feature update for the operating system and the first major rollout for the year.
You’ll be disappointed if you’re looking for a big update packed with many new features and a UI facelift. This year’s pattern is the reverse of the previous year. The first major update only comes with security improvements and one or two introductions.
Unlike last year’s debut feature update, version 20H1, this will be a smaller update, laying the rug for the next big update in the fall.
But let’s not bash the feature like it doesn’t come with benefits. The good thing, at least, is that with fewer changes, you get fewer bugs. Microsoft is now laser-focused on providing a bugless experience on Windows, spending more time killing off bugs that have frustrated customers, and improving core features that users utilize the most.
Also, being a small update means you don’t have to wait too long for the installation process to complete, and you won’t be spending too much data with the download.
Here are the main features coming in the next feature update:
Windows Management Instrumentation (WMI) Group Policy Service (GPSVC) is now faster and supports “remote work scenarios” more efficiently.
Windows Defender Application Guard Performance has been improved to be faster and more efficient. The feature allows Windows administrators to boost security by configuring programs to run in an isolated, virtualized environment. Microsoft also fixed some bugs in WDAG, such as an issue, which causes a delay when administrators open a WDAG Office Document, and another that causes a WDAG container to spike memory usage when it’s idle.
The new Multicamera support for Windows Hello will allow you to set the external camera as the default camera when both internal and external Windows Hello cameras are connected.
How to try out the Windows 10 21H1 update early
As we mentioned, the feature update won’t be released to Windows customers until mid-April. However, the Windows 10 version is available to Windows Insiders in the Beta Channel. If you want to get a taste of the new update before it’s released, you have to go through the Windows Insider program.
Note that installing preview builds on your system means that you have to deal with instability and bugs. Microsoft uses the preview build to test out the update before the general release.
Also, you have to change your data settings to allow Microsoft to monitor your system’s performance. This way, it can investigate the bugs and crashes that you experience while using the preview build.
To join the Windows Insider program, you need:
- A Microsoft Account. If you don’t have one, head to Microsoft’s website to create your account.
- A licensed version of Windows 10.
- An administrator user account.
First step:
Head to https://insider.windows.com/en-us/register and register with your Microsoft account.
Second step:
Go to Microsoft’s website to confirm that they support your system’s language.
Third step:
Follow these steps to setup flighting:
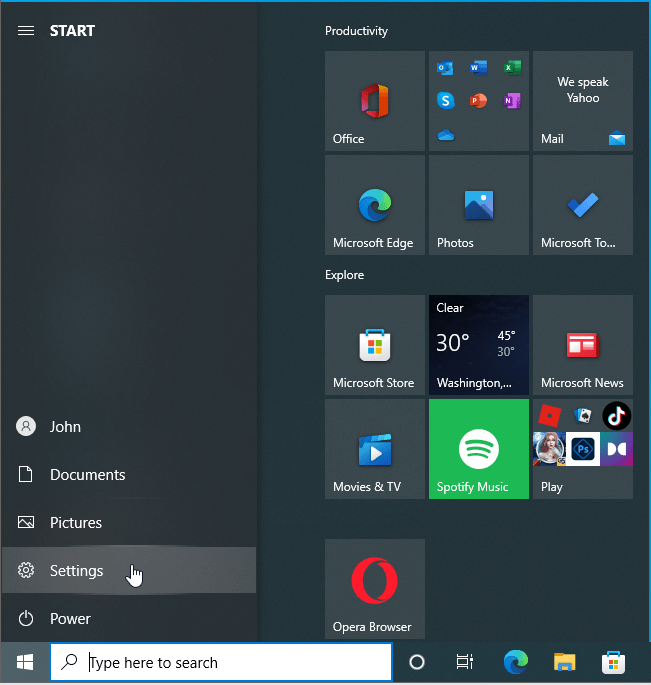
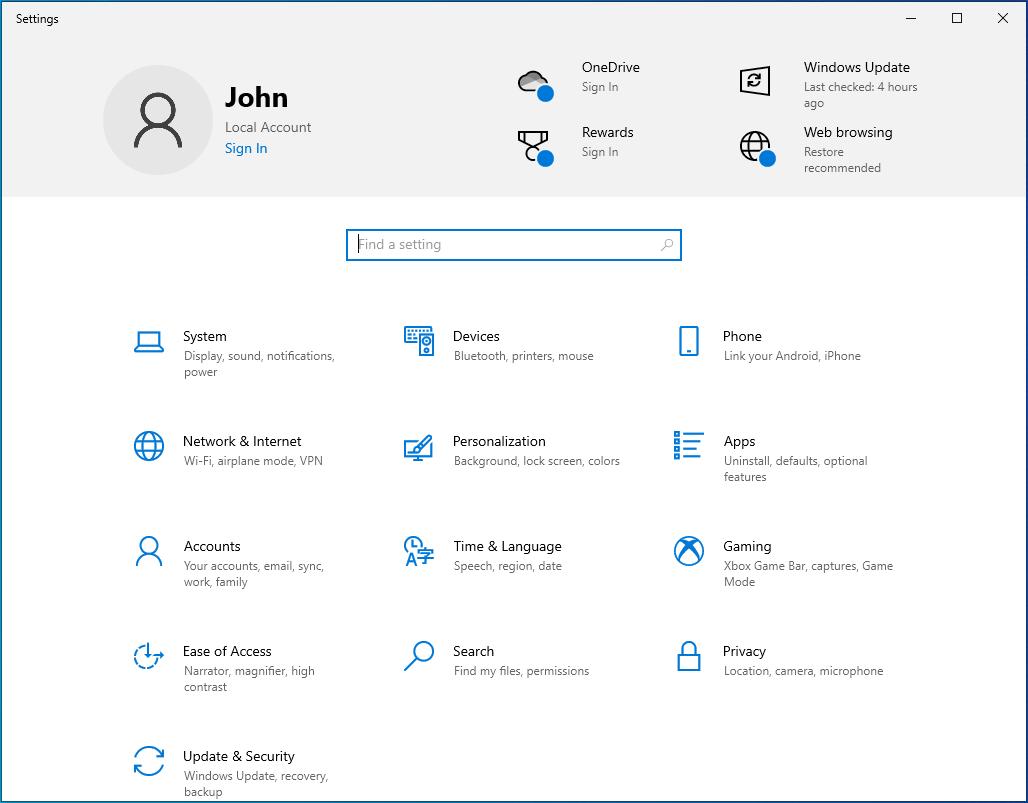
- Open the Start menu and click on the cogwheel button to open Settings. The Windows logo + I keyboard combo will also help you open the app.
![Click the Settings icon.]()
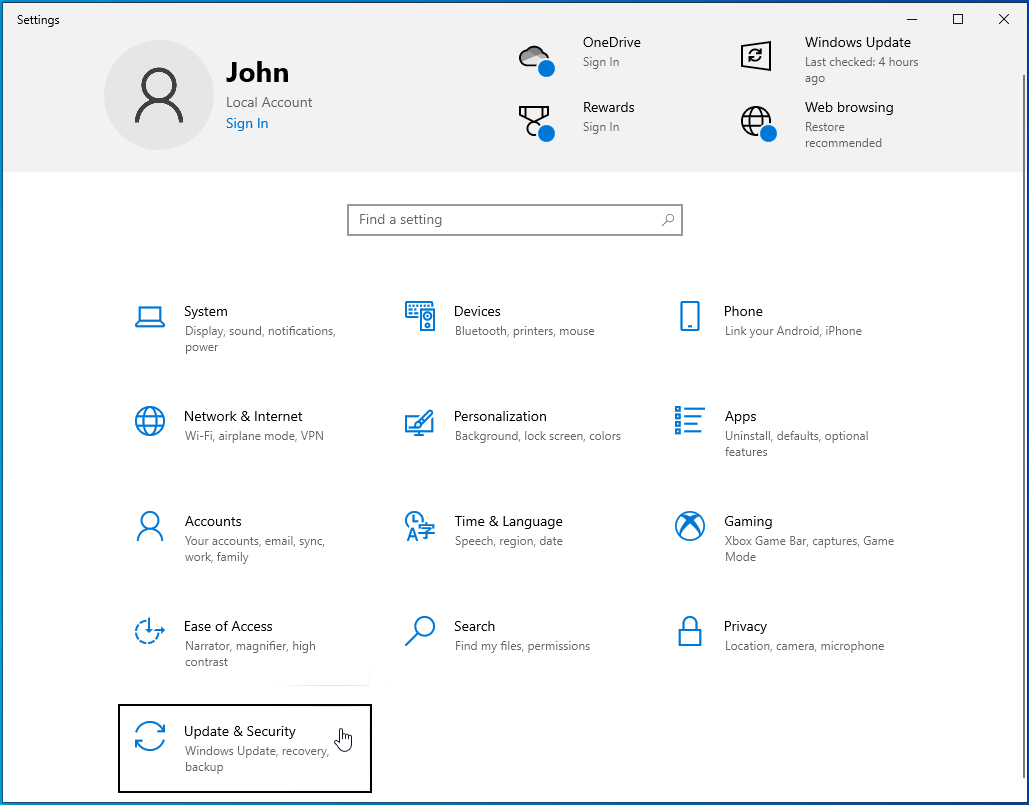
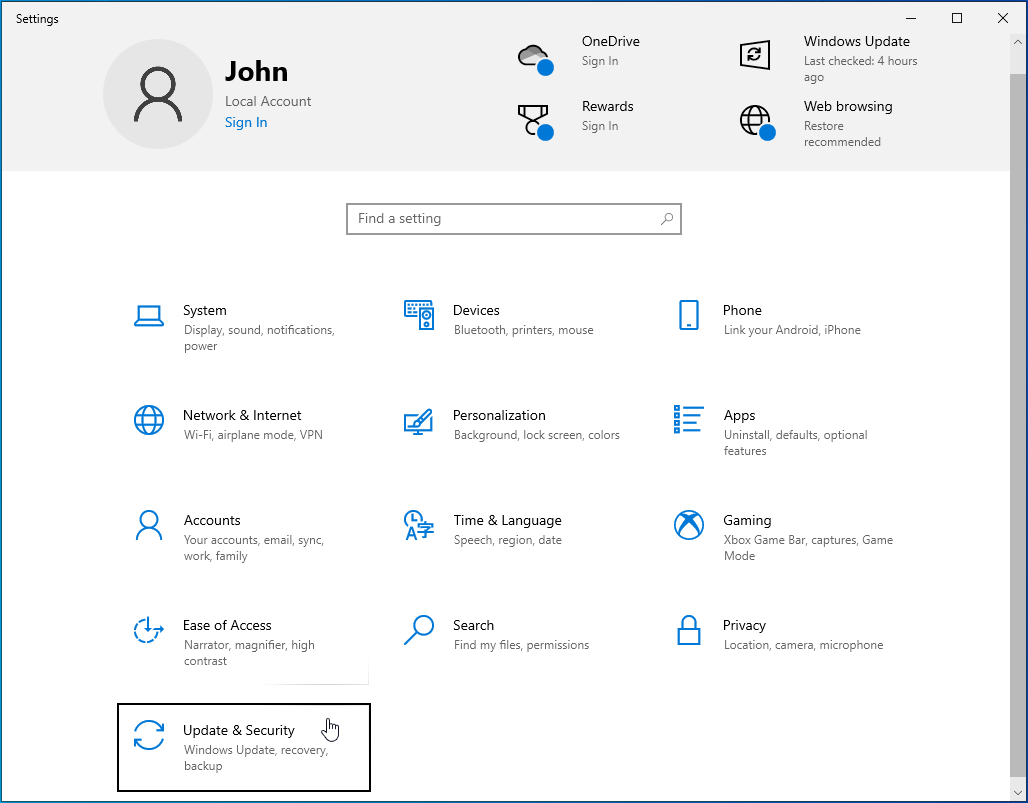
- When the Settings app shows up, click on the Update & Security icon.
![Click on the Update & Security icon.]()
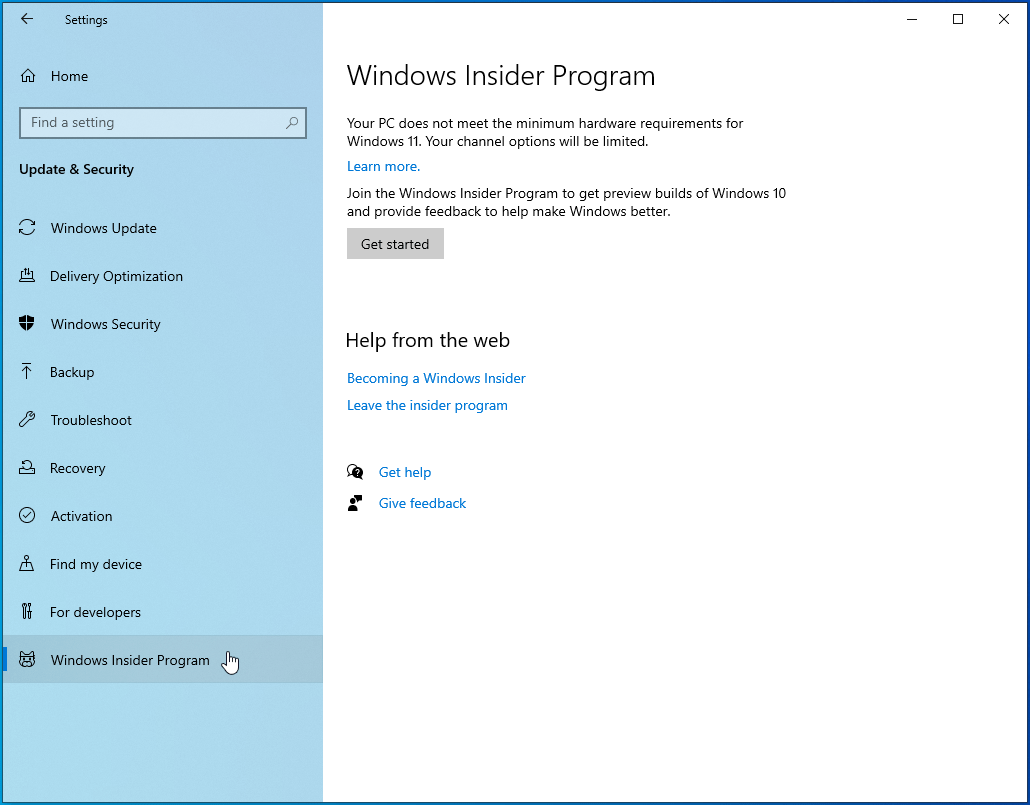
- Next, go to the Update & Security interface’s left pane and click on Windows Insider Program.
![Click on Windows Insider Program.]()
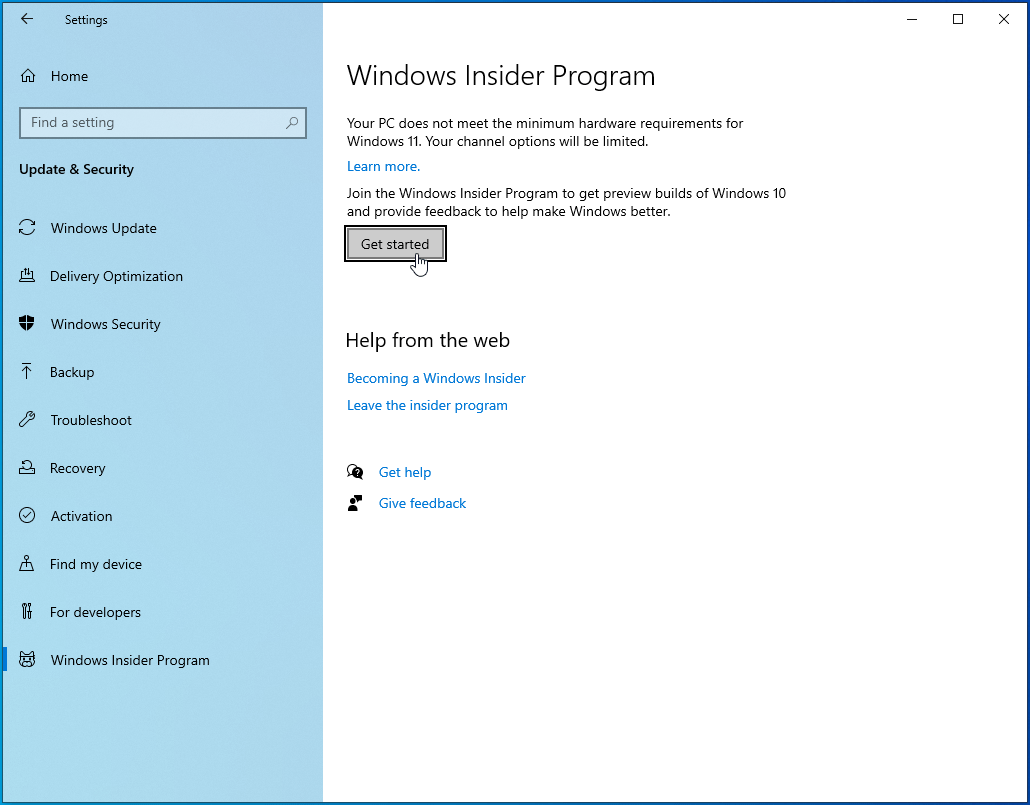
- Go to the right side of the screen and click on the Get Started button.
![Click on the Get Started button.]()
- Go to “Pick an account to get started,” click on the plus (+) sign, and choose the Microsoft account you used to register for the Windows Insider program.
- Next, choose an experience level, and then select Beta Channel when prompted to select a channel.
- Go through the Privacy Statement and program terms. Confirm that you accept, and then click on Restart Now.
- After your computer restarts, open the Settings app and click on Privacy. Select Diagnostics and Feedback in the left pane of the Privacy page.
- Make sure your computer’s data setting is set to Full.
- Restart your device again.
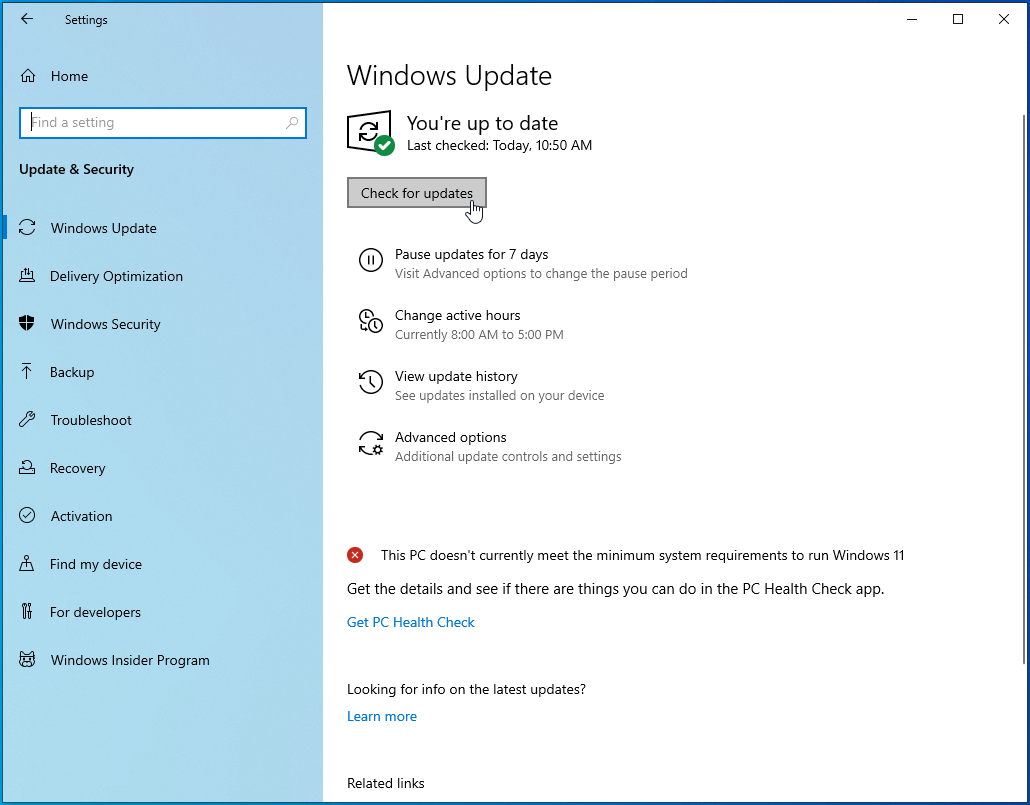
- Now, go open up Settings again and click on Update & Security.
- Click on Check for Updates under Windows Update and follow the normal update process.
That’s how to upgrade to Windows 10 21H1 through the Windows Insider Beta channel.
If the Windows Insider Program is too much for you, wait for the general release. Windows will only push the update for your system when your system becomes fully compatible. However, you can force the update by using the Media Creation tool or downloading the Update Assistant. You can also use Rufus, a free third-party app, to create a bootable USB and use the USB to perform a clean installation of the new Windows 10 version.
We’ll show you how to download Windows 10 21H1 and install it.
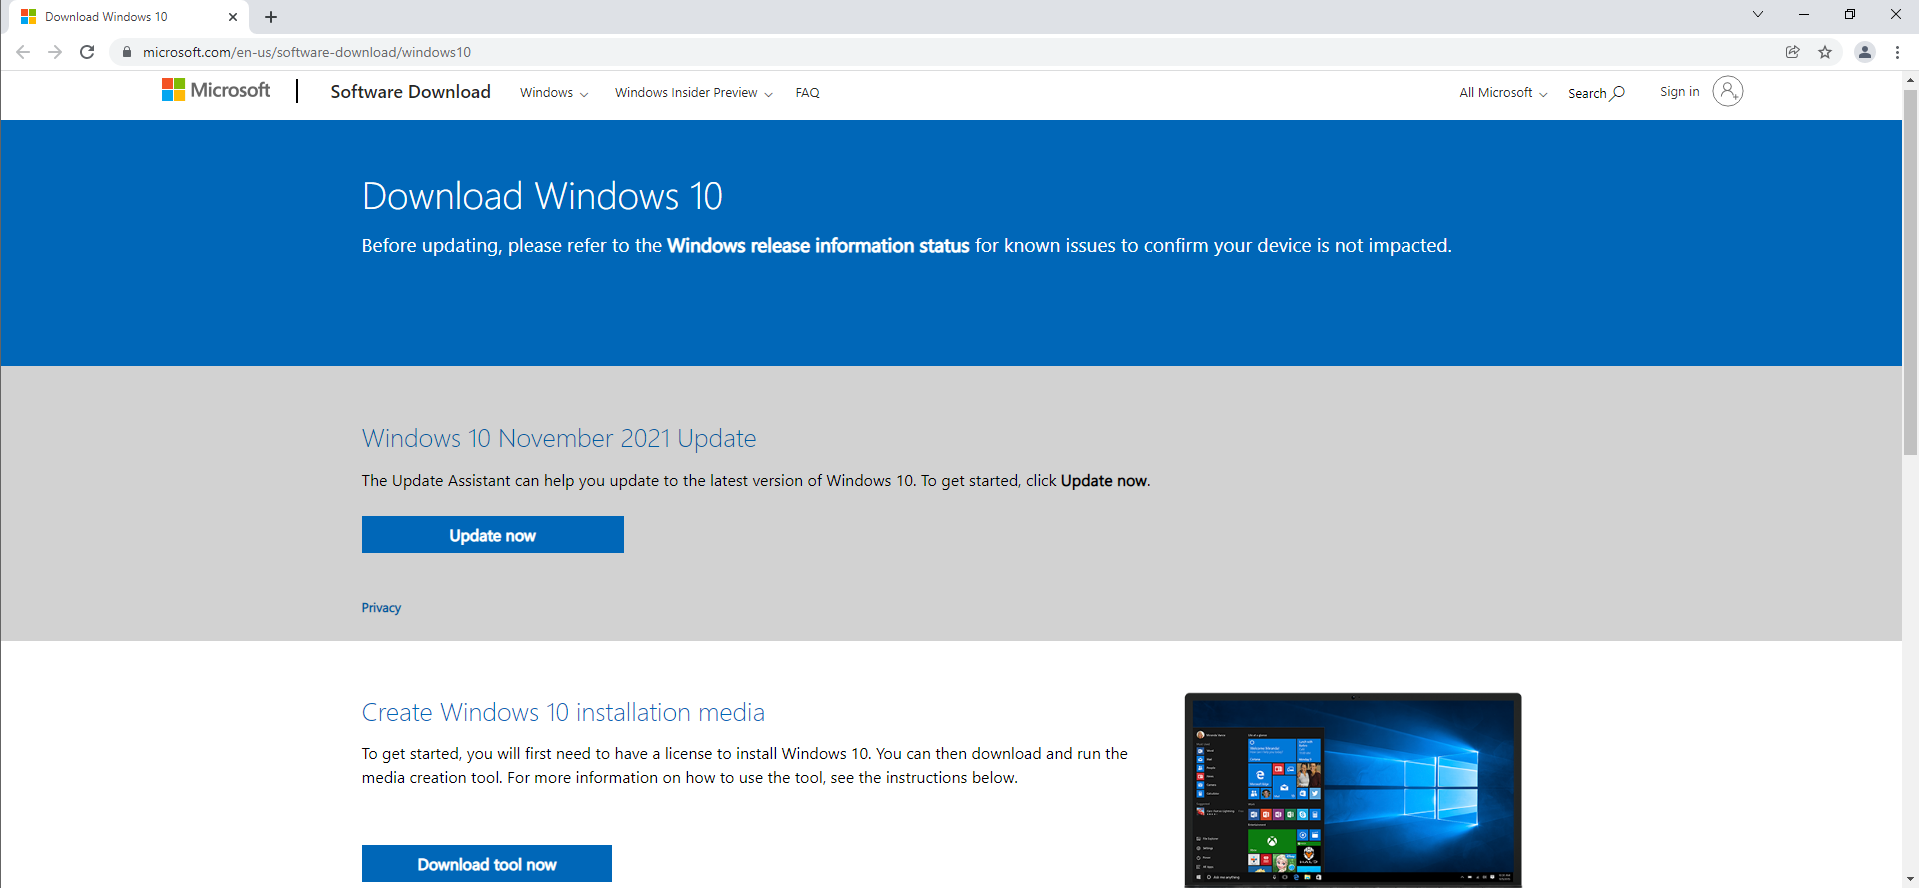
Using the Media Creation tool
The Media Creation tool was primarily designed to create bootable flash drives and DVDs. The program helps you prepare a USB or DVD and downloads a complete Windows 10 package to it. This way, you can use the external device to resurrect your computer or any other Windows device when something goes wrong.
That said, you can use the tool to install the latest Windows 10 build on your system. It’s one of the best ways to update your system, especially if you want to perform a clean install. The Media Creation tool allows you to choose your system’s Architecture, Language, Release, and Edition.
Follow these steps:
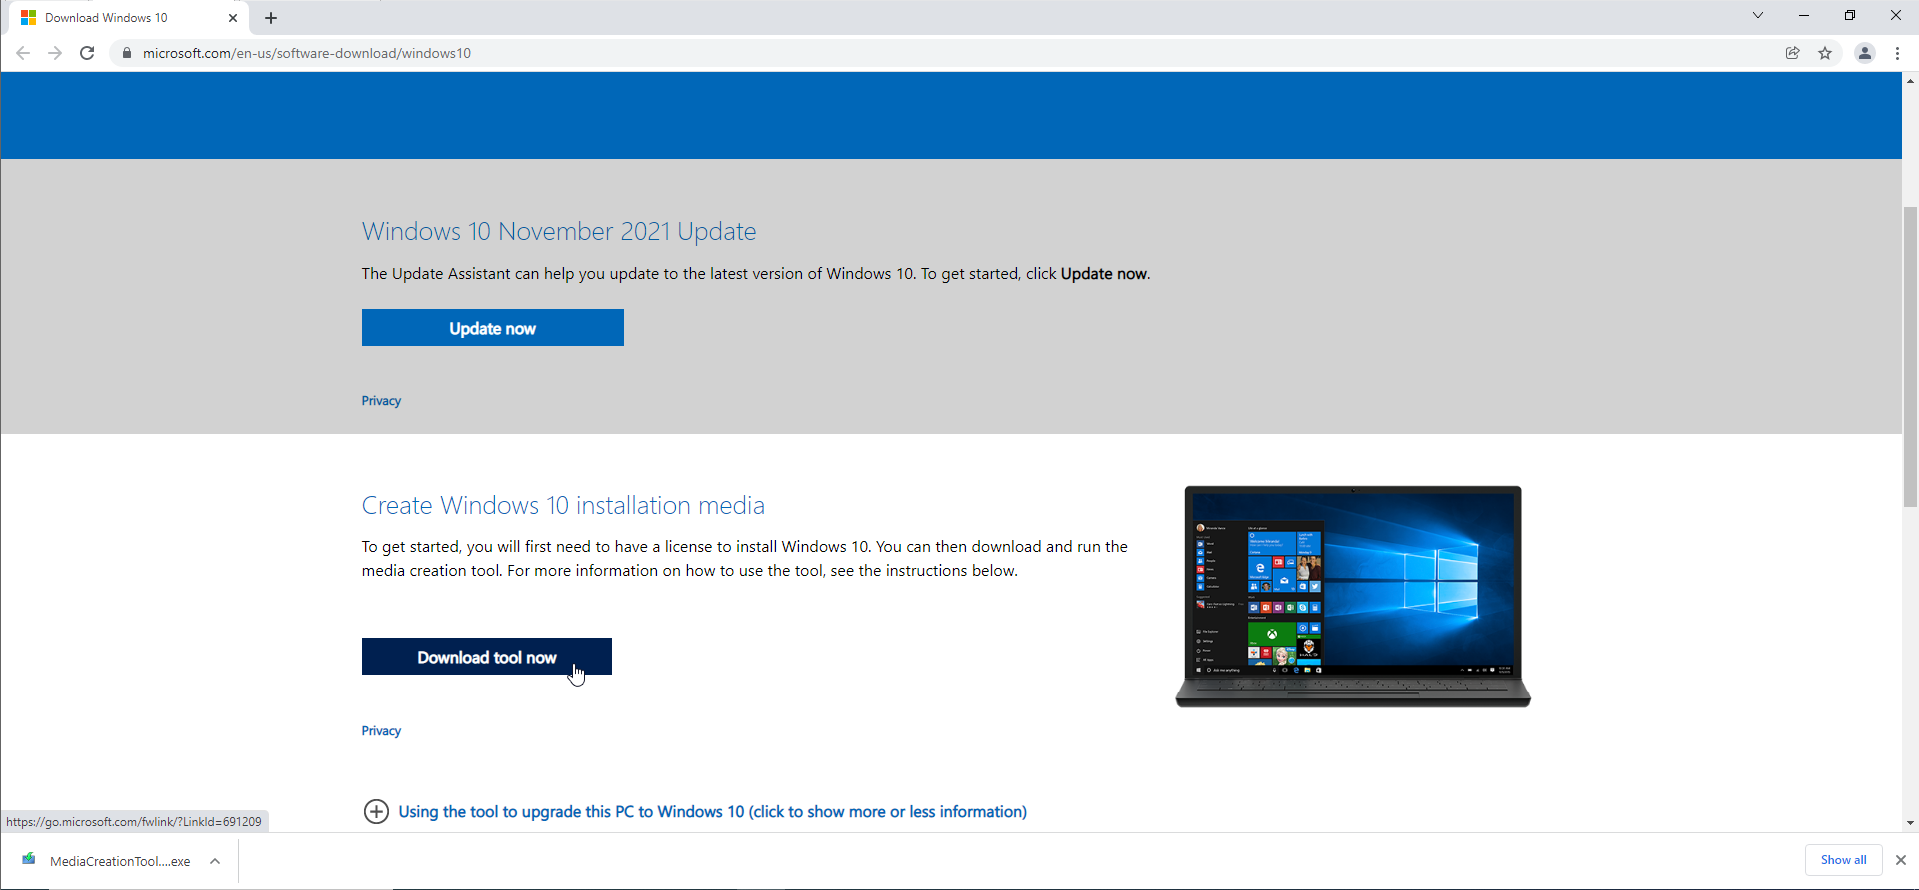
- Go to Microsoft’s website to download the Media Creation Tool.
![Go to Microsoft's website.]()
- Save the file on your computer.
![Download the Media Creation Tool.]()
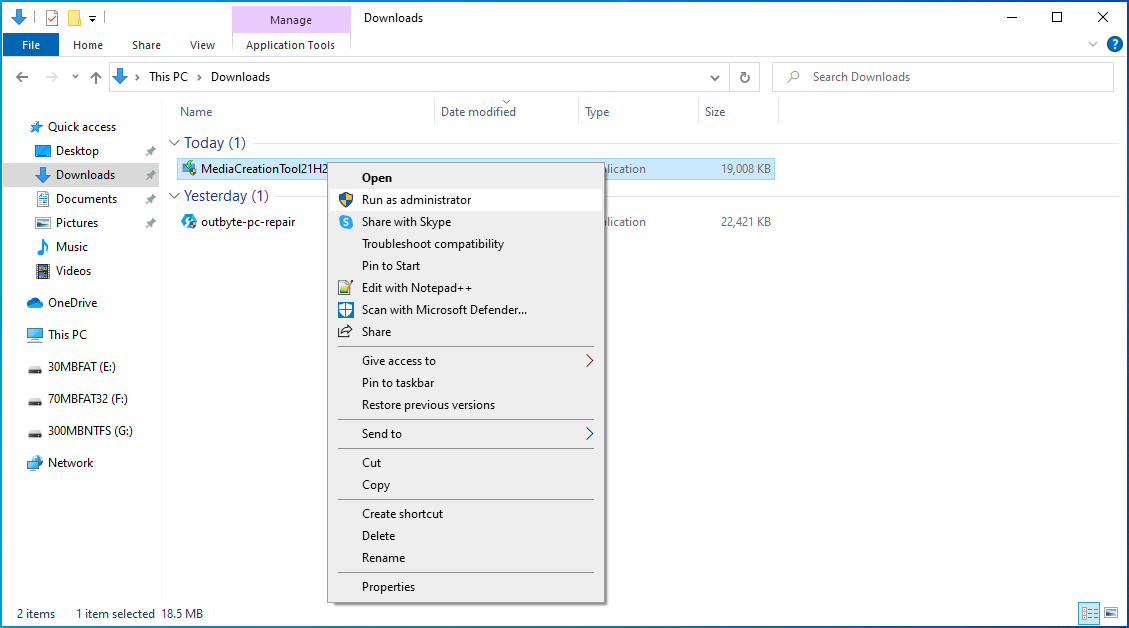
- Once the file has been downloaded, run it directly from your browser. However, you can go to the Download folder, right-click the setup file (MediaCreationTool20H2.exe) and click on Run as Administrator.
![Right-click the setup file (MediaCreationTool20H2.exe) and click on Run as Administrator.]()
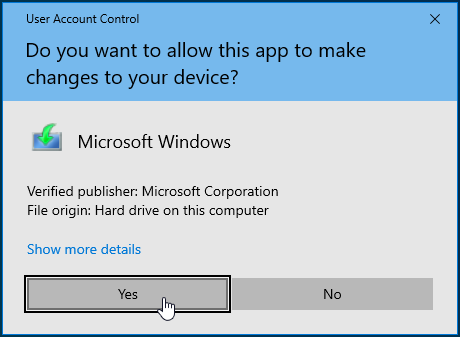
- Choose Yes in the UAC confirmation box.
![Click Yes in the UAC confirmation box.]()
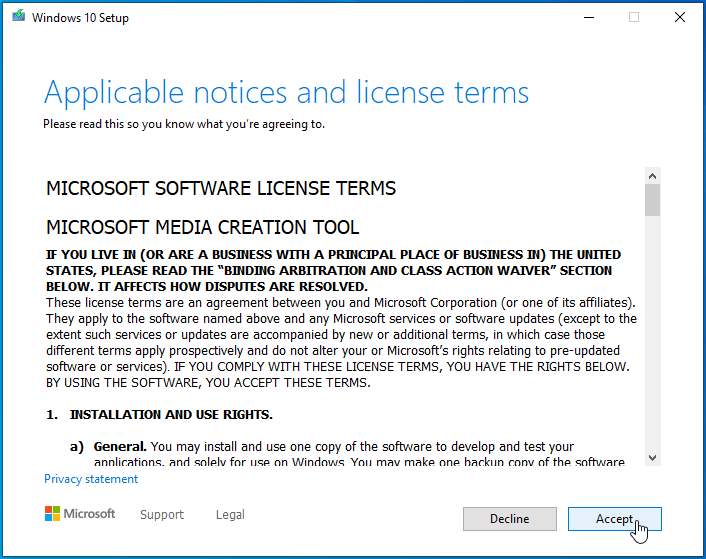
- Accept the license agreement on the first screen.
![Accept the license agreement.]()
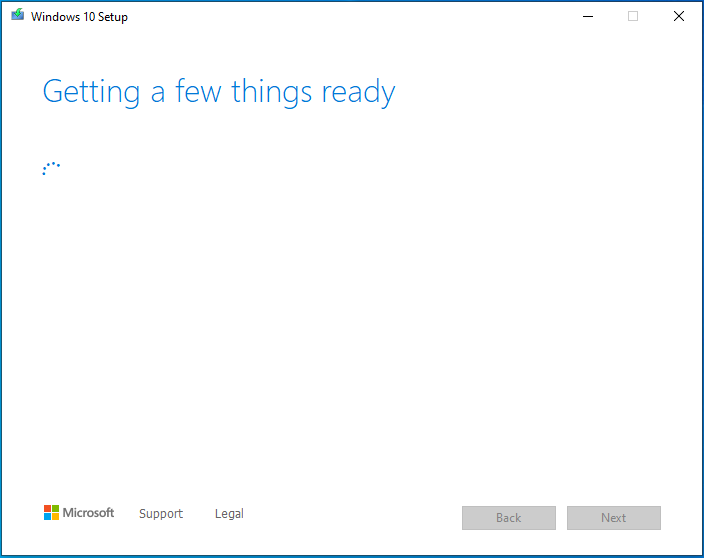
- After accepting the agreement, allow the tool to “get things ready.” The process should take only a few minutes.
![Wait while things are getting ready.]()
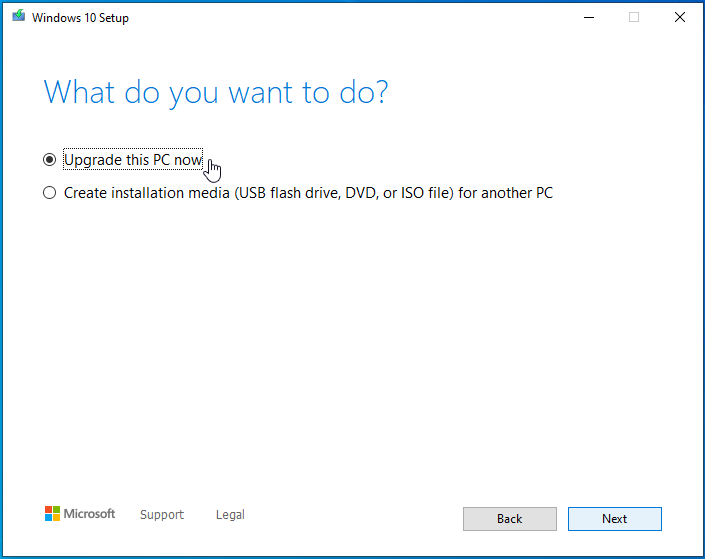
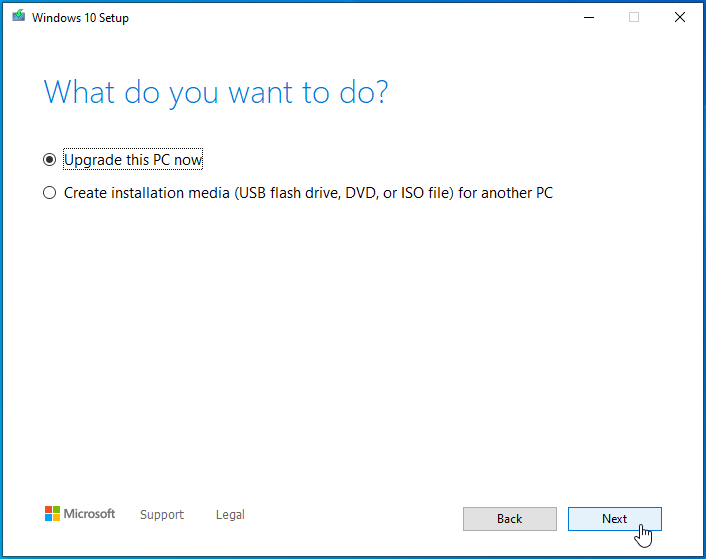
- Once the installer is ready, choose “Upgrade this PC now” under “What do you want?”
![Select "Upgrade this PC now".]()
- Click on the Next button.
![Click on the Next button.]()
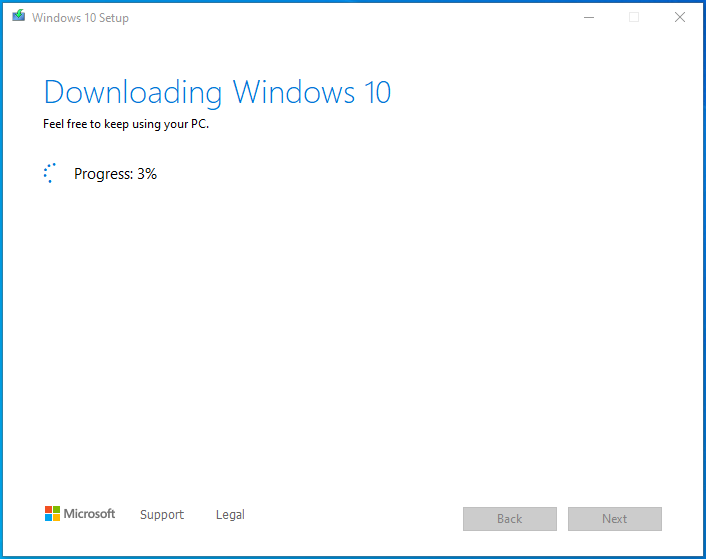
- The Media Creation Tool will now start downloading the updates. The duration of the download progress will depend on your system’s speed and internet connection.
![Windows 10 is being downloaded.]()
Using the Windows Update tool
Windows Update is the main built-in program in charge of installing the latest updates for your system. The program is configured to routinely check for updates and download and install them automatically. Since Windows 10 version 21H1 is being released as a regular cumulative update, Windows Update should automatically download and install it.
However, you might have to do this manually, as Microsoft might decide to make it optional, just like the previous feature update. If you don’t know the steps involved in updating your system, follow the guide below:
- Use the Windows logo + I keyboard combo to open the Settings app.
![Open the Settings app.]()
- After Settings shows up, head to the bottom of the home page and click on Update & Security.
![Click on Update & Security.]()
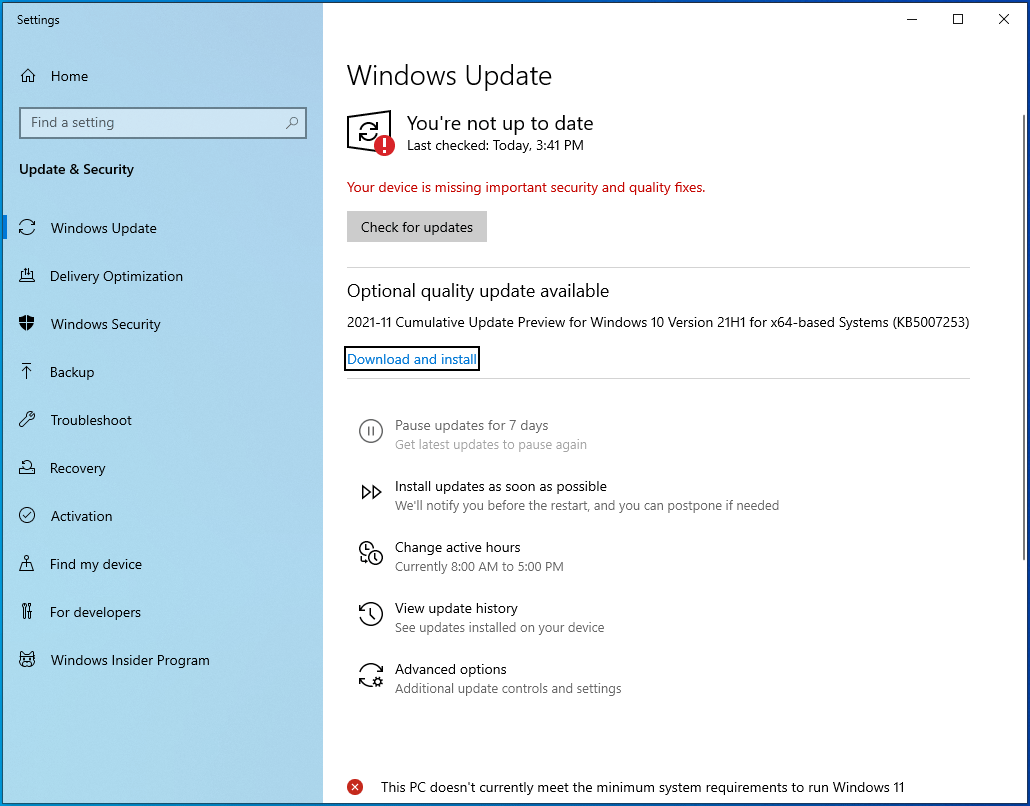
- Once you see the Windows Update page, click on the Check for Updates button.
![Click on the Check for Updates button.]()
- Go to optional updates and click on Download and install.
![Click on Download and install.]()
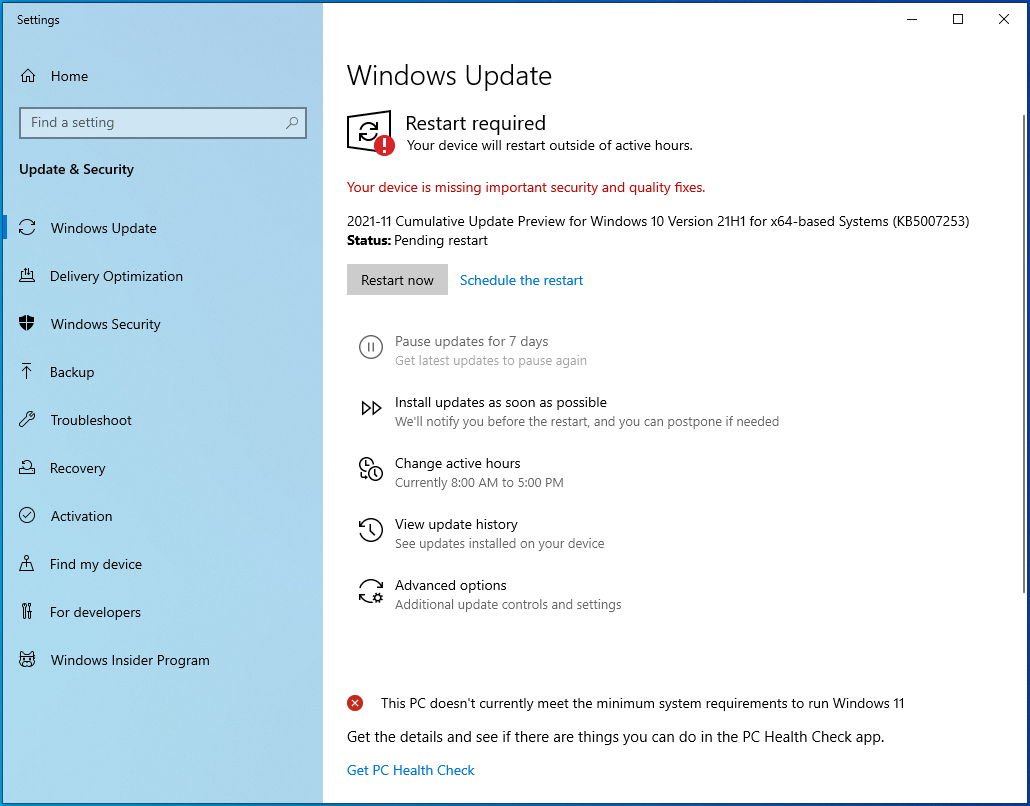
- Once Windows Update downloads the package, click on the Restart Now button to allow the tool to reboot your system and install the program. If you’re too busy, you can hold on and allow Windows Update to install the package on your next reboot.
![Click Restart Now.]()
- Note that your system will restart multiple times during the installation process.
- Once the process is complete, your computer will boot up normally.
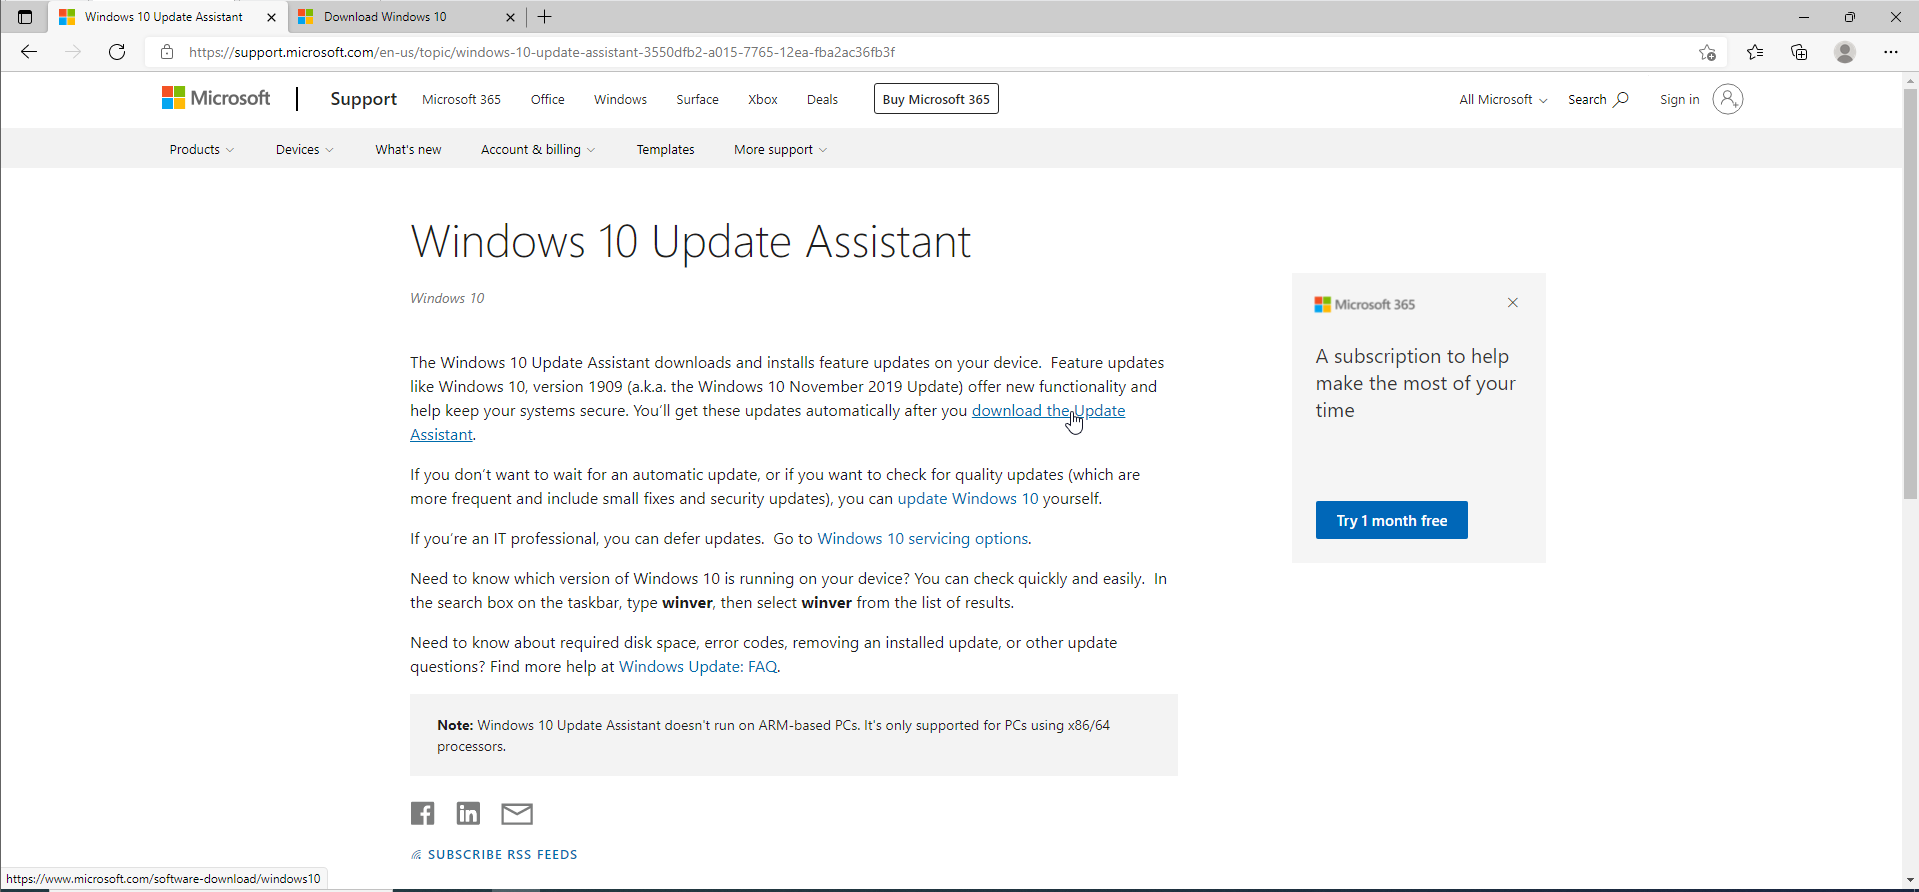
Using the Update Assistant
The Windows 10 Update Assistant is like an external Windows Update program. It is another tool to turn to if you don’t want to wait for the automatic update. Microsoft usually releases feature updates in batches, and some regions and systems might get the update before others. But with the Update Assistant, you can get it after the official release.
Before you start, make sure you have a stable internet connection. Follow these steps to use the assistant:
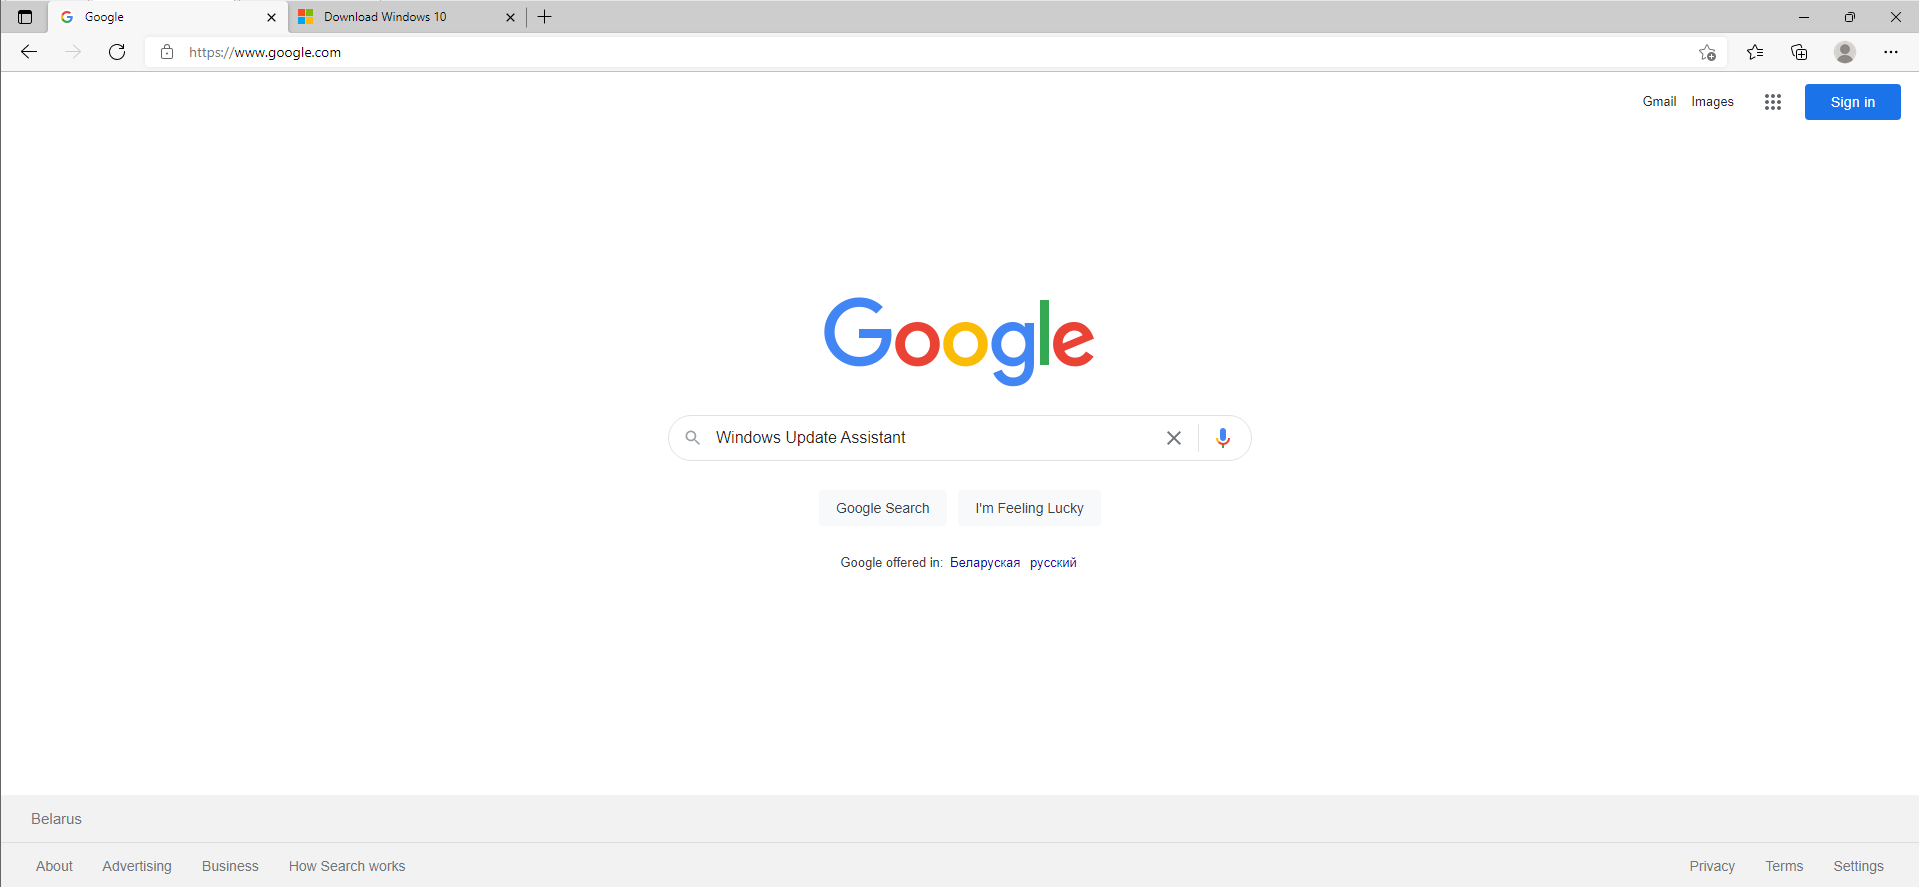
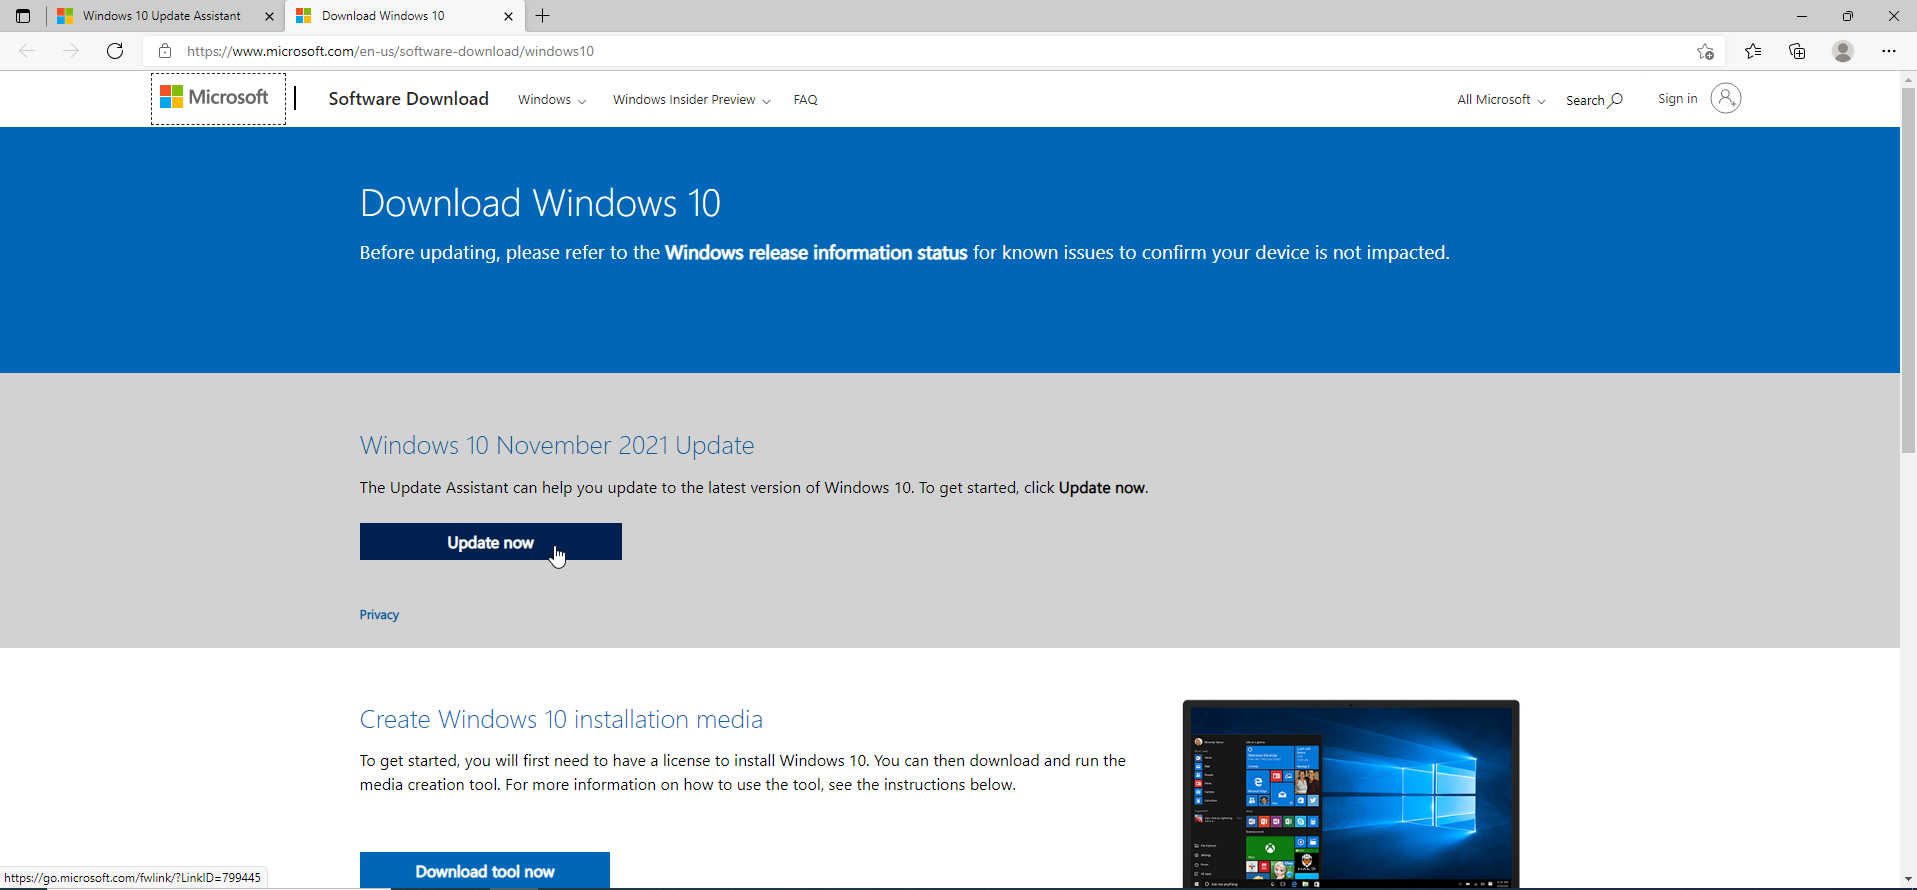
- Head to the download page for Windows Update assistant and download the tool.
- You can type “Windows Update Assistant” in Google.
![Type "Windows Update Assistant".]()
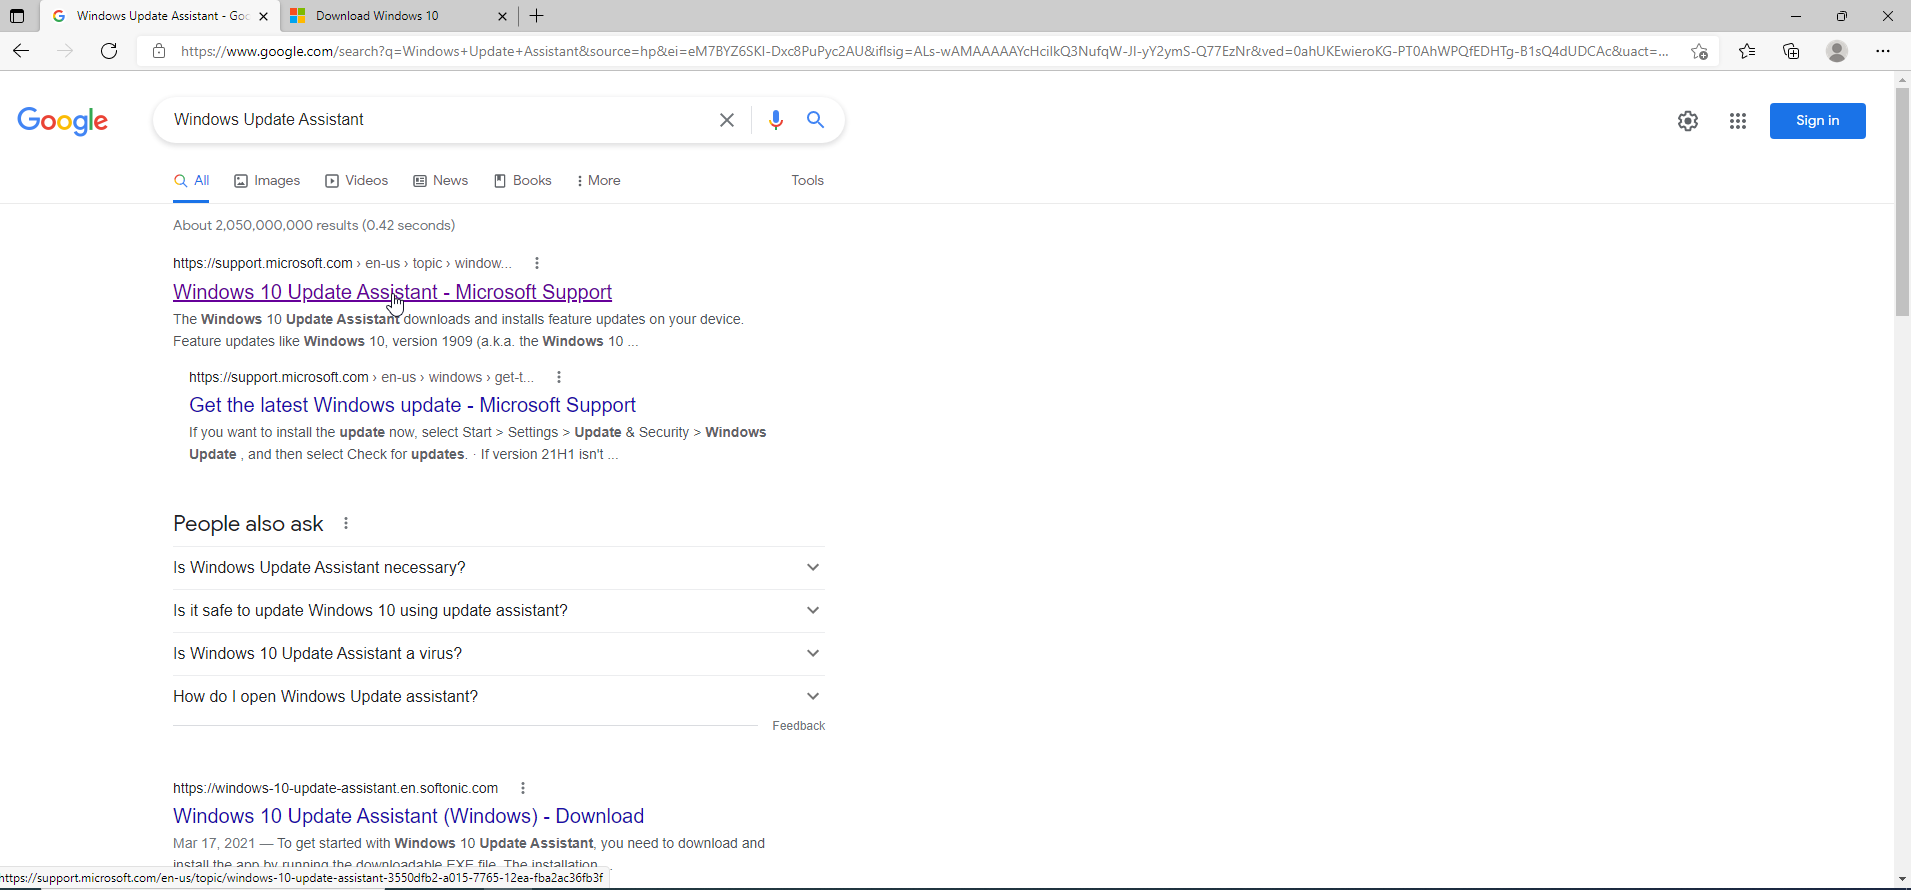
- Click on the first Microsoft result.
![Click on the first Microsoft result.]()
- If you’re not redirected to the download page, you’ll find a link on the page that says “Download the Update Assistant.”
![Click "Download the Update Assistant."]()
- Click on the Update Now button.
![Click on Update Now.]()
- Save the setup file to your system.
![Save the setup file.]()
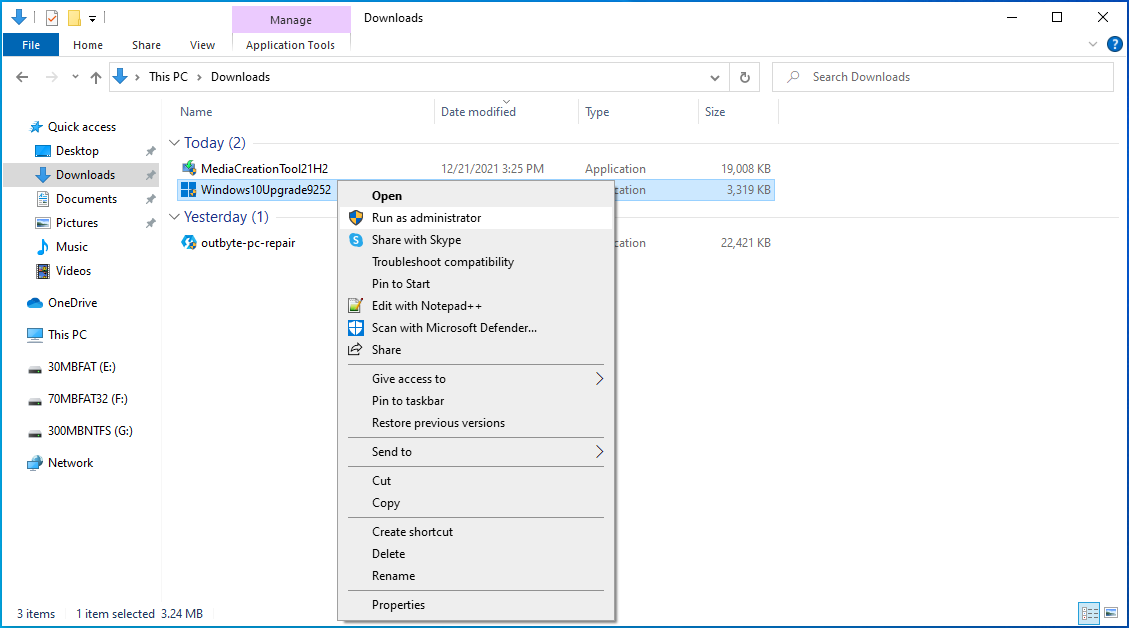
- Once the file has been downloaded, run it or go to the Download folder, right-click the file, and choose Run as Administrator from the context menu.
![Choose Run as Administrator from the context menu.]()
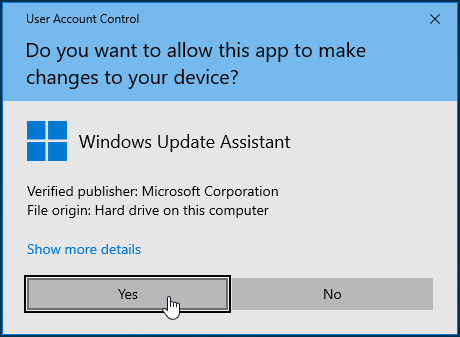
- Click on the Yes button in the UAC prompt.
![Click Yes in the UAC prompt.]()
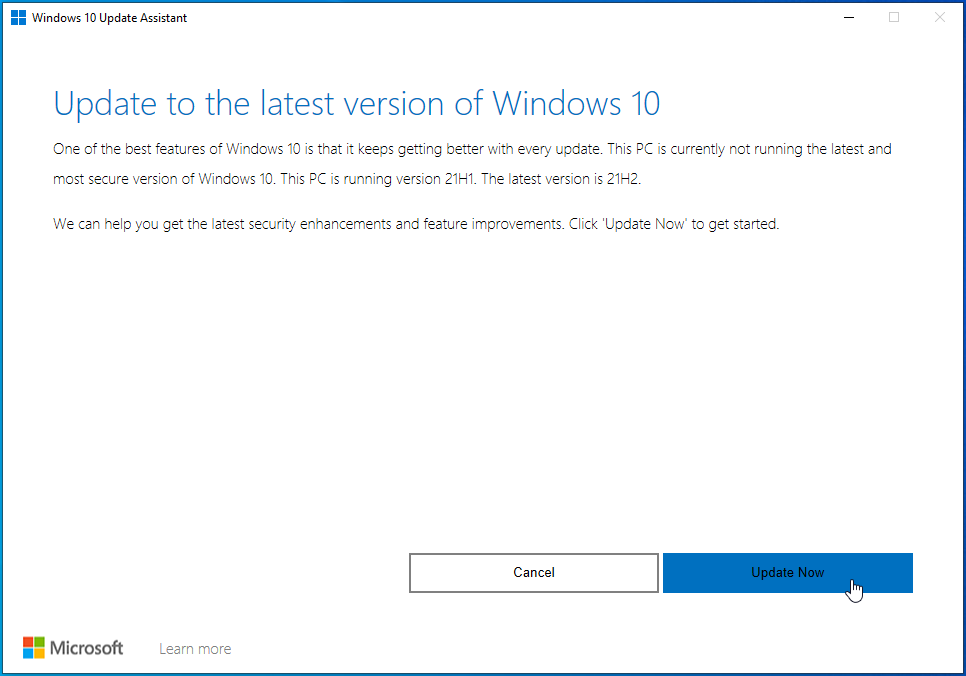
- Once the Windows 10 Update Assistant opens, the first page tells you your current Windows 10 build. Click on the Update Now button in the bottom-right corner.
![Click on the Update Now button.]()
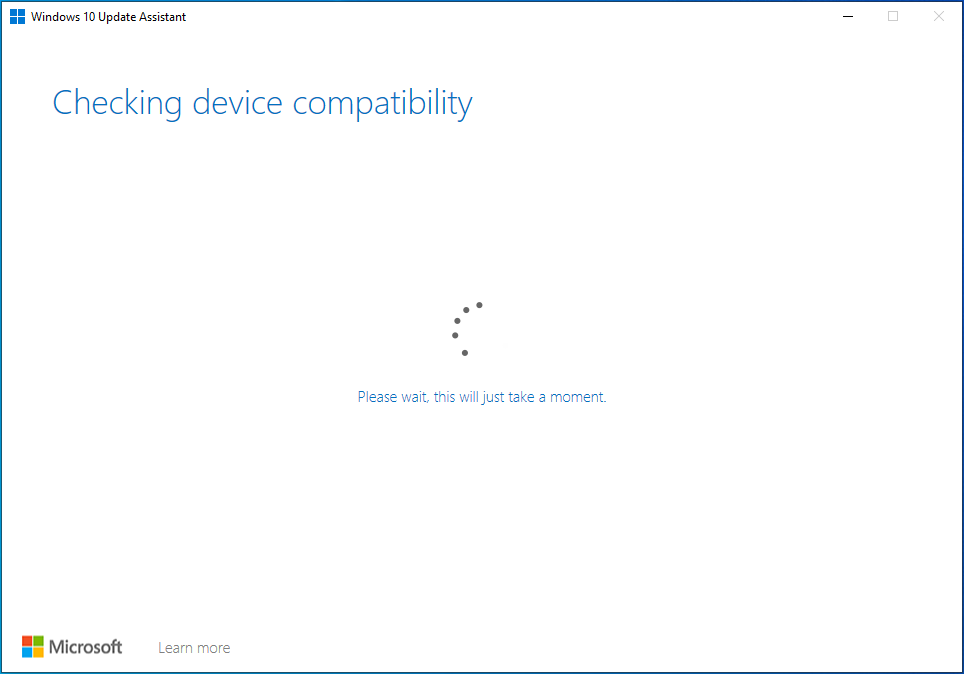
- The assistant will now check your system’s compatibility with the update you’re about to install.
![Device compatibility is being checked.]()
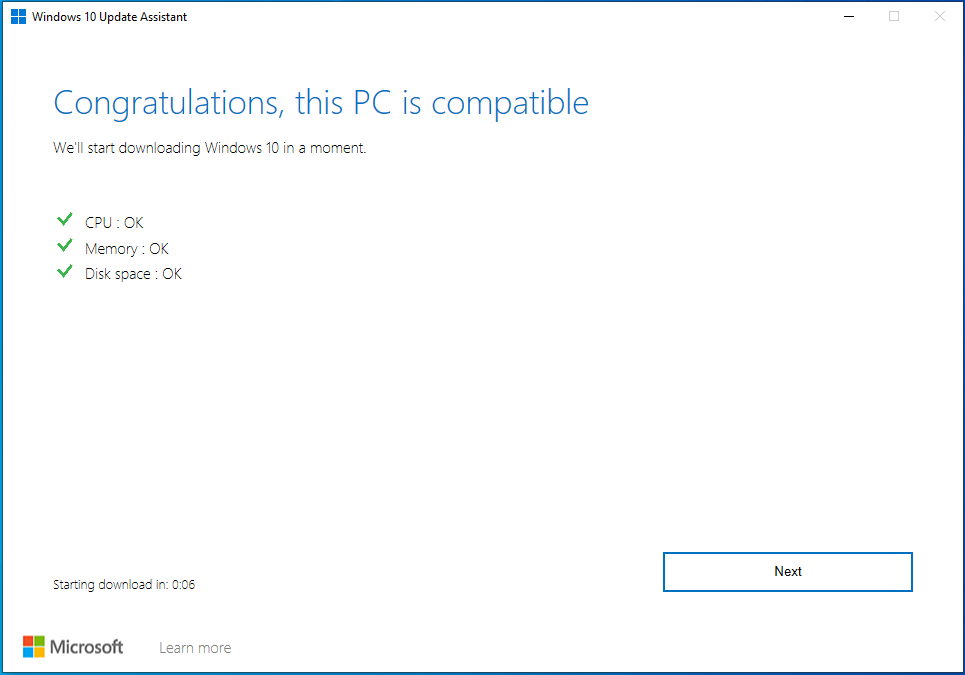
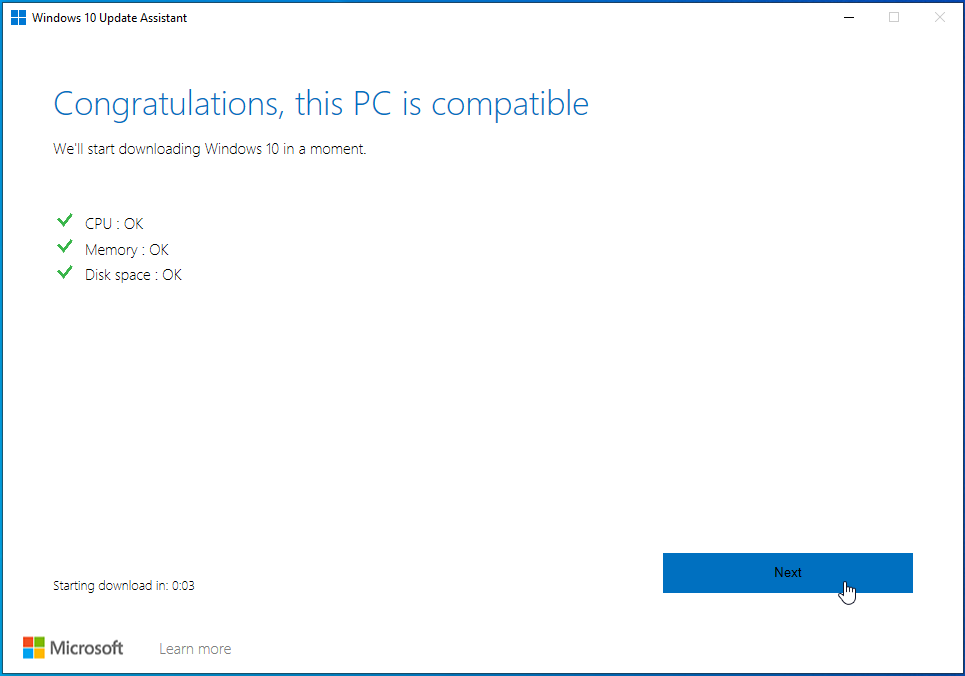
- You’ll see a message that reads, “Congratulations, this PC is compatible” if your computer passes the checks.
!["Congratulations, this PC is compatible" will appear.]()
- Click on Next.
![Click Next.]()
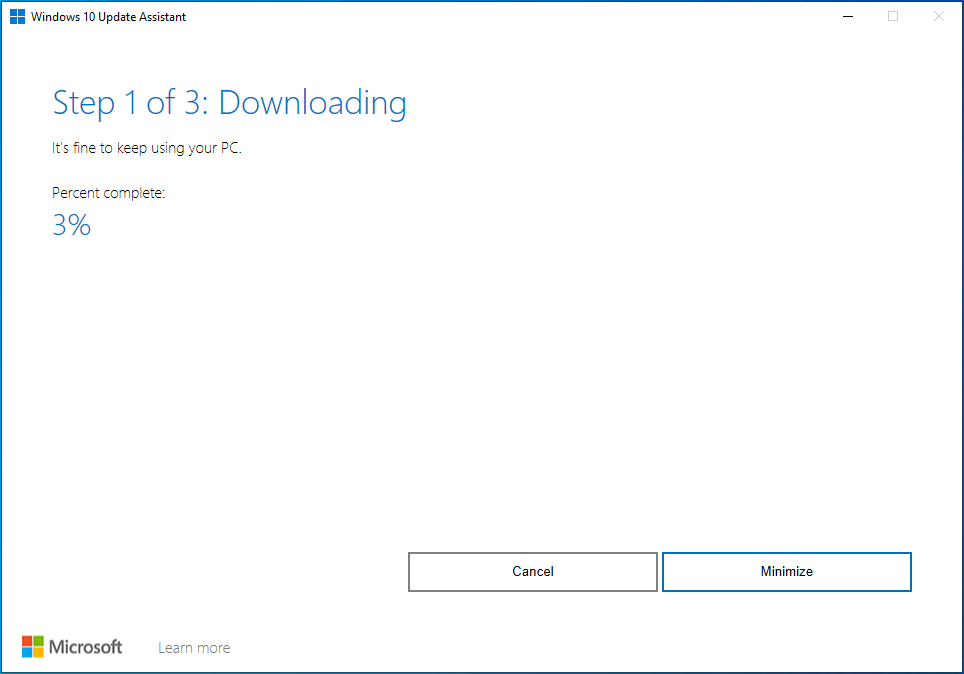
- The Update Assistant will now begin to download the updates, and you’ll see progress information.
![The updates are being downloaded.]()
- Allow the tool to download the files, as this might take a while.
![Let the tool download the files.]()
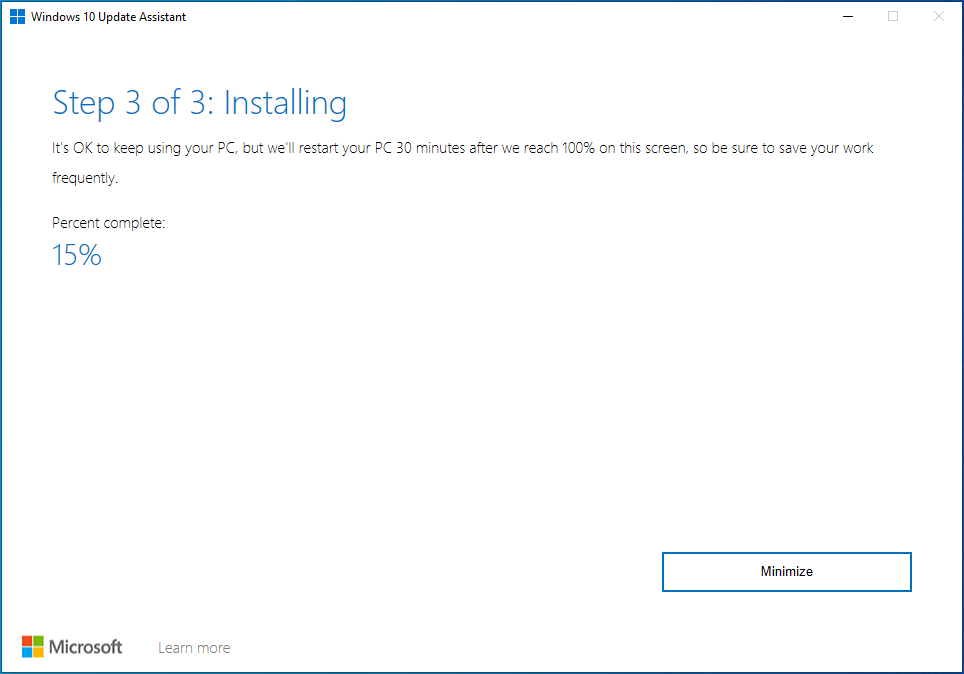
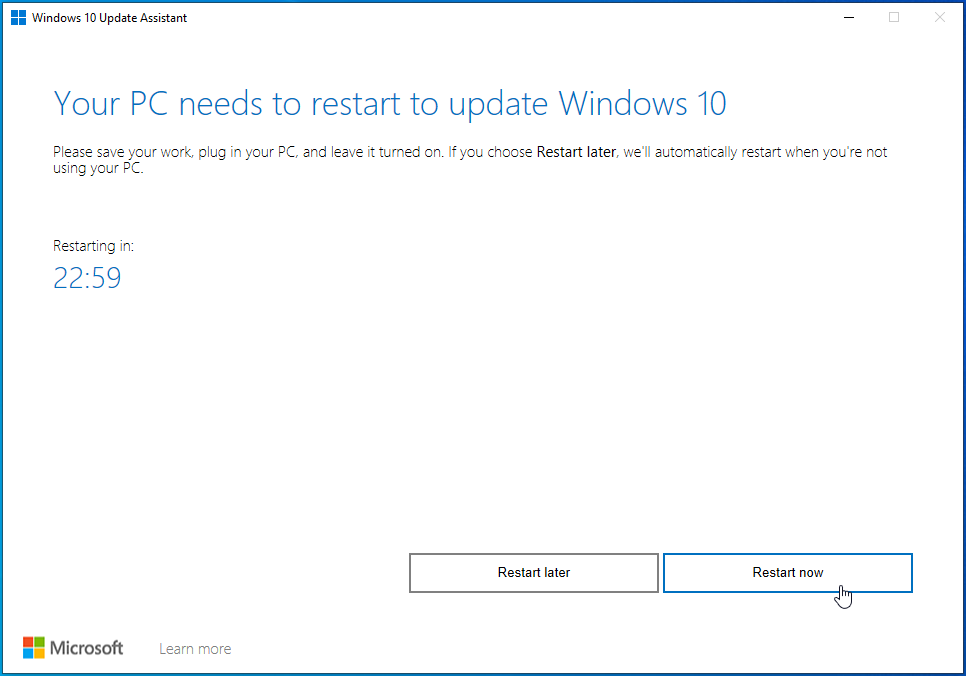
- Once the downloads are complete, the program will tell you that your PC needs to restart to continue the update. Click on the Restart Now button.
![Click on the Restart Now button.]()
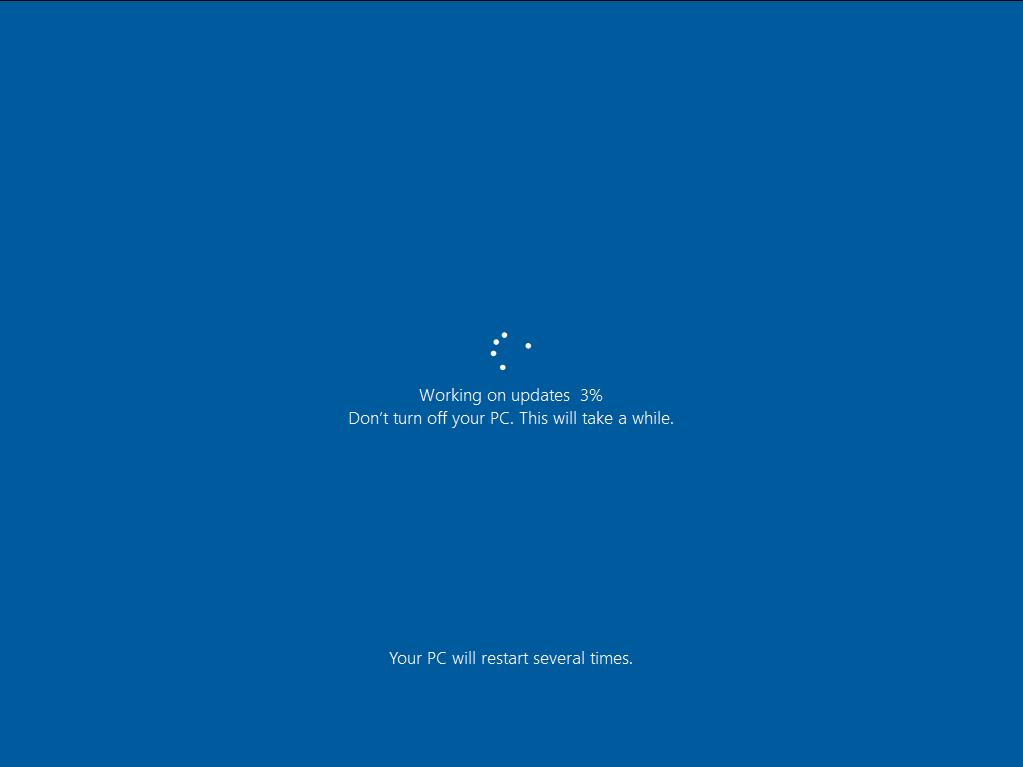
- The assistant will now reboot your PC several times until the update is complete.
![Wait until the update is complete.]()

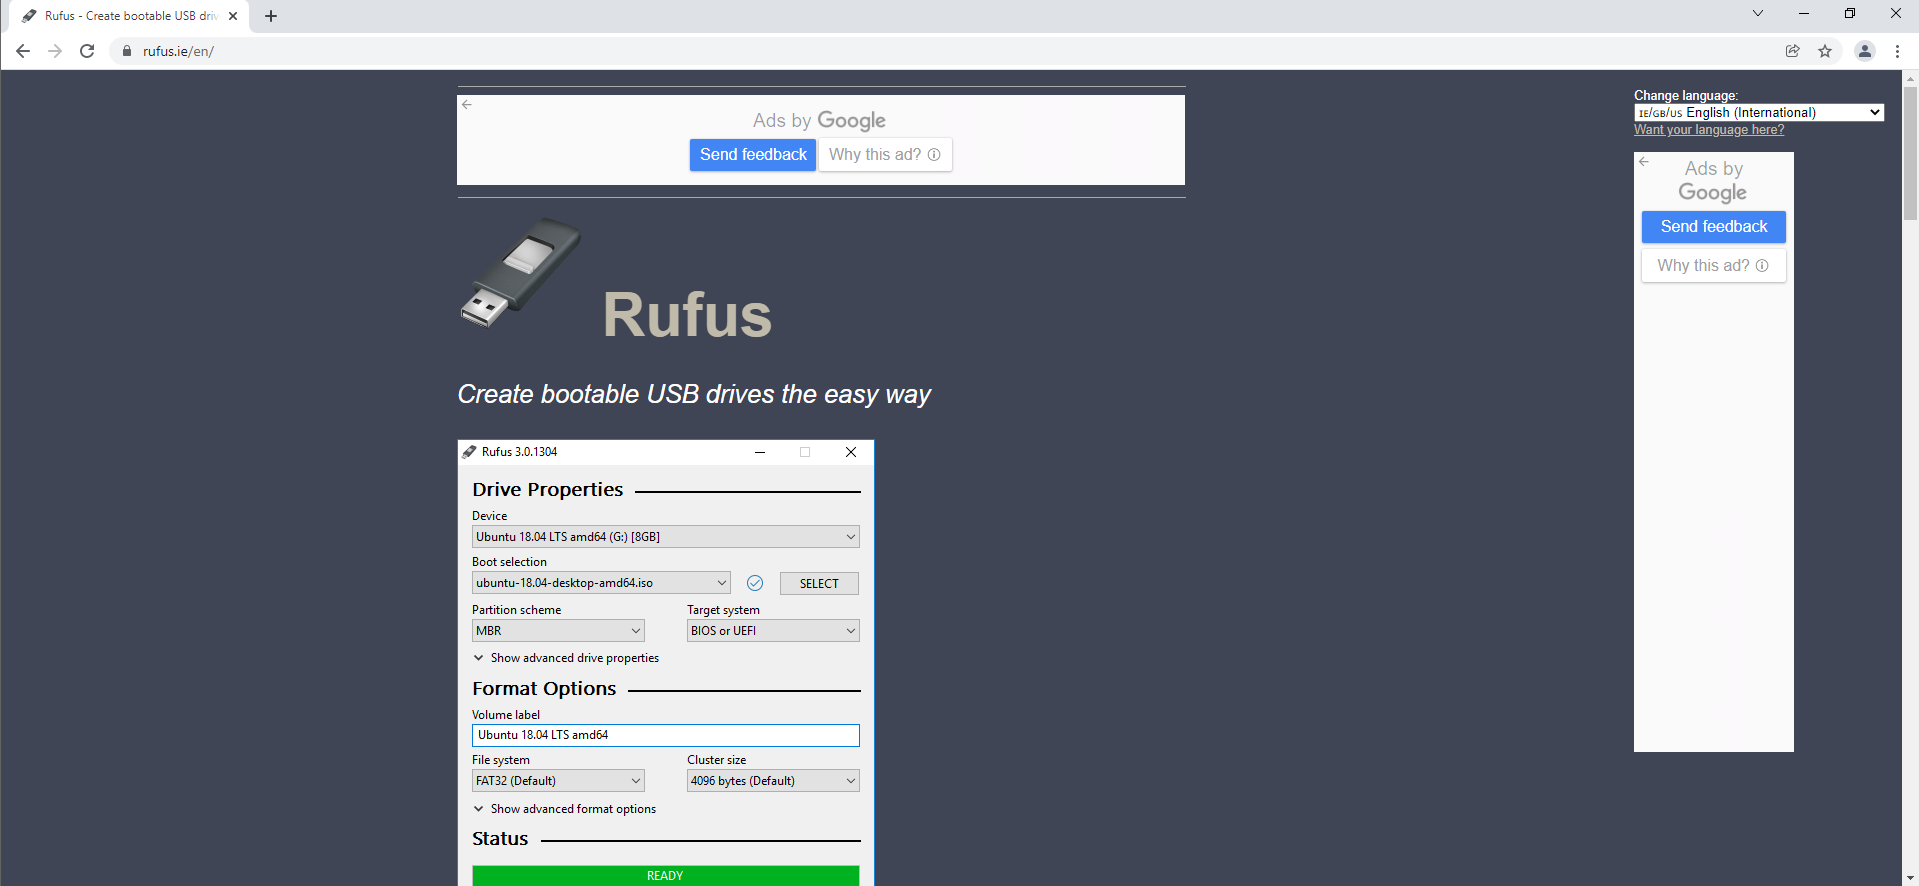
Using Rufus
Rufus is a third-party program that helps you create bootable USBs. In the past, you needed to download a Windows 10 ISO file before running Rufus. Thankfully, you can now download the ISO file and prepare the USB without leaving the tool. Many users went for the program because it cuts through the extra ceremonious procedure of the Media Creation tool and offers a straightforward process.
Before you start, make sure you have a USB flash drive with at least 8GB of free storage.
Now, follow these steps to use the program:
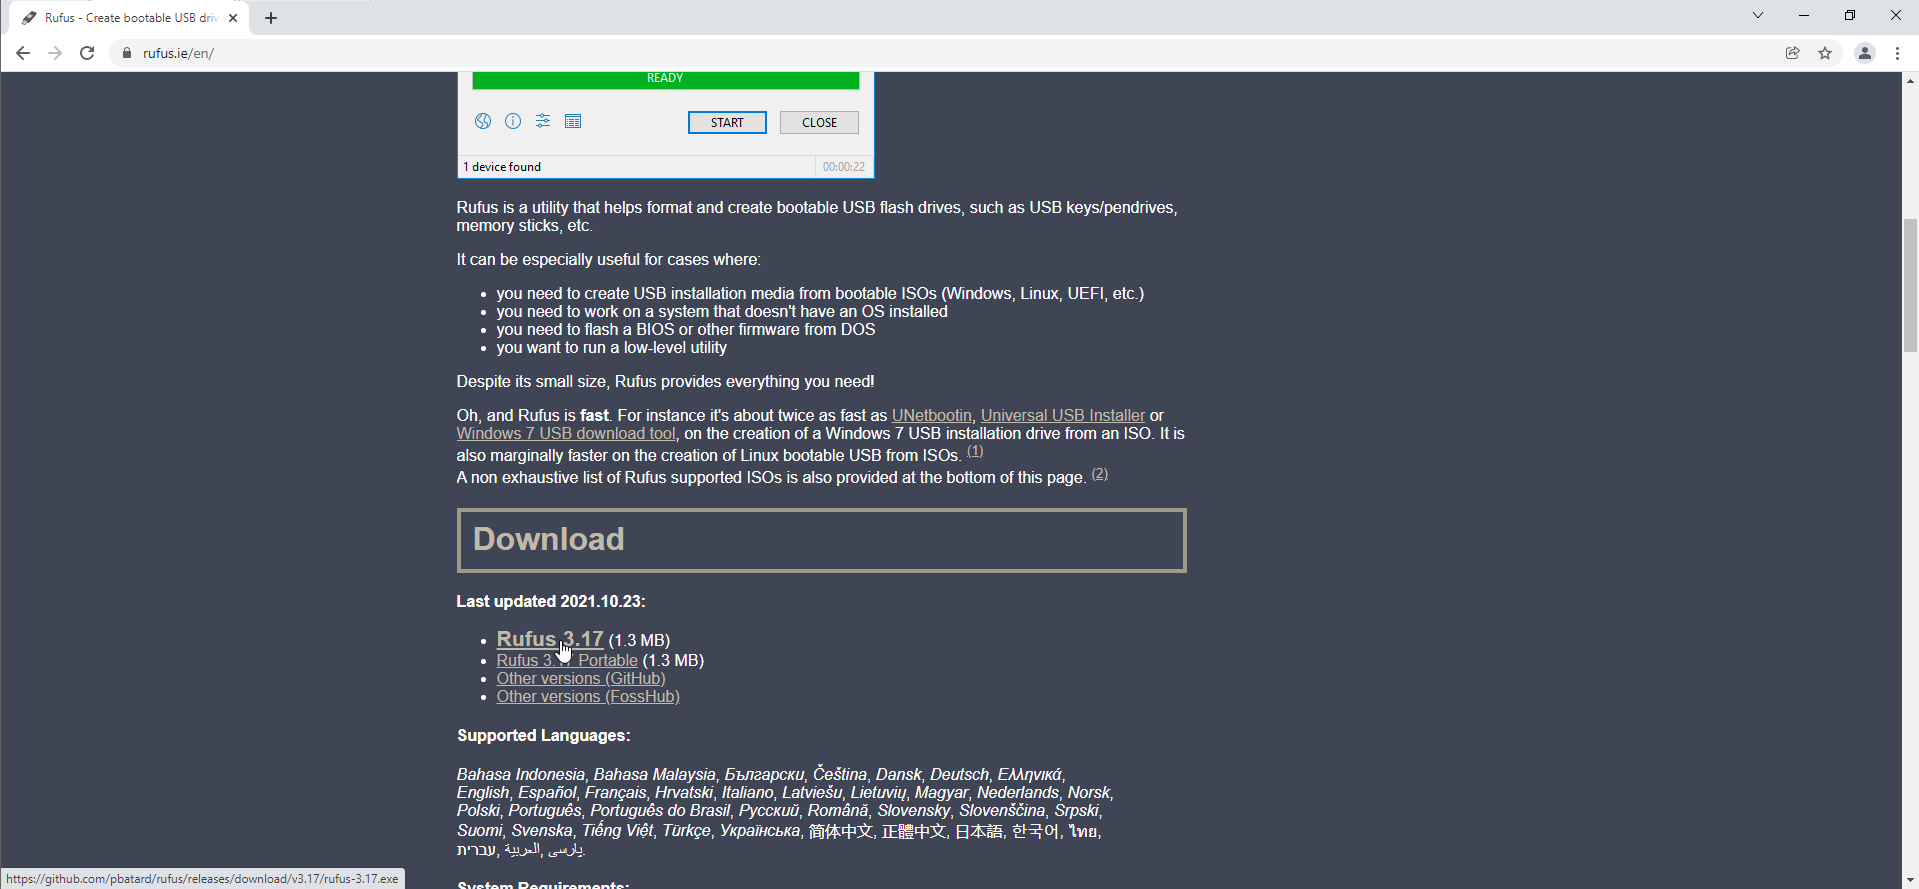
- Go to the Rufus official website.
![Go to the Rufus official website.]()
- Download the latest version of the tool. You can get the portable version, which is just 1.1MB if you don’t want to install the program.
![Download the latest version of Rufus.]()
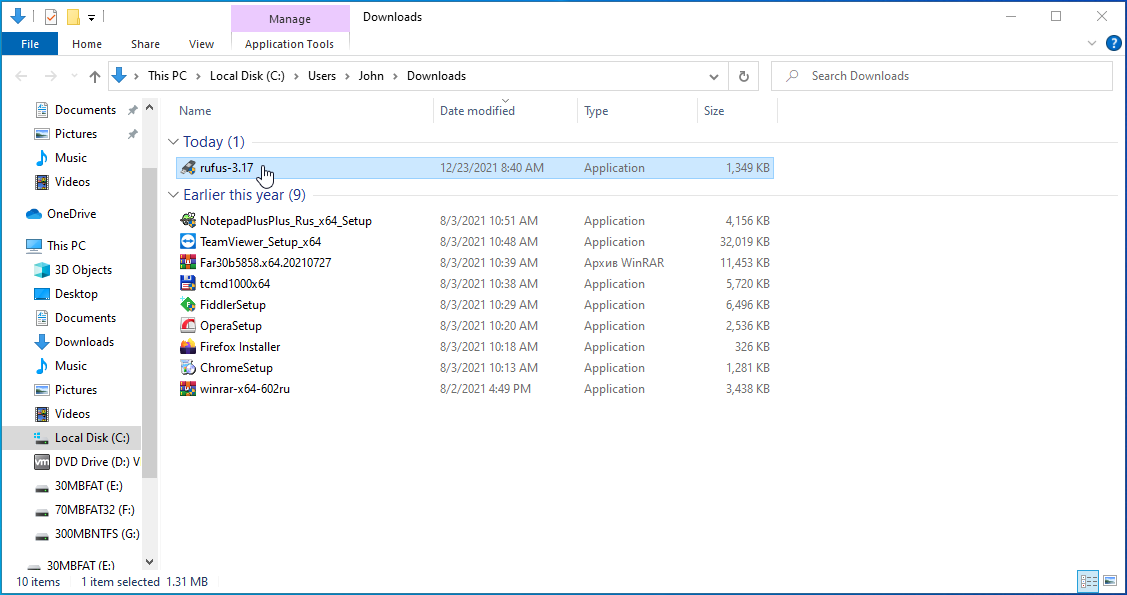
- After your browser downloads the tool, go to your Download folder and double-click it.
![Double-click the app's setup file.]()
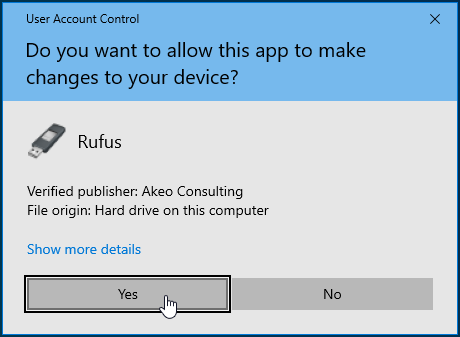
- Click on Yes in the UAC prompt.
![Click on Yes in the UAC prompt.]()
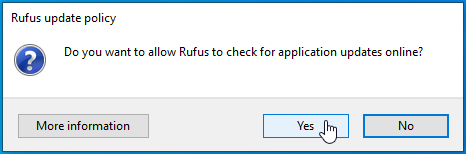
- If a pop-up asking you to allow the program to check for application updates online appears, click on the Yes option.
![Click on the Yes option.]()
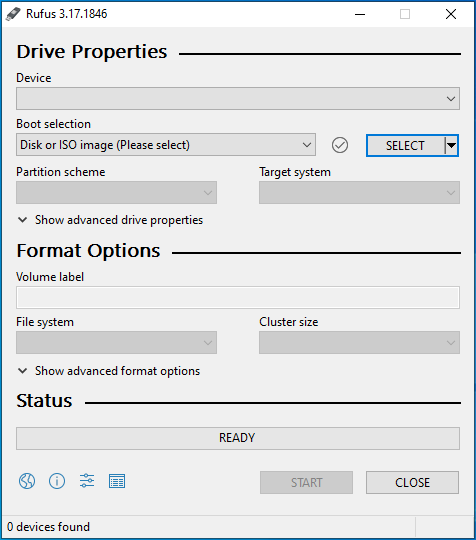
- The tool will now appear.
![You will see the Rufus interface.]()
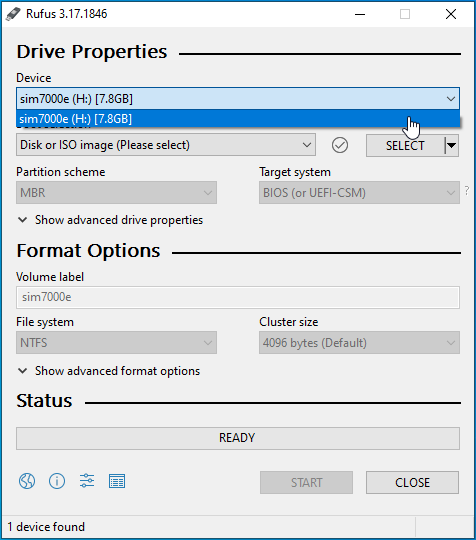
- Go to the Device drop-down menu and select your USB drive.
![Select your USB device.]()
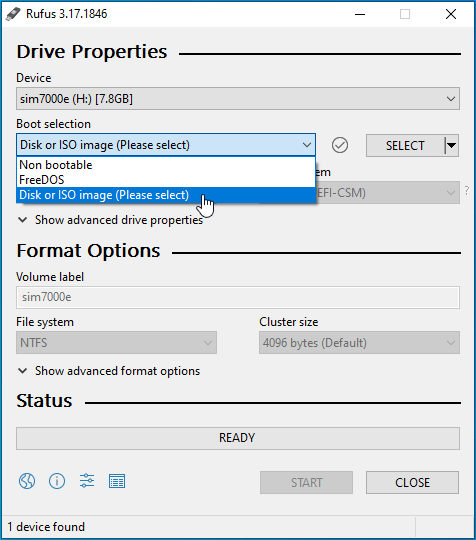
- Go to the Boot Selection section and choose Disk or ISO image.
![Select Disk or ISO image.]()
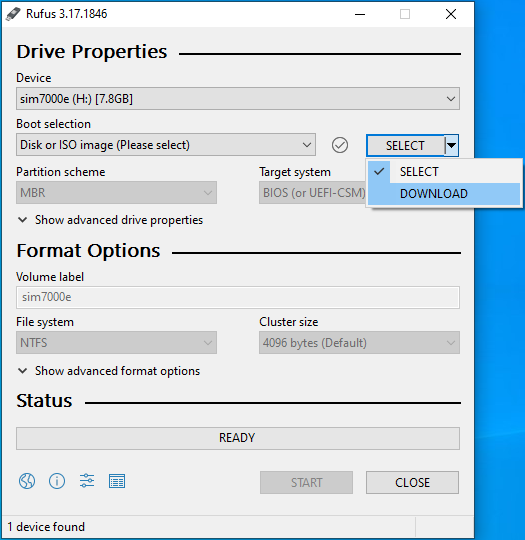
- Go to the second drop-down to the right under Boot Selection and select Download.
![Select Download under Boot selection.]()
- Click on the Download option to allow Rufus to fetch the download script.
![]()
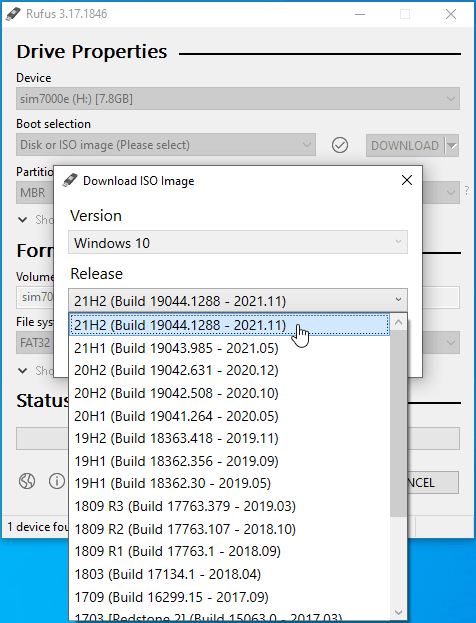
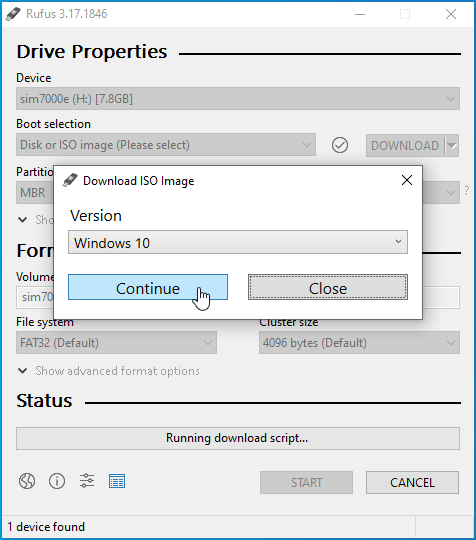
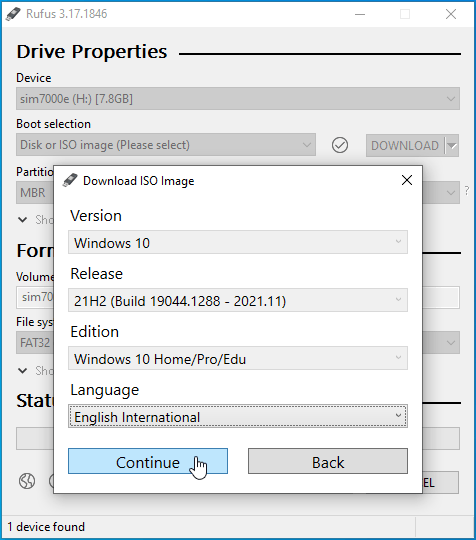
- After the script downloads, a dialog window will pop up. Go to the version drop-down, select Windows 10, and then click on Continue.
![Select Windows 10, and then click on Continue.]()
- A list of Windows 10 versions will now show up. Choose the latest version and click Continue again.
![Choose the latest version.]()
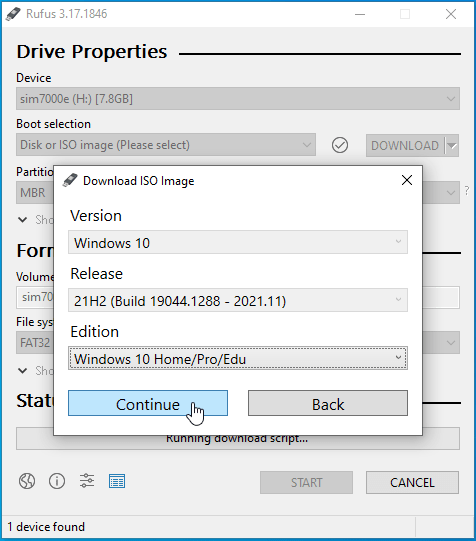
- Next, select your Windows edition (Education, Home, Pro) and click on Continue.
![Select your Windows edition.]()
- Select your language.
![Select your language.]()
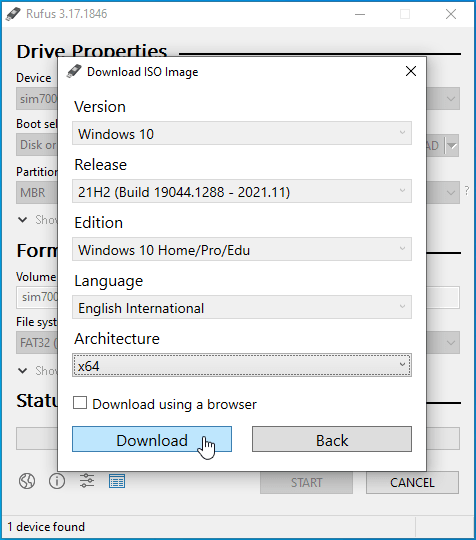
- Choose your system architecture (64-bit or 32-bit).
![Choose your system architecture.]()
- Click on Download.
![Click on the Download button.]()
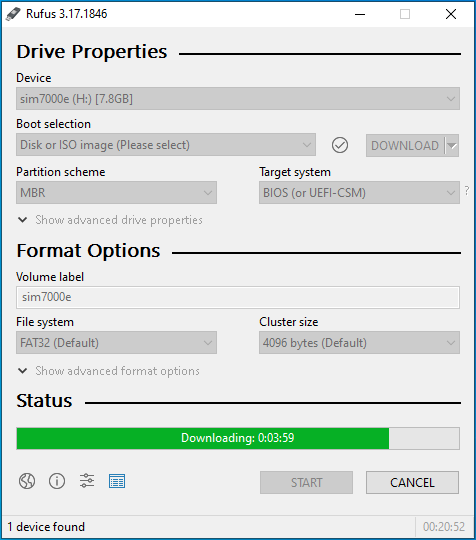
- The program will now start downloading the ISO file. You’ll see the download progress under Status.
![The ISO file is being downloaded.]()
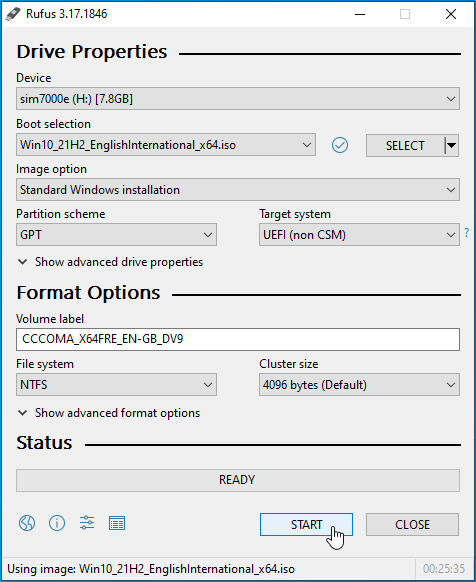
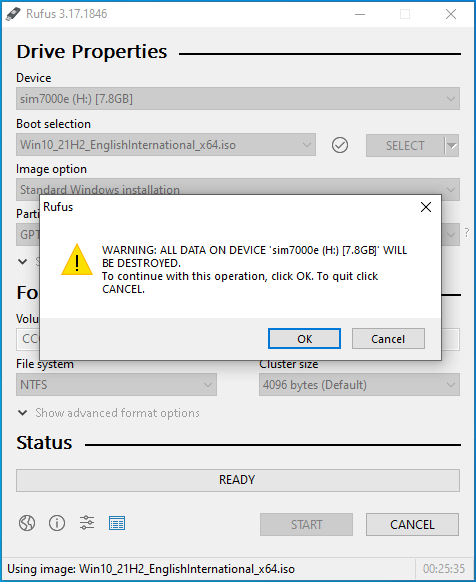
- After the ISO downloads, click on the Start button.
![Click on the Start button.]()
- The tool will now format the USB flash drive and prepare it as a bootable USB.
![Your USB will be formatted.]()

Follow these steps to install Windows via the bootable USB:
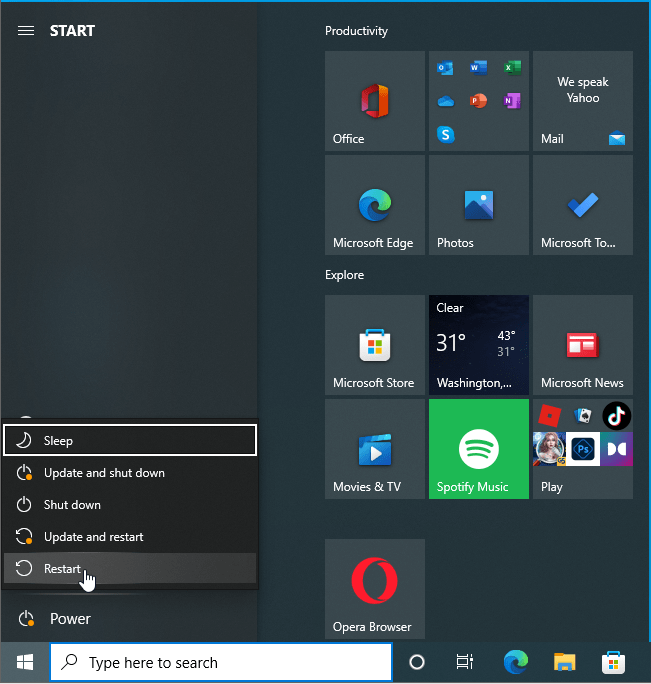
- Open the Start menu, click on the Power icon.
![Click on the Power icon.]()
- Then hold the shift button and click on Restart.
![Click on Restart.]()
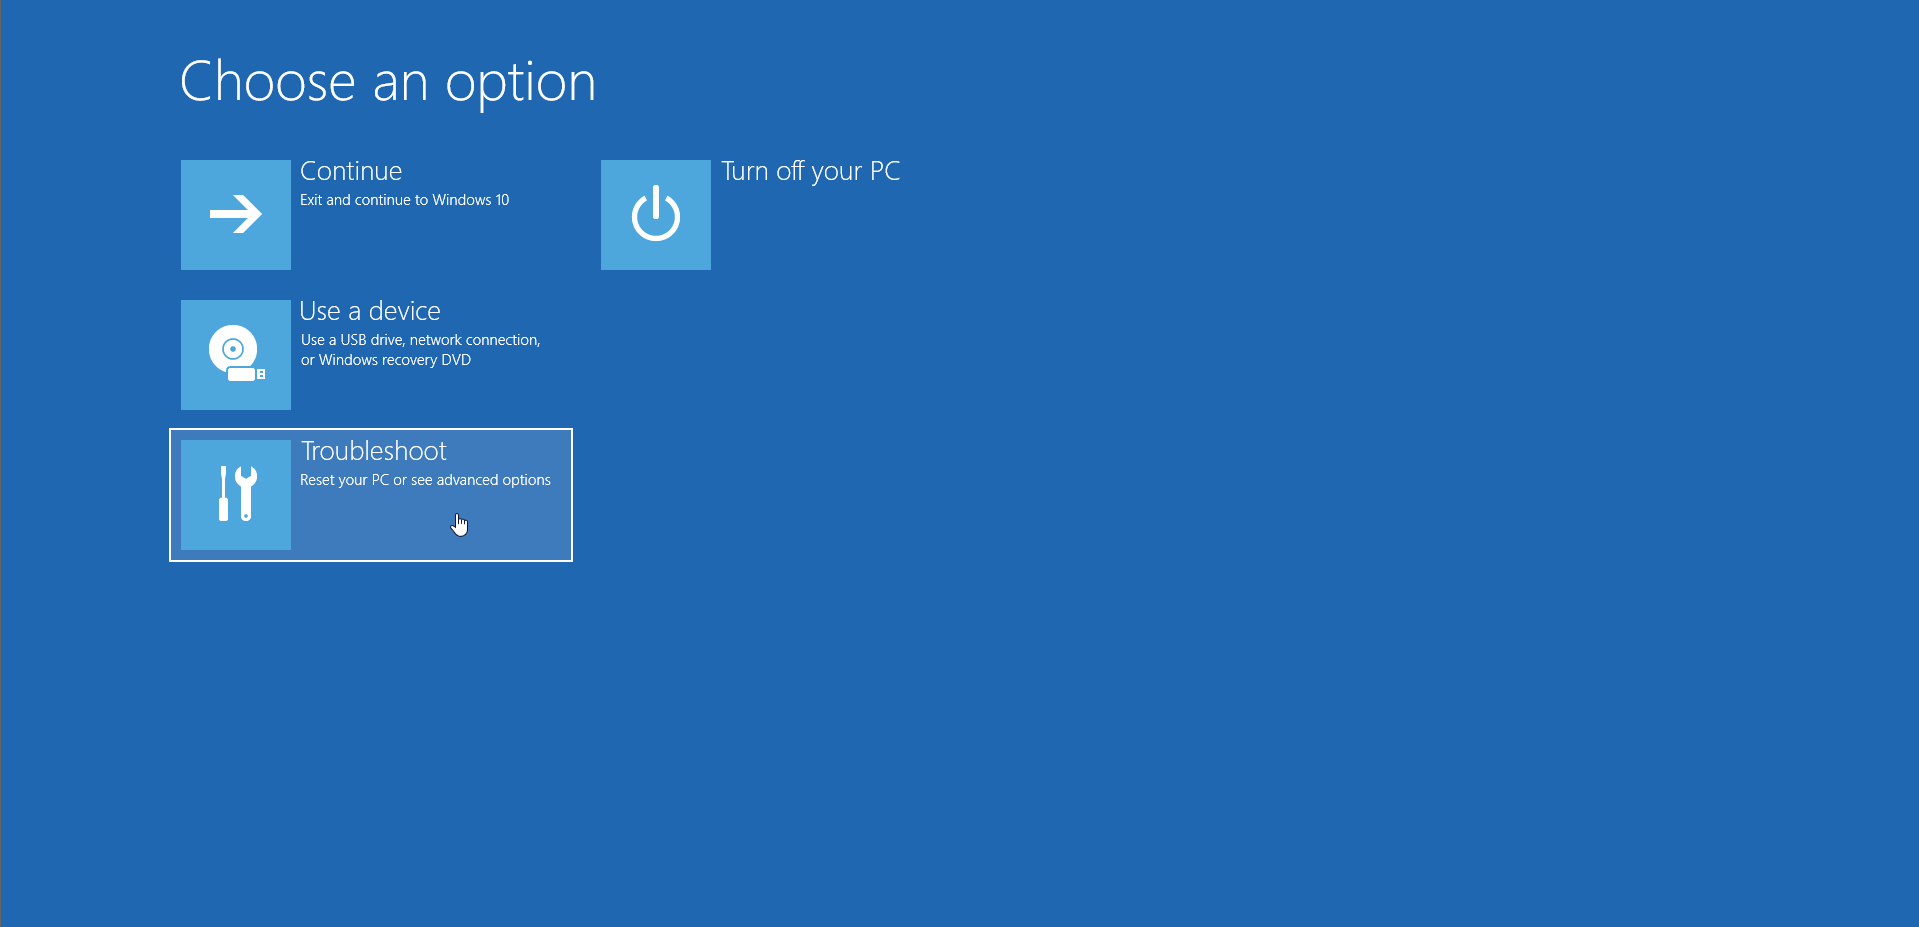
- Under the Choose an Option menu, click on Troubleshoot.
![Click on Troubleshoot.]()
- Select Advanced Options under Troubleshoot.
![Click Advanced Options under Troubleshoot.]()
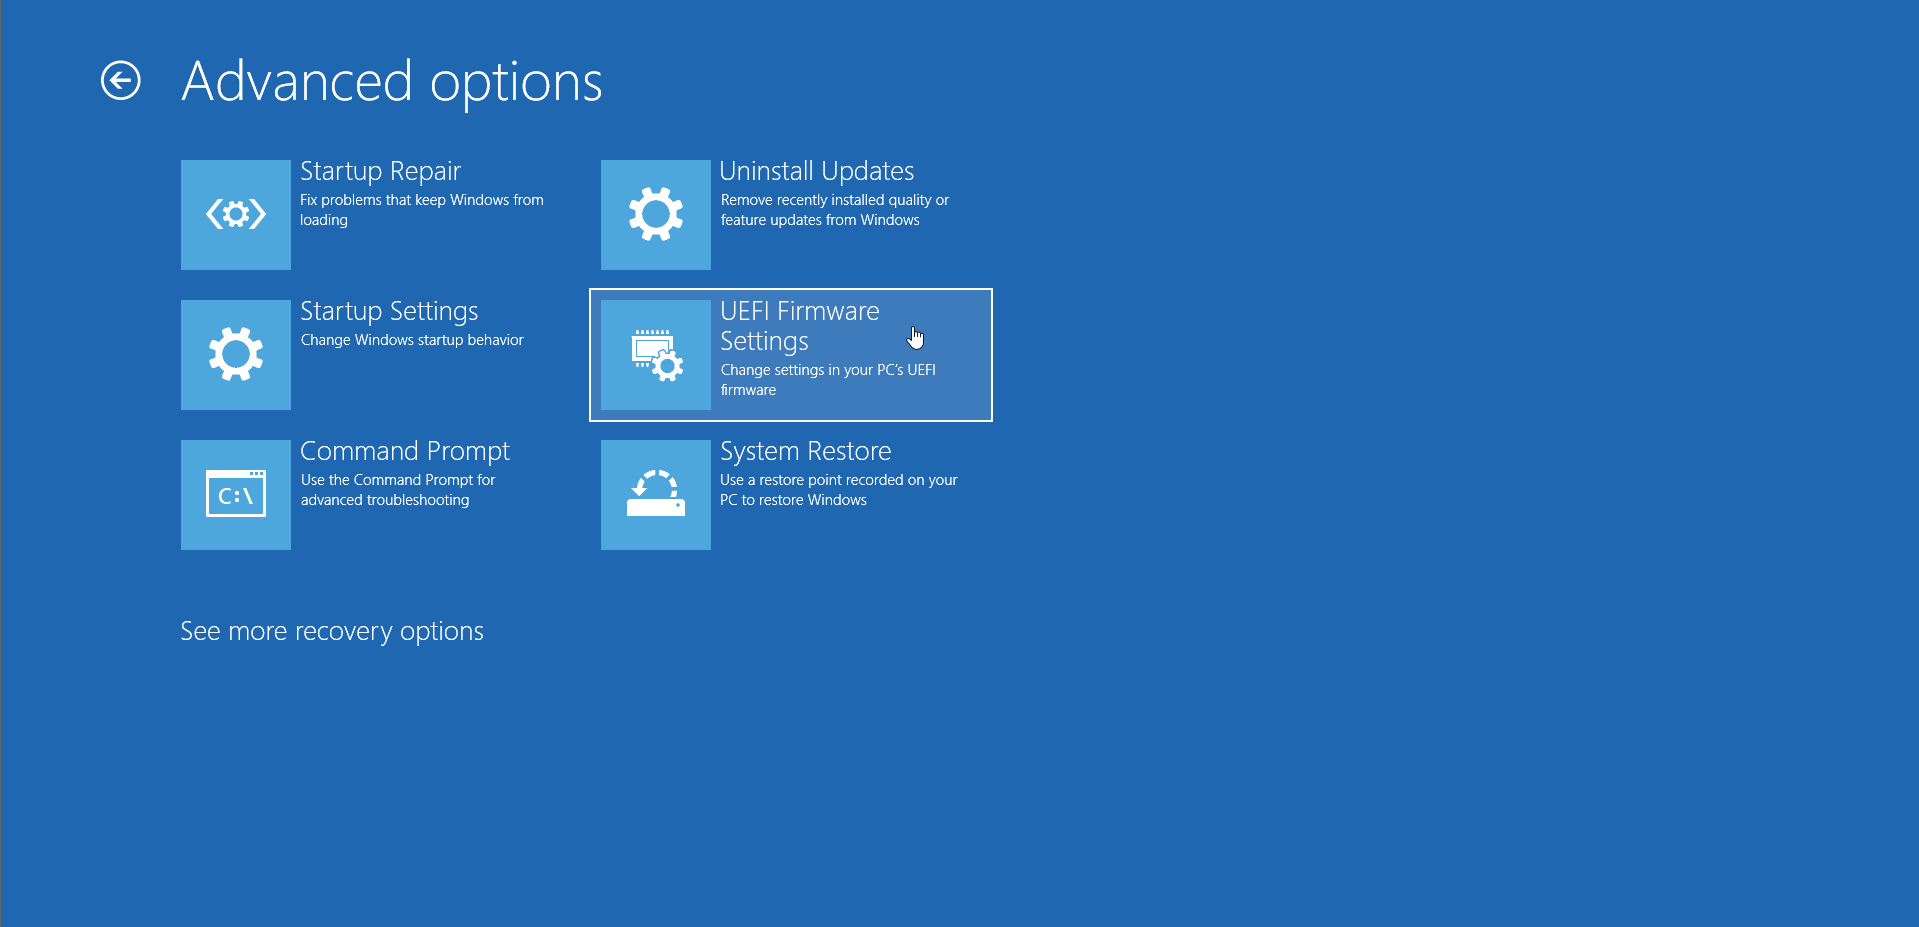
- Once the Advanced Options page opens, click on UEFI Firmware Settings.
![Click on UEFI Firmware Settings.]()
- Your system will now reboot to your BIOS.
![Click Restart.]()
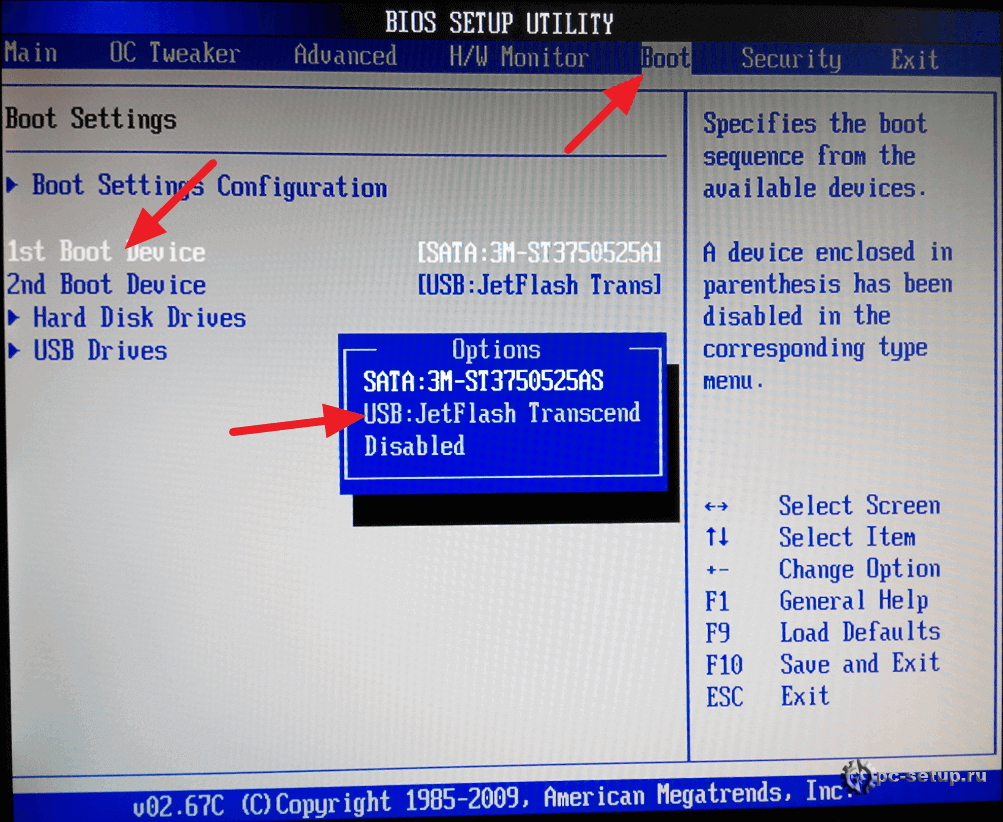
- Go to your boot options in the BIOS settings and select USB as the first boot device in your boot order.
![Select USB as the first boot device in your boot order.]()
- Save your changes and restart your computer (make sure the USB is connected).
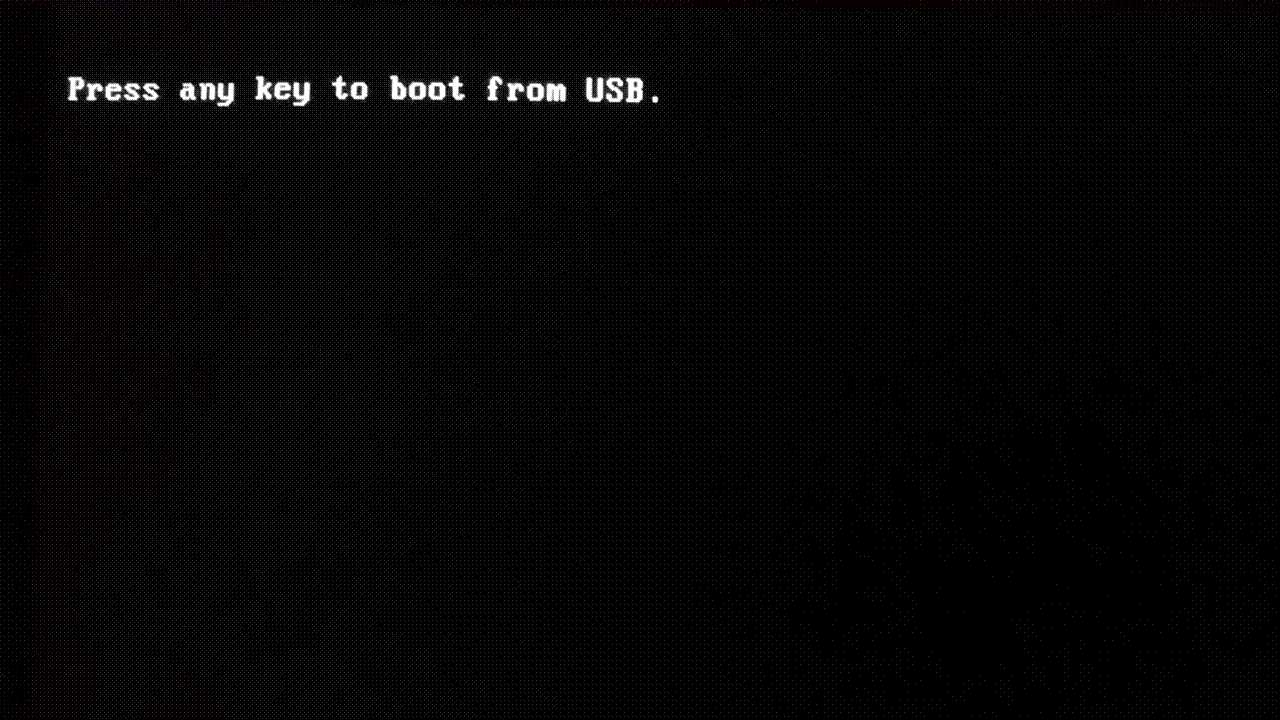
- Once your PC restarts, hit any button once the “Press any key” message appears.
![Press any key.]()
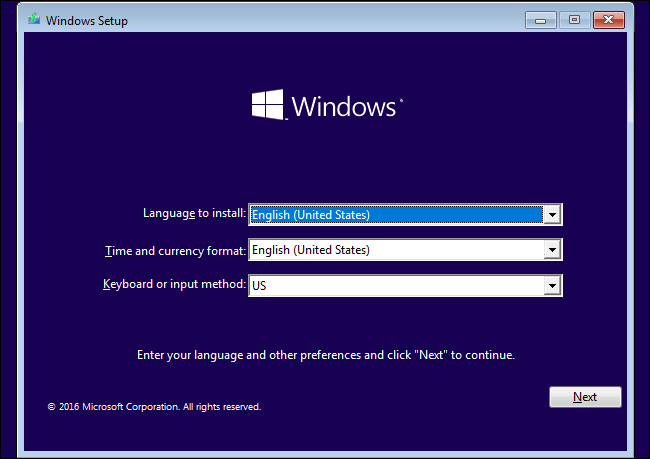
- Choose a language and your keyboard input method once the setup wizard shows up.
![Select a language and your keyboard input method.]()
- Click on Next.
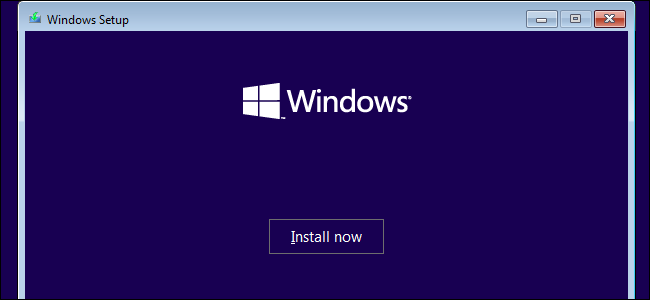
- Click on Install Now.
![Click on Install now.]()
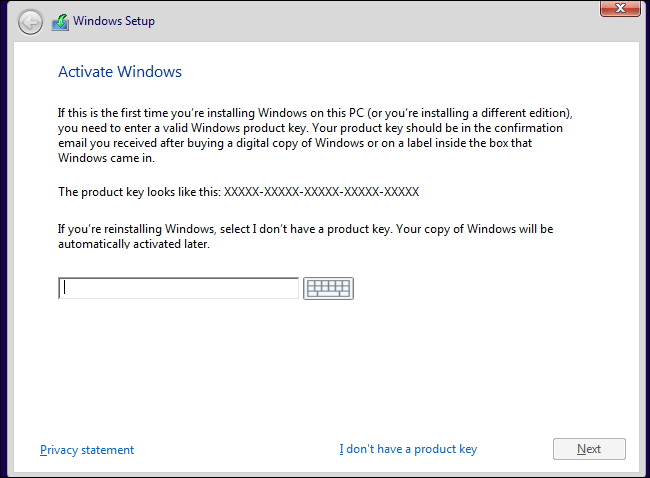
- Enter your license key.
![Enter your license key.]()
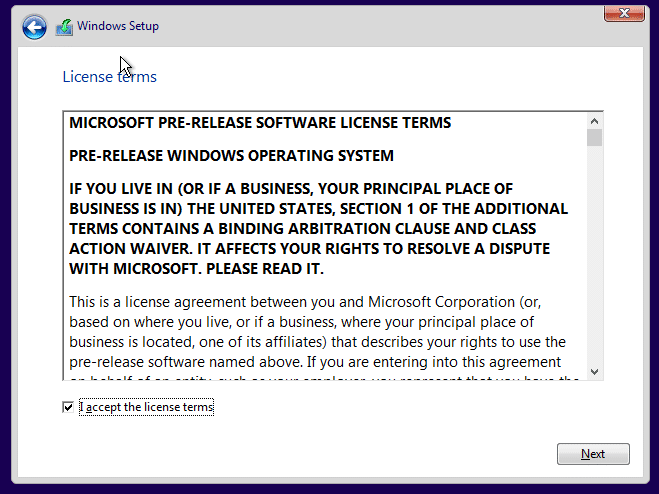
- Accept the license terms on the next page.
![Accept the license terms.]()
- Choose the Clean Install or “Custom” option.
![Choose a type of installation.]()
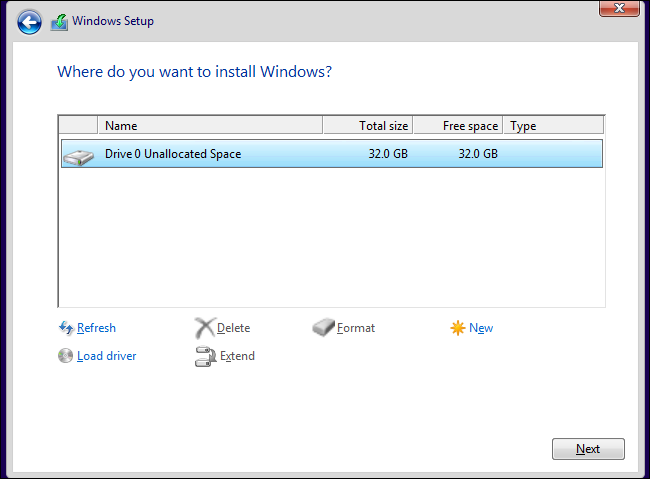
- Select your drive on the next screen and click on Next. You can format your drive or create a new partition before clicking Next.
![Select your drive.]()
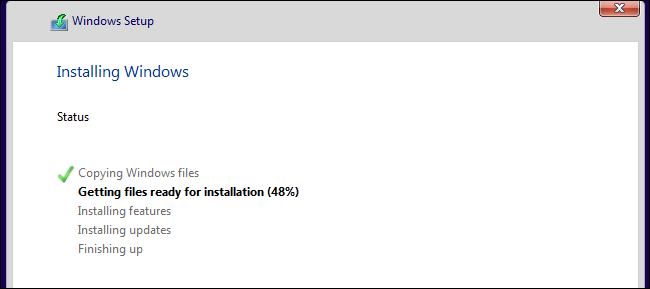
- Wait for the installation to complete.
![Windows is being installed.]()
- After the setup completes the installation, click on the Restart Now button.


That’s it!
Keeping your drivers up to date
You won’t enjoy your system with obsolete device drivers, even if you download and install the latest Windows updates. While the Windows Update utility downloads and installs driver updates, they’re only limited to devices that Microsoft supports.
You’d have to check for outdated drivers and update them yourself if you genuinely want to keep your device drivers up to date. But that’s a difficult task.
Using Auslogics Driver Updater resolves the problem for you. The tool performs routine checks for outdated, missing, and corrupted drivers and automatically updates them. It keeps a copy of previous drivers before installing the update so that you can have backup copies to rollback to whenever the need arises.
Follow these steps to download and use the tool:
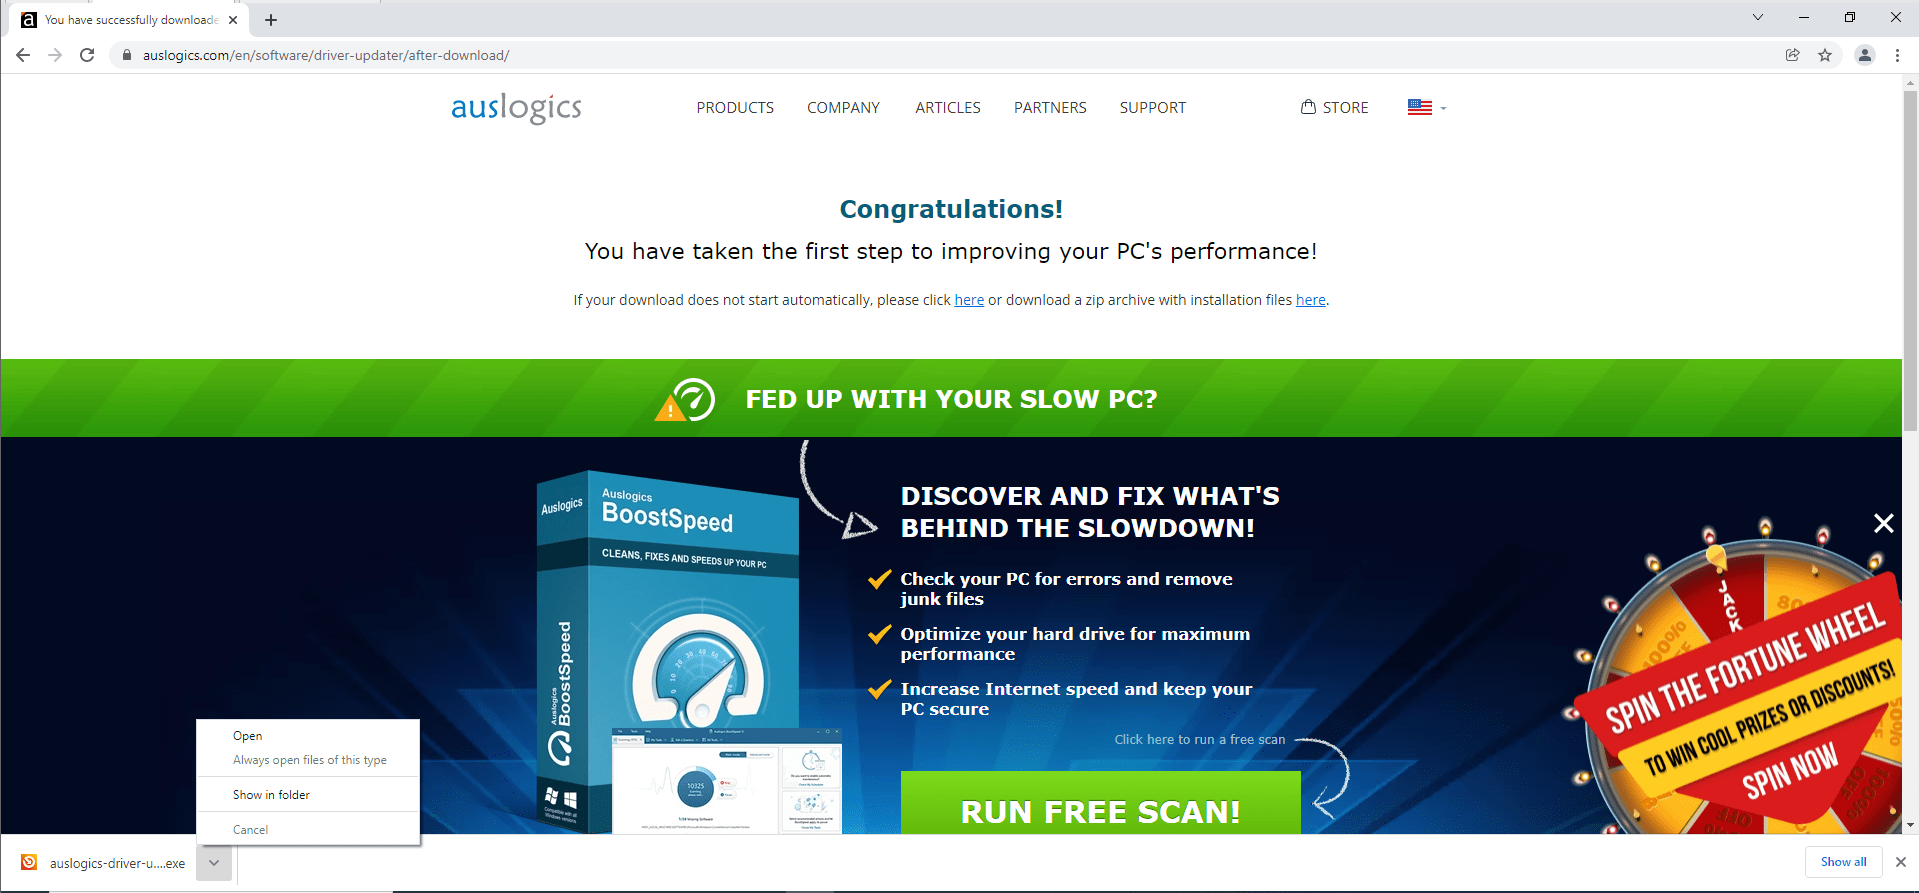
- Download the program’s setup from here.
![Download Auslogics Driver Updater.]()
- Open the setup file.
![Open the setup file.]()
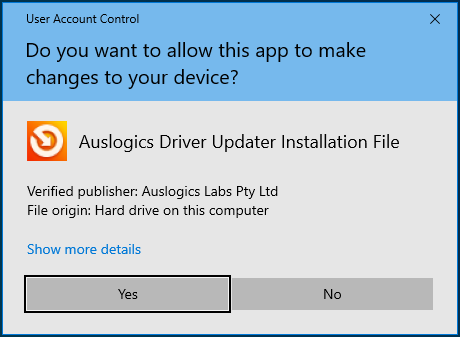
- Select Yes once the User Account Control dialog pops up.
![Click Yes on the UAC prompt.]()
- Select a language and choose a folder where the program will be installed.
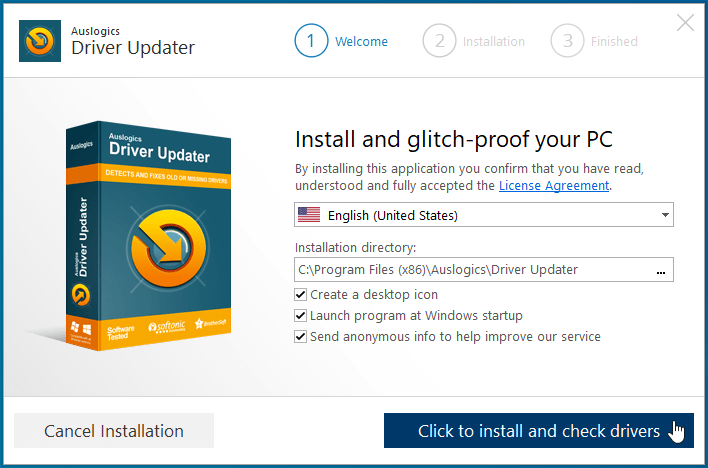
![Select a language and an installation folder.]()
- Use the checkboxes to prompt the setup to create a desktop icon, allow the program to run at startup, and permit the tool to send feedback and crash reports to its developers. Then click “Click to install and check drivers”.
![Click "Click to install and check drivers".]()
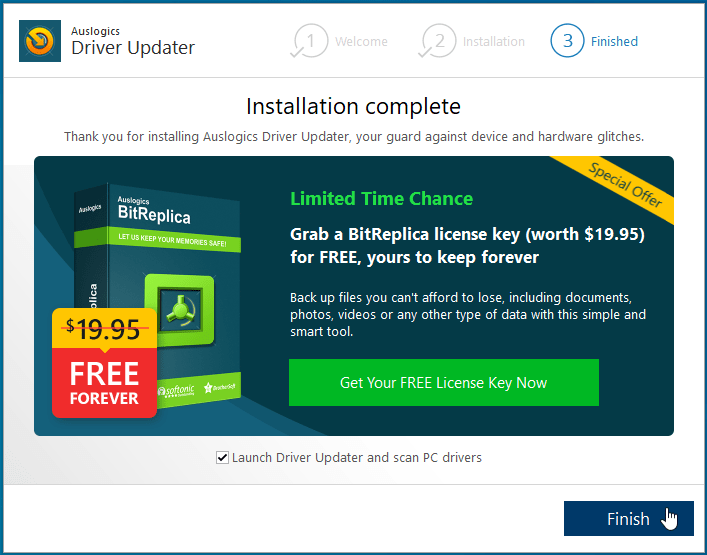
- After that, click on the “Finish” button.
![Click Finish.]()
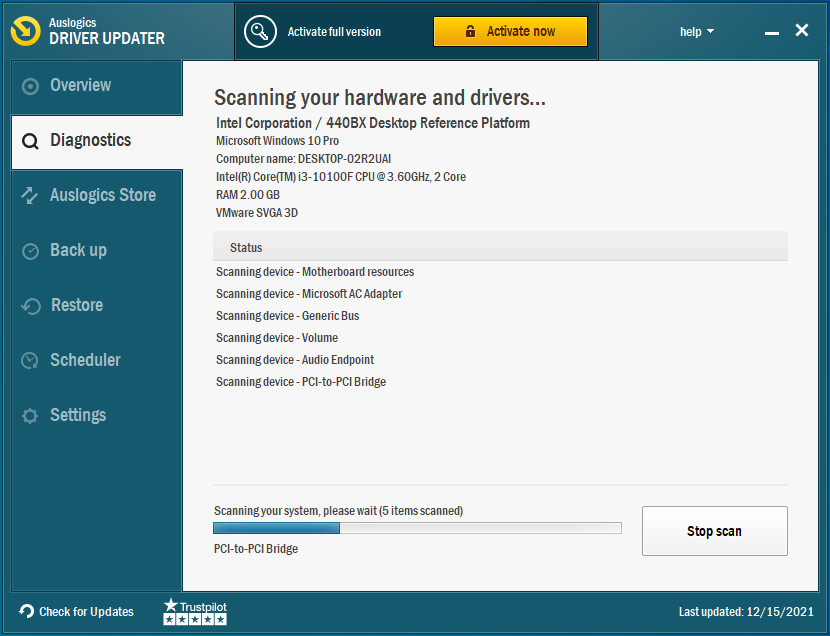
- Once the setup completes the installation, the tool will begin to check your system for problematic drivers.
![Your drivers are being checked.]()
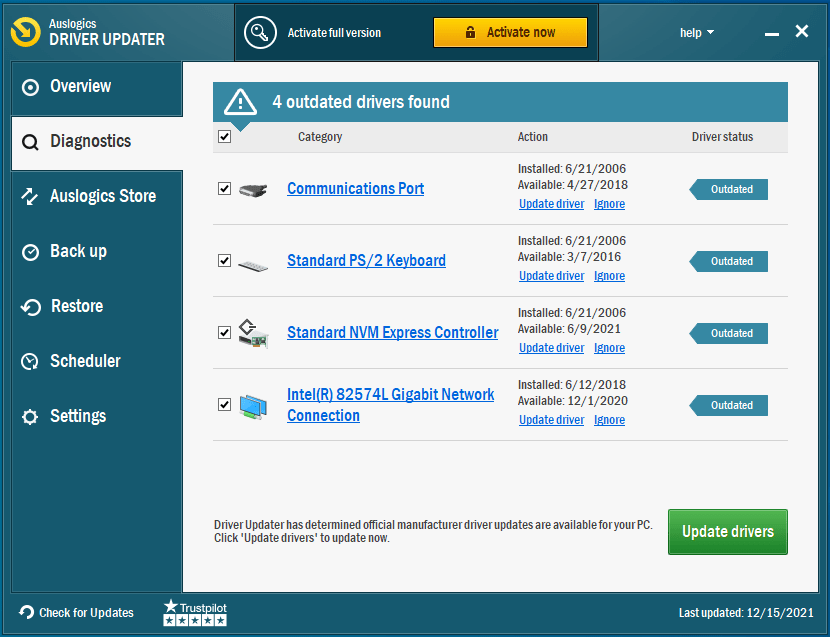
- You’ll see a detailed list of drivers that you need to update.
![You'll see a list of drivers that you need to update.]()
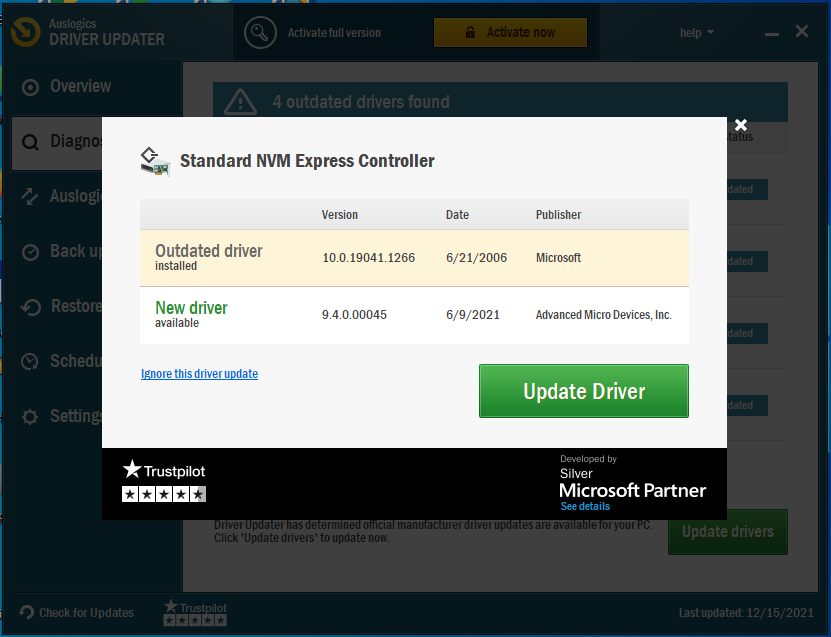
- Click on the Update Driver button for each driver and allow the program to do the rest.
![Click on the Update Driver button.]()
- You can go for the full version if you want to update multiple drivers at once.
![Register for the full version if you want to update multiple drivers at once.]()
- Once the tool updates the driver, reboot your system.


Conclusion
Keeping your system up to date remains the best way to enjoy improved security and smooth performance. If you have any questions, head over to the comments section below and chat with us!


 Done! Great to see you among our subscribers!