
It can be frustrating when you’re trying to get your work done, but your computer is not cooperating with you. You would notice that transferring from one app to another takes longer than usual and everything in your PC is just generally slow. Of course, it is only natural for you to get curious and investigate what’s causing this problem. Perhaps, you even get to the point where you’d check all the running processes in Task Manager.
You’d see some programs that you’re currently using. As you dig deeper, you’d find some unfamiliar processes taking up a significant amount of your CPU and disk resources. So, what is wsappx and how to fix its high disk usage issue? Well, you’d be glad you found this article because we’ve got all the answers for you.
What is wsappx and how to fix its high disk usage issue
There are two separate services running behind wsappx. Windows 8 and Windows 10 have the wsappx process, which includes the AppX Deployment Service (AppXSVC). If you’re using Windows 8, what you’ll see is the Windows Store Service (WSService). On the other hand, if you’re using Windows 10, you will see the Client License Service (ClipSVC).
You can see both or one of these services by expanding the contents of the wsappx process. These services are crucial for running certain tasks, including installing, updating, and removing Store apps. They are also responsible for ensuring that the programs in your computer are licensed accordingly.
AppX Deployment Service (AppXSVC) Explained
The role of AppXSVC is to launch Store apps. It is worth noting that Universal Windows Platform apps are distributed in AppX packages. This is also the reason why AppXSVC is named that way.
To put it another way, this process is essential for updating, installing, and uninstalling Store apps. It is responsible for enabling Windows to automatically update Store apps in the background. A lot of Windows apps, including Paint 3D and Mail, need this process.
It is worth mentioning that traditional desktop apps on Windows also use CPU and disk resources when you add, uninstall, or update them. The only difference with Store apps is that AppXSVC is controlling these tasks instead of the specific program’s installer.
You might wonder why this process is running even when you’re not installing anything. Well, that’s because it is updating your Store apps in the background. You will also notice that it is using a big chunk of your CPU and disk resources in the process. So, it is completely understandable why you would want to learn how to disable appxsvc on Windows 10. However, you just might reconsider doing that once you look deeper into the process.
Client License Service (ClipSVC) Explained
If you’re using Windows 10, you will see the ClipSVC background service handling ‘infrastructure support’ for the Store. Microsoft mentioned that disabling this service will prevent your Store-bought apps from behaving properly. Moreover, it is responsible for managing licenses, ensuring that you’re only using legitimate apps from the Store.
Windows Store Service (WSService) Explained
For Windows 8, the WSService background service is crucial in handling ‘infrastructure support’ for the Store. Essentially, ClipSVC and this service have identical descriptions on the Services interface. The WSService process basically does the same tasks as ClipSVC, but you won’t see it on Windows 10.
Why is wsappx using so much CPU and disk resources?
You will only notice wsappx taking up a significant amount of CPU resources when your computer is installing, uninstalling, or updating Store apps. Perhaps, you’ve decided to add or remove an app, or the Store might be automatically updating the programs on your system.
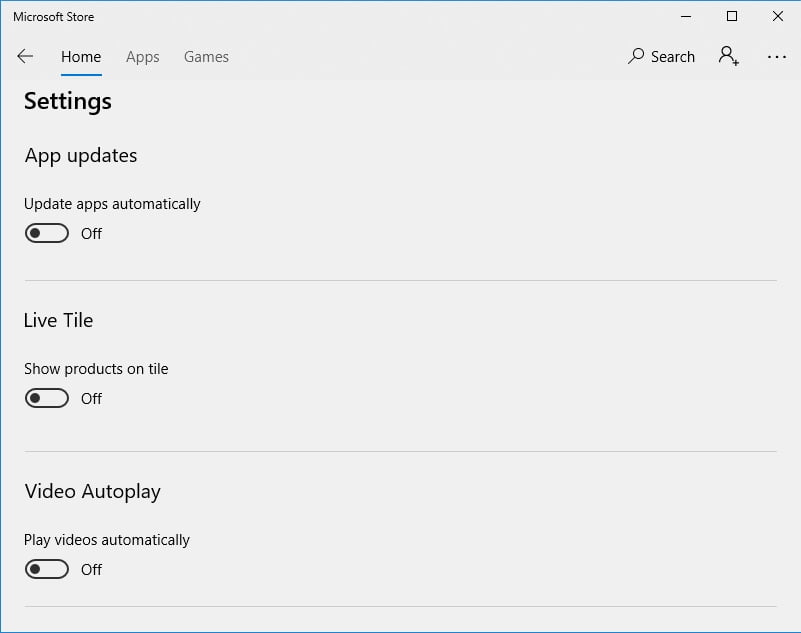
If you’re not using the free apps that came with your Windows installation, you can set the Store not to automatically update them. To do that, you just have to follow the instructions below:
- Launch the Store.
- Go to the top right corner of the window and click your user icon.
- Choose Settings.
- Toggle the ‘Update apps automatically’ to the Off position.
If you want to update your apps, you can go back to the Store. Click your user icon and choose Downloads and Updates. You will be able to see any available updates for your apps. At this point, you will have the freedom to choose which to install.
By choosing this option, you can prevent the wsappx service from running in the background for all Store-bought apps. Keep in mind that even when you manually update your apps, you will still use system resources like RAM and CPU. However, this option gives you more freedom on choosing when they should be used.
If you are frequently using Mail, Movies & TV, OneNote, Photos, and Calculator, we do not recommend disabling the automatic update feature. It is worth noting that Microsoft often updates these apps.
Can I disable wsappx?
Unfortunately, you cannot disable the wsappx service and its subservices (ClipSVC and AppXSVC). All you can do is prevent them from automatically running in the background. Moreover, they run when they are needed. For instance, if you launch a Store app like Paint 3D, you will see ClipSVC running in Task Manager. If you try killing the wsappx process, you will see a warning from Windows, telling you that your system will shut down or become unusable.
Moreover, it wouldn’t be advisable to prevent these processes from running. After all, they are a critical component of your system. If you want to ensure that your Store apps are running smoothly, you would leave them to do their business.
Is wsappx a virus?
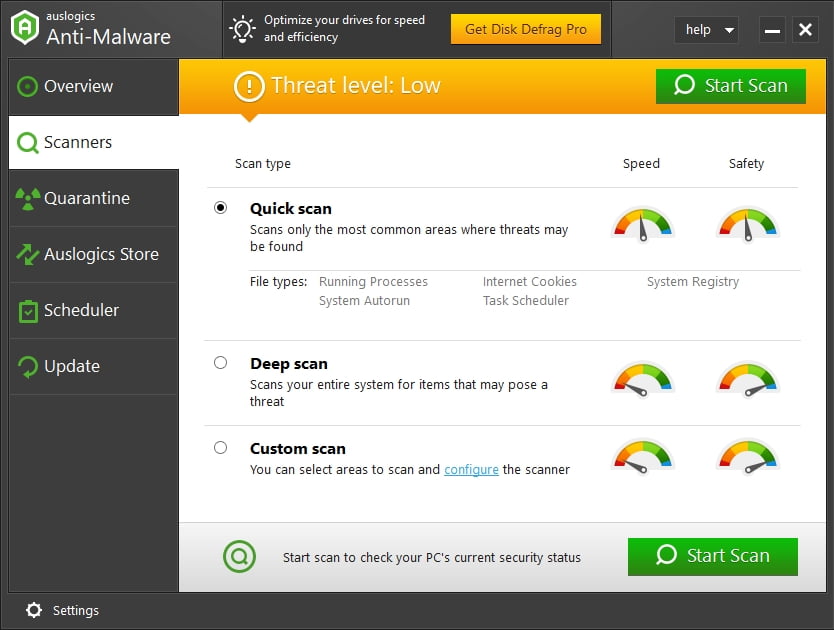
As we’ve mentioned, the wsappx service is an integral part of Windows 10. As of this writing, there have been no reports indicating that wsappx, AppXSVC, ClipSVC, or WSService processes have been used to disguise malware. Even if you launch Auslogics Anti-Malware, the tool wouldn’t identify it as a virus. On the other hand, if you are concerned about the security of your PC, it is always a great idea to run a full scan of your system. If you want a comprehensive protection against common and hard-to-spot threats and attacks, we recommend using Auslogics Anti-Malware.
Did you find anything helpful in this article?
We’d love to hear your thoughts in the comments below!


 Done! Great to see you among our subscribers!