
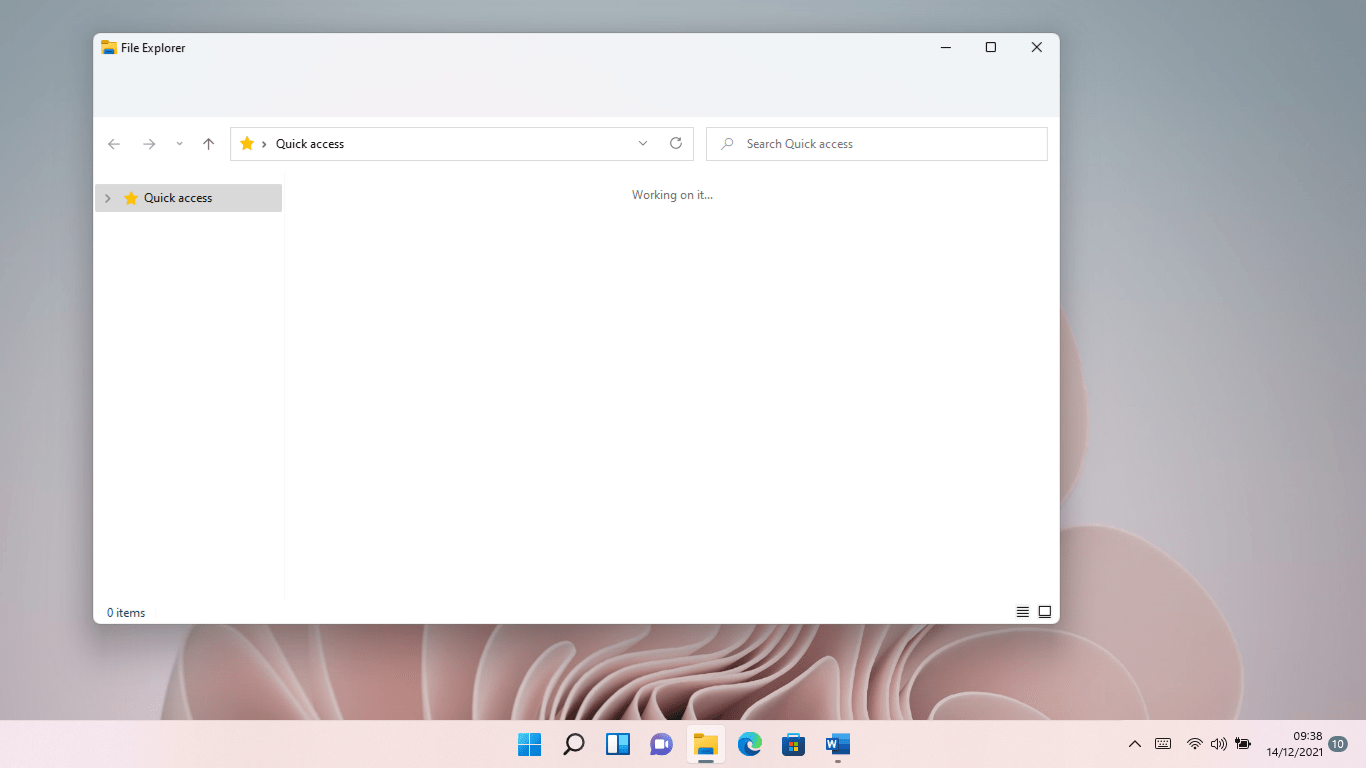
File Explorer issues are among the worst nightmares for any Windows user. That’s because you’ll be losing precious time since you won’t be able to access the files you need to get things done in time.
Some users have reported that Windows 11’s File Explorer lags whenever they launch it, preventing them from accessing files. Even users who run the OS on high-end systems have complained about the problem.
In this article, you’ll find different ways to fix Windows 11’s File Explorer lagging issues.
Why Is Windows 11’s File Explorer Lagging?
Since Windows 11 is Microsoft’s newest operating system, bugs and glitches here and there are expected. After all, the company is still rolling out essential updates to fine-tune the OS, release promised features, and fix issues.
That said, other underlying problems could be at play. They include temporary files, a badly fragmented hard disk drive, malware, and the new File Explorer ribbon menu.
Thankfully, the solutions in this article have proven effective in getting rid of the problem.
How to Fix “File Explorer Is Slow or Stuck” in Windows 11
Now, follow the methods below one after the other to get your File Explorer working as it should.
Update Windows
Updating your Windows 11 operating system is critical. Since the OS is still in its infancy, Microsoft will continue to roll out updates and hotfixes to rectify specific issues. The File Explorer lagging issue could be one of those problems the company has registered as a bug and fixed in a released update.
So, head over to the Windows Update client to do the needful. If you need a guide, we’ve got you covered. Follow these steps:
- Go to the Start menu and click on the Settings icon.
- Click on Windows Update in the top-right corner of the Settings window.
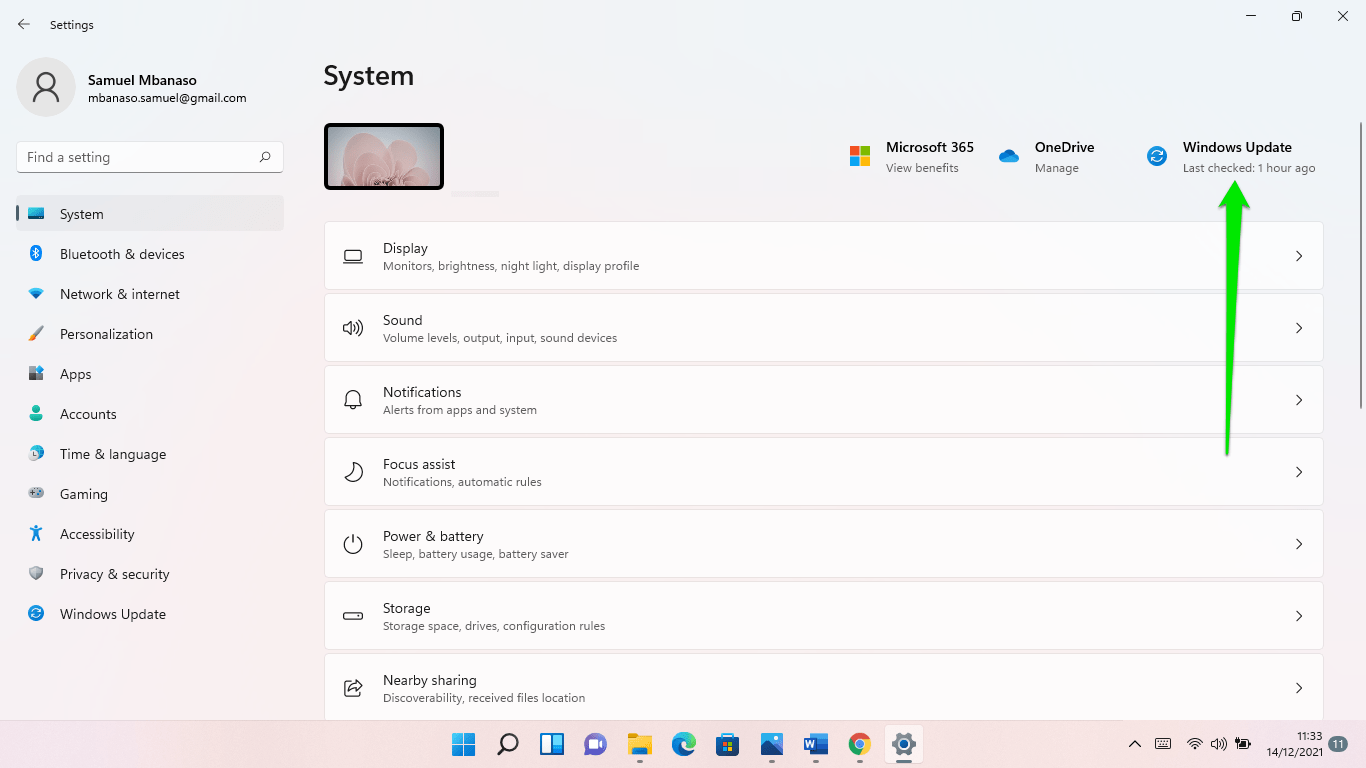
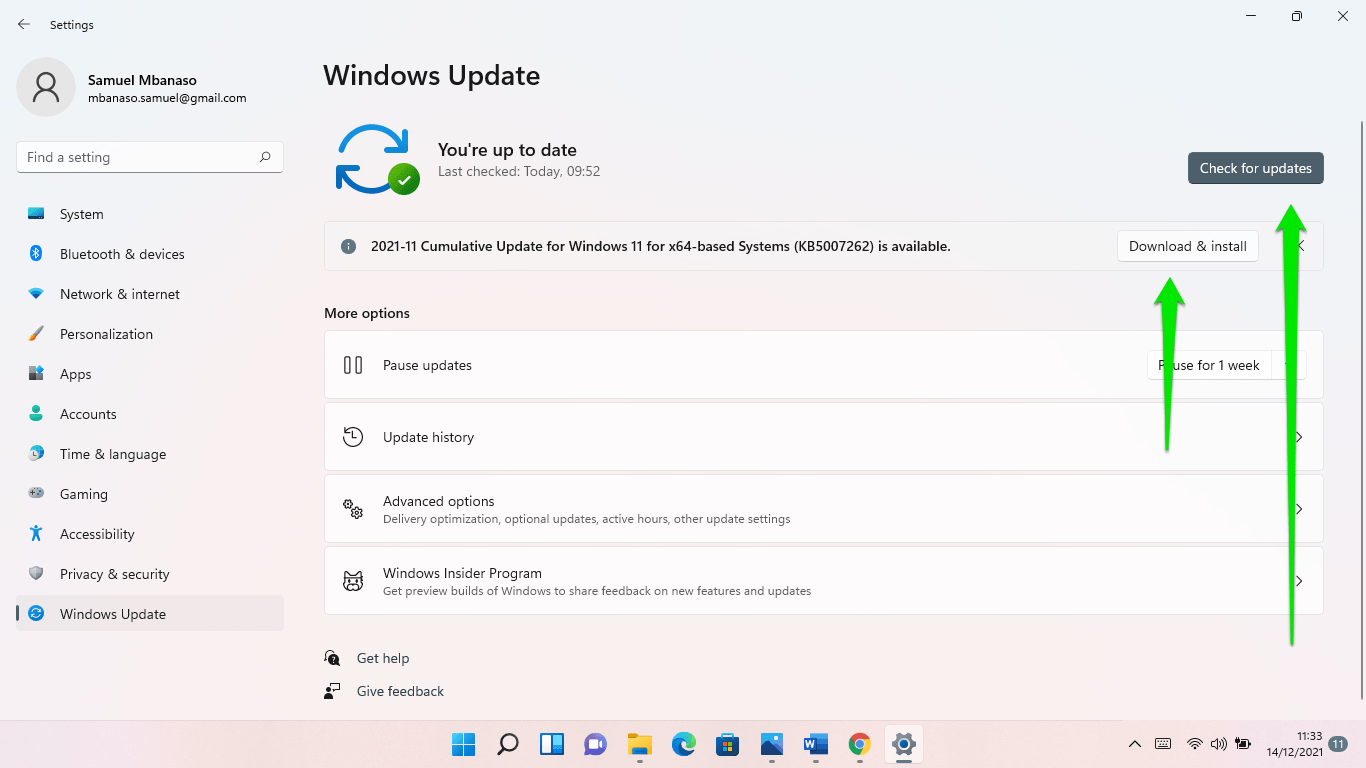
- When the Windows Update interface appears, click on the Check for Updates button.
- After the client finds and downloads available updates, allow it to restart your computer and complete the installation. Note that you might have to click on Download & Install if an optional cumulative update is available. While this is likely a feature update, it could resolve the File Explorer issue.
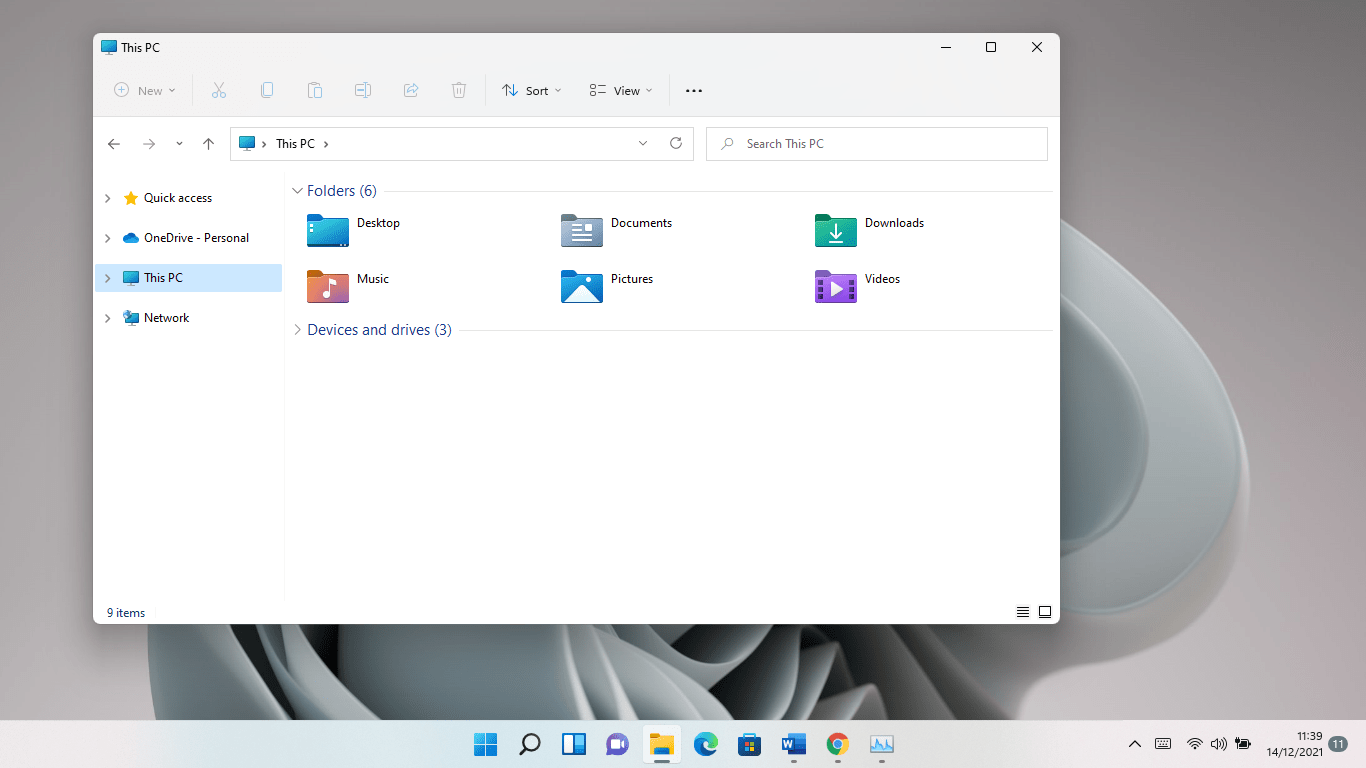
Restart File Explorer
For many, restarting File Explorer resolved the issue for good. Sometimes, the entire Windows UI gets stuck for some reason, and restarting File Explorer through the Task Manager solves the problem. Here’s what you should do:
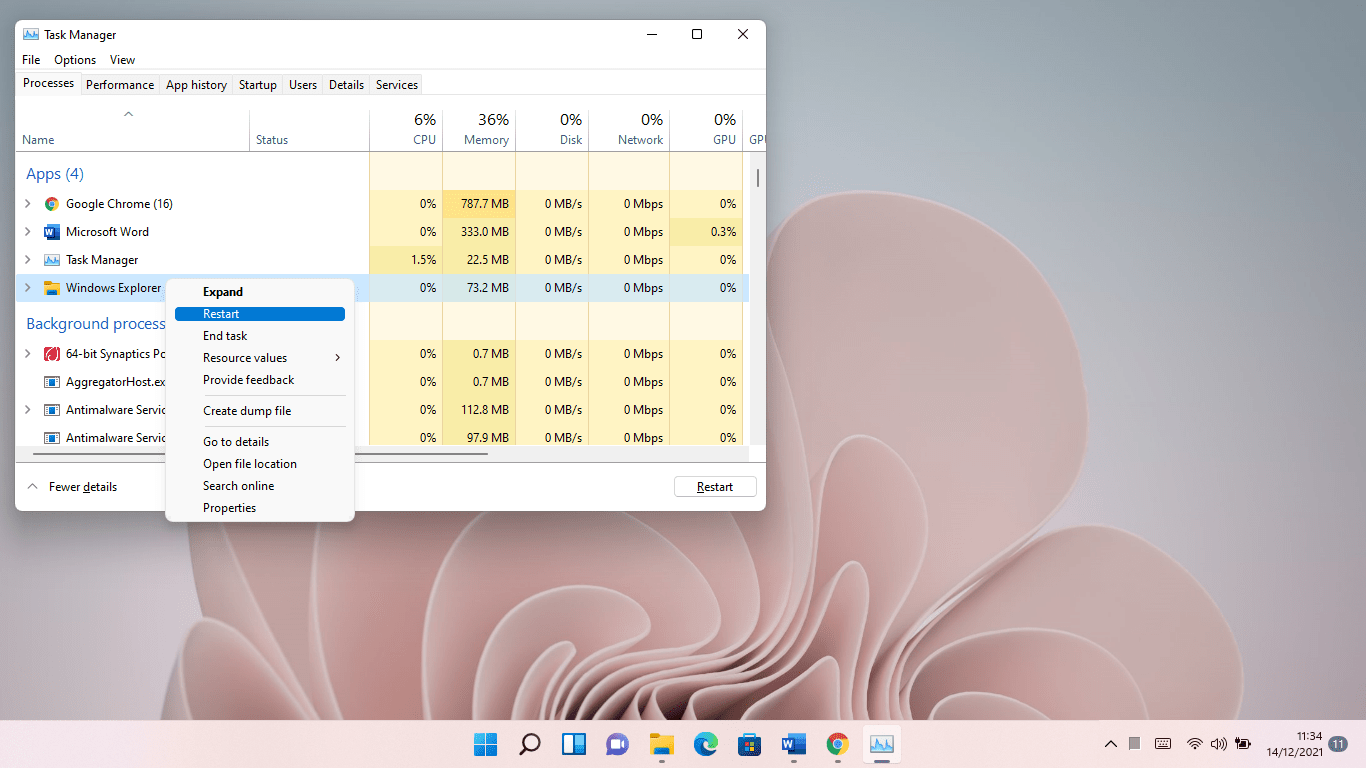
- Tap the Ctrl + Shift + Esc keyboard combo to launch the Task Manager. You could also right-click the Taskbar or Start button and click on Task Manager.
- Once the Task Manager opens, click on More Info if you can’t see its tabs.
- Now, right-click the Windows Explorer entry under the Processes tab and click on Restart.
Clean Up Junk Files
Many system and third-party applications create temporary files they only use for a while. For example, the Windows Update client saves update files to the SoftwareDistribution folder, and they’re no longer needed after some time.
These temp files accumulate over time and affect the system’s performance. That’s because they clog up your hard drive and take a toll on your CPU whenever your computer indexes your files.
This could be the reason your File Explorer keeps lagging. Clearing the temporary files should fix the problem for good. You can use the built-in Disk Cleanup tool to quickly remove these files. Follow these steps:
- Press the Windows logo + R keyboard combo.
- After the Run dialog window opens, type “cleanmgr.exe” and tap the Enter button on your keyboard.

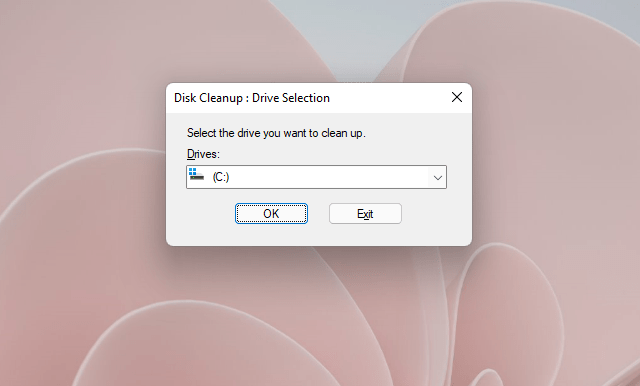
- The Disk Cleanup tool will ask you to select your drive if you have more than one volume or partition.
- Select the drive you’re cleaning up and click on OK.
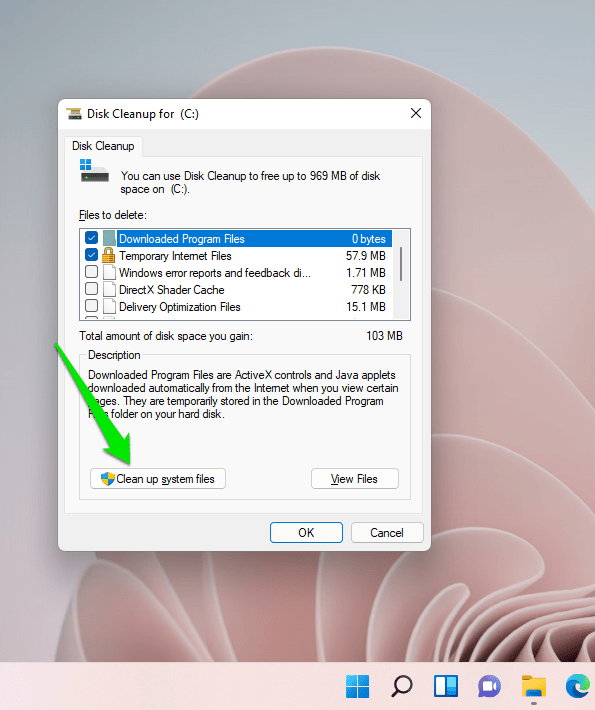
- The utility will compile and display all the temporary files on your computer in categories.
- Select the files you want to remove and click on OK. If you’re going to go deeper, you can also remove temporary system files by clicking on the “Clean up system files” button.
You can also go through the Settings window to remove temporary files:
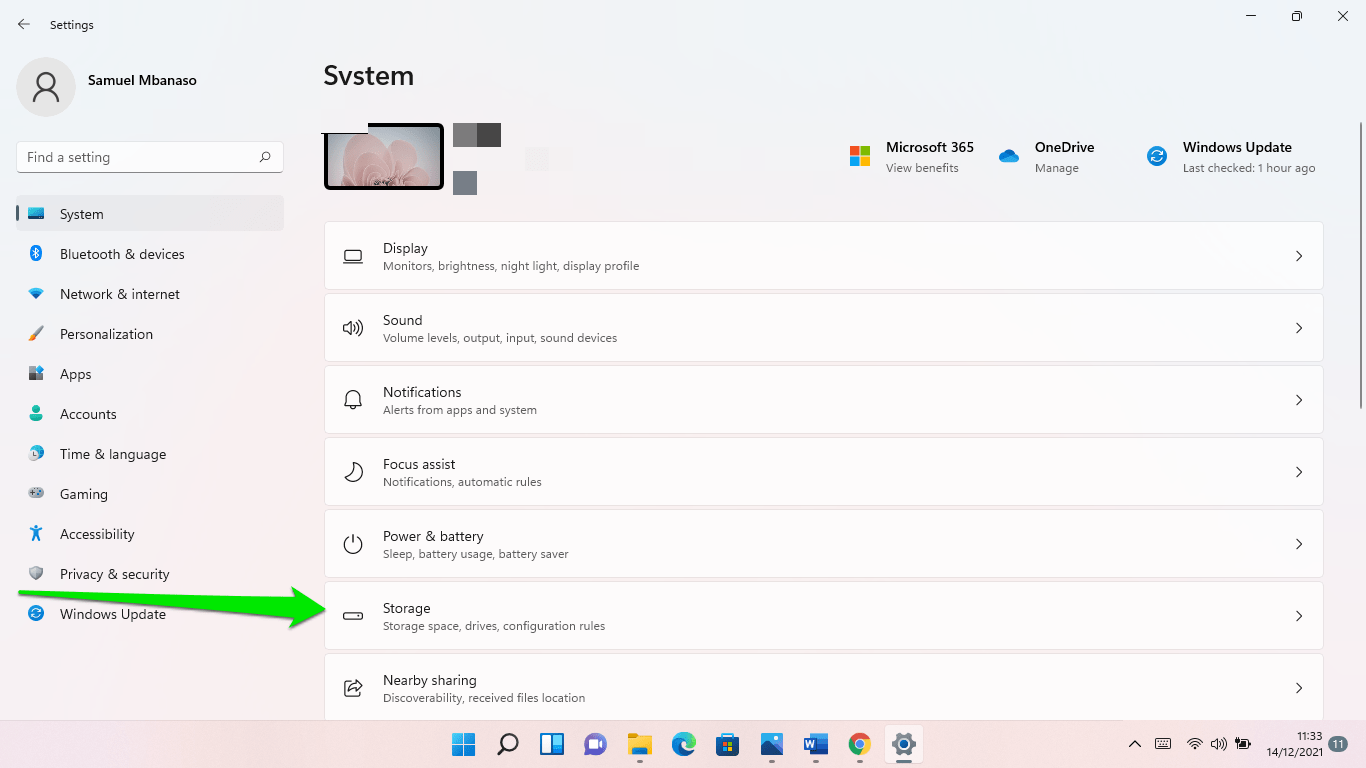
- Press the Windows logo and I keyboard buttons together.
- After Settings shows up, scroll down and click on Storage.
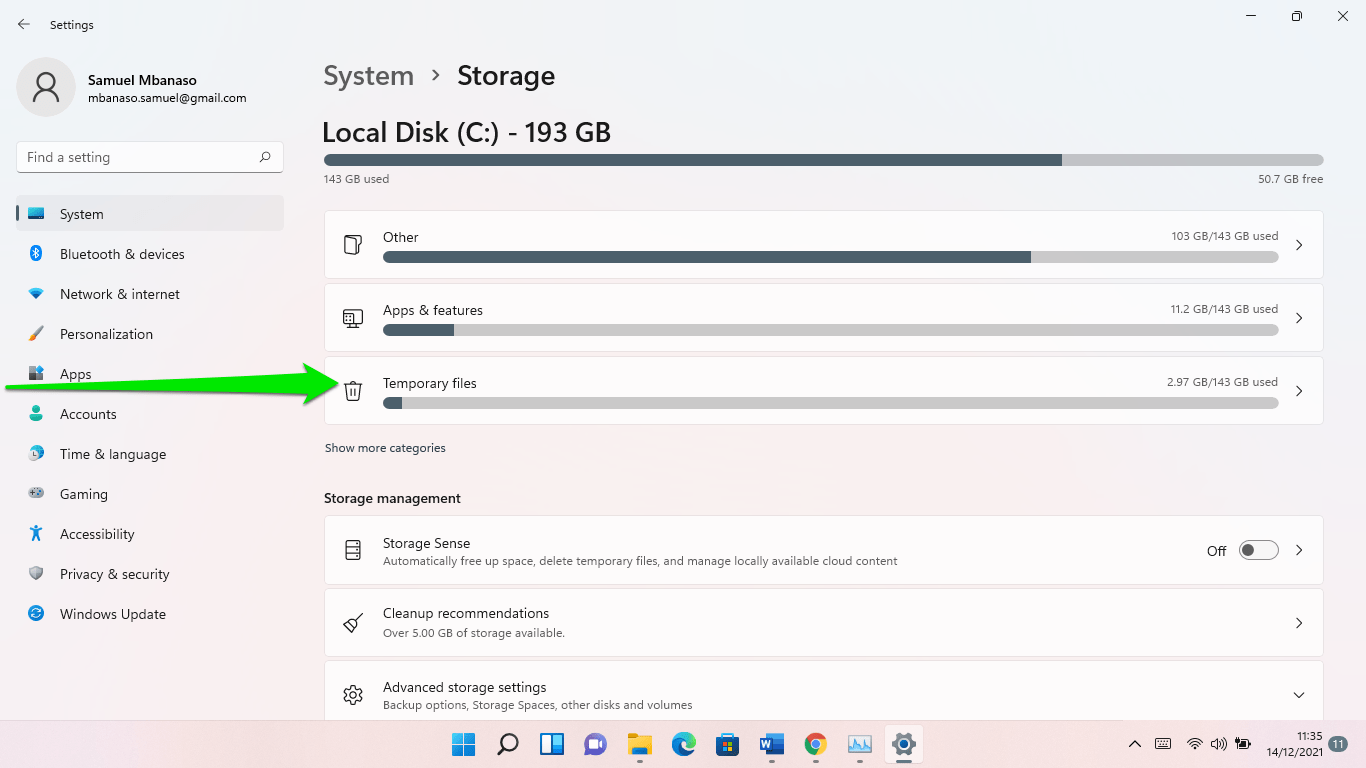
- Windows will automatically calculate your temporary files once the Storage interface appears.
- Click on Temporary Files.
- Go to System > Storage > Temporary Files.
- You’ll find different temporary file categories. Carefully select those you want to remove, and click on the Remove Files button.

If you install Auslogics BoostSpeed, you won’t have to go through the stress of using the Disk Cleanup tool or Settings interface. Instead, you will get the job done automatically. Auslogics BoostSpeed performs scheduled scans to find problematic junk files and delete them, keeping your system optimized every step of the way. What’s more, Auslogics BoostSpeed checks for leftover and corrupt registry keys that could be slowing down your computer.
Unfortunately, manually cleaning up your registry is both difficult and dangerous even with advanced technical knowledge.
Defragment Your Hard Drive
If you use a hard disk drive, it might be badly fragmented. This happens when file information is scattered across the disk.
Your CPU uses extra processing power to locate files and retrieve them from the drive. Unfortunately, this may cause File Explorer to lag whenever you try to access specific files.
This particular problem was an issue in previous Windows versions, and it’s no surprise to see it in Windows 11. After all, the glitch is tied to hard disk drives rather than operating systems.
Defragmenting your hard drive will get rid of the problem in this case. Here’s how to do that:
- Open the Search window by clicking on the magnifying glass in the Taskbar. You can also tap the Windows logo + S keyboard shortcut.
- Type Control Panel into the Search box and open the Control Panel.
- Click on System and Security after the Control Panel opens.
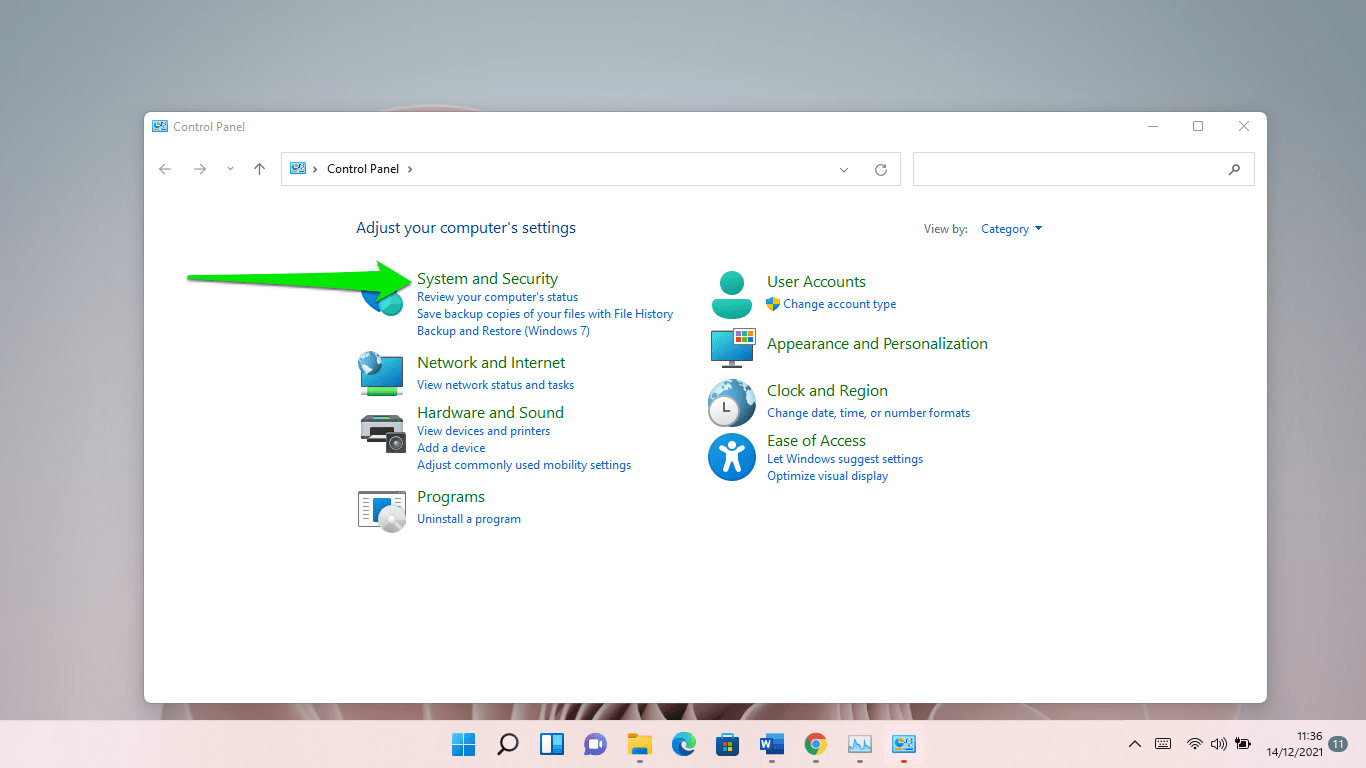
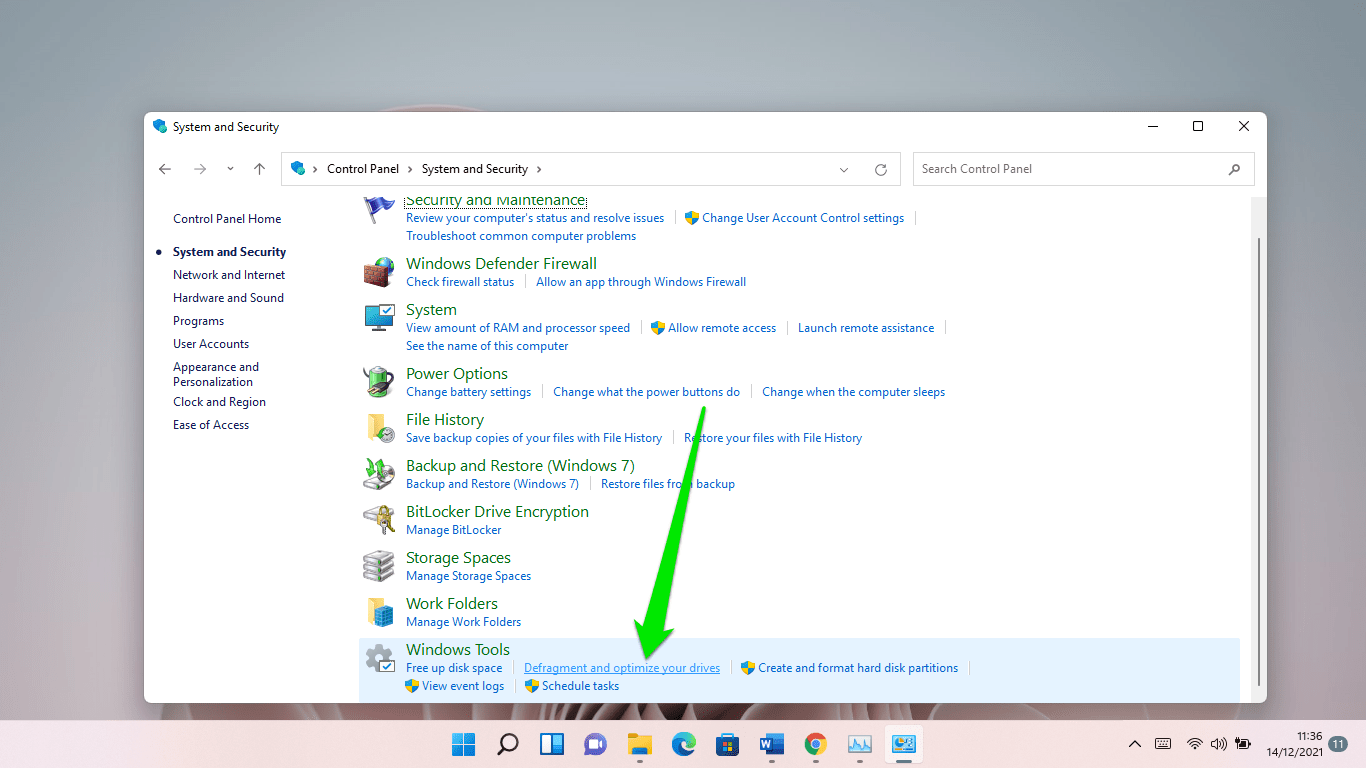
- Scroll down to Windows Tools once the System and Security window shows up and click on “Defragment and optimize your drives.”
- Once the Optimize Drives window shows up, select your main volume and click on Analyze.
Note: The current status might not accurately indicate the state of your disk. If your hard drive is 10% fragmented or more, you should defragment it.
- Click on the Optimize button to begin the process.
The process could take a while depending on how badly your disk is fragmented.
To prevent this issue from happening in the future, allow Windows to optimize your drive regularly. You can choose to do it monthly or weekly. Go to the Scheduled Optimization section in the Optimize Drives window and click on the Change Settings button to do that.
You could also install a solid-state drive to avoid the headache of fragmentation.
Activate the Classic File Explorer
While the revamped ribbon menu in Windows 11 is a breath of fresh air, going back to the previous UI could resolve the lags you’re experiencing.
The process involves adding a new string to the system registry. It’s a complex and technical process, so ensure you know what you’re doing. A single mistake in the system registry could destabilize your OS. So, if you don’t know your way around the Registry Editor, get someone with the knowledge to assist you.
Also, it would be wise to back up the system registry. This way, you can restore your current settings if something goes wrong. Follow these steps:
- Open the Search box, type “registry editor,” and click Registry Editor.
- You can also open the Run dialog box (Win + R), type “regedit,” and hit the Enter key.
- Click Yes in the UAC pop-up.
- After the Registry Editor opens, click File >> Export.
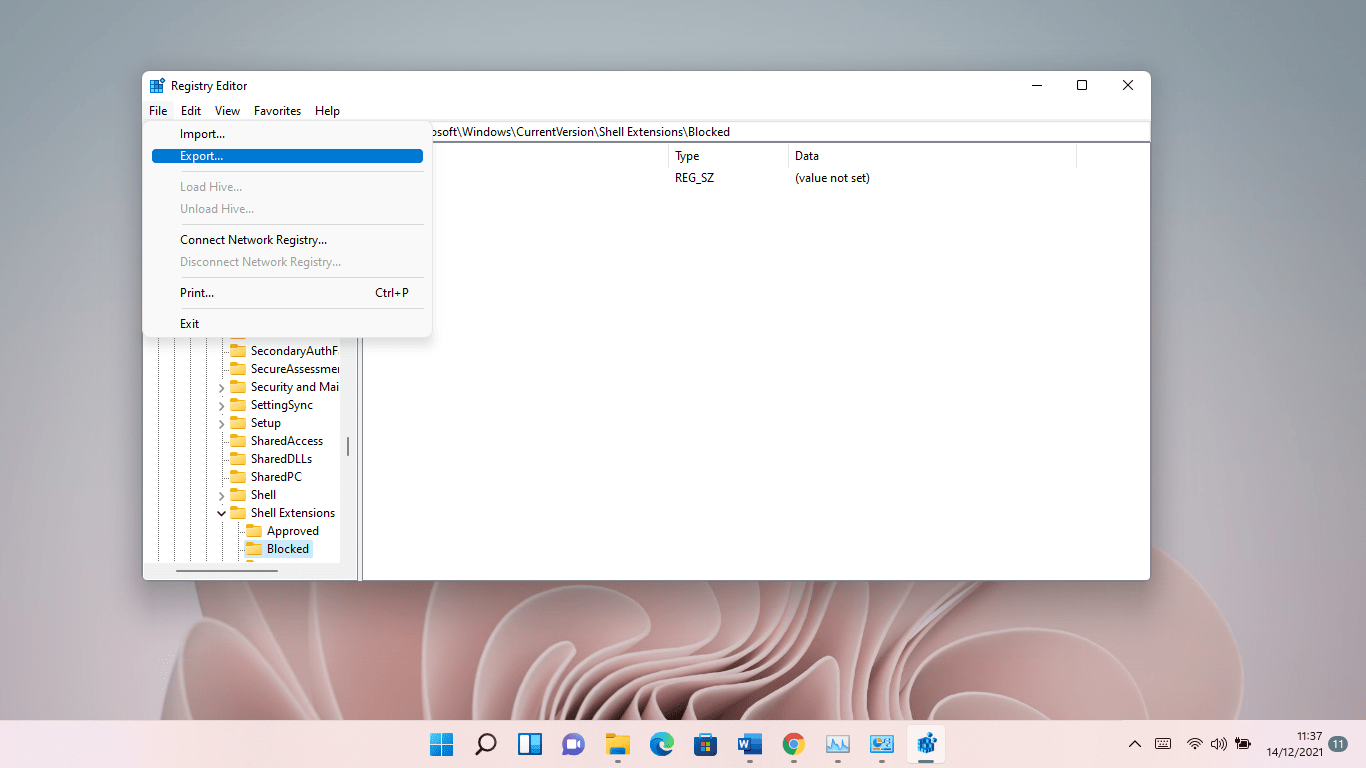
- Select All in the Export Range section of the Export Registry File dialog. Next, choose a folder, enter a file name, and click Save.
- If the need to restore the registry ever arises, open the Registry Editor and click on File >> Import, then find the backup file you just saved and double-click it.
Now, follow this guide to restore the classic File Explorer:
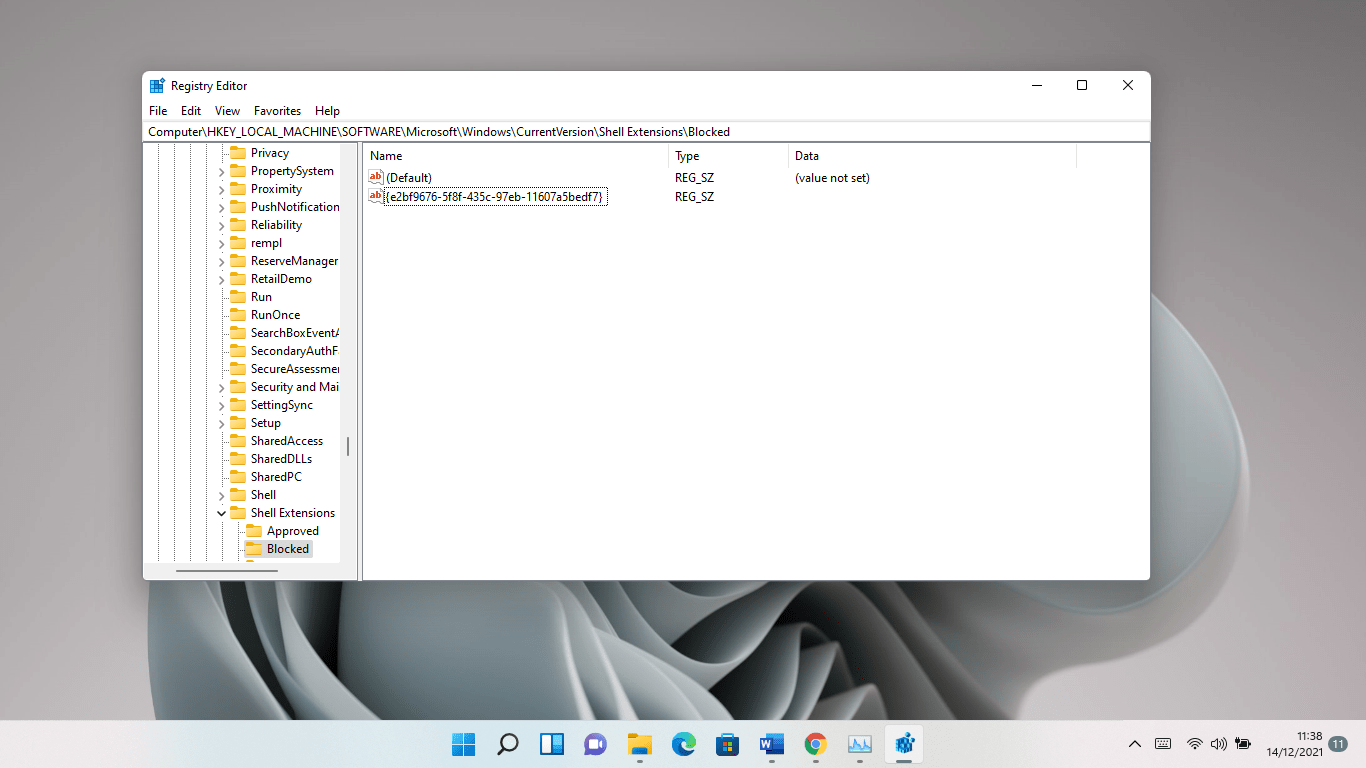
- Go to the left pane of the Registry Editor and navigate to the following key:
HKEY_LOCAL_MACHINE >> SOFTWARE >> Microsoft >> Windows >> CurrentVersion >> Shell Extensions
- Right-click on Shell Extensions and click on New >> Key in the context menu.
- Rename the new key “Blocked.”
- Next, select the Blocked key.
- Go to the right side of the window (where you’ll find the Default string value), right-click on the empty area, and select New >> String Value.
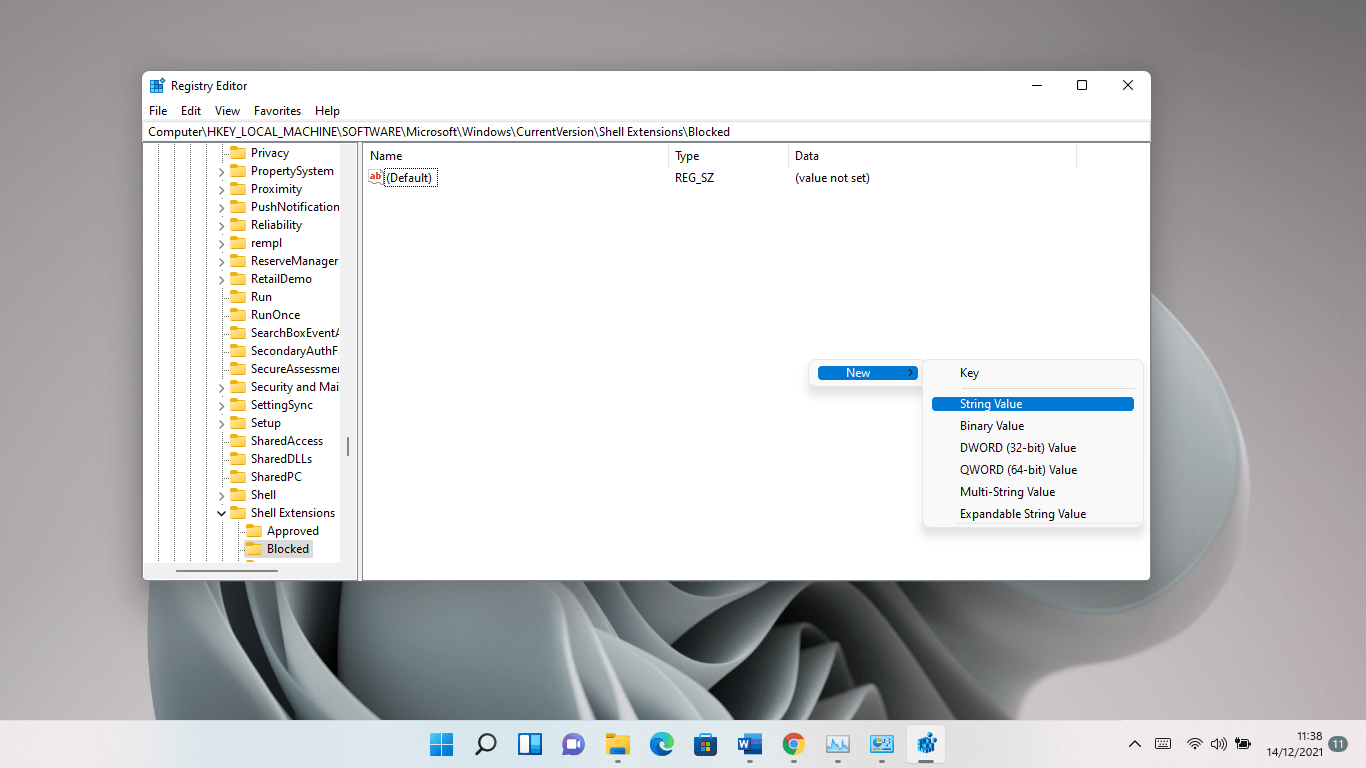
- Rename the new string {e2bf9676-5f8f-435c-97eb-11607a5bedf7}.
- Now, close the Registry Editor and restart your computer.
You can always revert to the new interface by deleting the string.
Parting Words
That’s how to fix Windows 11’s File Explorer lagging issues. If the issue persists despite all your effort, try running your antivirus program to find and remove malware. If the problem doesn’t go away, consider resetting your PC.


 Done! Great to see you among our subscribers!