![Windows Audio Device Graph Isolation High CPU [Fixed]](jpg/solution.jpg)
‘Sound is the vocabulary of nature’
Pierre Schaeffer
If you visit your Task Manager on a regular basis to control what is running on your personal computer, you know how dispiriting it is when you see something draining your resources. For example, Windows Audio Device Graph Isolation might have already come to your notice: this process is actually notorious for going heavy on your CPU every now and then.
Obviously, an occurrence like that would raise anyone’s suspicion, especially if your PC is currently not at its best. Indeed, the name Windows Audio Device Graph Isolation does not say much, and the fact that something mysterious is exhausting your system may appear pretty disturbing. Luckily, we have good news for you: we know what this hungry process is and how you should deal with it.
What is Windows Audio Device Graph Isolation?
To begin with, Windows Audio Device Graph Isolation is a perfectly legitimate component of your Windows. It serves as the audio engine in your operating system so that third-party apps can run sound on your computer. To sound smart, we should call this digital signal processing.
Is it OK to disable Windows Audio Device Graph Isolation?
To be honest, that’s a bad idea. Technically, you can do this, but the point is, Windows Audio Device Graph Isolation is an important process that makes your system audible, so disabling it will cause your Windows to go mute. Which is not a desirable outcome, right?
As such, if Windows Audio Device Graph Isolation keeps eating into your CPU, we recommend you to go to the root of the problem and resolve it, using the methods provided below.
How can I fix Windows Audio Device Graph Isolation high CPU usage?
So, here are our top 3 tips on how to fix the Windows Audio Device Graph Isolation high CPU usage issue:
1. Make sure it is not a case of malware
If Windows Audio Device Graph Isolation is hogging your resources, the chances are your PC is infected with malware. The thing is, a nefarious entity can masquerade as the process in question so that you won’t raise the alarm. With this in mind, we think the best way to start troubleshooting the issue is by conducting a full scan of your operating system.
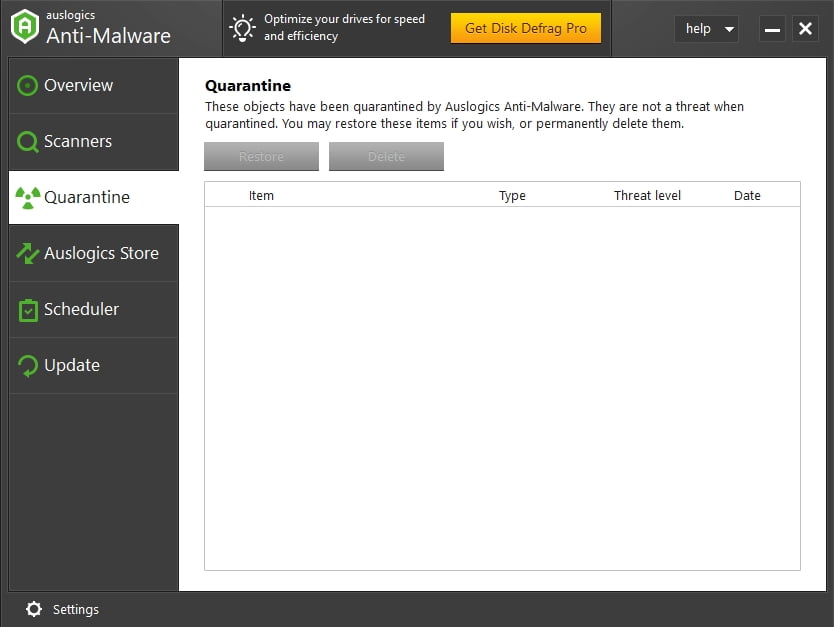
For this purpose, you can use your third-party antivirus tool. Luckily, there are many of them available on the market these days. We hope you have a reputable and powerful one to entrust it with the safety of your PC. For our part, we advise using Auslogics Anti-Malware: this tool is able to detect the most dangerous threats and eliminate them quickly and effectively. Another good thing is that it can work in tandem with your main security solution, thus adding an extra layer of security.
With that said, you might also wish to rely on the build-in Windows security suite called Windows Defender. Here is how you can use it in
Windows 7:
- Press the Windows logo + S shortcut.
- In the Search box, type ‘Defender’ (without quotes).
- Select Windows Defender from the list of results.
- Once you are in the Windows Defender home window, go to Scan.
- Locate the arrow next to Scan. Click on that icon.
- Select Full Scan.
Windows 8/8.1:
- Open your Start menu. Navigate to the Search bar.
- Type ‘Windows Defender’ (without quotes) into Search.
- In the Windows Defender home window, click Update.
- Go to Home and then to Scan Options.
- Select Full. Click Scan now.
Windows 10:
- Open the Start menu, locate the Settings gear, and click on it.
- Select Update & Security. Click Windows Defender.
- Click Open Windows Defender.
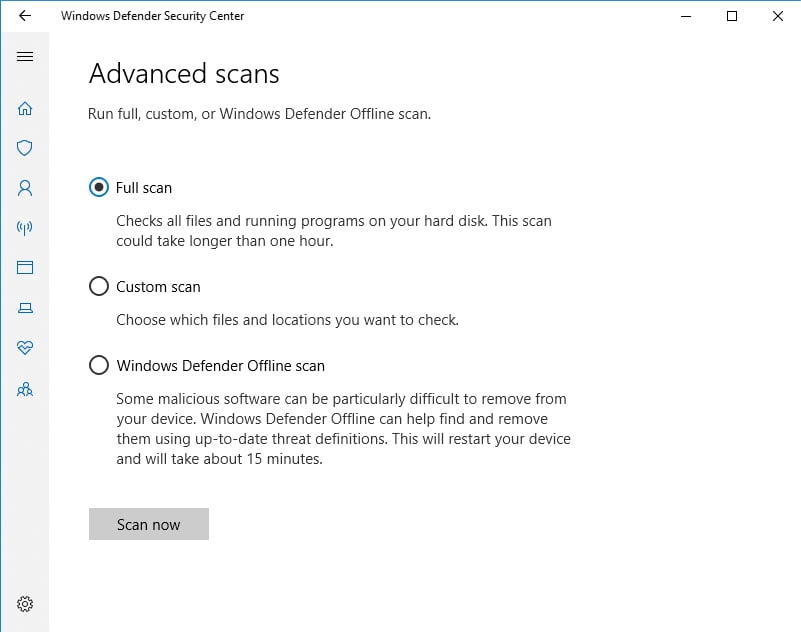
- In the Windows Defender Security Center window, navigate to the shield icon (it is in the left pane).
- Locate Advanced scan and click on it. Select Full scan.
If your Audio Device Graph Isolation is a cover for malicious activity, you will be notified so that you can quarantine or kill the threat.
2. Disable all sound effects
If it has been proved that Audio Device Graph Isolation is not malware in disguise, you should try tweaking your sound settings – this trick might help with your high CPU usage issue.
To do that, use the following instructions:
- Right-click on the speaker icon on your Taskbar.
- Select Playback devices.
- Navigate to the Playback tab.
- Select Speakers / Headphones.
- Click Properties.
- Proceed to the Enhancements tab.
- Check Disable all sound effects and click OK.
Hopefully, your CPU usage is at a reasonable level now.
3. Fix your audio drivers
No success so far? Then the problem might stem from driver issues. If your audio drivers are corrupt or out of date, they can cause Audio Device Graph Isolation to devour your resources.
To fix this problem, you can make use of any of the following methods:
Update your drivers manually
If you wish to do the job yourself, you can update all your drivers manually. However, bear in mind that this method is ridiculously tedious: you have to find, download, and install the required software for each of your hardware devices. What is more, you should be really careful when doing that: if you end up installing something wrong, your system can start to play up.
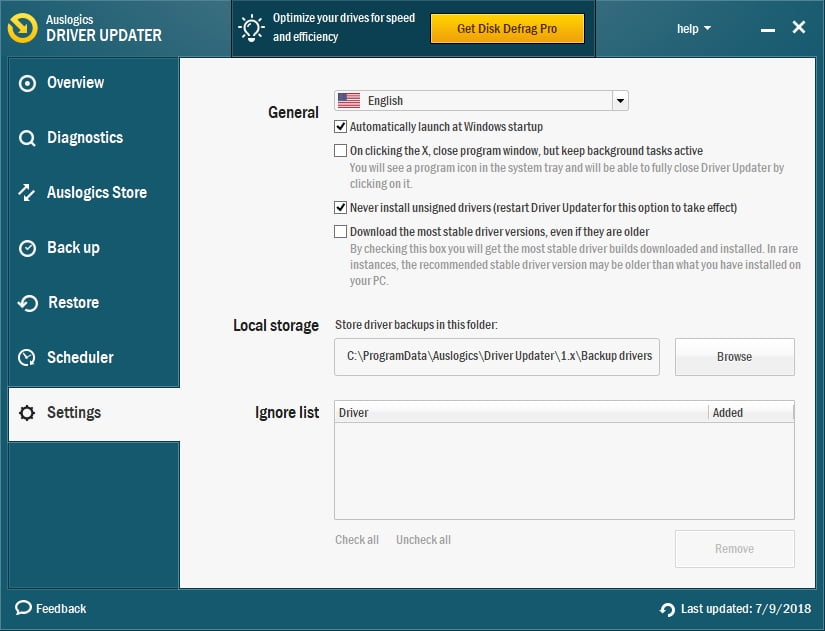
Use Auslogics Driver Updater
Using a special tool is by far the easiest and the most convenient way to update your drivers, and Auslogics Driver Updater only serves to confirm that. This intuitive utility will update all your drivers in one click by installing their latest manufacturer-recommended versions on your computer.
Utilize Device Manager
You are free to use Device Manager to resolve your driver problems. This tool comes as part of your operating system and can search for the necessary driver software automatically.
Here are the instructions for:
Windows 7
- Click on the Windows logo icon to open the Start menu.
- Now right-click on Computer and select Manage from the menu.
- You will proceed to the Computer Management screen.
- There locate and click Device Manager.
- In the list of available devices, find your audio device and right-click on it.
- Choose to update its driver.
Windows 8
- Locate your Windows logo icon and click on it.
- From the Quick Access menu, select Device Manager.
- Select your audio device from the list of your hardware items.
- Right-click on it and select Update driver software.
Windows 10
- Press the Windows logo key +X on your keyboard.
- Select Device Manager from the list of options.
- Navigate to your audio device.
- Right-click on the piece of hardware.
- Select the option that lets you update the device’s driver.
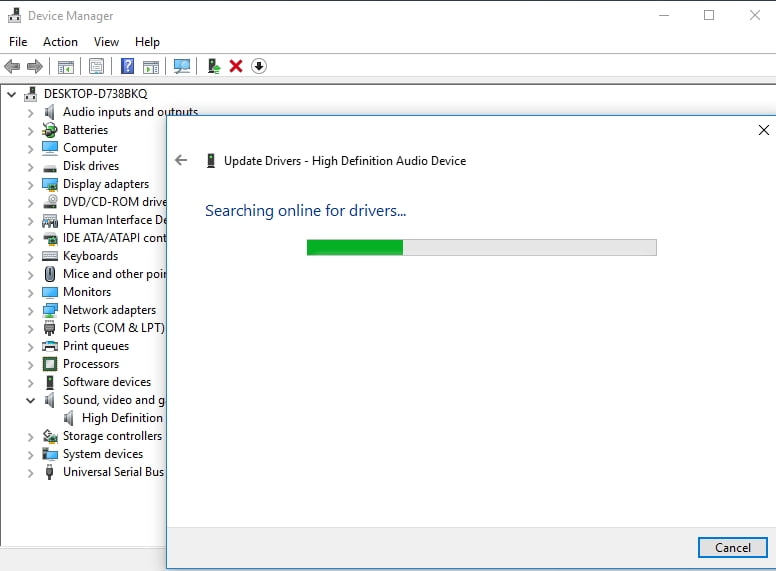
Then you should let Device Manager search for the necessary drivers online. Then follow the instructions to install the software on your computer.
Now Windows Audio Device Graph Isolation is supposed to be less ravenous. However, if your Windows keeps having issues, it is a good idea to scan it with Auslogics BoostSpeed and let this tool perform a comprehensive system clean-up. As a result, you will get a faster and more stable OS that will serve you the way you wouldn’t even know it is able to.
If you have any questions or ideas how to fix the Windows Audio Device Graph Isolation high CPU usage issue, please leave your comments in the comment section below. We would be delighted to hear from you!


 Done! Great to see you among our subscribers!