
‘When a resource is scarce, you increase its yield’
Peter Drucker
Being quite a complicated and fragile system, your personal computer is home to some seemingly incomprehensible processes. No wonder, you are eager to know what they actually are and why your system needs them – especially if they consume too much of your CPU and memory.
Windows Shell Experience Host is a case in point. If you keep an eye on this process in your Task Manager, you see that it can go really heavy on your system resources.
As such, you might be willing to ask the following questions:
‘What is the Windows Shell Experience Host process?’
As part of your operating system, Windows Shell Experience Host serves as a kind of visual manager. Essentially, what it does is provide a windowed interface for universal apps on your computer. To be precise, the process in question is responsible for such graphical components as your start menu and taskbar transparency, background slideshow, calendar, clock, visuals, and other things.
Windows Shell Experience Host was first introduced in Windows 10 and has been properly patched since then. Therefore, these days this process is supposed to be rather thrifty with your resources. If it is not, chances are there is something wrong with your system.
‘Can I disable the Windows Shell Experience Host process?’
You can’t, and you shouldn’t. Disabling Windows Shell Experience Host will prevent you from getting the necessary visuals in Windows 10. Even if you try to end the process, your OS will start it automatically in a while. As such, if Windows Shell Experience Host eats up your RAM and CPU every now and then, your best bet is to troubleshoot the issue.
‘How can I fix the Windows Shell Experience Host process using too much memory/CPU?’
The great news is, this can be done quite easily. Troubleshooting the resource-hungry Windows Shell Experience Host process is not rocket science at all – just follow the tips below and decrease your RAM/CPU usage to a reasonable level:
1. Update your OS
To function properly, your Windows 10 needs regular updating. Otherwise, it becomes sluggish, buggy, and prone to error. To fix the Windows Shell Experience Host process using too much memory/CPU, you need to bring your system to the cutting edge of Microsoft’s software technology without further delay:
- Click on the Windows icon on your Taskbar to open the start menu.
- Select the gear icon and proceed to Update & Security.
- You will be taken to the Windows Update screen. See if there are any updates available. Agree to install them.
- If there are no suggested updates on the Windows Update screen, click the Check for updates button.
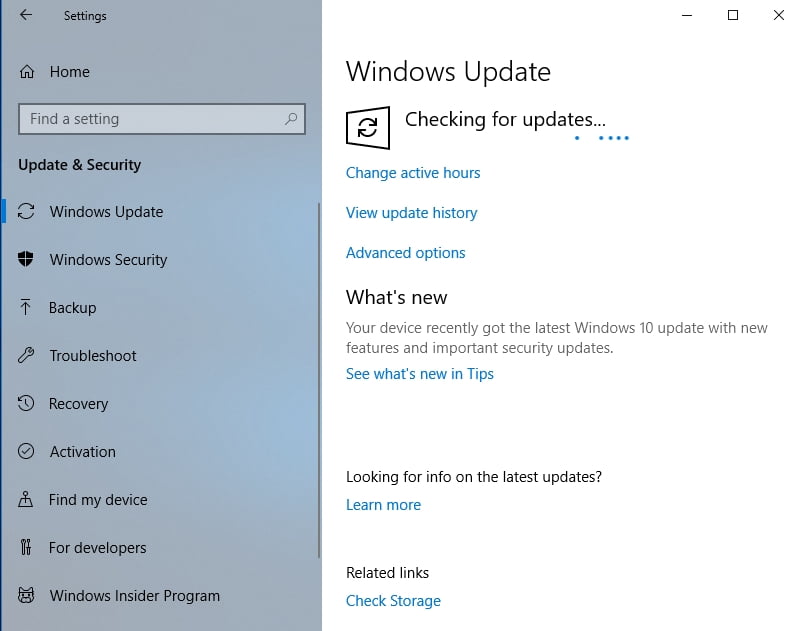
Now go to your Task manager and see how Windows Shell Experience Host is using your RAM and CPU.
2. Disable the desktop background slideshow on your PC
Although you might enjoy your favourite wallpapers changing every X minutes, this setting might lead to Windows Shell Experience Host taking up too much of your system’s RAM or CPU. Thus, unfortunately, you should opt for a static picture as your background:
- Press the Windows + I keyboard shortcut to open the Settings app.
- Select the Personalization option.
- In the left pane, select Background.
- Select Picture from the drop-down menu.
- Confirm your choice to save the settings.
Check if the trick above has resolved your high CPU/RAM usage issue.
3. Disable automatic color changing
Another setting you should say goodbye to if you want to stop Windows Shell Experience Host eating into your CPU and memory is automatic color changing. To disable it, follow the instructions below:
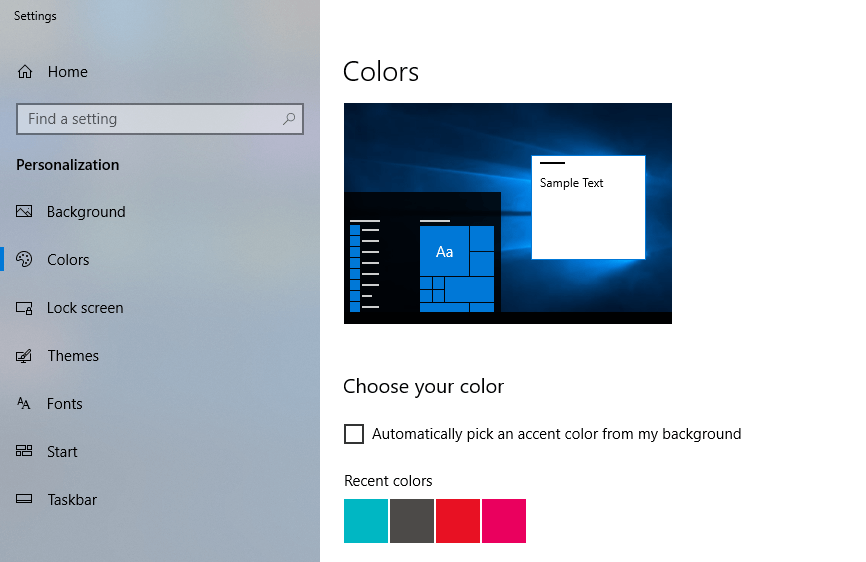
- Open your Settings app (press the Windows logo key + I shortcut on your keyboard to do that).
- Now select Colors in the left pane.
- Scroll down to Choose a color section.
- Locate the Automatically pick an accent color from my background option and uncheck it.
![]()
- Make sure to save your changes.
Now see if your problem has been resolved.
4. Run System File Checker
If Windows Shell Experience Host keeps draining your resources, missing or corrupt system files might be behind the problem. To replace them, you should run the built-in System File Checker utility in Windows 10:
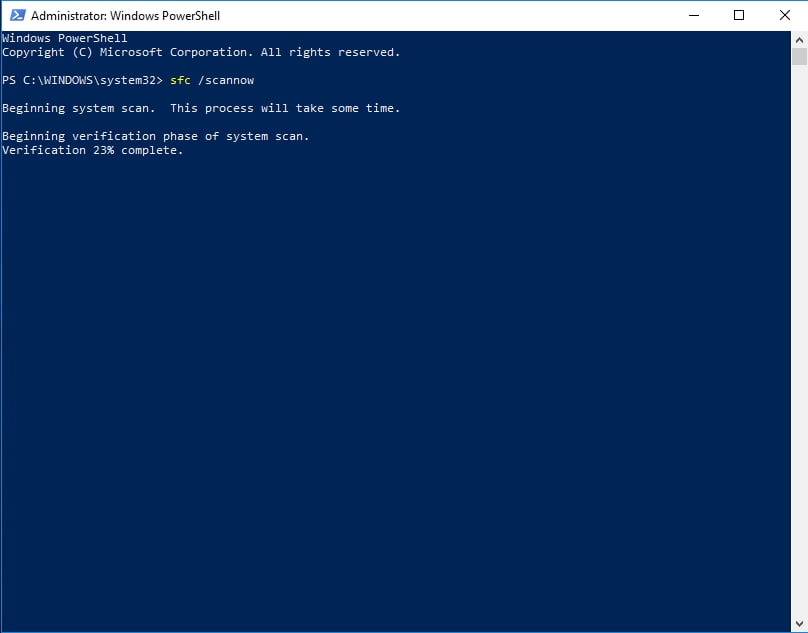
- Use the Windows logo + S keyboard shortcut to invoke Search.
- Type cmd into the Search area.
- Locate Command Prompt in the list of results.
- Right-click on it and select Run as administrator to open an elevated command prompt.
- Now type sfc /scannow and hit Enter to run the command.
![Scan your PC for corrupted or missing system files.]()
- Wait for the scan to finish – it might take a while. You shouldn’t abort the process.
- Get the all-clear to proceed and exit your elevated Command Prompt window.
- Restart your PC. The problematic system files the utility has detected will be replaced at startup.
We hope your CPU/RAM usage is adequate now.
5. Limit CPU usage
All to no avail? In a situation like this, we recommend you to manually limit the amount of CPU the Windows Shell Experience Host process is allowed to use. Here is how you can do that:
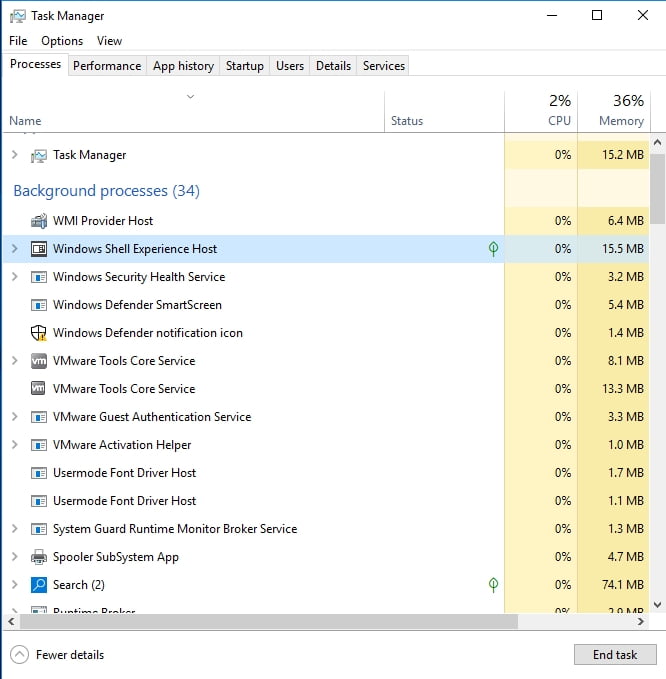
- Go to Search and type ‘task manager’ (without quotes).
- Select Task Manager from the list of search results.
- In your Task Manager, navigate to the Details tab.
- Locate Windows Shell Experience Host and right-click on it.
![Navigate to Windows Shell Experience Host.]()
- Select the Set affinity option.
- Select the CPU limit you wish Windows Shell Experience Host to adhere to.
After configuring your settings, see if this manoeuvre has proved helpful.
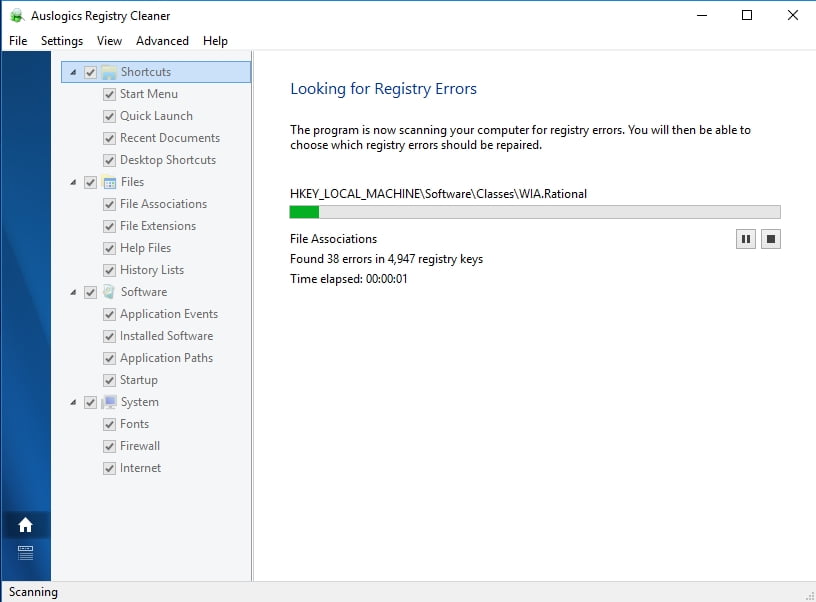
6. Fix your registry issues
Persistent high CPU/RAM usage issues often stem from problems with Windows Registry, so it might be a good idea to fix this system component straight away. That said, this is extremely risky: if you make even a tiny mistake, your Windows may fail to boot up. As such, we advise you against editing your registry manually. However, you can get it back on track by employing a reliable piece of software. For instance, Auslogics Registry Cleaner is a 100 % free tool that will fix your registry with surgical precision, no risks involved.
7. Check your PC for malware
If all the methods above have been to no use, you should consider scanning your Windows 10 for malware. The point is, something malicious can be masquerading as Windows Shell Experience Host and violating your system in the background.
With this in mind, hurry up to perform a full anti-malware scan of your operating system. For this purpose, you can use the built-in Windows Defender security suite:
- Launch your Settings and select Update & Security.
- Click Windows Defender. Then select Open Windows Defender.
- Go to the shield icon in the left pane.
- Click Advanced scan. Select Full scan.
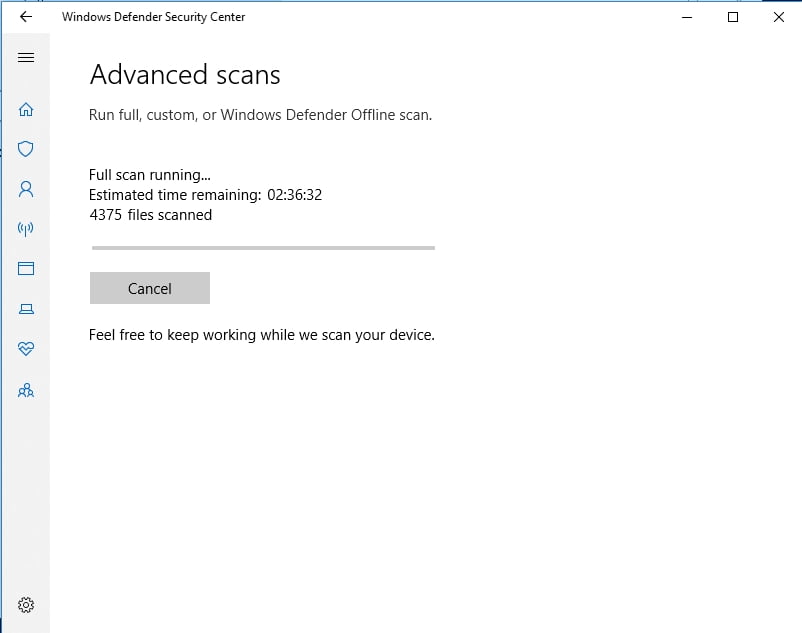
Wait for the scan to finish. You will be notified if there are any threats present on your PC and given an opportunity to deal with them the way you consider the most appropriate under the current circumstances.
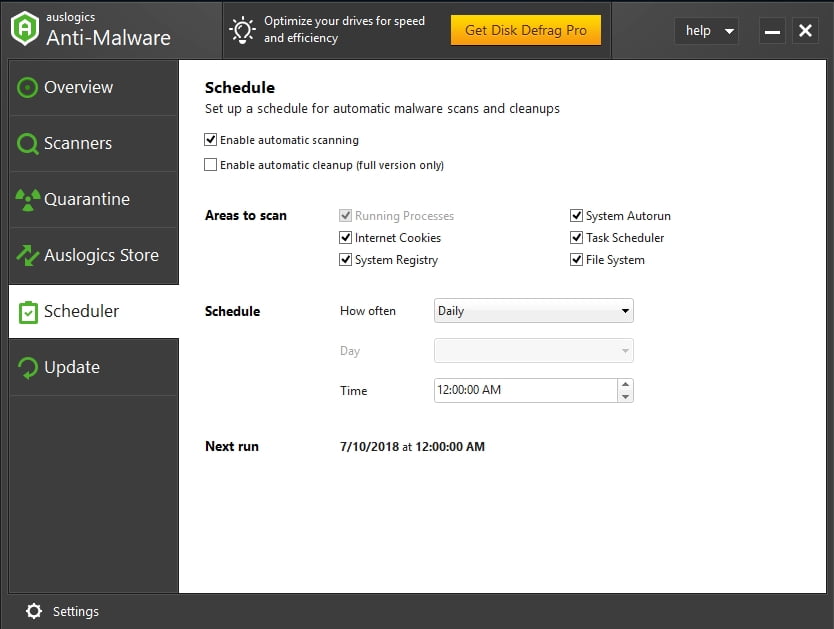
Nonetheless, you are free to opt for a non-Microsoft solution. For instance, we recommend you to fortify your system with Auslogics Anti-Malware: this tool is capable of tracing and eliminating the most dangerous and cunning malware entities.
We hope our tips have helped you fix your Windows Shell Experience Host issue.
Please bear in mind that you can always use Auslogics BoostSpeed to declutter your system, enhance its privacy and give it a considerable boost. Choose the Shell Extensions tab to do this efficiently.
If you have questions or ideas regarding the issue raised in this article, you are welcome to state them in the comment section below.


 Done! Great to see you among our subscribers!