
‘Memories are the key not to the past, but to the future.’
Corrie ten Boom
In a way, photos, videos, and important data are parts of what makes you who you are. These files are essential memory components that build up your identity. That is why it is only fitting for you to protect them by saving them in a secure, external storage device. On the other hand, you may want to opt for Auslogics BitReplica as a backup solution. This tool is especially useful for those who employ several storage drives. With this program, you can protect the files stored on your computer despite unprecedented incidents like virus attacks, hard drive crashes, or accidental deletion.
However, what will you do if you get the 0x80071AC3 error? If you see a message saying, “the operation could not be completed because the volume is dirty,” what course of action should you take?
What does the 0x80071AC3 error mean?
Many users encountered this issue while they were trying to move files to their flash drive, SD card, or other external storage devices. It is common in various Windows operating systems, and there are many reasons why this problem occurs. In some cases, it is caused by bad sectors on the disk. On the other hand, the error may be the result of a feature which prevents the system from accessing the disk.
You don’t have to worry too much because as long as the affected storage device is not dead, you can employ several methods to resolve the issue. If you want to get rid of the error message “the operation could not be completed because the volume is dirty,” take a look at the solutions we listed below.
Solution 1: Checking your drive for errors
As we’ve mentioned, one of the reasons why you’re getting the 0x80071AC3 error is because of bad sectors on your drive. You can determine if this is the root cause by scanning your disk for problems. With that said, follow the instructions below:
- Open File Explorer by pressing Windows Key+E on your keyboard.
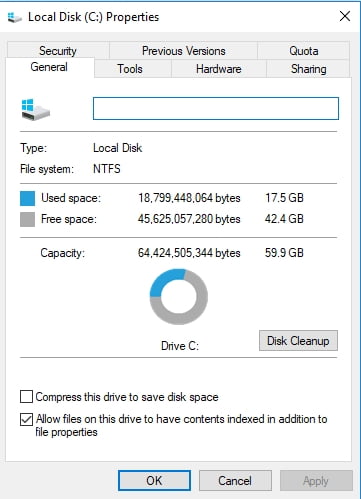
- Right-click the affected drive, then click Properties.
![Check your hard drive for errors.]()
- Once you open the Properties window, go to the Tools tab.
- Click the Check button.
- For Windows 10, you will be prompted to scan and repair the affected drive.
- On the other hand, for Windows 7, you have to select all the options available in the window. After that, click Start.
- Wait while the tool is scanning the disk. Once the process is complete, go back to what you were doing before the error occurred and check if the problem has been fixed.
Pro Tip: After performing the scan, you can also use a reliable tool like Auslogics Disk Defrag Pro. With this program, you can easily defrag files and optimize the file placement on your hard drive. As such, you can ensure consistently high HDD speed, faster access, and efficient operation. The next time you move files to an external drive or storage device, you will be able to do so without any hassle.
Solution 2: Disabling ReadyBoost
A lot of USB flash drives come with the built-in ReadyBoost Disk Caching feature. This program is supposed to improve the storage device’s performance. On the other hand, there are cases wherein this tool can result in the error code 80071AC3 when the user is trying to write files to the drive. In this scenario, disabling ReadyBoost would be enough to get rid of the problem.
- Press Windows Key+E to open File Explorer.
- Right-click the USB flash drive, then click Properties.
- Go to the ReadyBoost tab on the Properties window.
- You will see three options in this tab. Select “Do not use this device”.
- Click Apply.
- Click OK.
Solution 3: Sliding the SD card lock
If you were trying to write files on an SD card when you got the error, you might want to try sliding the lock back and forth. Do this a few times, and then connect the storage disk back to your computer. Check if this method resolves the problem.
Solution 4: Reinstalling the drivers
It is possible that outdated or damaged drivers may be causing the error. So, you may want to try reinstalling them and see if this method has eliminated the issue. Here are the steps:
- On your keyboard, press Windows Key+X. This should bring up the Windows Menu.
- Select Device Manager.
- Expand the contents of the Disk Drives section.
- Right-click the affected drive, then select Uninstall.
- When prompted for permission, click OK.
- Disconnect the device from your computer.
- Restart your computer.
- Repeat the first and second steps.
- Insert the disk drive to your computer.
- Inside the Device Manager window, click Action.
- Select Scan for Hardware Changes.
- Windows will now reinstall the disk drive and its drivers. After the process is complete, check if the error has been fixed.
Solution 5: Formatting your drive
If none of the methods above resolves the issue, you can try formatting the drive in question. However, you have to note that doing so will delete all the files and data on your drive. On the other hand, if you want to employ this solution, follow the instructions below:
- Press Windows Key+E on your keyboard to open File Explorer.
- Right-click the affected drive, then click Format.
- Make sure you click the “Restore device defaults” button before you click the Start button.
- A window with a warning message will pop out. Click OK.
- Once the formatting process is complete, close the window and open the drive. Check if you can now paste files to the storage device.
Can you give us other suggestions for resolving this error?
Let us know in the comments below!


 Done! Great to see you among our subscribers!