
When you want to make downloading or attaching files easier, compressing them would be the best option. However, what would you do if you encountered an error message saying, “Windows cannot complete the extraction?”
This error can be caused by a number of issues, including:
- A destination path that is too long
- A destination file that cannot be created
- An invalid compressed (zipped) folder
There are some methods you can try to fix this issue. If you are experiencing the error ‘Windows cannot complete the extraction’ in Windows 7, Windows 8, or Windows 10, this article is the answer to your problems. Follow the instructions we’ve listed below.
Method 1: Restarting your Computer
Restart your computer and try to extract the compressed file once more.
Method 2: Changing the File Name
Modify the name of the file and try to extract the contents once more.
Method 3: Moving the Zipped File
If the location of the compressed file is protected, move it to another folder. The ideal option would be using one of your profile folders, such as Documents. After moving the compressed file, try extracting its contents again.
Method 4: Changing the Name of the Destination Path
If you can’t move the compressed file because the destination path is too long, you can shorten the name of the parent folders. You can also go online and search for freeware that can automatically fix long-path names.
Method 5: Repeating the Download
On the other hand, the reason why you see the error ‘Windows cannot complete the extraction’ in Windows 10 or other system errors may be a corrupted download. In this case, what you can do is download a fresh copy of the compressed file and save it to another location. Check if this step resolves the issue.
Method 6: Performing a Clean Boot
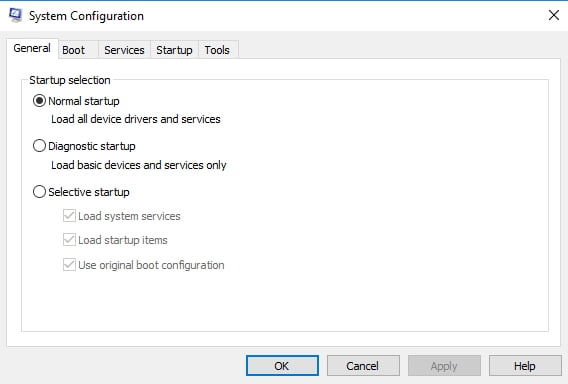
You can also try entering a Clean Boot state and check if you can extract the files from there. If you can, then there’s probably a third-party process that’s disrupting the process. In this case, you would have to manually troubleshoot to identify the root cause of the problem. Here are the steps for performing a Clean Boot.
- Click the Search icon.
- Type “msconfig” (no quotes) and hit Enter. This should take you to the System Configuration Utility.
- Go to the General tab and click Selective Startup.
- Uncheck the Load Startup Items box.
- Make sure that the Load System Services and Use Original Boot Configuration boxes are checked.
- Go to the Services tab. Click the Hide All Microsoft Services box then click Disable All.
- Click OK/Apply, then restart your computer. This should put your Windows OS into a Clean Boot state.
Method 7: Run the System File Checker
A corrupted system file may be the reason why you can’t extract the compressed file. In this case, you would have to run the System File Checker. This tool will be able to identify and replace the damaged files. Follow the steps below:
- Click the Search icon.
- Type “cmd” (no quotes) and hit Enter.
- Right-click Command Prompt and choose Run as Administrator.
- In the Command Prompt, type “sfc /scannow” (no quotes) and press the Enter key.
- Let the System File Checker perform its scan. Corrupted files will be replaced on reboot.
If none of the methods we mentioned above worked for you, you can also search online and download third-party freeware for compressing files. You can use this tool to extract the contents of zipped files.
Pro tip:
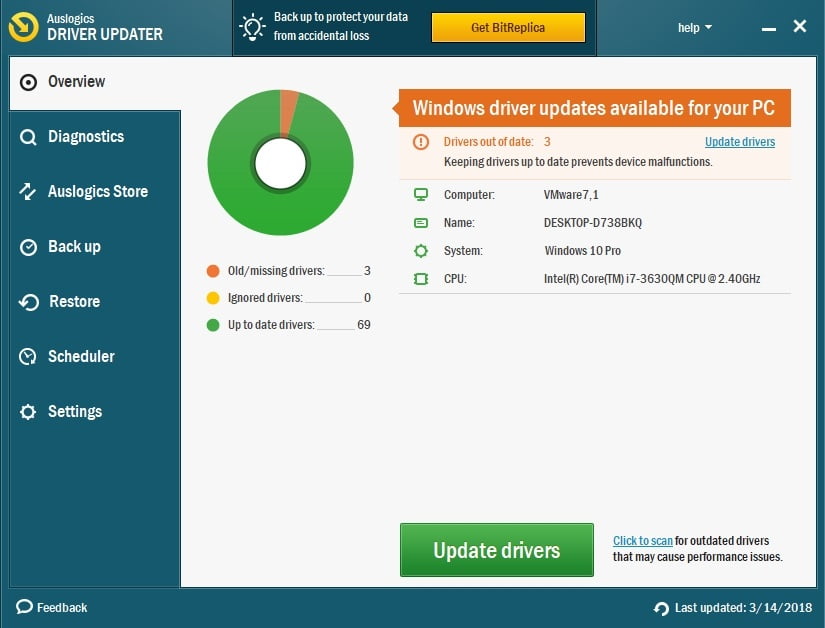
You can also update your drivers to ensure that they are all functioning properly, especially when you’re trying to extract compressed files from an external storage device. You can conveniently do this by using Auslogics Driver Updater. This tool will detect damaged, incompatible, or missing drivers. With one click, you can update your drivers to their latest manufacturer-recommended versions.
Do you have other suggestions for fixing this issue?
We’re looking forward to reading your ideas in the comments below!


 Done! Great to see you among our subscribers!