- What Causes the 0x80072EE2 Update Error?
- Method 1: Ensuring that you have a good Internet connection
- Method 2: Disabling the Firewall
- Method 3: Tagging the Update Server as a Trusted Website
- Method 4: Using the Windows Update Troubleshooters
- Method 5: Resetting the Components of the Update
- Method 6: Running the System File Checker

‘The only thing that is constant is change.’
Heraclitus of Ephesus
Technology undeniably makes our lives easier, solving a lot of our problems. On the other hand, it can be both a blessing and a curse. For instance, you might want to improve the features of your computer. So, you decide to update your operating system, but you suddenly see the Windows 10 or Windows 8 1 error code 0x80072ee2. This problem can prevent you from enjoying the new features of the update you were supposed to install.
What Causes the 0x80072EE2 Update Error?
People usually encounter the 80072EE2 error when their operating system cannot connect to the update server. To put it another way, their Windows 8.1 or Windows 10 is unable to get a proper response from the update server within a specific period of time.
Most of the time, this error is caused by poor or intermittent Internet connection. In other cases, the Firewall may be blocking the computer’s access to the server. As such, the communication between the two gets interrupted.
If you’re experiencing the same problem, fret not. In this article, we will teach you how to fix error code 0x80072ee2 in Windows 10 and in other operating systems. Keep on reading and discover how you can resolve this issue and maximize the benefits of your OS updates.
Method 1: Ensuring that you have a good Internet connection
The first thing you have to do is make sure that your Internet connection is functioning properly. Open your preferred browser and try to access any website. For example, you can type www.google.com in the address bar to check if you have a working Internet connection. If you discover that the Windows 8 1 error code 0x80072ee2 may be caused by your poor connection, we recommend that you call your Internet Service Provider and ask them to resolve the problem.
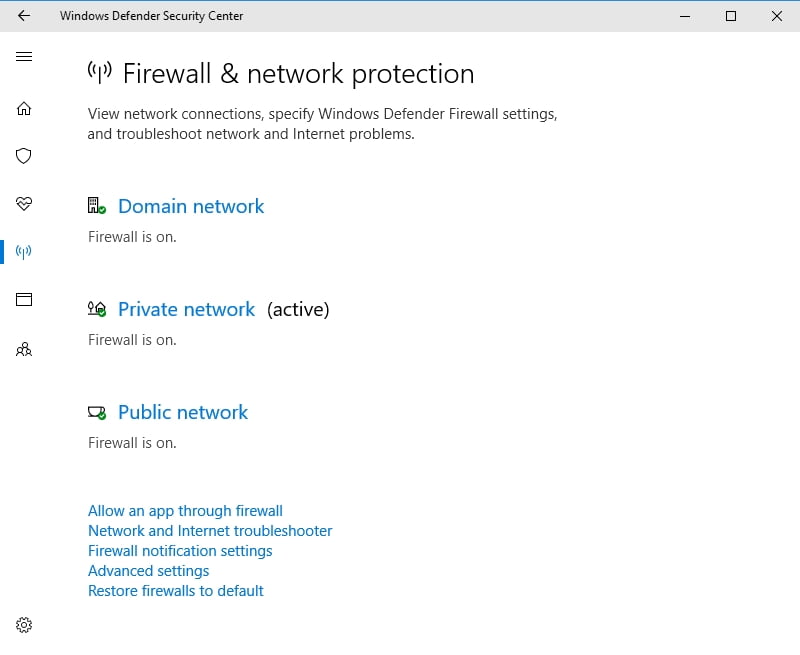
Method 2: Disabling the Firewall
So, you’ve tried checking your Internet connection and you learned that it is perfectly fine. What should you do next? Well, as we’ve mentioned, the Firewall may be preventing your computer from accessing the server. In this case, you would have to disable it to remove the error. Here are the steps:
- Click the Search icon.
- Type “control panel” (no quotes), then select Control Panel.
- Click System and Security, then select Windows Defender Firewall.
- Under the menu in the left bar, click Turn Windows Defender Firewall On or Off.
- If prompted, submit the appropriate administrative password.
- Under the Private Network Settings section, click the option which says, “Turn off Windows Firewall (not recommended).”
- Under the Public Network Settings section, click the option which says, “Turn off Windows Firewall (not recommended).”
Note: This setting should only be temporary. After resolving the issue, we recommend turning the Firewall on.
- Apply the changes you made by clicking OK.
- Go back to what you were doing before the error occurred, and check if the issue has been resolved.
If the error persists, turn the Firewall on and proceed to the next method. You can also try to temporarily disable your VPN software or antivirus. Check if the aforementioned fixes the problem.
Method 3: Tagging the Update Server as a Trusted Website
If disabling the Firewall does not eliminate the problem, you can try to add the update server to your list of trusted websites. With that said, here are the steps you should follow:
- Click the Search icon.
- Type “internet options” (no quotes), then click Internet Options.
- Go to the Security tab.
- In the Security window, select Trusted Sites.
- Click the Sites button.
- Inside the box that says “Add this website to the zone,” type the following addresses, one by one:
http://update.microsoft.com
http://windowsupdate.microsoft.com
Note: Make sure you click Add after inputting each address.
- Uncheck the box which says, “Require server verification (https:) for all sites in this zone.”
- Close the Trusted Sites window, then save the settings by clicking the OK button.
- Go back to what you were doing before the error occurred, and check if the problem has been fixed.

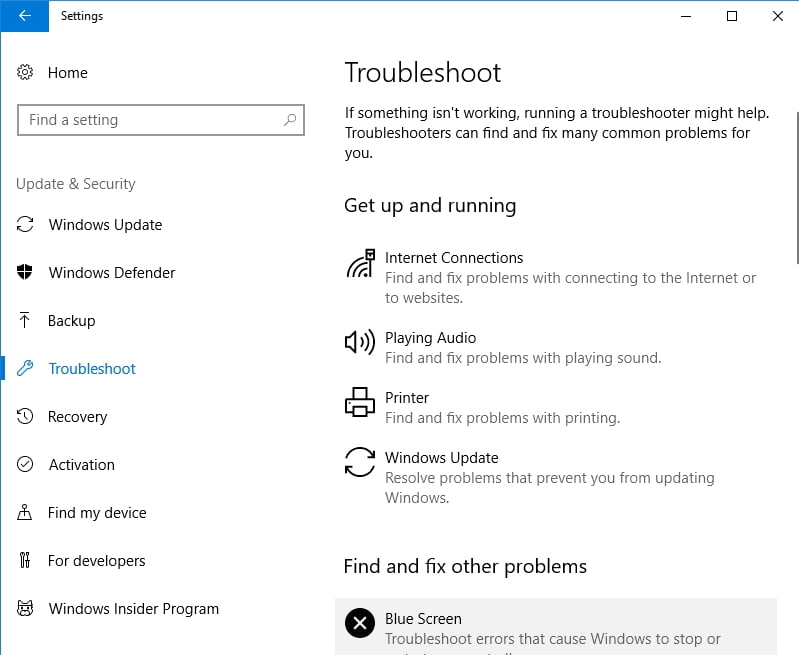
Method 4: Using the Windows Update Troubleshooters
One of the great things about Windows 10 is that it has different troubleshooting tools that enable the users to conveniently fix issues affecting the system. To take advantage of this feature, you have to determine and run the specific troubleshooter that will resolve the issue. Follow the steps below:
- Click the Search icon.
- Type “settings” (no quotes), then hit Enter.
- Under the left bar menu, select Troubleshoot.
- Select Windows Update, then click Run the Troubleshooter.
- Fix the problem by following the on-screen instructions in the troubleshooter.
- Go back to what you were doing before the error occurred and check if the problem has been resolved.
Method 5: Resetting the Components of the Update
In some cases, the 0x80072ee2 error may be caused by corrupted Windows Update files. Thankfully, you can fix this by resetting the components through the Command Prompt. Here are the steps:
- Click the Search icon.
- Type “cmd” (no quotes).
- Right-click Command Prompt and select Run as Administrator.
- You have to disable certain Windows Update components. To do this, type the commands below. Make sure that you hit Enter after every command:
net stop wuauserv
net stop cryptSvc
net stop bits
net stop msiserver
- The next step is renaming the SoftwareDistribution folder. Enter the following commands:
ren C:\Windows\SoftwareDistribution SoftwareDistribution.old
ren C:\Windows\System32\catroot2 Catroot2.old
- You now have to restart the components you previously disabled. Enter the following commands:
net start wuauserv
net start cryptSvc
net start bits
net start msiserver
- Restart your computer and check if the error has been fixed.
Method 6: Running the System File Checker
You can manually reset the components of Windows Update to fix the error. However, if you discover that some of the system files are corrupted or missing, you can try a different approach like using the System File Checker tool.
- Click the Search icon.
- Type “cmd” (no quotes).
- Right-click Command Prompt and select Run as Administrator.
- In the Command Prompt, type “sfc /scannow” (no quotes).
- Wait while the System File Checker is scanning your computer.
- After the process is complete, go back to what you were doing before the error occurred. Check if the problem has been fixed.
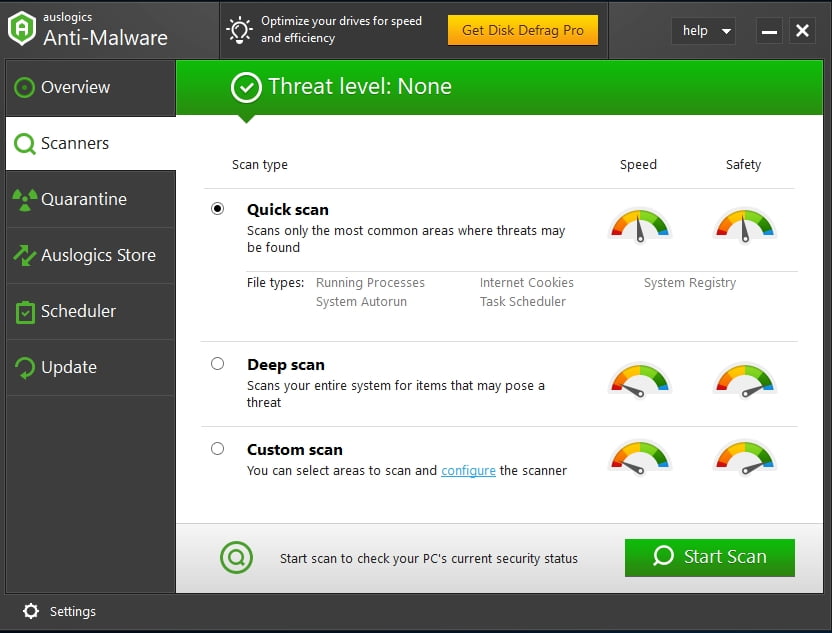
To ensure that there are no other files corrupted by viruses on your computer, we recommend using Auslogics Anti-Malware. This tool can perform a deep scan of your entire system and remove suspicious programs and even registry entries.
So, did any of the aforementioned methods work for you?
Let us know in the comments below!


 Done! Great to see you among our subscribers!