
You can finally relax after a long day and stream your favorite TV series. A minute into the video, your Windows Media Players freezes and you see the C00D11B1 error message which says:
“Windows Media Player encountered a problem while playing the file.”
This problem can be a major hassle, especially when you do not know how to fix it. Well, don’t worry because we’ve got this issue covered! In this article, we will teach you how to resolve the Windows Media Player error C00D11B1. If you have a Windows 7, Windows XP, Windows Vista, or Windows 8 operating system, then this tutorial is perfect for you.
What Causes Windows Media Player Error C00D11B1:
- Corrupted or damaged Windows registry files from a recent update
- Mistakenly or maliciously deleted files associated with Windows Media Player
- Incomplete installation or corrupt download of Windows Media Player software
- Malware or virus-infected system files
- Incorrect proxy and UDP settings
When the C00D11B1 error shows up, it means that your system has failed to correctly process a file needed by Windows Media Player to run or stream a video from the Internet. There are various reasons that may have caused this problem, and it is important for you to identify the source. Doing so will allow you to resolve the error and get your Windows Media Player working again.
1) Re-Installing Windows Media Player
One of the best ways to eliminate the Windows Media Player error C00D11B1 message is to re-install the program. This allows you to remove problematic files, replacing them with a fresh and properly functioning set. Follow the steps below:
- Restart your computer.
- Press and hold the F8 key until you see the boot menu.
- Click Start and then select Run.
- In the Run dialog box, type “appwiz.cpl” (no quotes) and press Enter.
- Choose Windows Media Player from the program list.
- Click Remove or Uninstall.
- Follow the instructions from the uninstall wizard.
- Restart your computer.
- Visit the Microsoft website and look for the installation guide for Windows Media Player.
- Download the installer and save it to your hard drive.
- Run the installation program.
2) Disabling any UDP Settings for Windows Media Player
In some cases, a User Datagram Protocol (UDP) package that comes with your software is preventing Windows Media Player from running the media files correctly. In this case, you’d have to disable any UDP settings for the program to fix the problem. The steps may be a bit tricky, but you can definitely follow them. Here are the instructions:
- Click Start and then select All Programs.
- Choose Windows Media Player from the list of programs. This should open the application.
- From the top menu, click Tools.
- Select Options.
- Inside the Options dialog box, go to the Network tab.
- If the UDP box is checked, deselect it by clicking it.
- Click OK and then check if the problem has been fixed.
3) Correcting the Proxy Settings of Windows Media Player
Incorrect proxy settings may also be keeping your Windows Media Player from functioning properly. By configuring them, you can ensure that the Windows Media server can properly establish the ideal connection to your program.
Here are the steps:
- Search for the correct proxy settings on the Microsoft website.
- Click the Start icon.
- Select Control Panel from the options and then click Tools.
- Check if all the Internet and player options match the information you acquired from the Microsoft website.
- Correct the values if they do not match.
4) Cleaning out Windows Registry
Keep in mind that the registry is a complex module on Windows. It is vital in ensuring that your system operates smoothly. Moreover, incorrectly modifying it would cause more problems for your computer. So, if you plan on manually repairing the registry, you have to be absolutely confident that you can accurately complete the procedure.
As such, we highly recommend that you opt for a one-click solution like Auslogics Registry Cleaner. This program will make the whole process automated. It will search and repair damaged or corrupted registry files that may have caused the C00D11B1 error on Windows 7.
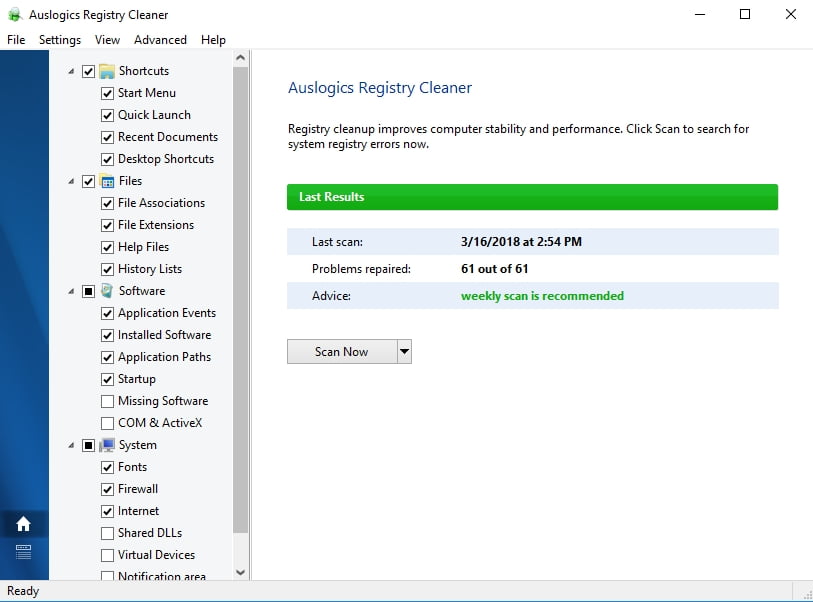
Auslogics Registry Cleaner will also automatically create a backup before every scan. So, you can easily undo the changes and protect your computer from further damages. The great thing about this program is that it takes care of all registry issues, not just the ones which caused the C00D11B1 error. This means that after the procedure, you will notice a dramatic improvement in your computer’s performance and speed.
5) Updating Computer Drivers
If you were trying to play a media file from a DVD when the error occurred, it is likely that the problem was caused by outdated or corrupted drivers. Thankfully, this can be fixed by updating the device driver.
It is worth noting that finding the compatible driver for your hardware device can be extremely time-consuming. You might have to go to the manufacturer’s or Microsoft’s website to search for and download the right driver. If it turns out that you used an incompatible driver, you might even cause more problems for your computer.
So, we advise you to use Auslogics Driver Updater to make the process a lot easier. With one click, you can update the drivers to the latest manufacturer-recommended versions. You will be able to resolve the C00D11B1 error, as well as enjoy new hardware features and faster PC performance.
6) Undo Recent Changes by Using Windows System Restore
In some cases, a recent update or change in the system may have caused the C00D11B1 error. Using System Restore would be the perfect opportunity to go back to the settings before the problem occurred. Do not worry about losing pictures, documents, or other data. Using System Restore would not affect them. Follow the instructions below:
- Click Start.
- Type “system restore” (no quotes) inside the Search box and then hit Enter.
- Select System Restore from the results.
- If prompted, submit any administrator passwords.
- Choose a restore point by following the steps in the Wizard. This should take the computer back to the settings before the error occurred.
Which do you think is the most efficient solution to error C00D11B1?
Let us know in the comments below!


 Done! Great to see you among our subscribers!
5 star