- What to Do If the USB Mouse and Keyboard Stop Working After Plugging In a USB Flash Drive?
- “Why Does My Mouse Stop Working When I Plug In a Flash Drive?”
- Computer freezes
- Hardware issues
- Connection problems
- Driver issues
- Driver conflicts
- System issues
- How to Fix the “The Wireless Mouse and Keyboard Stop Responding When a USB Flash Drive Is Connected” Issue
- Fix 1: Disable Power Management for the USB Root Hub
- Fix 2: Reinstall or Update the USB Hub Driver
- How to Reinstall the USB Root Hub Driver with Device Manager
- Fix 3: Reinstall or Update the Problematic Hardware Driver
- Fix 4: Reset the BIOS
- Fix 5: Reconnect Your Peripherals
![[FIXED] USB mouse and keyboard stopped working after plugging in a USB flash drive](jpg/fix-usb-mouse-and-keyboard-stopped-working.jpg)
As an active computer user, you probably have several devices connected to your PC at the same time. If you’ve got all the time in the world for media, you might be using an external speaker, a microphone or specialized audio boosters. If you’re the gaming type, you might have a USB or Bluetooth controller, special gaming mouse or VR headset connected. And if you just simply want to transfer files to or from the PC, you can just plug in a USB flash drive.
Obviously, you need your mouse and keyboard to move around and select the things you want to copy to the USB drive. But what if the keyboard and mouse stop working the moment you plug in the drive? That’s what this article seeks to resolve.
What to Do If the USB Mouse and Keyboard Stop Working After Plugging In a USB Flash Drive?
According to some Windows users, plugging in a USB drive causes other connected devices, like the mouse and keyboard, to stop working. A few of these users reported that the issue occurred with wireless devices as well. Peripherals connected via Bluetooth stopped working when a USB drive was plugged into one of the PC ports.
According to the complaints, the issue seems to occur most often with mice and keyboards, even though other devices have been affected.
“Why Does My Mouse Stop Working When I Plug In a Flash Drive?”
Looking at this issue critically, we discovered several reasons that may cause the problem of a connected mouse or keyboard not working when a USB flash drive is plugged in. Knowing the possible reasons given below should help with solving the issue and also avoiding the problem in the future.
-
Computer freezes
If your computer is freezing for some reason, it’s likely going to affect the mouse and keyboard as well—whether or not a USB flash drive is connected.
-
Hardware issues
If connected devices are in conflict, one of them can cause the others to freeze or stop working. In this type of situation, the newest hardware is usually the culprit.
-
Connection problems
If the mouse or keyboard connection is loose, the device won’t be getting all the power it can get. When a flash drive is then connected, it takes even more power away, causing the cursor movement or typing device to stop working. Make sure that the USB or wireless mouse and keyboard are properly connected.
-
Driver issues
The problem can be related to the system’s USB Root Hub driver or another hardware driver. If the mouse or keyboard driver is outdated, an error like this can arise. Moreover, installing a dedicated driver for certain hardware is usually better than using the generic driver provided by Windows. You can also check the USB port drivers to see if that’s where the problem is.
-
Driver conflicts
Aside from the potential causes outlined above, a conflict between two drivers can also cause at least one of the corresponding hardware devices to stop working when both are connected.
-
System issues
Rarely, the mouse or keyboard freezing issue when a USB drive is plugged in is caused by underlying system issues. A simple scan with a system file scanner should fix this.
Now that you’re aware of some possible reasons why the wireless mouse and keyboard stop working after connecting a flash drive, you can proceed to solutions.
How to Fix the “The Wireless Mouse and Keyboard Stop Responding When a USB Flash Drive Is Connected” Issue
This Windows bug affects both desktop PCs and laptops with connected USB mice and keyboards. Even when there’s an external mouse or keyboard connected to a laptop, the inbuilt keyboard and trackpad can also stop working in the same scenario, so the solutions are applicable as well.
Note: If your external keyboard isn’t working due to this issue, you can use your main keyboard to navigate in Windows and access areas mentioned in this guide. If only the mouse isn’t working, you can use the directional arrows and Enter key on the keyboard to move around.
If your mouse and keyboard are freezing upon plugging in a USB flash drive, you can try the listed solutions:
- Disable Power Management for the USB Root Hub
- Reinstall or Update the USB Hub Driver
- Reinstall or Update the Problematic Hardware Driver
- Reset the BIOS
- Reconnect Your Peripherals
Let’s talk about each solution in some detail.
Fix 1: Disable Power Management for the USB Root Hub
Power Management on Windows preserves battery power by putting peripherals and other hardware in a low power mode when they’re not in use. In this state, they draw minimal power from the battery, which helps to reduce overall power consumption.
On the flip side, if the USB Root Hub isn’t getting enough power, the connected devices can stop working when another piece of hardware, such as a flash drive, is connected. This is because the newly connected device draws a lot of power, leaving little for the other peripherals to share. In essence, keeping the USB Root Hub on normal power may be less battery-friendly but will ensure that all attached peripherals get the power they need to work.
Therefore, if this issue happens, turning off the Power Management feature for the USB Root Hub can help. Here’s how to do that:
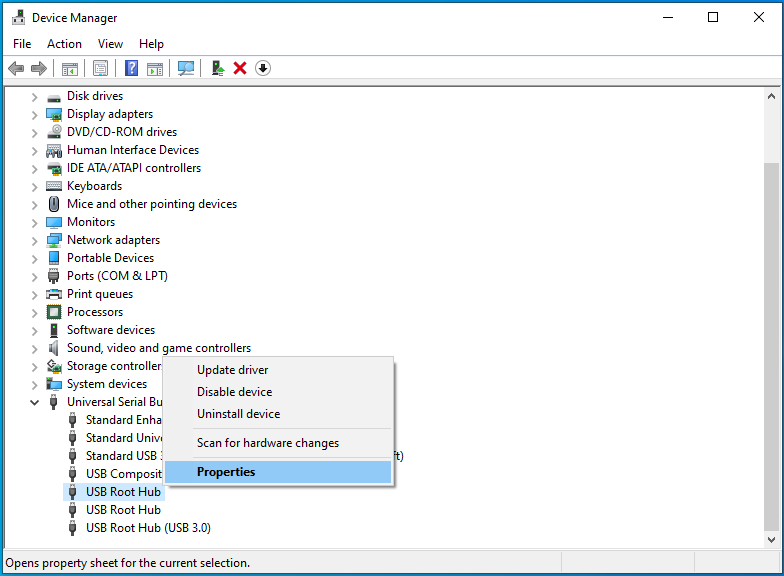
- Move the cursor over to the Start menu icon on the right and right-click it (or just press Win + X) and select Device Manager.
![Navigate to Device Manager in the Power User menu.]()
- In Device Manager, locate the Universal Serial Bus Controllers option and double-click it to expand the entry.
![Expand the Universal Serial Bus Controllers entry.]()
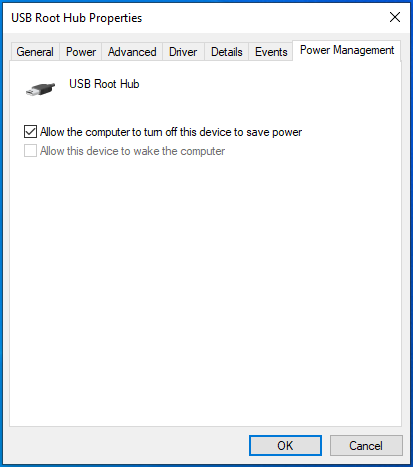
- You will find at least one USB Root Hub under Universal Serial Bus Controllers. Right-click it and select Properties.
![Right-click USB Root Hub and select Properties.]()
- In the USB Root Hub Properties window, go to the Power Management tab.
![Go to the Power Management tab.]()
- Untick the checkbox next to “Allow the computer to turn off this device to save power.”
![Deselect "Allow the computer to turn off this device to save power."]()
- Click OK to confirm the change and then reboot the system.


If you have multiple USB Root Hub entries listed under Universal Serial Bus Controllers, repeat steps 3-5 for each one before you reboot the system.
Fix 2: Reinstall or Update the USB Hub Driver
The USB Root Hub controls the ports on your computer. Therefore, it also controls the connections between the PC and any peripheral. If the USB Root Hub driver is malfunctioning, this can result in your mouse and keyboard freezing upon connecting a flash drive.
One way to resolve this issue is to reinstall the USB Root Hub driver. Another way is to update it. You can use the Device Manager for this.
You don’t have to reinstall or update the driver manually. Windows will help you carry out either task via Device Manager.
How to Reinstall the USB Root Hub Driver with Device Manager
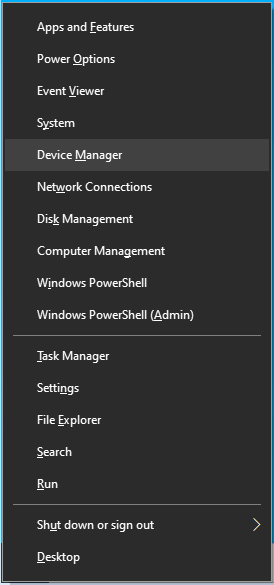
- Hit Win + X and select Device Manager.
![Click on Device Manager in the Power User menu.]()
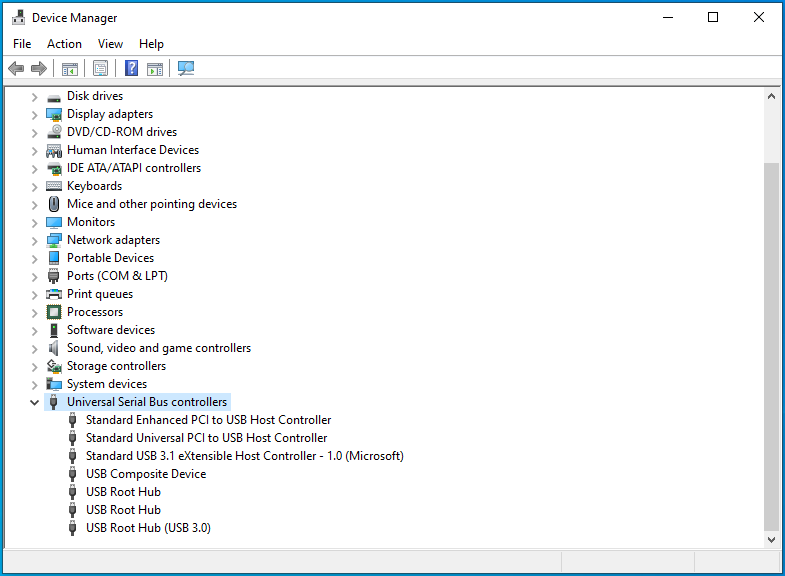
- Navigate to the Universal Serial Bus Controllers node in Device Manager. Double-click it to expand the node.
![Expand the Universal Serial Bus Controllers node.]()
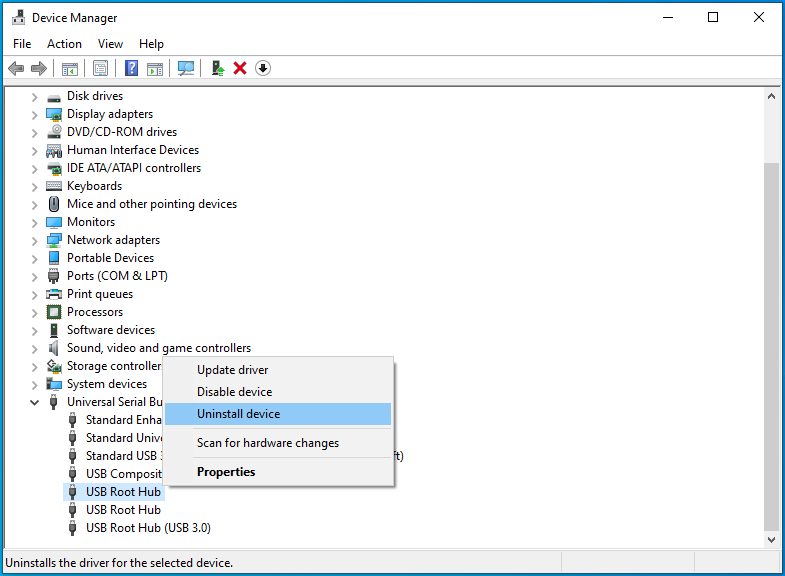
- Right-click USB Root Hub and select “Uninstall device”.
![Click Uninstall device from the menu.]()
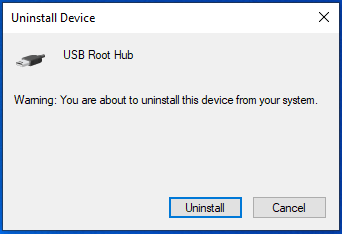
- A warning message will pop up. Click Uninstall.
![Click on the Uninstall button.]()
Note: If your computer has USB 3.0 ports, you’re likely to see USB Root Hub (3.0) listed under Universal Serial Bus Controllers. Also, depending on the nature of your computer’s port, you may see more than one USB Root Hub listed. Simply repeat the procedure for each one. Then reboot the system. After the reboot, try plugging in the flash drive again and check whether it still causes the mouse and keyboard to stop working.
Fix 3: Reinstall or Update the Problematic Hardware Driver
A hardware driver is necessary for a connected peripheral to work on the system. Although Windows provides generic drivers for the most common hardware, a dedicated driver generally works best for each device.
If a hardware driver is bad, faulty, corrupt, incompatible, or outdated, errors like the one under discussion can arise. You can try reinstalling or updating the driver and check what happens.
The issue can lie with the mouse, keyboard or flash drive driver — it isn’t always easy to know the culprit. One way to find it is to open Device Manager and check which devices have a yellow triangle or exclamation mark beside their names. Reinstall or update them and everything should be fine.
If there is no visual indicator, things become trickier. You can try reinstalling the driver for each piece of hardware. Uninstall each driver and then reboot the system.
If that doesn’t help, you can update the drivers then. This will work if the issue is caused by an old or incompatible driver.
You can use the method in the previous section to update the hardware drivers as well. However, as you’re updating more than one driver, that process can become tedious very quickly.
A better way is to use Auslogics Driver Updater to update all the old, faulty or incompatible drivers on your PC to their latest versions. Simply download and install the software and then scan your PC with it. In under a minute you’ll get a report on all the hardware and software drivers on your computer and their status. Click the Update button beside a driver to update it. Once you’ve bought a license, you can click the Update All button to do everything at once.
Auslogics Driver Updater gets the required drivers from official sources and chooses only those compatible with your PC so that you don’t have to worry. It also backs up your current drivers before updating them so that you can roll back if the need arises.
When you’ve finished updating your drivers, restart the computer, and all the connected peripherals should start working properly.
Fix 4: Reset the BIOS
If your mouse or keyboard keeps freezing when a flash drive or another USB device is plugged in, you may need to reset your BIOS.
The BIOS is a PC’s Basic Input Output System. It is a set of instructions stored on a chip on the computer motherboard. The BIOS provides instructions to load the operating system. Resetting the BIOS restores it to the default settings.
Your PC’s brand doesn’t really matter when it comes to restoring the default BIOS settings. The steps are more or less the same.
Start your PC and immediately start pressing the dedicated hardware key. It is one of the function keys, usually F10 on most laptops but F2 or F5 on a few models. You might see the key you need to press in the bottom left or right corner after starting the system. If in doubt, consult your hardware manual or search online.
Keep hitting that key to load the BIOS setup utility. When the BIOS finally loads, you can move around using the arrow keys on your keyboard. The mouse or trackpad doesn’t work in BIOS.
When you’re on the BIOS screen, hit F9 to bring up the option to restore the BIOS defaults. Different brands will have different names for the pop-up, but the same thing always happens. Hitting F9 on most HP laptops will bring up the “Setup Confirmation. Load default configurations now?” pop-up, while pressing F9 in a typical Dell BIOS setup environment will bring up the “Load setup defaults?” pop-up.
Click Yes on the pop-up to reset the BIOS to its default values and then exit the BIOS. To leave the BIOS setup environment, either hit F10 to save the changes and exit directly or navigate to the Exit tab and then save the changes and exit the environment.
Fix 5: Reconnect Your Peripherals
Your wireless peripherals may stop working when a USB flash drive is plugged in due to the active PC ports being on the same side. If your devices are all connected to ports on one side of the computer, this issue can arise.
A working method is to spread out your connections so that all of them do not occupy one side of the PC. This will help to avoid or minimize interference that can cause delayed response to wireless devices.
With these methods, you should be able to maintain a working keyboard and mouse even when you connect another device.


 Done! Great to see you among our subscribers!