
Microsoft keeps catering to the technological needs of the rapidly evolving world. New multitasking and work management trends have led to the need to use multiple windows simultaneously, and the tech giant can now meet it. So, do you want to learn how to snap windows side-by-side in Windows 11? If yes, keep reading to find out.
What Is the New Snap Feature in Windows 11?
Snap is a Windows productivity tool that helps users arrange windows and other applications in a layout that suits them. In Windows 11, Microsoft is improving the ability to snap open windows side-by-side.
Traditionally, snapping allows users to work more effectively and efficiently by quickly arranging what they are working on in a layout that works best for it. Usually, users can only get to work with two side-by-side windows. However, they can now access four preconfigured snap layouts. All they need to do is hover their mouse cursor over the Maximize button of an open window. Also, users with smaller PCs in portrait orientation can choose to snap three apps or windows on top of each other instead of four quadrants.
Snap’s Brief History
The roots of the Windows Snap feature date back to the earliest days of Windows. Then, Microsoft decided not to support arbitrarily sized overlapping and floating application windows. This is because of the fear of an intellectual property lawsuit from Apple.
Instead, windows were full-screen, and when used with other windows, they would automatically tile to fill the available space.
At some point, Microsoft decided to add overlapping window support to Windows version 2.03. But just as it feared, Apple sued it for that. It also sued Microsoft for other Windows features that it claimed imitated certain macOS features.
Consequently, the only notable window management change that Microsoft added to the product was the ability to stack and cascade open windows. This lasted for over a decade.
But that changed in Windows 7 with the advent of Aero Snap. Aero Snap is a Windows feature that allows users to drag a window to the right or left edge of the screen. Once they do that, the window would “snap” to that edge, occupying 50 percent of the display width.
Aero Snap also allows users to drag a window or app to the top of the screen to maximize it. They can also drag a maximized window down the screen to restore it to its initial size.
In Windows 8, Microsoft added another feature called Metro – a mobile app platform. Metro was backed by an online app store called the Windows Store.
The Windows Store is similar to the online app stores found on mobile platforms such as iOS and Android.
However, Metro-style apps could only run full-screen, which was seen by many people as an anachronism on a powerful OS such as Windows. Fortunately, Microsoft was able to offer a concession called Snap.
With Snap, Windows 8 users could view one desktop app and one Metro app or two Metro apps side-by-side on-screen. However, Snap was limited then. One app, considered as the primary app, would occupy a larger portion of the screen. The secondary app would only occupy a tiny and fixed-width portion of the screen. Unfortunately, most Metro-style apps did not support snapping in the latter configuration, making the feature even less useful.
Usually, a UI called Switcher would open when you initiated Snap to display compatible apps that you could snap into that smaller space.
Microsoft also made one significant change in Windows 8. Users were now able to initiate the Snap feature in three ways: using the mouse, using keyboard shortcuts, and using touch-based gestures. This was possible due to Windows’ new focus on touch-first interfaces.
Microsoft improved Snap dramatically in Windows 8.1. Metro-style apps, called Store apps then, were able to occupy one half of the screen. Users with big screens could even snap three apps or windows side-by-side.
Also, there was the Auto Snap feature, which enabled apps to display two windows side-by-side. A canonical example is the Mail app, which could display an email message in a separate window next to the main app window.
In Windows 10, Microsoft introduced another new feature called Snap Assist. Snap Assist is a replacement for Switcher. It can show thumbnails of the remaining open apps or windows when you snap a window, making it easier to use two side-by-side windows.
Windows 10’s Snap Assist also allows users to snap open windows or apps to the corners of the screen, where they will occupy a quadrant (25 percent) of the screen automatically.
In 2019, Microsoft relaunched its PowerToys brand with a new utility known as FancyZones. FancyZones expands the Snap experience, allowing more complex and helpful on-screen window layouts.
Interestingly, Microsoft has integrated an essential part of FancyZones into Windows 11 and now calls it Snap Layouts.
Windows 11 Snap Layouts
In Windows 11, the Windows Snap feature works as before. However, it also includes a few enhancements. The first enhancement is called Snap Layouts.
The Snap Layouts feature provides a flyout that shows all the possible Snap window layouts when you hover your mouse over the Maximize button of any window.
Each Snap Layouts option displayed depends on your display width. With the traditional 3:2, 16:9, and 16:10 displays, you’ll have four layout choices. But users with ultra-wide displays will see six layout options.
You can snap your current window by hovering your mouse over any of the layout choices available. As you do, each window within the layout will light up, showing you where Windows will position the current window for each layout choice.
However, it’s essential to note that this feature does not support keyboard shortcuts or touch-based gestures. Hopefully, Microsoft will address that before it finalizes Windows 11.
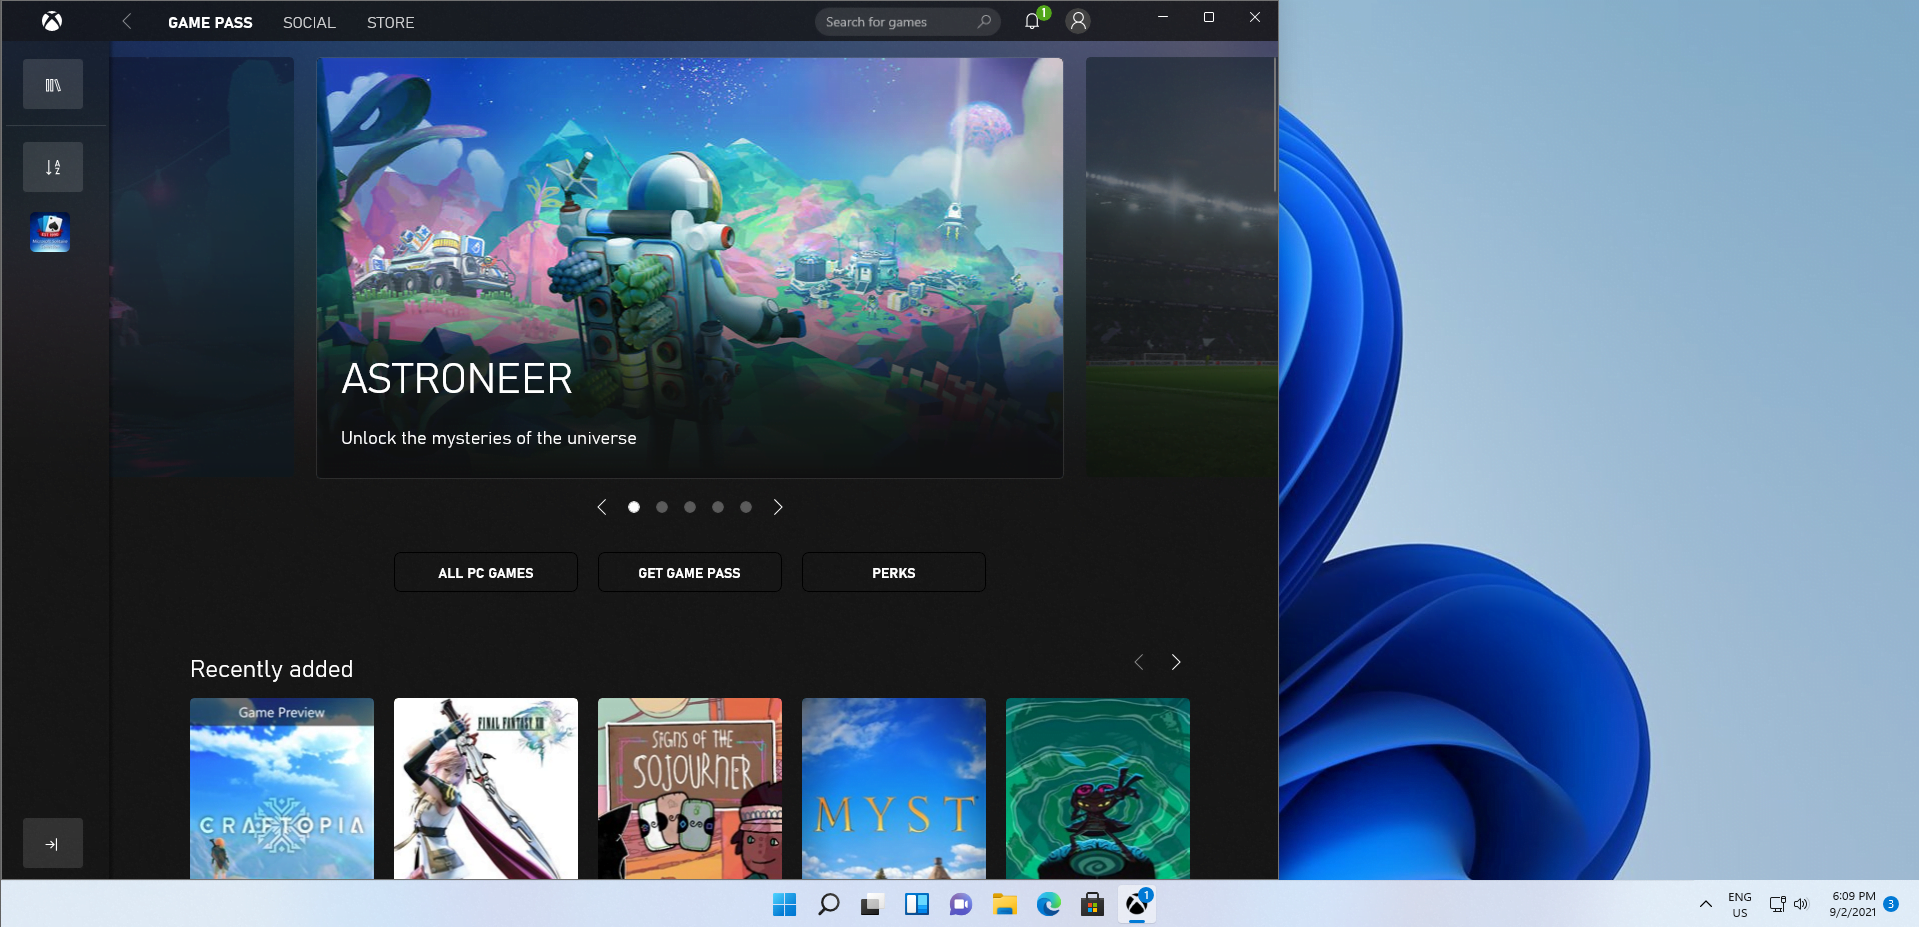
To select a location within a layout, click the location with your mouse. That will position the window as requested. It’ll also trigger Snap Assist, showing you thumbnails of the other open windows or apps.
If you select a layout that has four or more positions, Snap Assist will fill each of the available spaces automatically with an app window.
You can also save layouts created with Snap Layouts and access them with a new Snap feature called Snap Groups.
How to Enable or Disable Windows 11’s Snap Layouts
Follow the steps below to enable Snap Layouts on Windows 11:
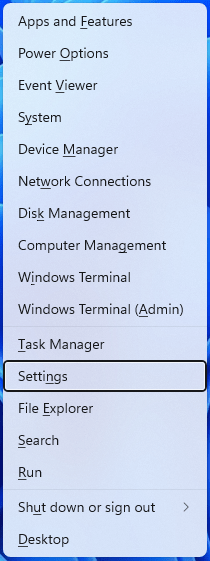
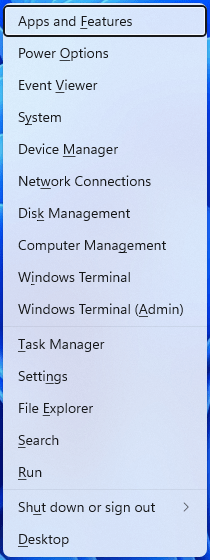
- Press the Windows key + X shortcut to launch the Windows Power User menu.
![Open the Power User menu in Windows 11.]()
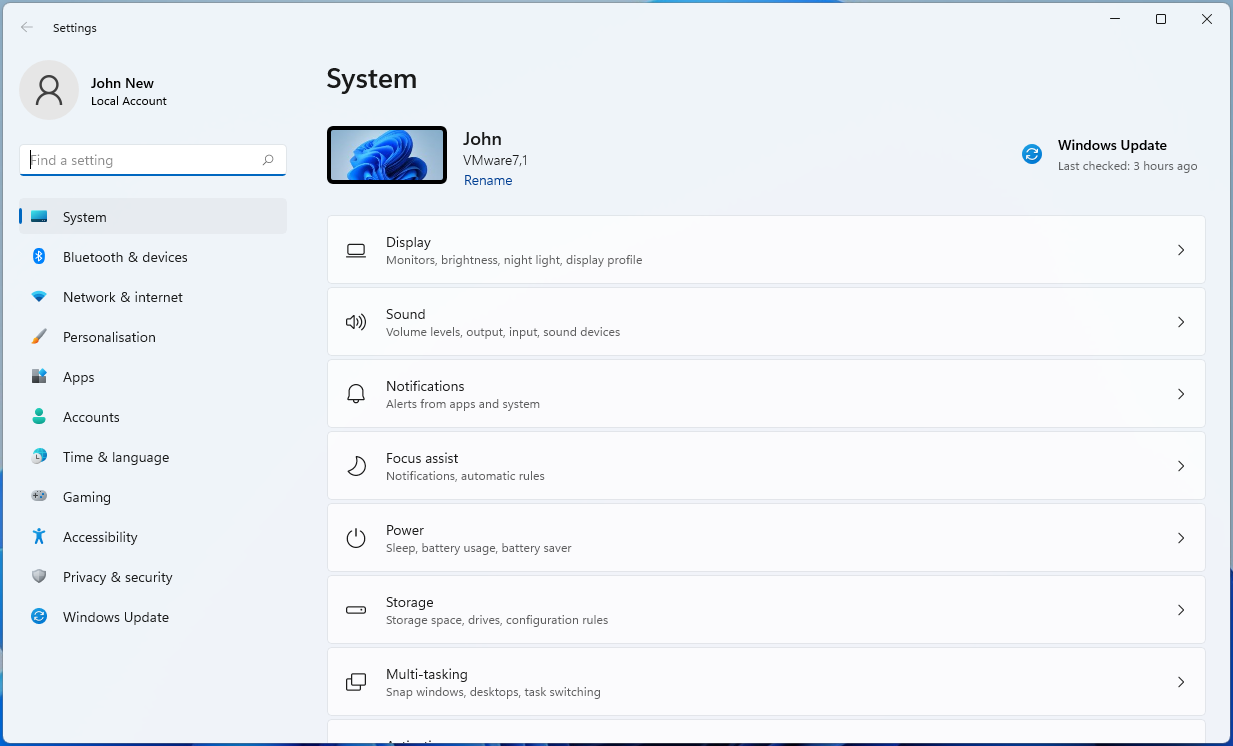
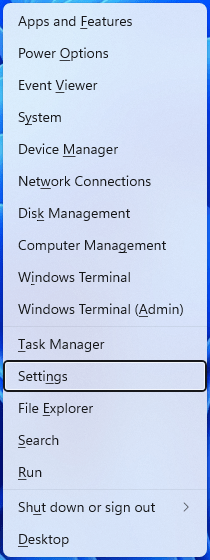
- Now, click on Settings from the Power User menu to open the Settings window.
![Select Settings from the Power User menu.]()
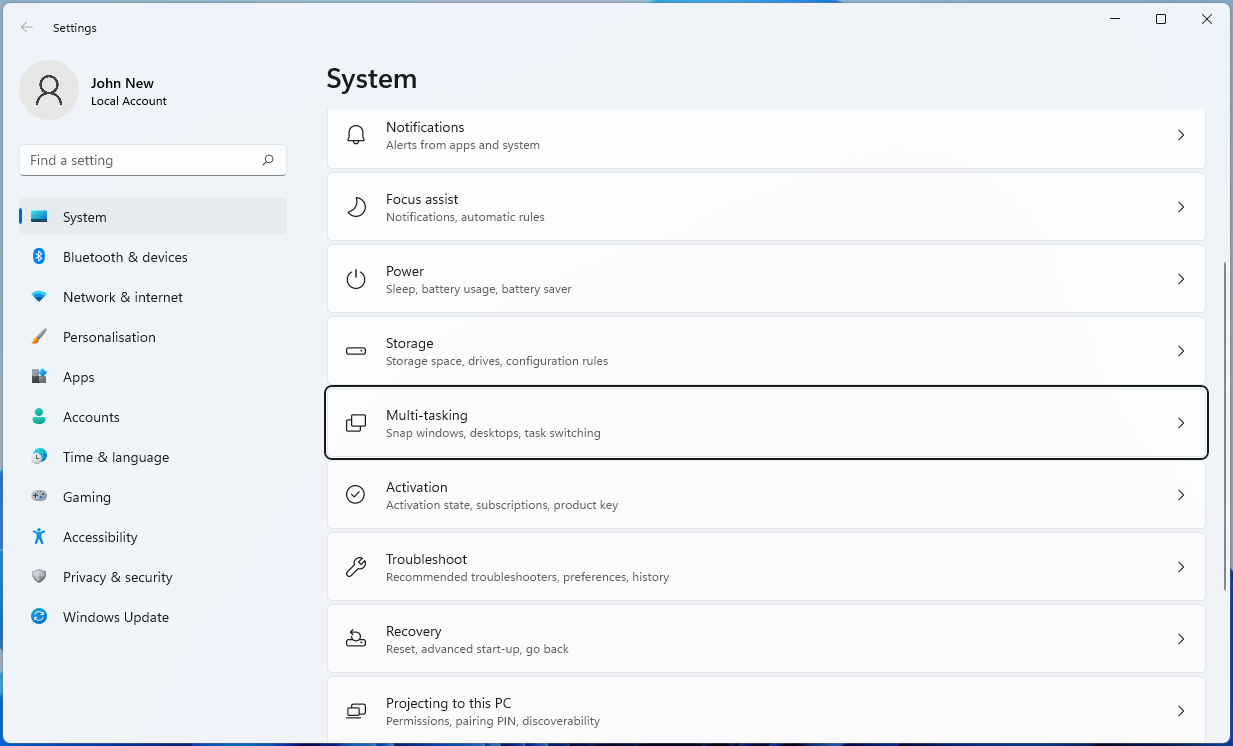
- From the Settings window, click on the System category.
![Select the System option.]()
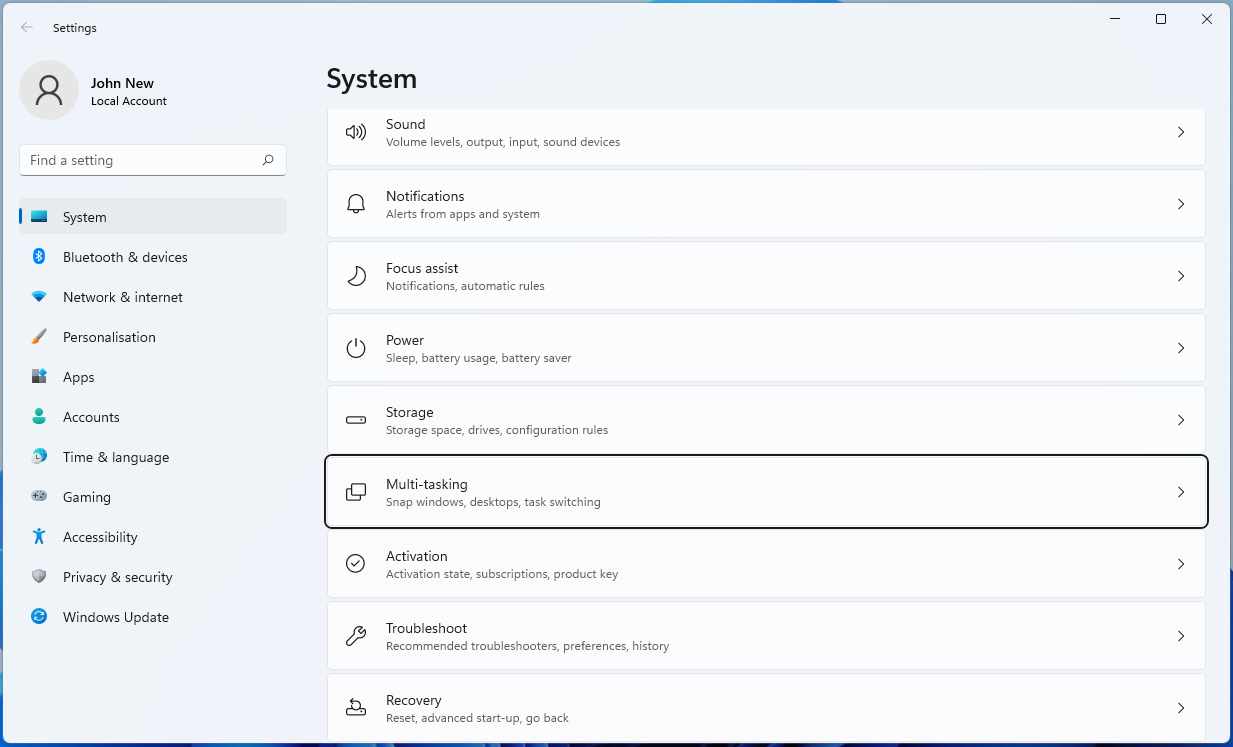
- After that, select the Multi-tasking tab on the right window pane.
![Click on Multi-tasking on the System panel.]()
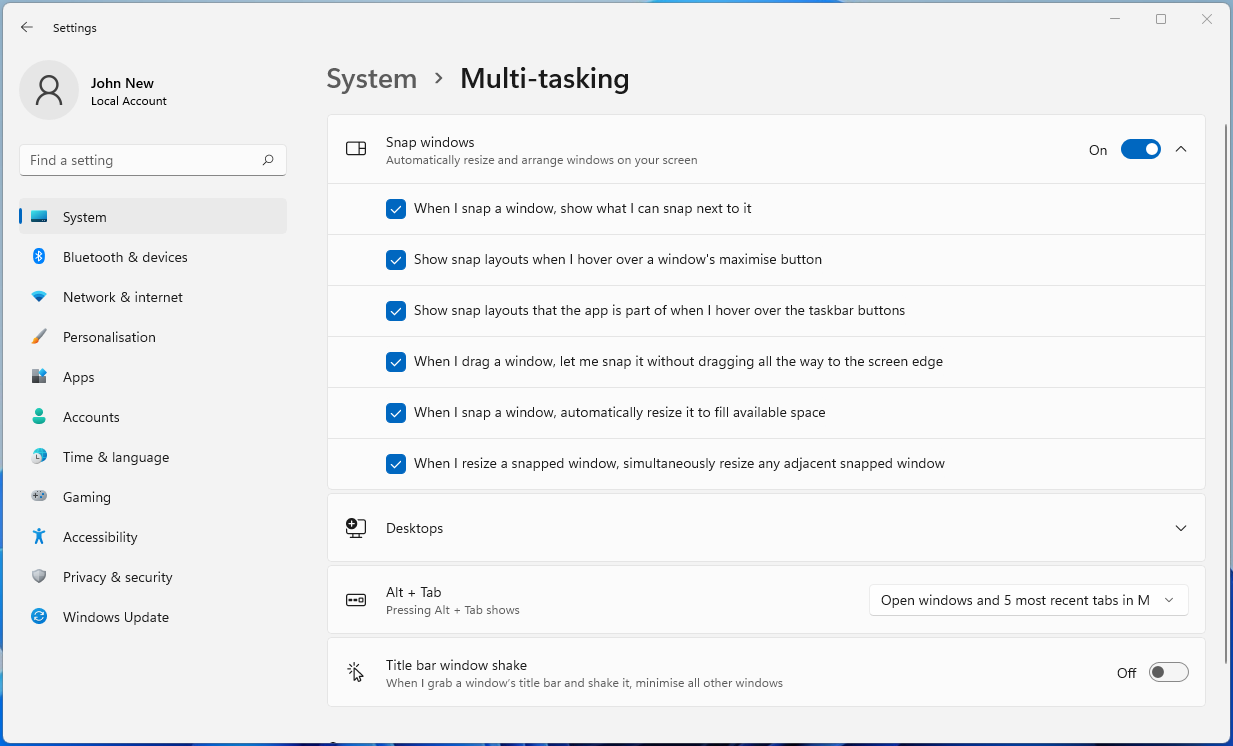
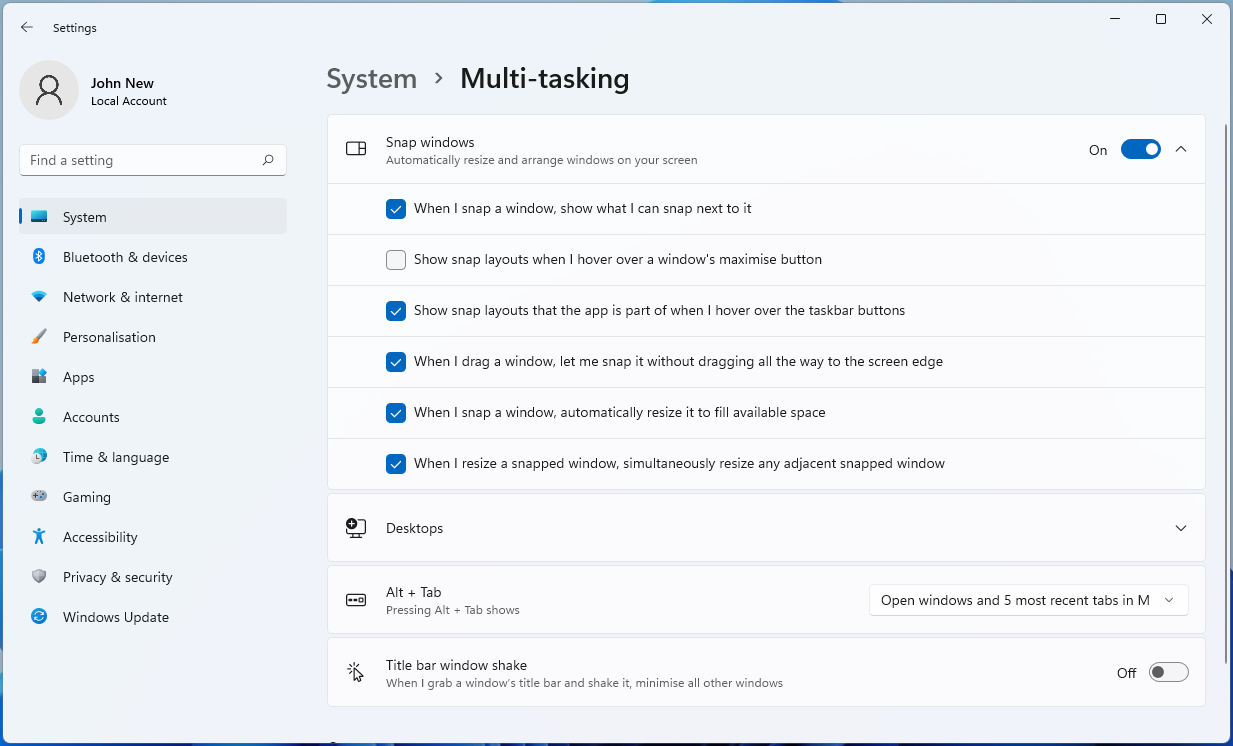
- Lastly, checkmark the “Show snap layouts when I hover over a window’s maximize button” option.
![Enable “Show snap layouts when I hover over a window’s maximize button”.]()

Follow the steps below to disable Snap Layouts on Windows 11:
- Press Win + X to launch the Windows Power User menu.
![Launch the Power User menu in Windows 11.]()
- Now, click on Settings from the Power User menu to open Settings.
![Navigate to Settings in the Power User menu.]()
- From the Settings window, click on the System category.
![Go to Settings in the System menu.]()
- After that, select the Multi-tasking tab on the left window pane.
![Enter the Multi-tasking tab.]()
- Lastly, uncheck the “Show snap layouts when I hover over a window’s maximize button” option.
![Uncheck “Show snap layouts when I hover over a window’s maximize button”.]()

How to Use Snap Layouts in Windows 11
Here’s how you can use the feature:
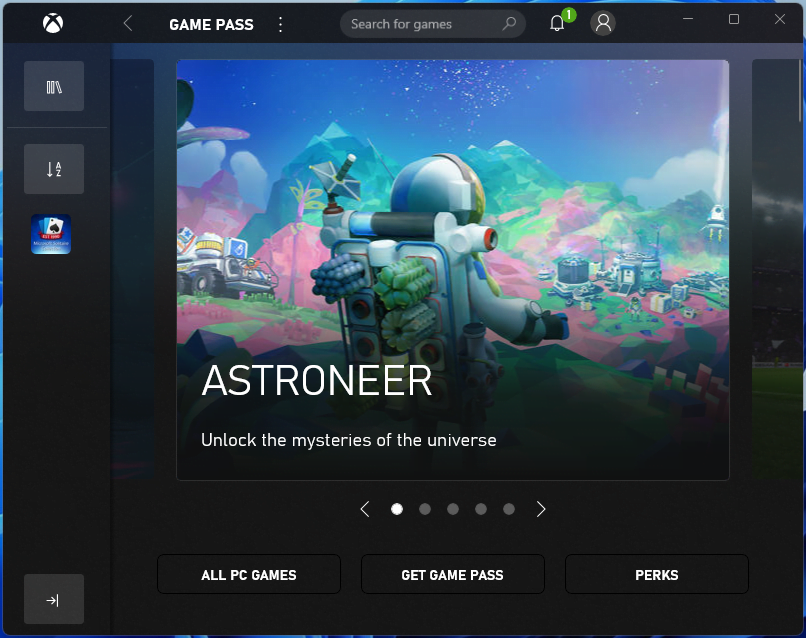
- Open and select the window or app that you want to snap.
![Open the app you want to snap.]()
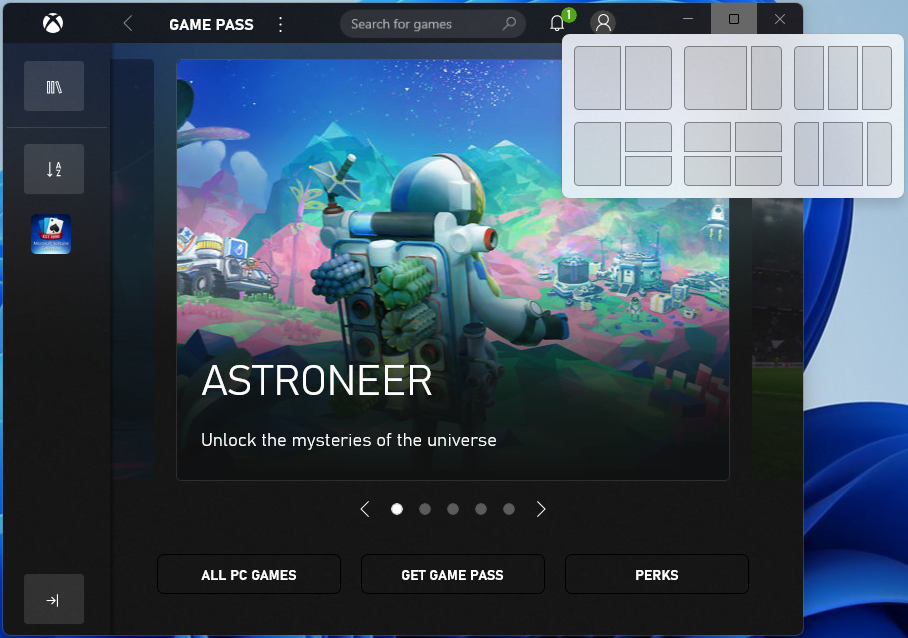
- Now, hover your mouse over the Maximize button of the window.
![Click on Maximize.]()
- You will see available Snap Layouts options for the window; select an option.
![Select a layout option.]()
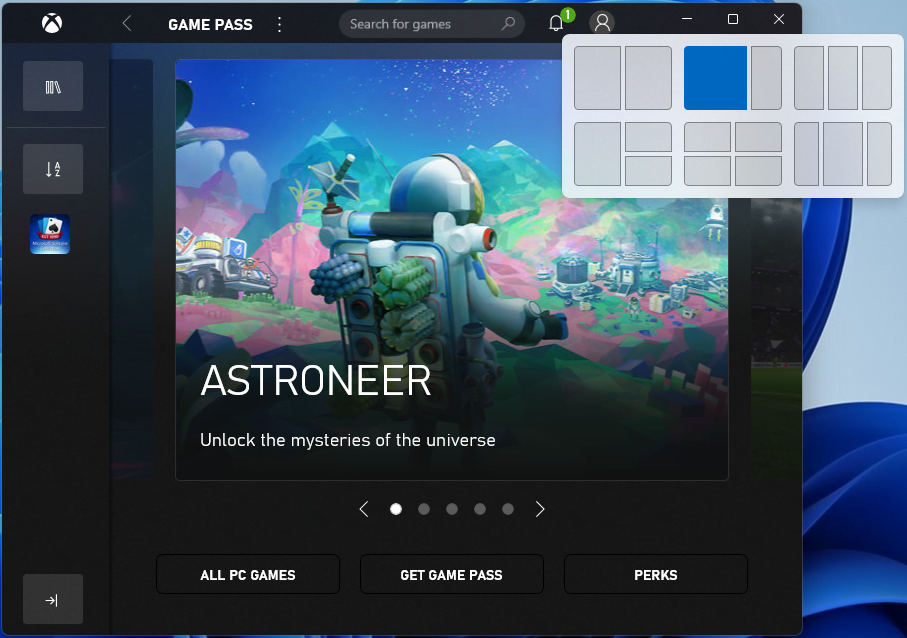
- Once you select a layout, Windows will display possible relocation positions. Select the position within the layout where you want to place your window.
![See the selected layout.]()
Windows 11 Snap Groups
Snap Groups is a feature that presents a set of open windows that you have saved in Snap Layouts and that you can maximize or minimize as a group. They are found in the taskbar for quick access.
It’s an extension of Snap Layouts by which Windows remembers the apps you used together and allows you to group them.
This grouping logic remembers the apps you were using and also the Snap Layouts you used. So, when you activate Snap Groups on your taskbar, all the apps you used will reappear in the exact layout you had before.
How to Use Snap Groups in Windows 11
Follow the steps below to use the Snap Groups feature:
- Hover your mouse over your web browser’s icon on the taskbar. Note: Microsoft used Microsoft Edge in their demo; it’s unclear if you need to do so too.
- Now, you’ll see the various groups of apps and sites that you created pop up.
- Finally, select the group you want to open to display the whole group with the same layout position as before.
How to Snap on Windows 10 Like on Windows 11
Microsoft Windows Snap features have been in existence since the days of Windows 7, but they were greatly improved in Windows 10. It’s essential to note that you can only access all the new advanced snap layouts on Windows 11.
However, Windows 10 can still do a lot more than the conventional two side-by-side windows that most people know. Thanks to Snap Assist, Windows 10 users can enjoy the Windows Snap feature more than on earlier Windows versions.
Traditionally, users had to resize applications or windows manually to enjoy the Snap feature. But in Windows 10, rather than manually resizing and moving apps and windows around, users can simply drag each window to certain portions of the screen. Once they do that, Windows 10 will take it up from there and fix each window to predefined portions of the screen.
There are six snap zones that you can enjoy with Snap Assist. You can drag an open window or application to any of the four corners of your screen to snap the window or app to that quarter of the screen.
You can also drag an open window or application to the left or right edge of your screen to snap it to that half of your screen.
Snap Assist allows you to use any layout as long as it fits in a 2×2 grid. The layout can be two halves, four quarters, or one half and two quarters.
You get to enjoy all these features by simply dragging your windows or apps around the screen.
How to Snap on Windows 10 with Windows Snap Assist
To get started, follow the steps below:
- Left-click on the title bar of the window or app you want to snap and drag it to the left or right edge. You can also drag it to any of the corners.
- You’ll see a transparent overlay indicating how the window or app will snap.
- After that, release the mouse to snap as indicated in the transparent overlay.
Note: When using the right or left edge snapping, the other half of your screen will display the other open windows automatically. You can select any of the open windows displayed to fill the other portion of your screen.
Also, when snapping to quadrants of the screen, Windows will not display the list of other open windows or apps. It will only do that after you have filled three quadrants of the screen.
How to Snap on Windows 10 with Keyboard Shortcuts
Windows 10 Snap Assist also works with keyboard shortcuts. Many users find it more convenient to snap using keyboard shortcuts.
Follow the steps below to use Windows Snap Assist with keyboard shortcuts:
- Select any of the open windows or apps that you want to snap.
- Now, press the Windows key + the right arrow key or the Windows key + the left arrow key. That action will “snap” the selected app or window to the right or left half of your screen.
For smaller quadrants, follow the steps below:
- Press the Windows key + the right arrow key and then the Windows key + up arrow key to snap to the top-right corner.
- Press the Windows key + the right arrow key and then the Windows key + down arrow key to snap to the bottom-right corner.
- Press the Windows key + the left arrow key and then the Windows key + up arrow key to snap to the top-left corner.
- Press the Windows key + the left arrow key and then the Windows key + down arrow key to snap to the bottom-left corner.
Unfortunately, Windows 10 does not support vertical snapping. That is, you cannot drag one window to the bottom half and the other window to the top half with Snap Assist. You have to do it manually.
Conclusion
The new Windows 11 Snap feature will aid multitasking and increase work productivity. However, running multiple tabs or windows at the same time can affect your PC’s performance, throttle its speed, or cause it to freeze. When this happens, it defeats the purpose of the Snap tool in the first place. Luckily, with Auslogics BoostSpeed, a third-party PC performance optimizer, you get to enjoy advanced Windows features with ease.
Was this guide helpful? We’d like to hear from you; please leave a comment below. If you have any inquiries, please contact our support team. And don’t forget to check out our blog for more Windows guides.


 Done! Great to see you among our subscribers!