
Microsoft Edge has become the browser of choice for many users thanks to its cool features and the improvements that it regularly receives from Microsoft. The introduction of vertical tabs is one such feature, and it is meant to help minimize resource usage, especially for those who open multiple tabs.

Also, Microsoft introduced support for extensions on Microsoft Edge for Windows 10 with the Anniversary Update. You can now acquire extensions from Microsoft Store by clicking on “Extensions” in Edge’s Settings menu and selecting those you want. Keep in mind that these extensions are from third-party developers. This means that unless they are coded correctly and decently, they can adversely affect your browsing experience, not to mention negatively impact your laptop’s battery life.
By default, Microsoft Edge is also designed to allow sideloading of extensions. This means that you or another user can install and run unverified extensions on the browser. For this reason, it’s perfectly understandable why you may want to block the installation of Edge extensions by other users.
Fortunately, you can disable the installation of extensions on Microsoft Edge with ease. This is a handy feature if extensions are not your thing or if you share your computer with other people and you don’t want them adding new extensions.
In our tutorial, we’ll show you how to prevent users from installing extensions in Microsoft Edge. Note that by disabling the extension feature, you will disable all your extensions and you or other users will not be able to install new ones or uninstall them.
Method 1: Disable the Microsoft Edge Extension Policy to Prevent the Installation of New Extensions
The easiest method is to use the Local Group Policy Editor to block the installation of extensions in Edge. Keep in mind that this method only works on Windows 10 Pro, Enterprise, or Education. Users running Windows 10 Home Edition will have to try the other methods outlined below.
To prevent users from installing extensions on Edge via Group Policy, follow the guidelines below:
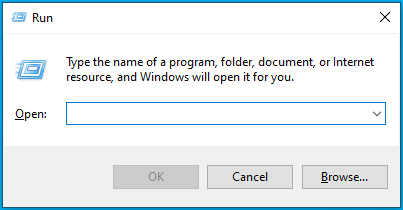
- Launch the “Run” command using the Win + R keyboard shortcut.
![Open the Run utility using Win + R.]()
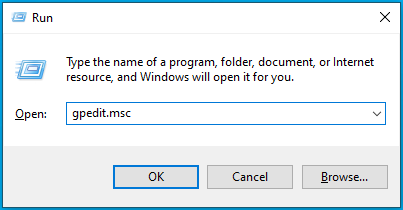
- Type gpedit.msc and hit the “Enter” key or click on “OK”.
![Enter gpedit.msc into Run and click OK or press Enter.]()
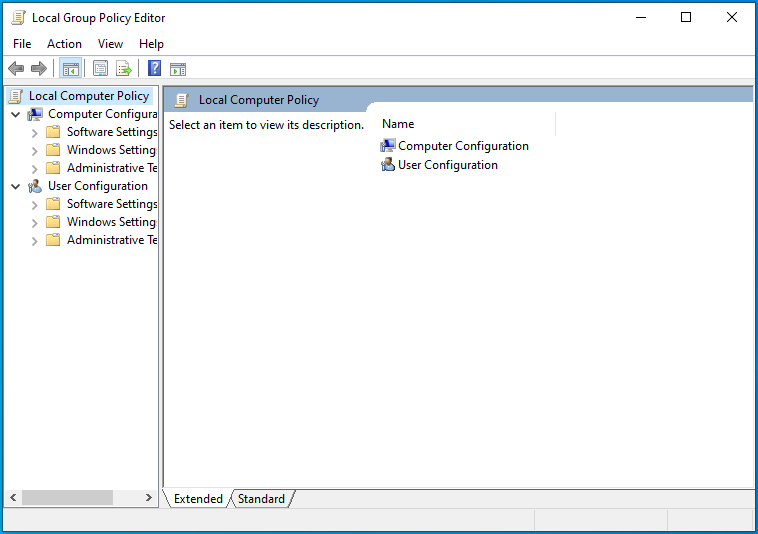
- This will open the Local Group Policy Editor.
![The Local Group Policy Editor will open.]()
- Now, navigate this path:
Computer Configuration > Administrative Templates > Windows Components > Microsoft Edge
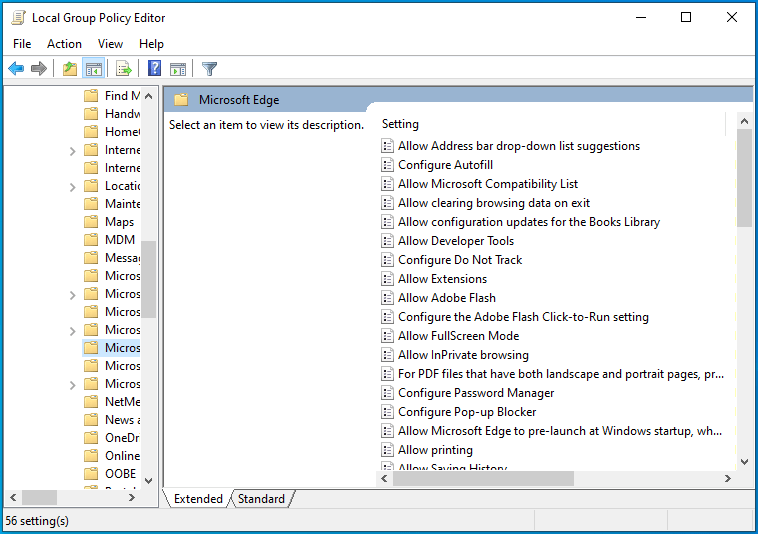
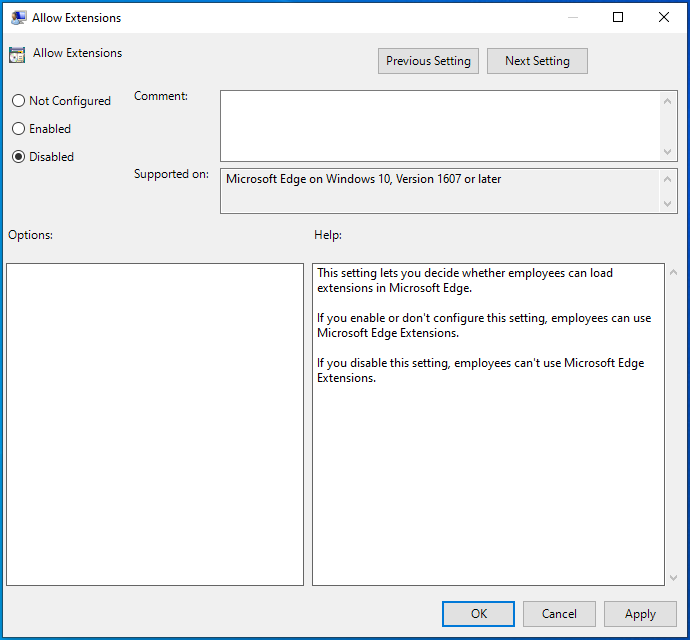
- Double-click on the “Allow Extensions” policy.
![Navigate to the Allow Extensions policy.]()
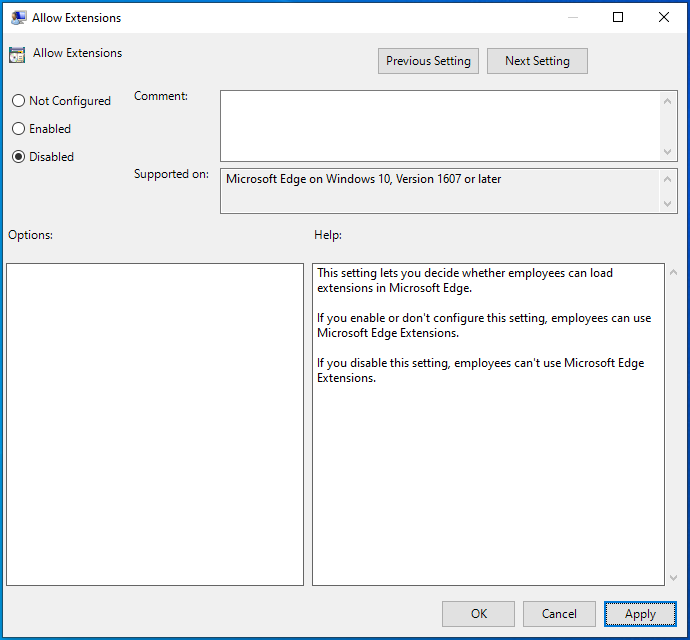
- On the next screen, select “Disabled” to turn the extension feature off.
![Check Disabled to disable the feature.]()
- Click Apply > OK and restart your system.
![Click Apply and OK to apply the changes and restart your system.]()

With the feature disabled, you or other users will no longer be able to use or install extensions on the Microsoft Edge browser. In addition to that, the “Extensions” option in Edge’s Settings menu will be disabled.
You can easily revert the changes by following the steps above but selecting the “Not Configured” option instead.
Method 2: Disable Extensions in Microsoft Edge Using the Registry
For users running Windows 10 Home, there’s no option to use the Local Group Policy Editor to block the installation of Edge extensions. However, you can edit the Registry to achieve the same effect.
Caution: Keep in mind that editing the Windows Registry is risky and can cause irreversible damage to your computer. Therefore, be sure to back up your registry before proceeding with the steps below. Once you’re done, follow this guide to disable Microsoft Edge extensions via the Registry Editor:
- Use the Win + R shortcut to bring up the “Run” box.
![Press the Win + R shortcut to open the Run utility.]()
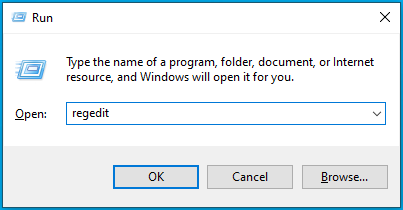
- Type regedit and press the “Enter” key or click the “OK” button.
![Type regedit into the Run box.]()
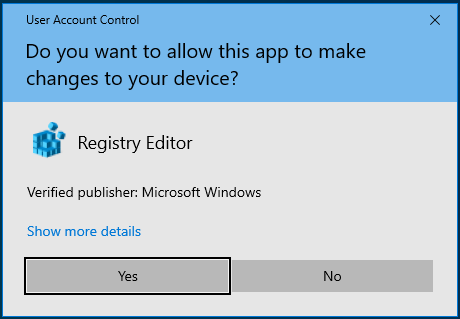
- If prompted by the system to confirm your decision, select “Yes”.
![Click Yes to let the Registry Editor make changes to your system.]()
- Once the Registry Editor window opens, navigate the following path:

HKEY_LOCAL_MACHINE \ SOFTWARE \ Policies \ Microsoft
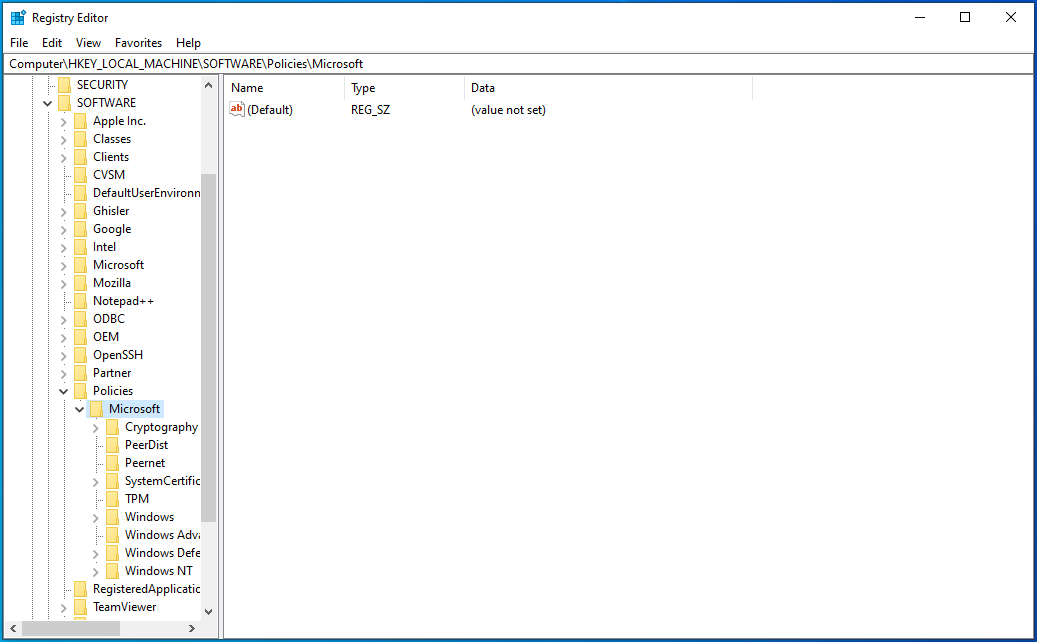
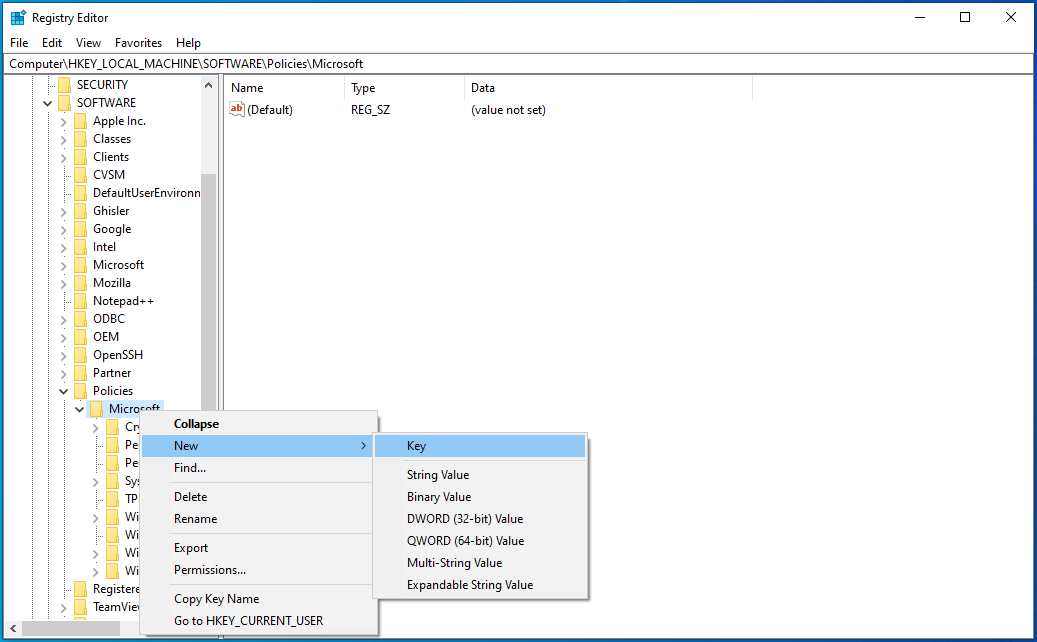
- Right-click the “Microsoft” folder and select New > Key. This will create a new key, which you can assign the name MicrosoftEdge.
![Go to Microsoft and click New -> Key.]()
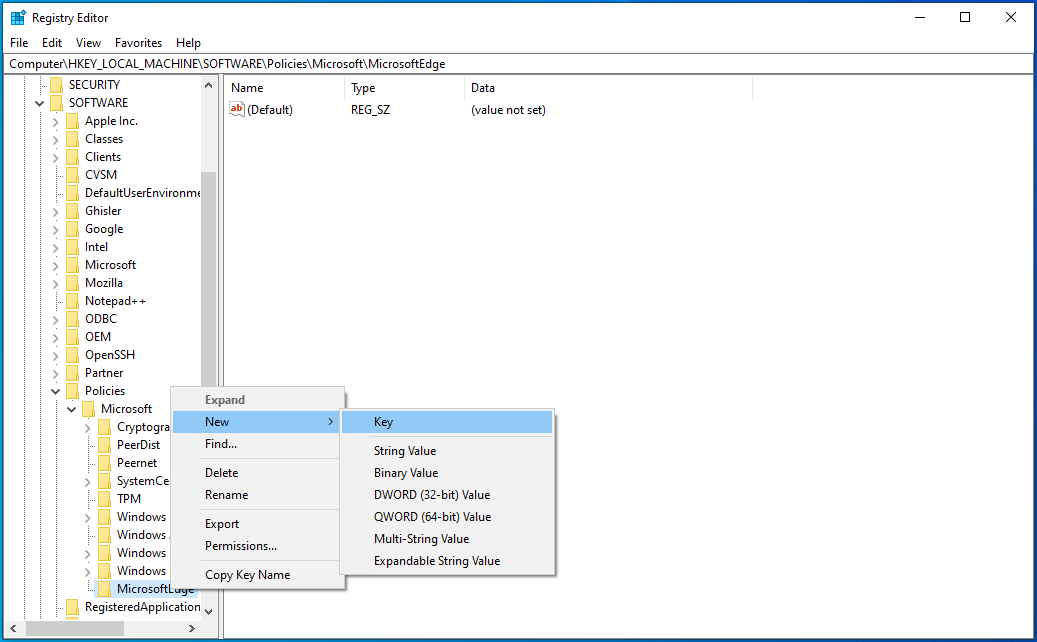
- Now, right-click the new key you just created and select New > Key to create yet another key; this time, name it Extensions.
![In MicrosoftEdge, create a new key.]()
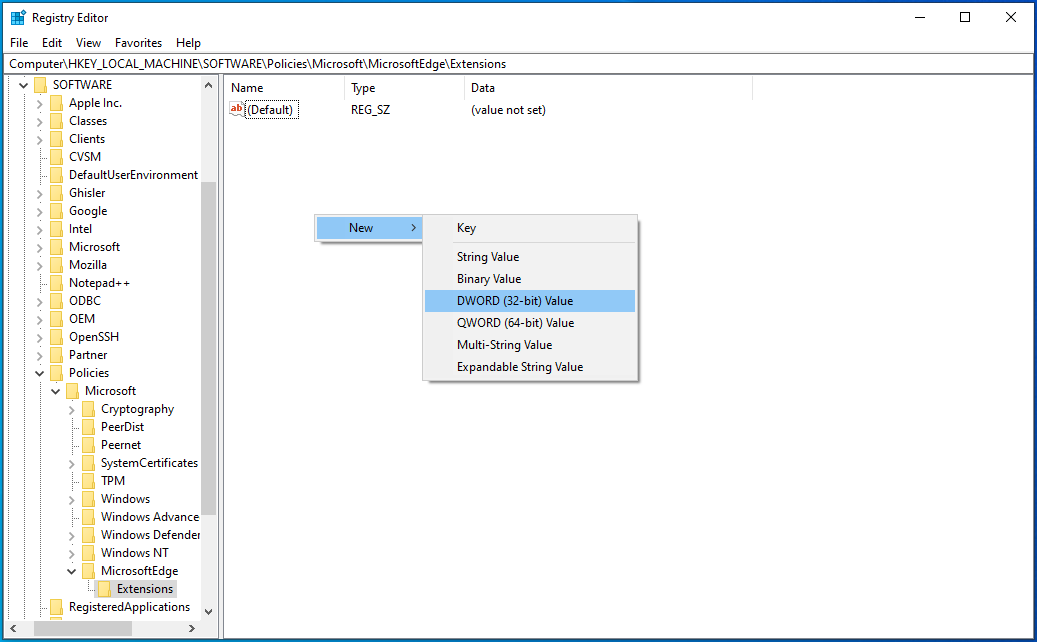
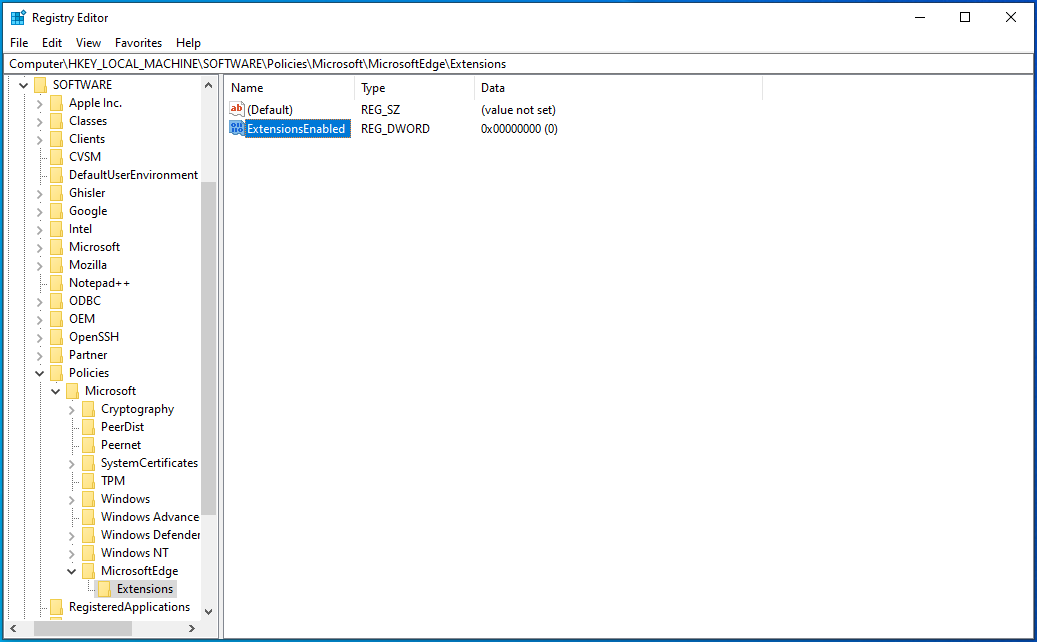
- Next, with the “Extensions” key selected, go to the right pane, right-click on an empty space, and choose New > DWORD (32-bit) Value. Name it ExtensionsEnabled.
![Create a new key in Extensions.]()
- Double-click on ExtensionsEnabled.
![Double-click on ExtensionsEnabled.]()
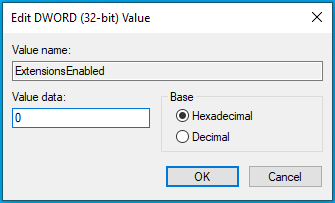
- Make sure “Base” is set to “Hexadecimal”. Now change the figure under “Value data” to 0 (zero).
![Set Base to Hexadecimal and Value data to 0.]()
This process blocks Microsoft Edge extensions. This means you or other users won’t be able to use or install any extensions on Microsoft Edge. Additionally, the “Extensions” feature in the Settings menu will be disabled. To undo the changes, all you have to do is delete the ExtensionsEnabled value or change “Value data” to “1”.
Method 3: Block Microsoft Edge Extensions Via the Command Prompt
If you don’t want to risk making changes to your registry, you can automate the process using the Command Prompt. You’ll accomplish the same effect as with Method 2, but you won’t be tampering with the Registry.
You need administrator permissions to continue. Here are the steps to follow:
- Use the Win + R keyboard shortcut to launch the “Run” dialog box.
![Open the Run dialog box.]()
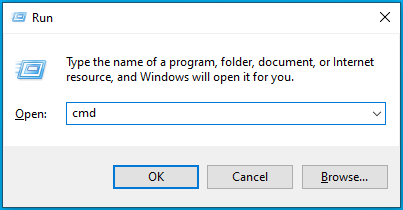
- Type cmd into the input field and press the Ctrl + Shift + Enter combination to open the Command Prompt with administrator rights.
![Type cmd into Run.]()
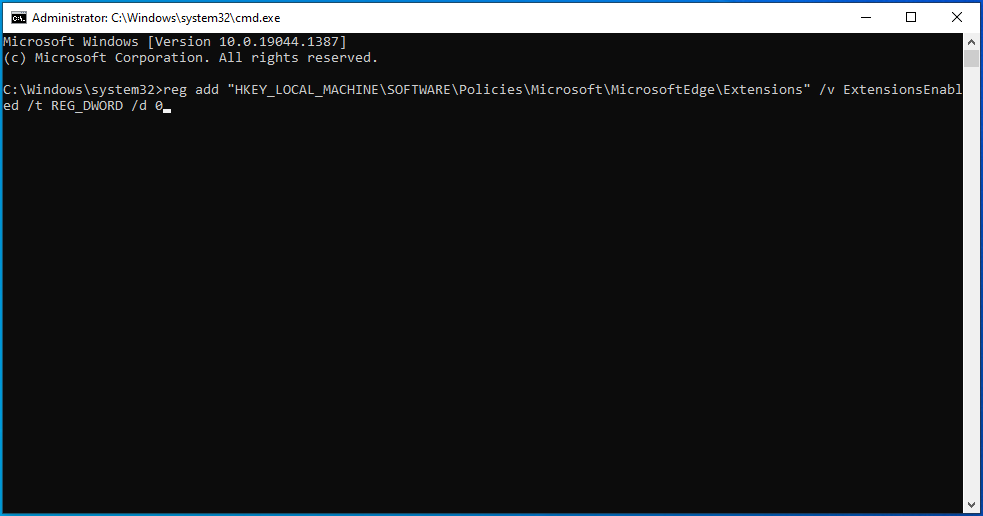
- In the Command Prompt window, paste the command below and press “Enter”:

reg add “HKEY_LOCAL_MACHINE\SOFTWARE\Policies\Microsoft\MicrosoftEdge\Extensions” /v ExtensionsEnabled /t REG_DWORD /d 0
If you see the message “The operation completed successfully”, Microsoft Edge extensions should now be disabled.

To verify that, check if the “Extensions” option in Edge’s settings menu is accessible.
Conclusion
You can now prevent users from installing new extensions in Microsoft Edge using any of the methods discussed. This option may be crucial for both individuals and organizations that want to protect their privacy and that of the company, including employees.
As you may be aware, not all browser extensions are trustworthy. Malicious actors can use extensions to spread malware to unsuspecting users. Once installed, a malicious extension changes the default settings of your browser, consequently taking over control. That’s why you may open your browser one day, only to discover that the homepage, new tab page, and default search engine have changed. When this happens, any search query you enter in the address bar will redirect you to a bogus site likely containing malicious items.
This type of malware is designed to steal sensitive details, like passwords and banking details, which hackers can use to blackmail or steal from you. And that’s just one way attackers can get into your computer.
If you’re worried about your privacy or want peace of mind when browsing, we recommend installing a powerful security solution like Auslogics Anti-Malware. This program is specifically engineered to protect your machine against malware and data safety threats.
The security software will detect all malicious items hiding in your system, including those masquerading as legitimate files or applications. The program is simple to set up and use and designed not to conflict with your primary antivirus tool if you already have one.

One of the benefits of using Auslogics Anti-Malware is that it lets you schedule automatic scans for continuous protection. Plus, if you have folders or files that you don’t want to be scanned, you can easily add them to the Ignore List.


 Done! Great to see you among our subscribers!