- What Is ERROR_SXS_ASSEMBLY_MISSING on Windows 10?
- How to Fix the Error 0x80073701 on Windows 10
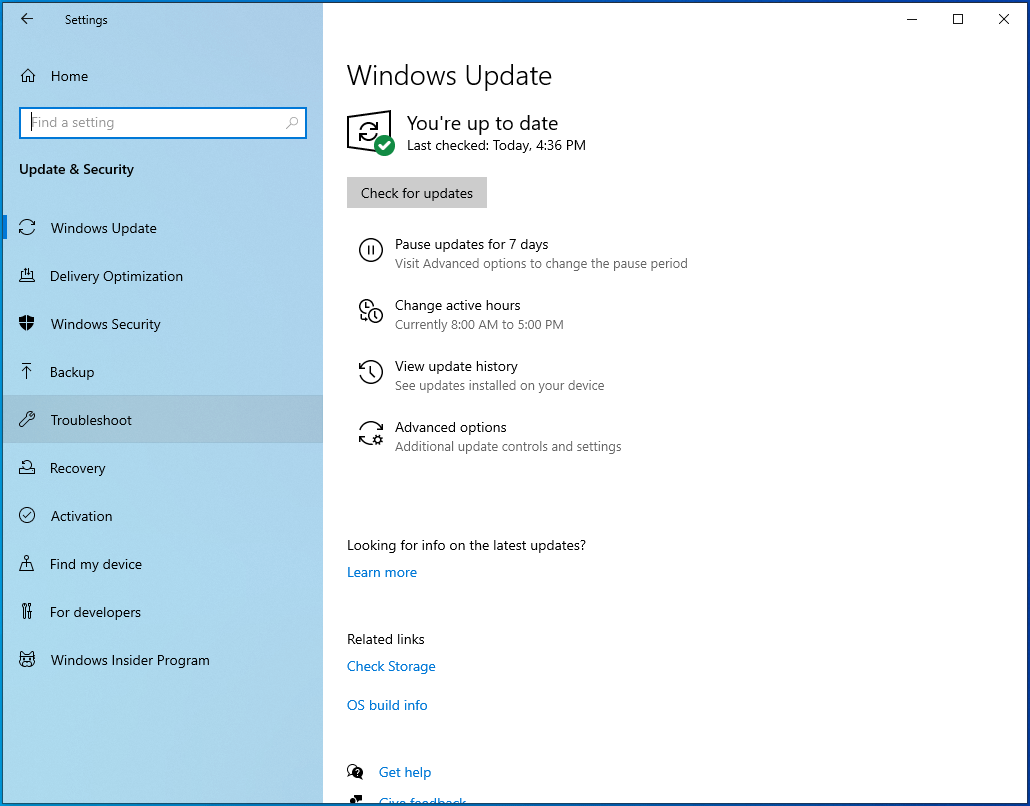
- Run the Windows Update troubleshooter
- Restart Windows Update services
- Find faulty system files and replace them
- Reset the Winsock component
- Flush your DNS cache
- Release and renew your IP address
- Reset your Hosts file
- Reset Windows Update components
- Step 1: Stop the Windows Update services
- Step 2: Delete the qmgr*.dat files
- Step 3: Rename the Catroot2 and SoftwareDistribution folders
- Step 4: Reset the Windows Update and Background Intelligent Transfer services to their default settings
- Step 5: Reregister Windows Update-related files
- Step 6: Remove incorrect registry entries
- Step 7: Restart the Windows Update services
- Perform a clean boot
- Conclusion

The error 0x80073701 is one of those Windows Update errors that show up when the client fails to download and install updates. It’s also known as ERROR_SXS_ASSEMBLY_MISSING in technical terms.
If you’ve been struggling with this problem, just keep reading – in this article, you’ll find fixes that will show you how to get rid of it and complete your update.
What Is ERROR_SXS_ASSEMBLY_MISSING on Windows 10?
The error is an indication that the Windows Update client cannot find some files. While this could be the case, other underlying problems could be triggering the problem. The causes of the issue include, but are not limited to, the following:
- Malfunctioning Windows Update services
- Corrupt system files
- Application interference
- Network connection problems
- Problematic Windows Update components
How to Fix the Error 0x80073701 on Windows 10
You can get rid of the problem by fixing its root causes. While each solution below will show you how to fix the Windows update error 0x80073701, only the ones that resolve the particular issues that exist on your computer will work. So, apply them one after the other until the error disappears.
Run the Windows Update troubleshooter
Your first step should be running Microsoft’s dedicated tool for resolving update-related problems. The utility is designed to check for common issues that trigger errors and perform routine activities, such as restarting Windows Update services and resolving app conflicts.
Running the troubleshooter involves going through the Settings application. After scanning for problems, the tool will apply fixes to the issues it finds.
Follow these steps:
- Go to the Settings application by tapping Win + I. You can also summon the app by right-clicking the Start button and clicking on Settings in the Power User menu.
![Launch the Windows Settings app in Windows 10.]()
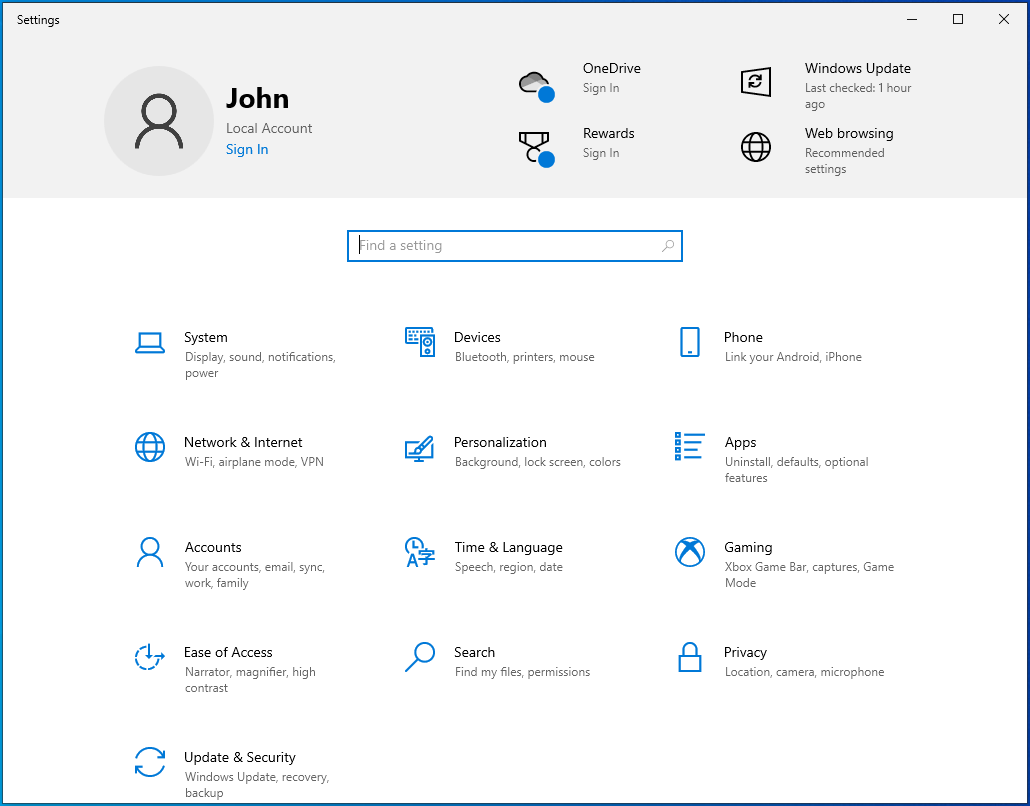
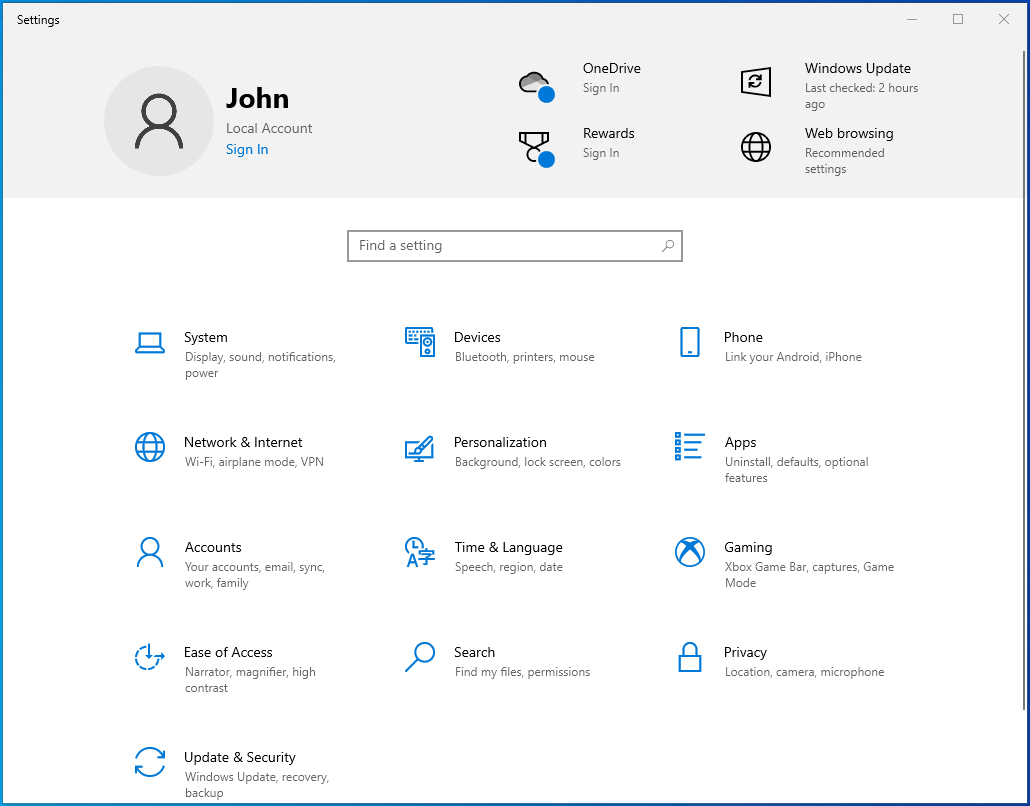
- Click on the Update & Security icon after the Settings window shows up.
![Navigate to Update & Security in Windows 10.]()
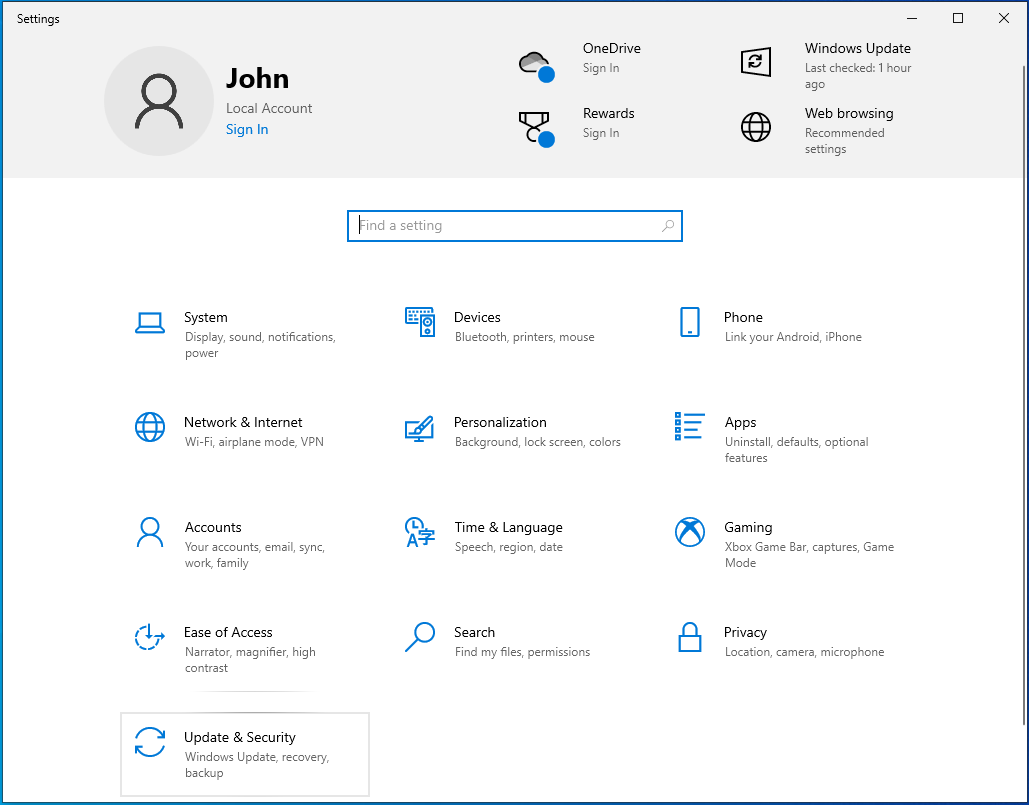
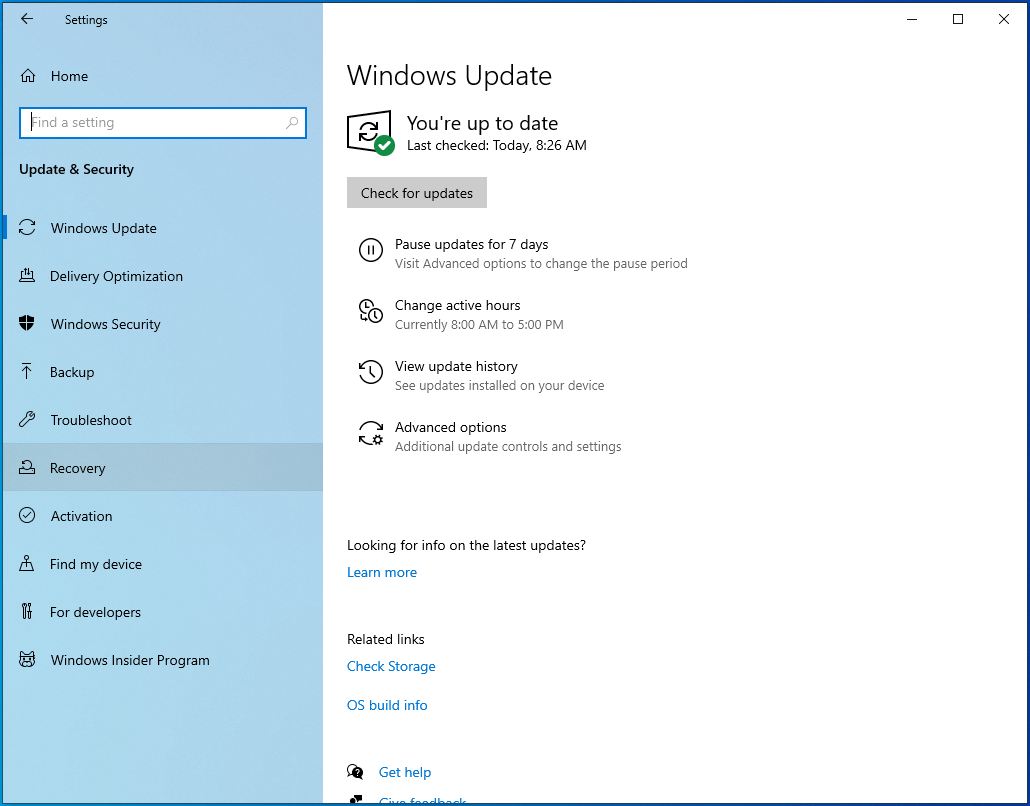
- After the Windows Update page shows up, go to the left side of the window and click on “Troubleshoot.”
![Select Troubleshoot from the left pane in Update & Security.]()
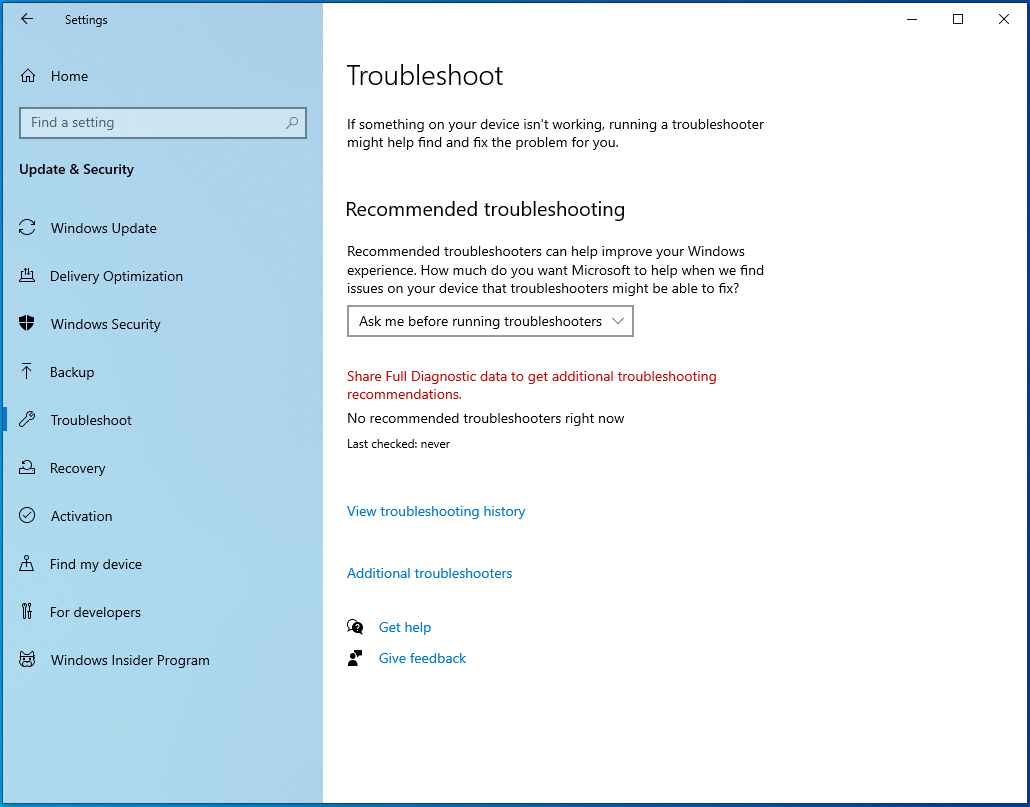
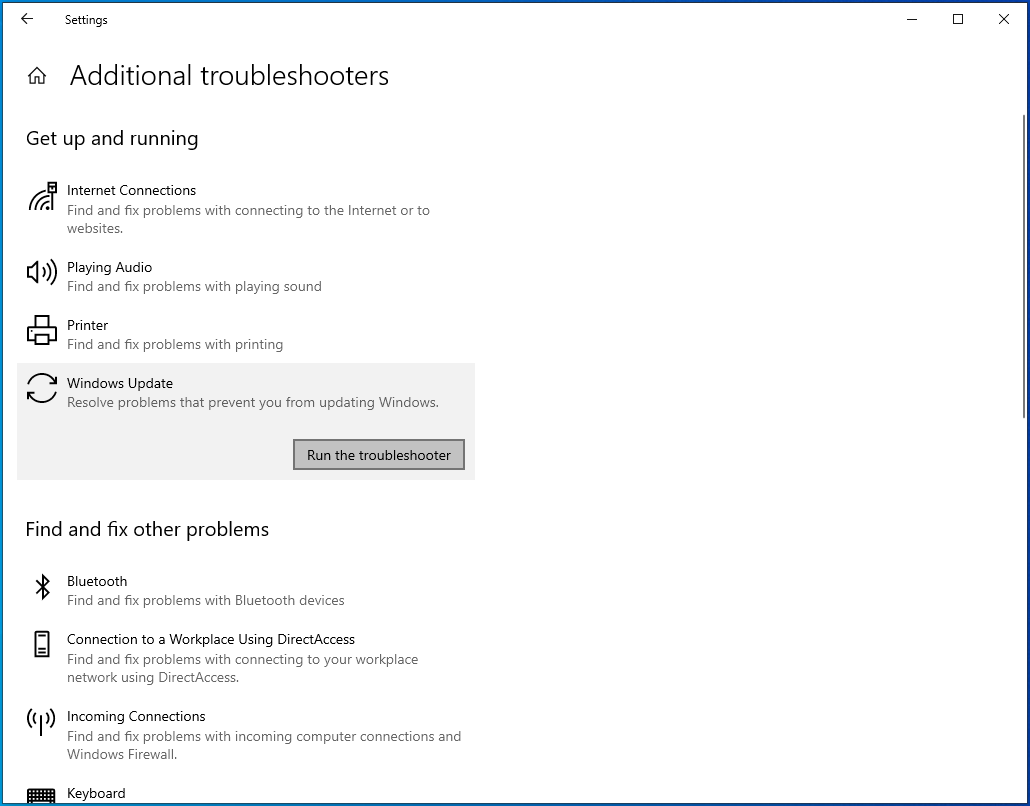
- Go to the Troubleshoot tab and click on Additional Troubleshooters.
![Click Additional troubleshooters on the Troubleshoot tab.]()
- Next, click on Windows Update.
![Click on Windows Update under "Additional troubleshooters".]()
- Now, click on “Run the Troubleshooter.”
![Click "Run the troubleshooter" under Windows Update.]()
- Allow the tool to scan for problems. Once it’s done, it will show you the issues it found, if any, and allow you to apply the necessary fixes.
- After the process completes, restart your system and check for the problem.

Restart Windows Update services
Specific Windows services are critical to the update process. If they stop or malfunction for any reason, the client will fail to download and install updates.
These services are as follows:
The Windows Installer service
is a vital component of Windows. The update process will fail if this service malfunctions or stops running.
The Windows Update Service (WSUS)
is the service in charge of downloading and installing updates.
The Background Intelligent Transfer Service (BITS)
allows the Windows Update client to use idle network bandwidth to download updates. If the service malfunctions, the client will lack access to your system’s network and fail to download or install updates.
The Update Orchestrator Service (UsoSVC)
kick-starts the download process, just as its name suggests.
Sometimes, the services could be stuck, and you’ll have to restart them to get them to function again. We’ll show you how to restart the services through the Services app and using the Command Prompt.
You have to make sure the above services are running and set to Automatic.
Here is how to use the Services app:
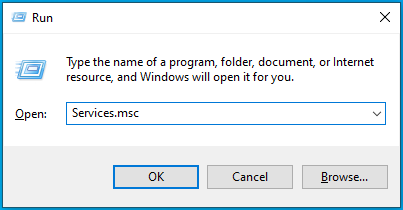
- Right-click Start and select Run from the Power User menu. You can also open Run by pressing Win + R.
![Press the Win + R shortcut to launch Run.]()
- After Run opens, type “Services.msc” into the text box and click OK.
![Type Services.msc into Run.]()
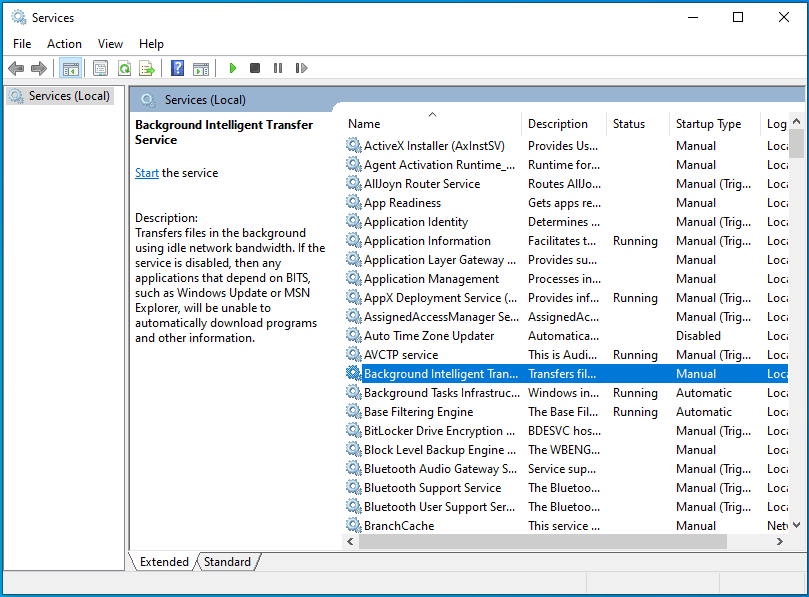
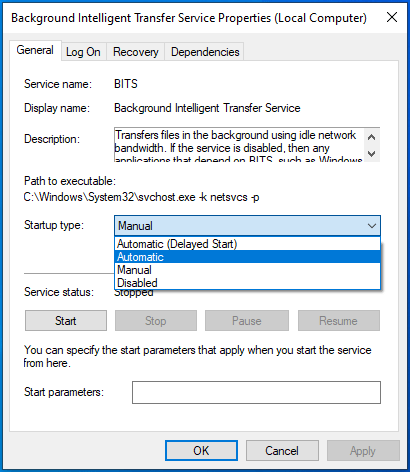
- Once the Services application opens, double-click the Background Intelligent Transfer Service.
![Double-click the Background Intelligent Transfer Service in Services.]()
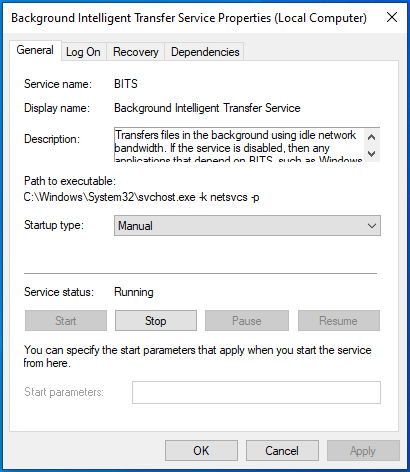
- After the Properties dialog box for the service opens, click on Stop if the service is running.
![Click on Stop if BITS is running.]()
- Next, go to the Startup Type drop-down menu and select Automatic.
![Set to BITS' Startup type to Automatic.]()
- Click on Start, then click OK.
- Repeat Steps 2 to 5 for other services.
- Once the services start running, try updating your system.

Here is how to use the Command Prompt:
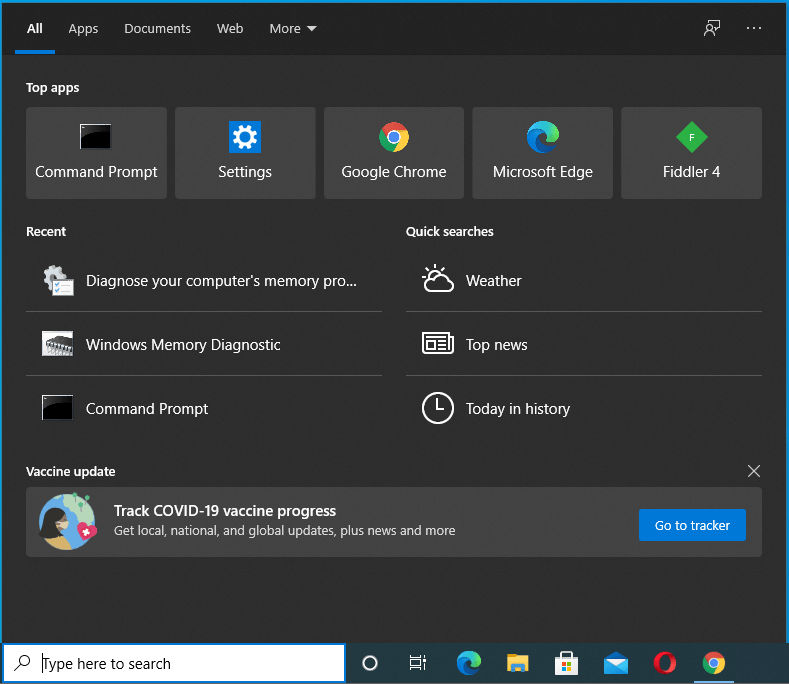
- Open the Search utility beside the Start button by pressing the Win + S keyboard shortcut or clicking the magnifying glass icon in the taskbar.
![Open the Search utility in Windows.]()
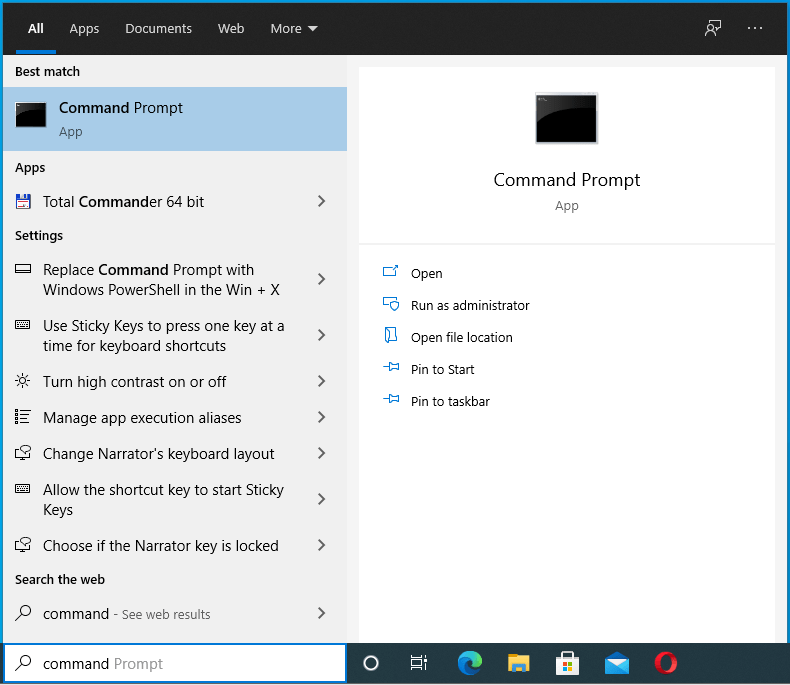
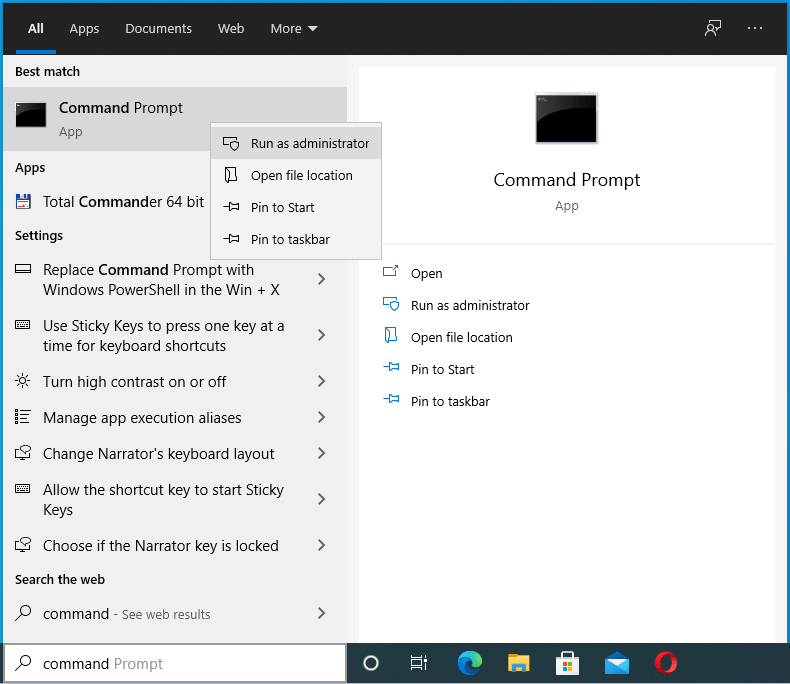
- Enter “command” into the search bar once it appears.
![Enter "command" into the Search bar.]()
- After you see Command Prompt in the results, right-click it and click on “Run as Administrator”.
![Right-click Command Prompt and select "Run as administrator".]()
- Next, click on Yes after the User Account Control dialog window shows up and asks for permission.
![Click Yes on User Account Control.]()
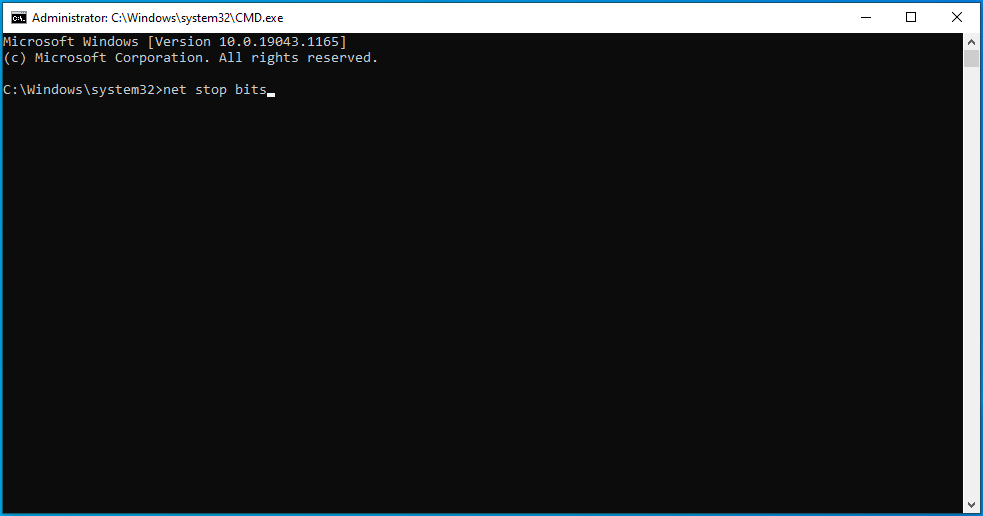
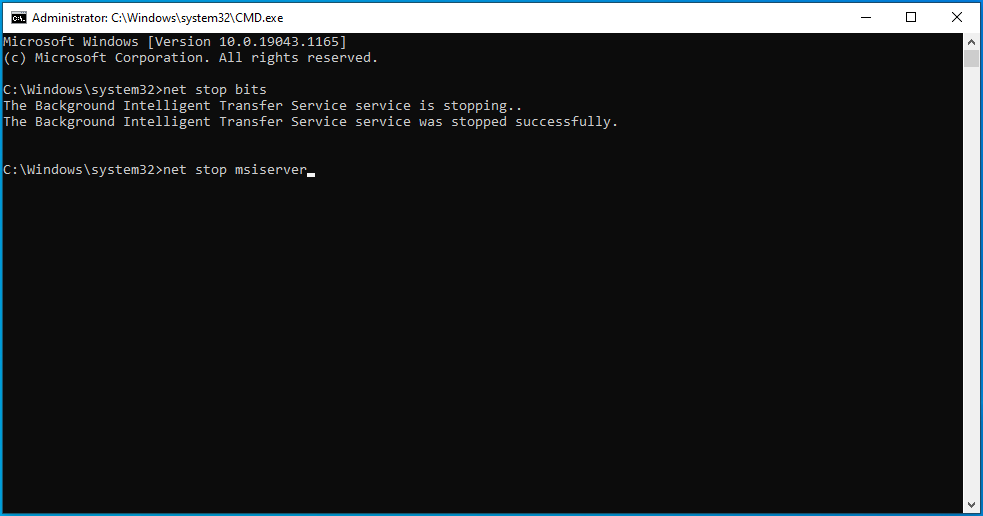
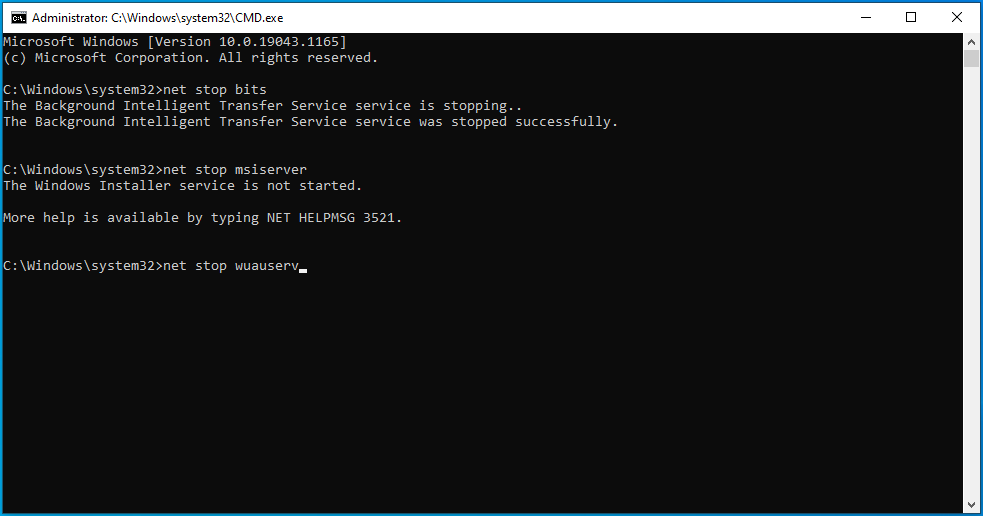
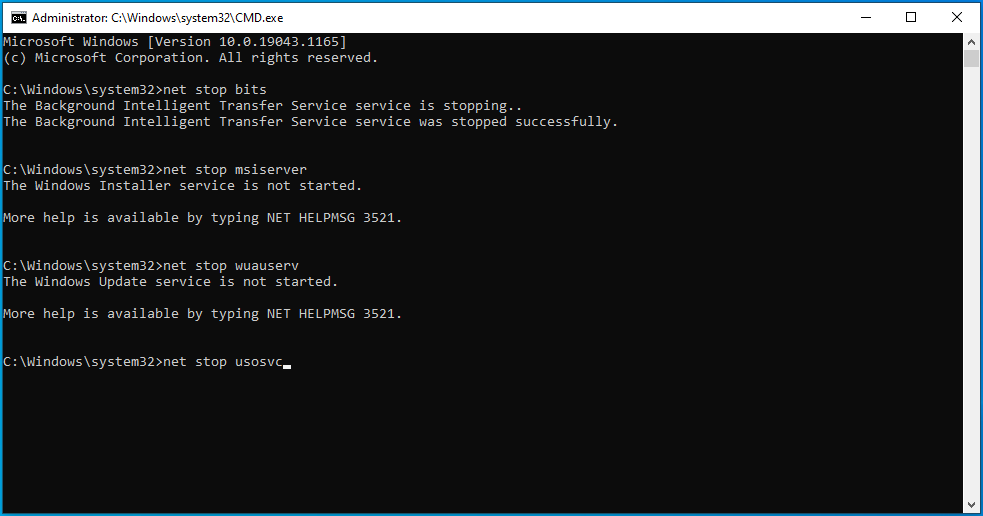
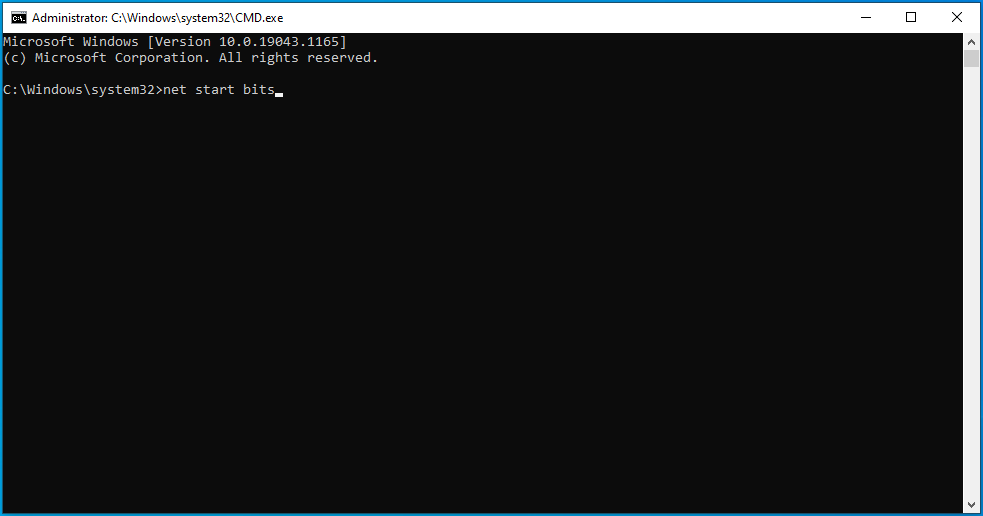
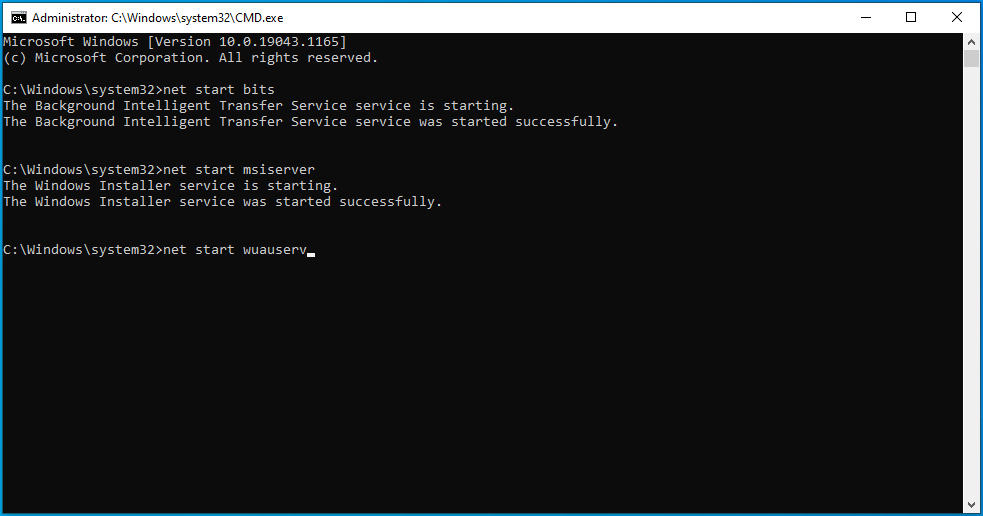
- After that, type these lines one after the other into the Command Prompt and tap the Enter key after entering each line:

net stop wuauserv
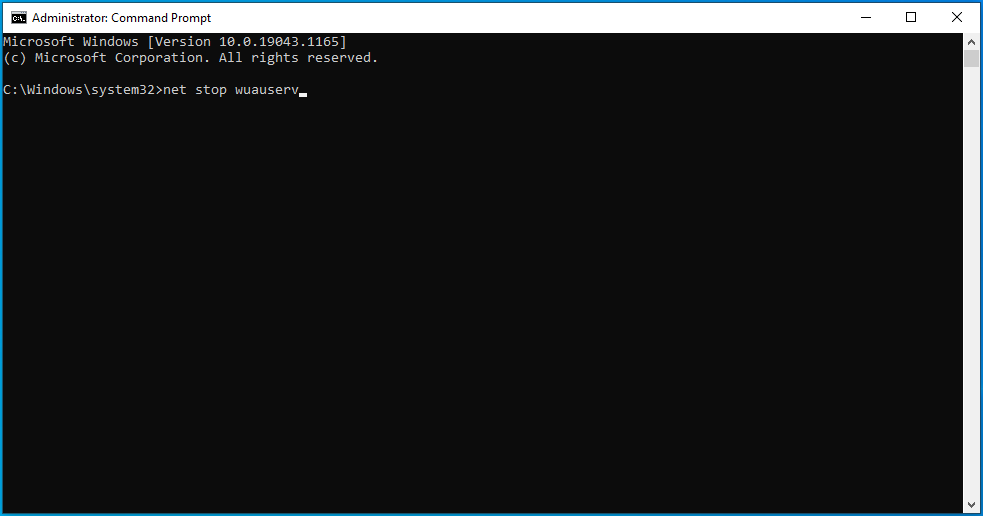
net stop bits
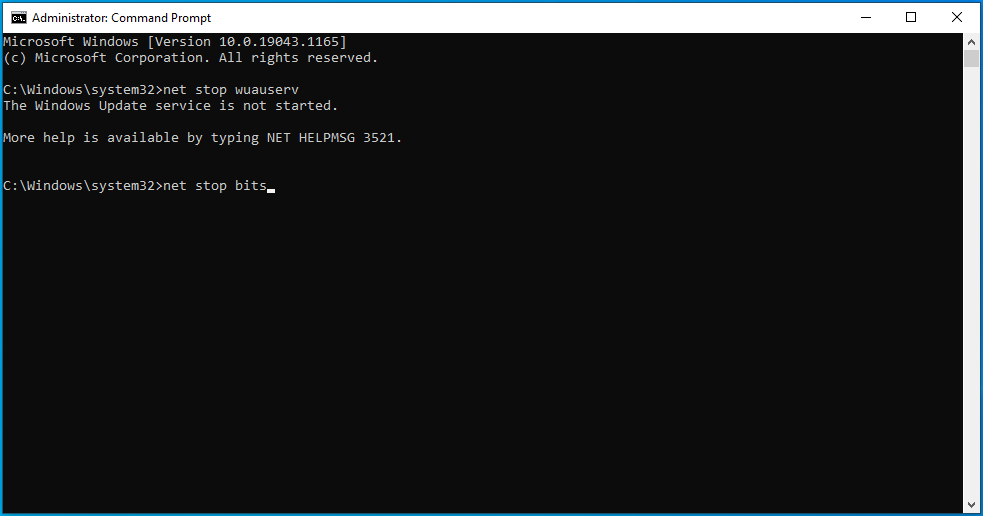
net stop msiserver
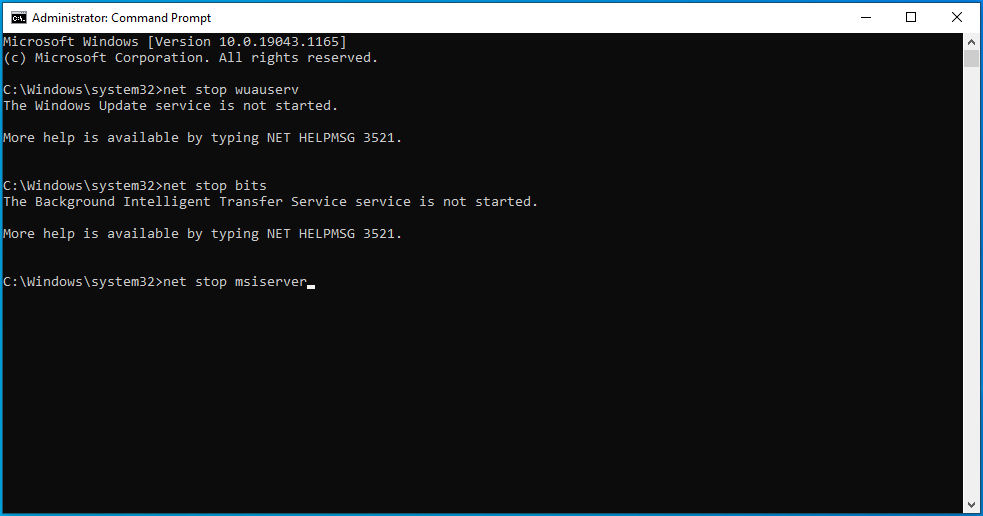
net stop usosvc
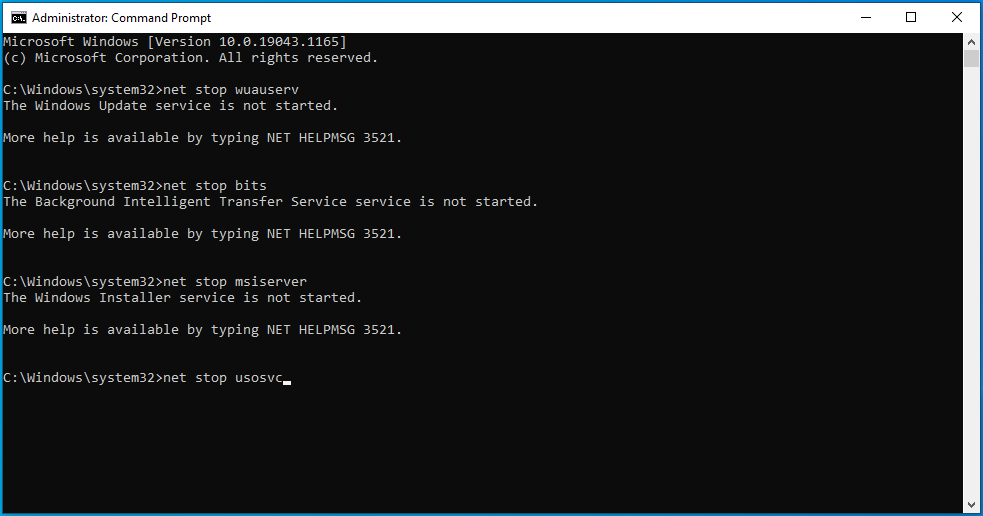
- After entering each command, you’ll get a message stating that the corresponding service has been stopped.
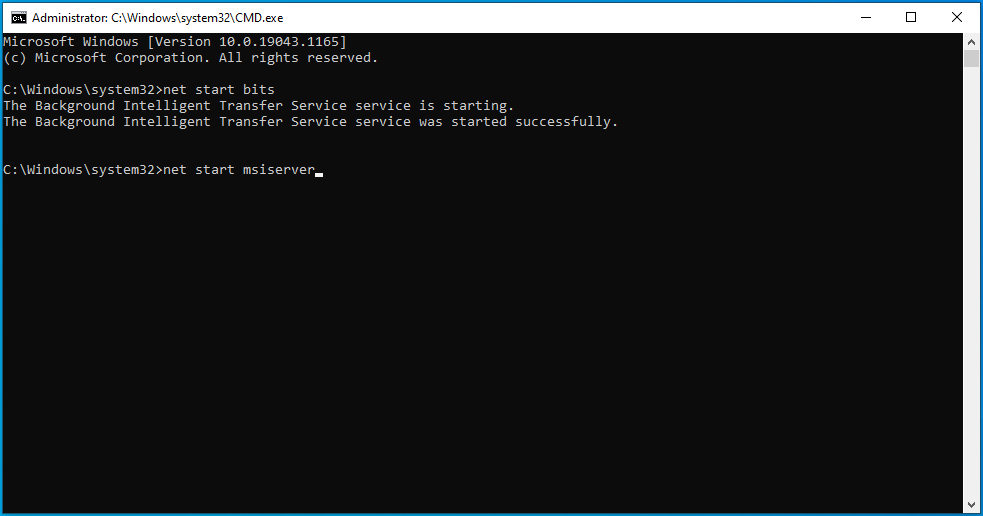
- After that, type the following commands and hit Enter after typing each line to restart the services:
net start wuauserv
net start bits
net start msiserver
net start usosvc
Find faulty system files and replace them
The Windows Update client will keep producing the error if there are missing or corrupt system files on your PC. You’ll have to find the problematic files and replace them using the System File Checker (SFC) tool.
The SFC tool is a built-in command-line program used to find and replace missing or corrupt system files. Before you run it, you have to provide the replacement files using the DISM (Deployment Image Servicing and Management) tool. DISM is another built-in program that can be used to repair, mount, and maintain image files. You can also run it to provide repair files for the System File Checker.
These steps will show you the process:
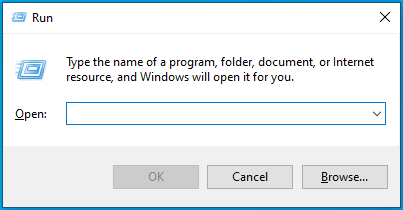
- On your taskbar, right-click the Start button and click on Run once the Quick Access menu appears. Press the Windows logo key + R combination to launch the program faster.
![Invoke Run in Windows 10 by pressing Win + 10.]()
- After Run shows up, type “CMD” (no quotes), and tap Ctrl + Shift + Enter.
![Invoke cmd using Run.]()
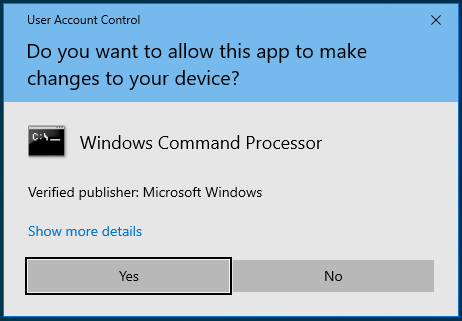
- Select the Yes option once the User Account Control dialog window pops up and requests permission to run the Command Prompt as an administrator.
![Click Yes on the UAC pop-up.]()
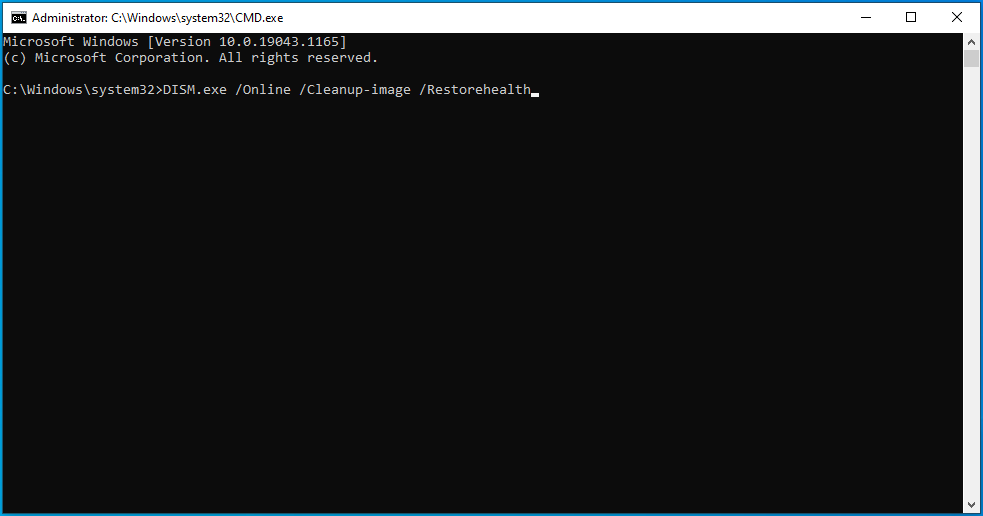
- When you see the Administrator: Command Prompt window, type this line into the black screen and tap the Enter button to run the DISM tool:

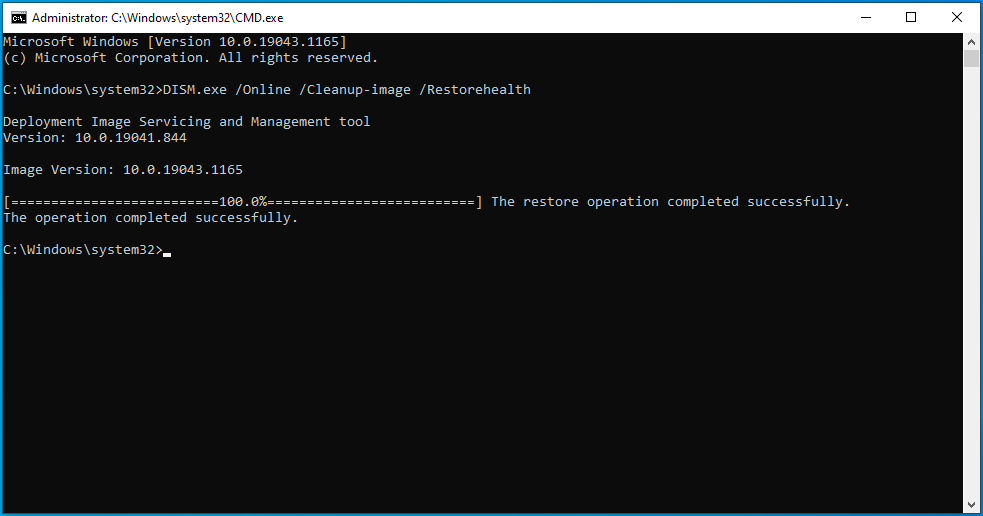
DISM.exe /Online /Cleanup-image /Restorehealth
The Deployment Image Servicing and Management tool will now attempt to fetch the repair files using the Windows Update client.
However, since the client isn’t functioning correctly, you’ll have to go for a different repair source.
You can use a Windows 10 DVD or bootable USB flash drive. A Windows ISO file mounted as a virtual DVD should also work. Ensure you remember the path to the Windows folder of the repair source you want to use.
Insert or connect the DVD or bootable USB and run the following command:
DISM.exe /Online /Cleanup-Image /RestoreHealth /Source:C:\Source\Windows /LimitAccess
Note: C:\Source\Windows represents the path to the Windows folder on the repair source that you’re using. Replace it accordingly before entering the command.
Allow the command to execute before you move on to the next step.
- After that, type “sfc/ scannow” (don’t add the quotes) into the Command Prompt window and hit the Enter key.
- If you see a scan result that reads, “Windows Resource Protection found corrupt files and successfully repaired them,” restart your computer and try running the update.
If you see a message that reads, “Windows Resource Protection could not perform the requested operation,” it means you have to run the System File Checker in Safe Mode:
- Go to the Settings application by tapping Win + I. You can also summon the app by right-clicking the Start button and clicking on Settings in the Power User menu.
![Summon the Settings app in Windows 10.]()
- Click on the Update & Security icon after the Settings window shows up.
![Select Update & Security from the Settings app.]()
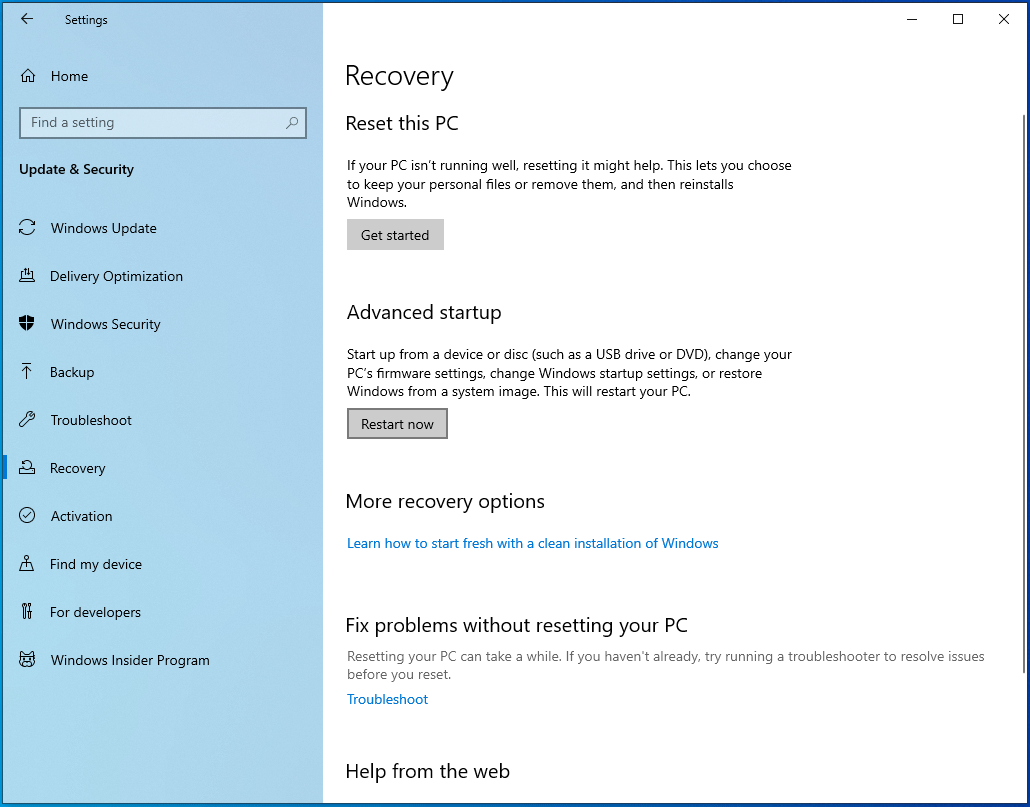
- After the Windows Update page shows up, go to the left side of the window and click on Recovery.
![Click Recovery in Windows Settings.]()
- Next, go to the Recovery page and select Restart Now under Advanced Startup.
![Click Restart Now under Advanced Startup.]()
- Windows will now restart your computer into the Advanced Startup environment.
![Enter the Advanced Startup environment.]()
- Click on the Troubleshoot tile on the “Choose an Option” interface.
![Click Troubleshoot on the "Choose an option" screen.]()
- Select Advanced Options once the Troubleshoot page opens.
![Click "Advanced options" on the Troubleshoot screen.]()
- After that, click on Startup Settings on the Advanced Options screen.
![Click on Startup Settings on the Advanced Options screen]()
- Select Restart on the Startup Settings screen to reboot your computer.
![Click Restart on the Startup Settings screen.]()
- Once your PC restarts, choose the number beside Safe Mode to boot your system in Safe Mode.
- Now, run the System File Checker as we’ve shown you above.


Reset the Winsock component
The Windows Update client might be showing the error due to a connection problem caused by a faulty Winsock component. The Winsock (Windows Socket) component is a dynamic link library file that holds network configurations that many apps depend on to connect to the internet. Malicious scripts might have compromised the file on your system, and it’s possible that it now contains the wrong configurations. Resetting the component will get rid of these problems and restore your system’s default configurations.
Follow these steps:
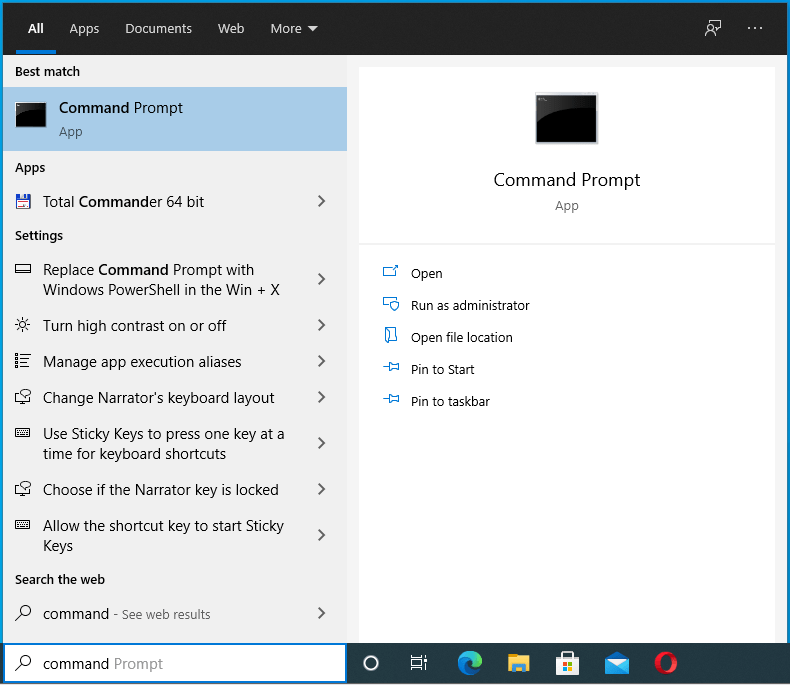
- Open the Search utility beside the Start button by pressing the Win + S keyboard shortcut or clicking the magnifying glass icon in the taskbar.
![Launch the Search utility in Windows 10.]()
- Enter “command” into the search bar once it appears.
![Input "command" into Search.]()
- After you see Command Prompt in the results, right-click it and click on “Run as Administrator”.
![Right-click the cmd entry and select "Run as administrator".]()
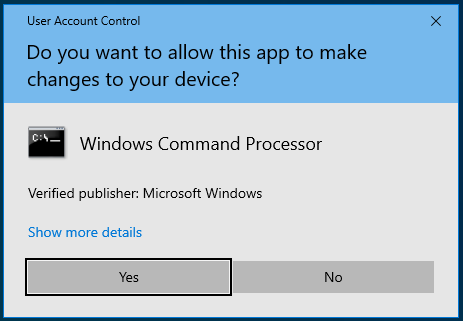
- Next, click on Yes after the User Account Control dialog window shows up and asks for permission.
![Click on Yes in the User Account Control dialog window.]()
- After that, type the following line into the Command Prompt window and hit the Enter key:


netsh winsock reset
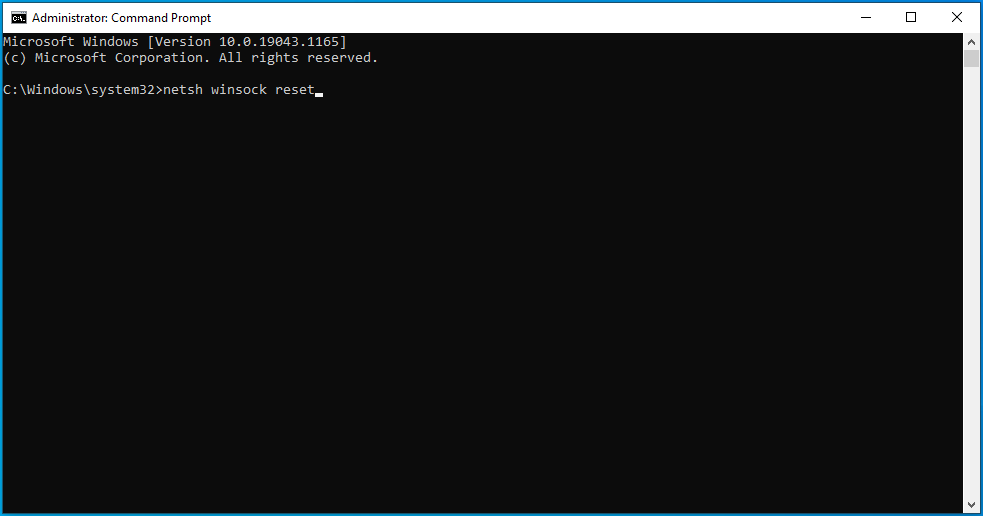
Windows will now clear the parameters in the Winsock component and reset the DLL file.
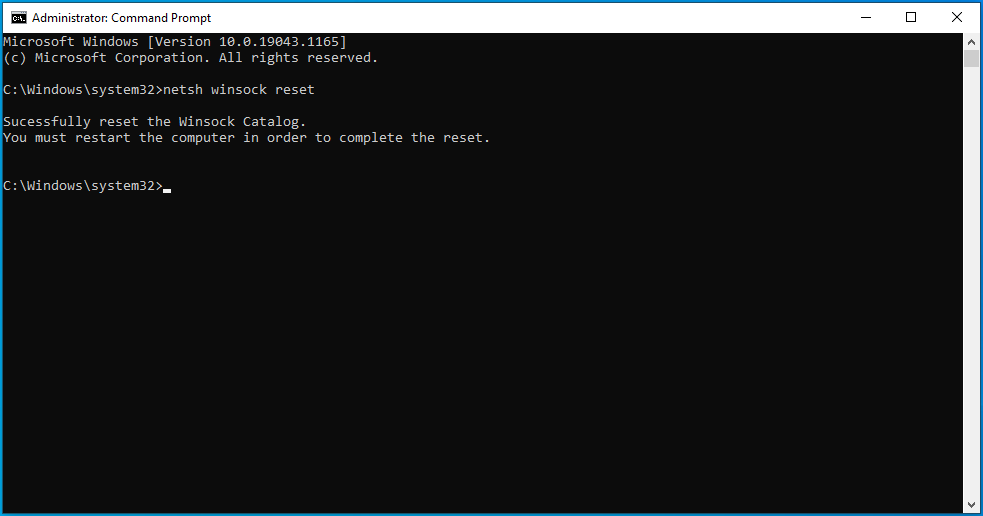
Once the command executes successfully, reboot your PC and try running your update.
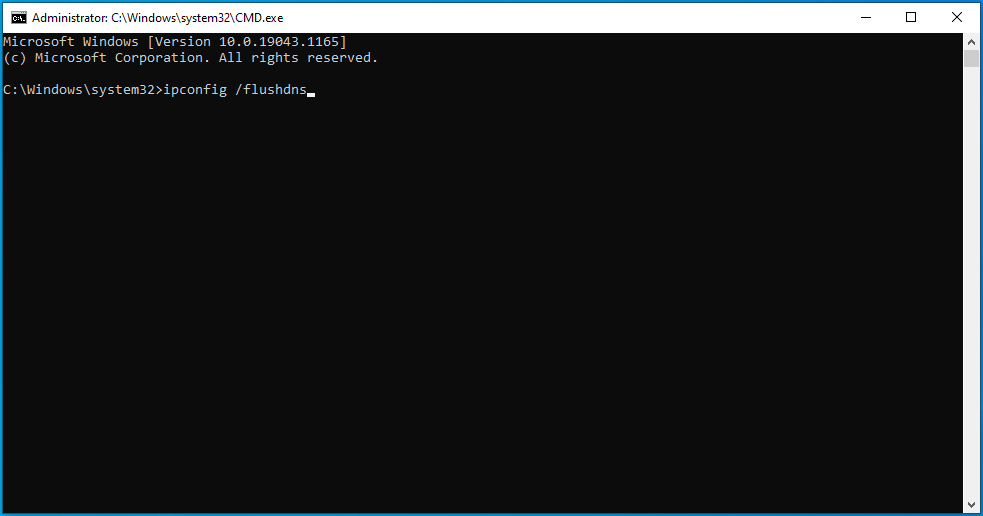
Flush your DNS cache
Instead of using a DNS server to resolve every website domain name, your computer saves the IP addresses and domain names of the websites you visit in a DNS cache. This way, it can quickly look at the cache to match a domain name with its IP address, making things run faster.
Problems begin to occur when websites change their IP addresses, leaving the information in your cache outdated. This could affect the entire cache and cause connection problems. In addition, the DNS cache could have also been infected by malware.
To fix the issue, you have to flush the cache to allow your system to build a new one.
These steps will show you how to do that:
- Use the Win + R keyboard combo to open Run or right-click the Start button and select Run from the menu.
![Open the Run console on Windows 10.]()
- Once Run shows up, type “CMD” and press Shift + Ctrl + Enter.
![Type "CMD" into Run and press Shift + Ctrl + Enter.]()
- Select the Yes option after the User Account Control menu pops up and requests permission to allow the Command Prompt to launch as an administrator.
![Select Yes on the UAC pop-up.]()
- When you see the Administrator: Command Prompt window, type this line into the black window and punch the Enter button:


ipconfig /flushdns
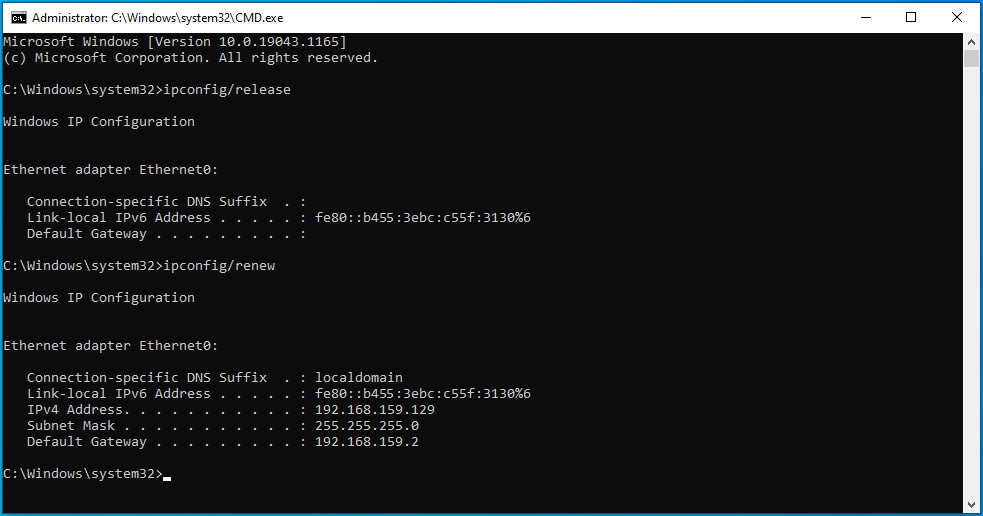
Release and renew your IP address
Since a network connection problem can cause the error, the connection failure may result from an expired DHCP IP address.
Every IP address a router assigns to a device has a lease time. If the device doesn’t use the IP address throughout the lease period, the router considers it inactive and reassigns the IP address to another device.
To get your system a new, working IP address, you have to release your current IP and request a new one.
These steps will show you how to do that:
- Use the Win + R keyboard combo to open Run or right-click the Start button and select Run from the menu.
![Launch the Run console by pressing the Windows + R shortcut.]()
- Once Run shows up, type “CMD” and press Shift + Ctrl + Enter.
![Enter cmd into the Run box in Windows.]()
- Select the Yes option after the User Account Control menu pops up and requests permission to allow the Command Prompt to launch as an administrator.
![Click Yes on the UAC pop-up.]()
- When you see the Administrator: Command Prompt window, type these lines into the black window and punch the Enter button after entering each line:


ipconfig/release

ipconfig/renew
Reset your Hosts file
Your Hosts file is another critical network component. It’s a text file that helps match hostnames to their IP addresses. When the file becomes corrupt or contains the wrong parameters, it affects the computer’s network connection.
The Windows Update error could be a result of a bad Hosts file. In this case, resetting the file to its default state will resolve the network connection problem.
Here’s how to do that:
- Open the Windows search interface by clicking the magnifying glass icon in the taskbar or pressing Win + S.
- Type “notepad” after the search box appears.
- Click on Notepad in the search results.
- Once Notepad shows up, copy and paste the following into the new text file:
# Copyright (c) 1993-2006 Microsoft Corp. # # This is a sample HOSTS file used by Microsoft TCP/IP for Windows. # # This file contains the mappings of IP addresses to host names. Each # entry should be kept on an individual line. The IP address should # be placed in the first column followed by the corresponding host name. # The IP address and the host name should be separated by at least one # space. # # Additionally, comments (such as these) may be inserted on individual # lines or following the machine name denoted by a ‘#’ symbol. # # For example: # # 102.54.94.97 rhino.acme.com # source server # 38.25.63.10 x.acme.com # x client host # localhost name resolution is handle within DNS itself. # 127.0.0.1 localhost # ::1 localhost
- Go to the File menu in the top-left corner of the Notepad window and click on Save As.
- Go to the File Name text box in the Save As dialog window and type “hosts” (don’t add the quotes).
- Navigate to the desktop and click on the Save button.
- Next, press Win + E to open a File Explorer window.
- Once the window shows up, click on the address bar, copy and paste the following line, and tap the Enter button:
%WinDir%\System32\Drivers\Etc
- Once you see the ETC folder, right-click on the Hosts file and select Rename. Change the name of the file to Hosts.old.
- Now, go to your desktop and copy the new Hosts file you created to the ETC folder.
Reset Windows Update components
If you still can’t get the Windows Update client to work, consider resetting every update-related component.
Follow these steps carefully:
Step 1: Stop the Windows Update services
It’s important that you stop the Windows Update services, as that’s the only way to get access to the components that you’re about to reset. Follow these steps:
- Use the Win + R keyboard combo to open Run or right-click the Start button and select Run from the menu.
![Launch Run in Windows 10 by hitting Win + R.]()
- Once Run shows up, type “CMD” and press Shift + Ctrl + Enter.
![Type cmd into the Run console in the Win OS.]()
- Select the Yes option after the User Account Control menu pops up and requests permission to allow the Command Prompt to launch as an administrator.
![]()
- When you see the Administrator: Command Prompt window, type these lines into the black window and punch the Enter button after entering each line:


net stop bits
net stop msiserver
net stop wuauserv
net stop usosvc
Step 2: Delete the qmgr*.dat files
Head to the next line in the Command Prompt window, type the line below, and hit the Enter key:
Del “%ALLUSERSPROFILE%\Application Data\Microsoft\Network\Downloader\qmgr*.dat”
Step 3: Rename the Catroot2 and SoftwareDistribution folders
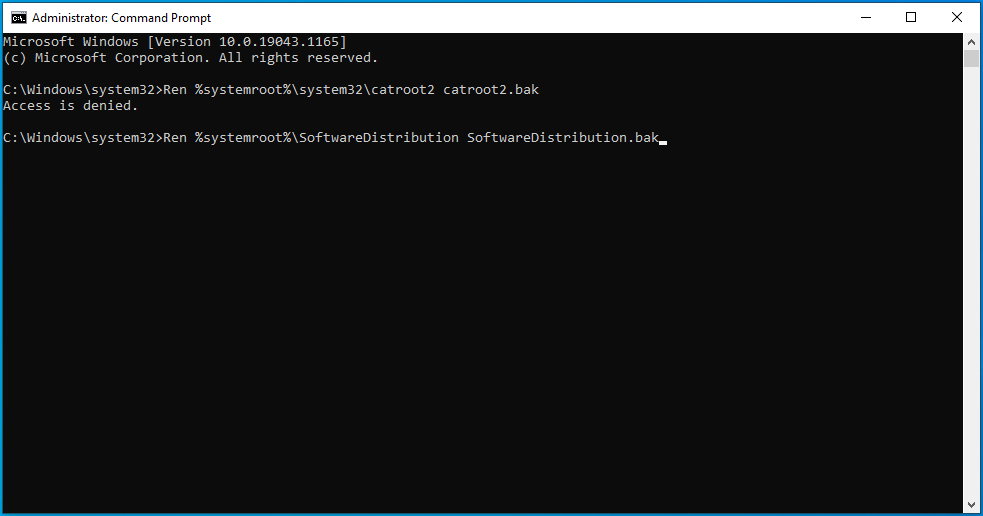
Renaming these folders will force the Windows Update client to create new ones and restart the update process. The error might be a result of corrupt files blocking the download process. Go to a new line in the Command Prompt window, type these lines, and hit the Enter keyboard button after typing each:
Ren %systemroot%\system32\catroot2 catroot2.bak
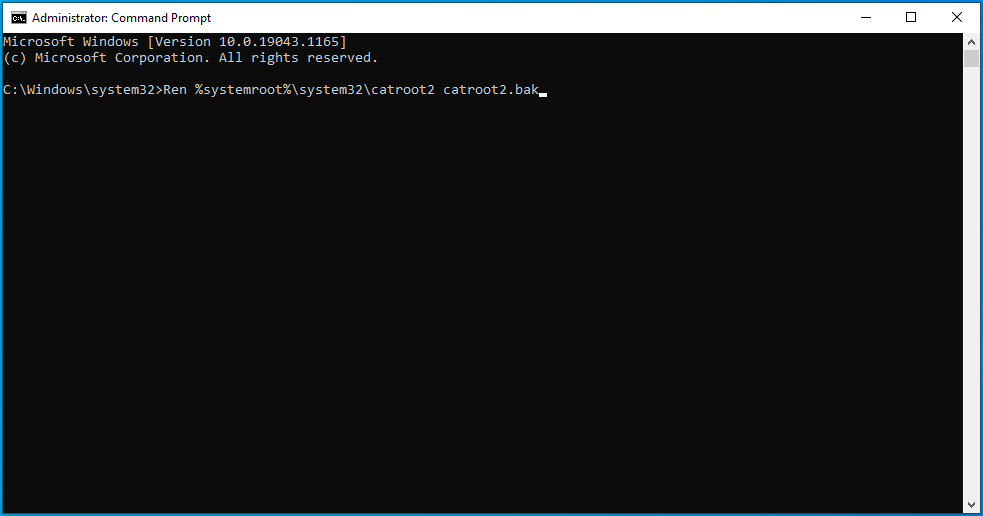
Ren %systemroot%\SoftwareDistribution SoftwareDistribution.bak
Step 4: Reset the Windows Update and Background Intelligent Transfer services to their default settings
Head to a new Command Prompt line and type or copy and paste the following line and hit the Enter button:
sc.exe sdset wuauserv D:(A;;CCLCSWRPWPDTLOCRRC;;;SY)(A;;CCDCLCSWRPWPDTLOCRSDRCWDWO;;;BA)(A;;CCLCSWLOCRRC;;;AU)(A;;CCLCSWRPWPDTLOCRRC;;;PU)
Go to the next line, type the following command, and punch the Enter key:
sc.exe sdset bits D:(A;;CCLCSWRPWPDTLOCRRC;;;SY)(A;;CCDCLCSWRPWPDTLOCRSDRCWDWO;;;BA)(A;;CCLCSWLOCRRC;;;AU)(A;;CCLCSWRPWPDTLOCRRC;;;PU)
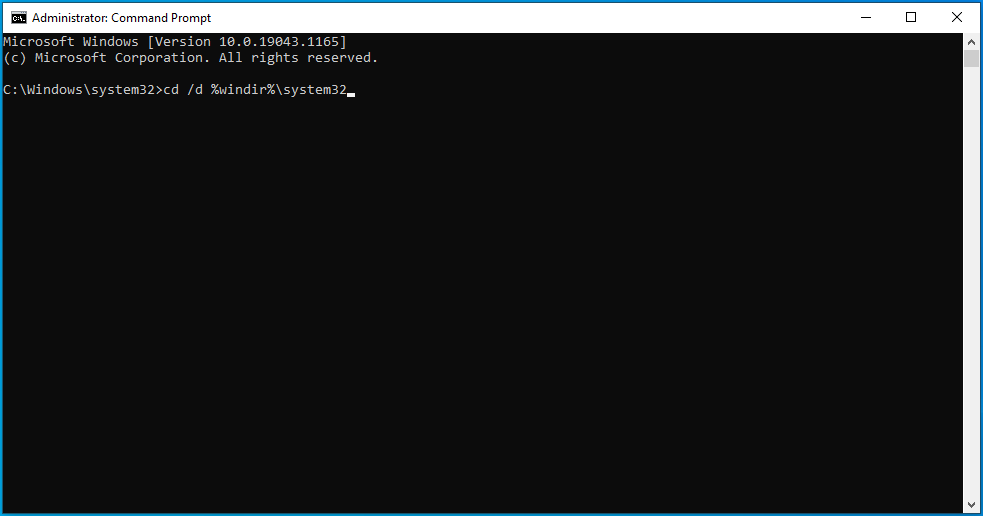
Step 5: Reregister Windows Update-related files
- Go to a new Command Prompt line, type the line below, and hit Enter to go to the System32 folder:
cd /d %windir%\system32
- Type the lines below one after the other and hit the Enter key after typing each line:
regsvr32.exe atl.dll
regsvr32.exe urlmon.dll
regsvr32.exe mshtml.dll
regsvr32.exe shdocvw.dll
regsvr32.exe browseui.dll
regsvr32.exe jscript.dll
regsvr32.exe vbscript.dll
regsvr32.exe scrrun.dll
regsvr32.exe msxml.dll
regsvr32.exe msxml3.dll
regsvr32.exe msxml6.dll
regsvr32.exe actxprxy.dll
regsvr32.exe softpub.dll
regsvr32.exe wintrust.dll
regsvr32.exe dssenh.dll
regsvr32.exe rsaenh.dll
regsvr32.exe gpkcsp.dll
regsvr32.exe sccbase.dll
regsvr32.exe slbcsp.dll
regsvr32.exe cryptdlg.dll
regsvr32.exe oleaut32.dll
regsvr32.exe ole32.dll
regsvr32.exe shell32.dll
regsvr32.exe initpki.dll
regsvr32.exe wuapi.dll
regsvr32.exe wuaueng.dll
regsvr32.exe wuaueng1.dll
regsvr32.exe wucltui.dll
regsvr32.exe wups.dll
regsvr32.exe wups2.dll
regsvr32.exe wuweb.dll
regsvr32.exe qmgr.dll
regsvr32.exe qmgrprxy.dll
regsvr32.exe wucltux.dll
regsvr32.exe muweb.dll
regsvr32.exe wuwebv.dll
Step 6: Remove incorrect registry entries
Specific registry entries are known to get in the way of the Windows Update client. The guide below shows you how to get rid of them. However, you should note that tampering with important registry information could cause system instability. So, make sure you follow the steps below carefully to avoid causing problems.
These steps will show you the entries to remove and how to remove them:
- Open the Windows search interface by clicking the magnifying glass icon in the taskbar or pressing Win + S.
- Type “Regedit” or “registry editor” after the search box appears.
- Click on Registry Editor in the search results.
- Select the Yes option once the User Account Control dialog window pops up and requests permission.
- After the Registry Editor shows up, switch to the left pane and browse to HKEY_LOCAL_MACHINE\COMPONENTS.
- Find the following keys under COMPONENTS and delete them:
PendingXmlIdentifier
NextQueueEntryIndex
AdvancedInstallersNeedResolving
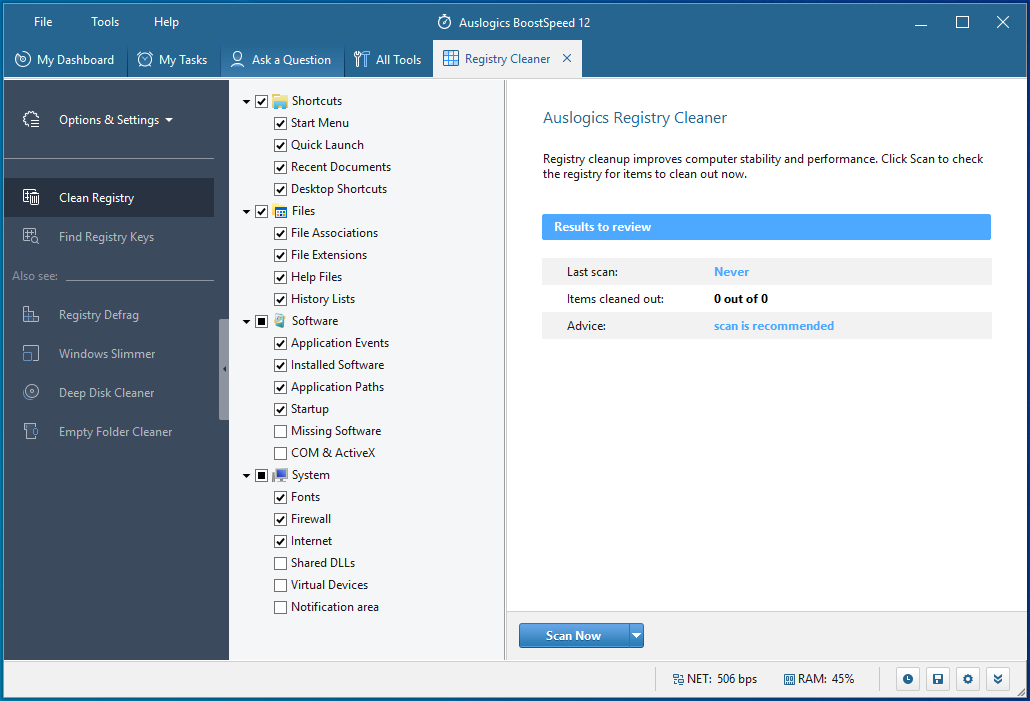
Tip:You can use Auslogics BoostSpeed’s Registry Cleaner to keep problematic registry keys away from your computer. The program does an excellent job of sanitizing the registry without causing problems.
Step 7: Restart the Windows Update services
- Use the Win + R keyboard combo to open Run or right-click the Start button and select Run from the menu.
![Select Run from the menu.]()
- Once Run shows up, type “CMD” and press Shift + Ctrl + Enter.
![]()
- Select the Yes option after the User Account Control menu pops up and requests permission to allow the Command Prompt to launch as an administrator.
![Select Yes on the UAC prompt.]()
- When you see the Administrator: Command Prompt window, type these lines into the black window and punch the Enter button after entering each line:

net start bits
net start msiserver
net start wuauserv
net start usosvc

Restart your computer and try running the update.
Perform a clean boot
A third-party application could be forcing the Windows Update client to produce the error in question. You can put an end to the issue by stopping that application using the clean boot process.
When you start your system in a clean boot environment, you prevent startup applications from running on your PC.
Follow these steps to perform a clean boot and check whether the update error in question shows up again:
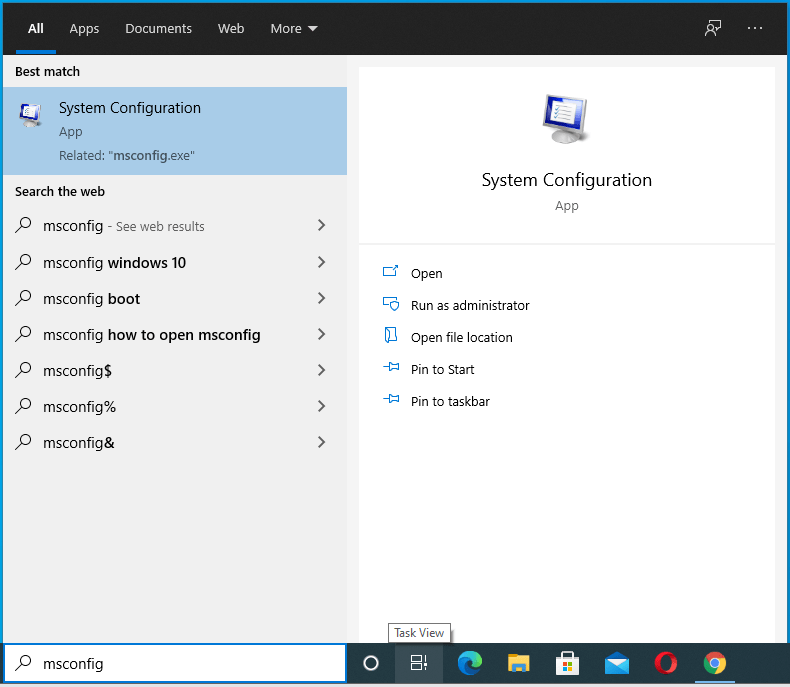
- Open the Windows search interface by clicking the magnifying glass icon in the taskbar or pressing Win + S.
![Open the Search console in the Windows 10 OS.]()
- Type “msconfig” or “system configuration” after the search box appears.
![Input msconfig into Search.]()
- Click on System Configuration in the search results.
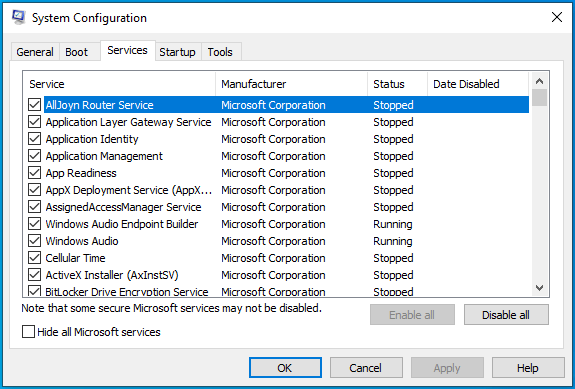
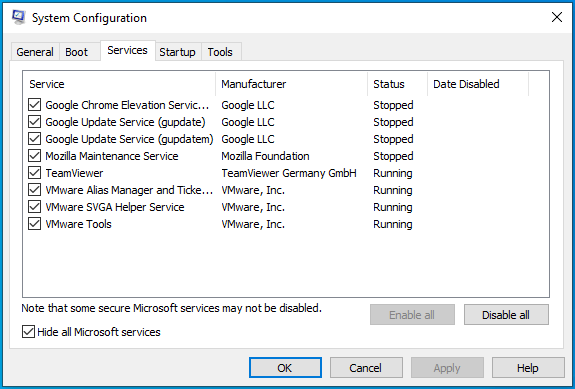
- Switch to the Services tab when you see the System Configuration dialog window pop up.
![Go to the Services tab of the System Configuration app.]()
- Mark the “Hide all Microsoft services” box in the bottom-left corner of the window.
![Check the "Hide all Microsoft services" box.]()
- Next, click on the Disable All button to prevent the services listed under the tab from launching after you restart your computer.
- After that, switch to the Startup tab of the System Configuration dialog and click on “Open Task Manager”.
- The Startup tab of the Task Manager will now come up.
- Click on each program and click on Disable.
- Exit the Task Manager and return to the System Configuration dialog.
- Click on the OK button.
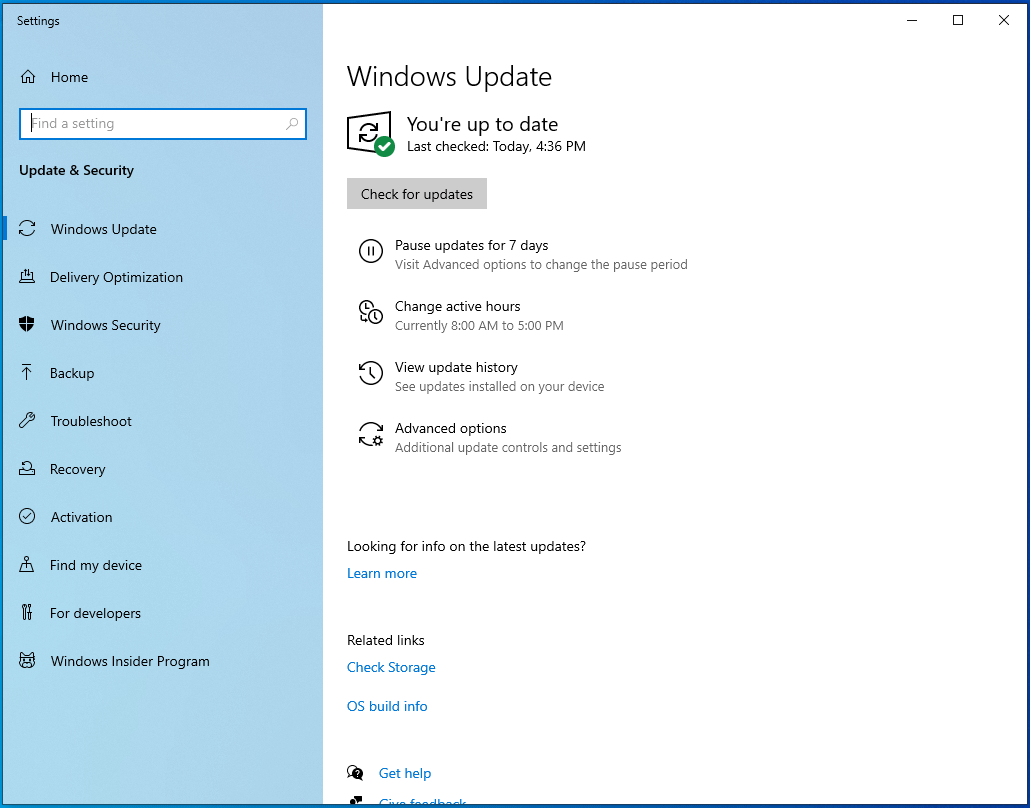
- Now, restart your system and run Windows Update.
![Run Windows Update to check for updates in Windows 10.]()
- If the error doesn’t show up, you just confirmed that one of the apps you prevented from running at startup is the cause of the update error.
- You now have to find the responsible startup service or program.
- Enable one of the services, restart your system and check for the error. If the error shows up after you enable the first service, then it is the culprit. If the error doesn’t show up, however, enable the next service and check again. Continue going through the services one after the other until one of them triggers the error.
If that process is stressful, enable half of the services at once and restart your system to check for the error. If the error comes up after turning on any half of the services, ignore the other half. Instead, check the services from the group that triggered the error one after the other.
Conclusion
That’s how to resolve the Windows Update installation error 0x80073701. If you still see the error whenever you try to update your system, you can head to Microsoft’s website to use the Media Creation Tool or reinstall Windows on your computer.


 Done! Great to see you among our subscribers!