
If you’re using Windows 10, you can now use the Settings app to choose which GPU an application or game will use. Before, users could only control this through manufacturer-specific programs like the AMD Catalyst Control Center or the NVIDIA Control Panel. Only those who have installed the April 2018 Update will be able to see the Graphics Settings option. So, before you can learn how to assign an application to a GPU, you’d have to install the latest Windows 10 version.
How to Assign an Application to a GPU?
You can assign an application to a GPU by following the instructions below:
- Click the Search icon on your taskbar.
- Type “Settings” (no quotes), then hit Enter.
- Go to System, then select Display from the list on the left pane.
- Scroll down until you find the Graphics Settings link. Click that link.
- Choose the application you wish to configure.
- You will see a drop-down list below the text ‘Choose an app to set preference’.
- Choose Classic App from the list if you want to configure a traditional desktop application or a game with an .exe file.
- Click the Browse button, then look for the .exe file on your system.
- In most cases, you will find the .exe files in one of your Program Files folders.
- On the other hand, you must choose Universal App from the list if you want to configure a new-style Universal app.
- Choose the application from the list, then click the Add button. In general, such apps are installed from the Microsoft Store. So, they do not have .exe files. They are often referred to as Universal Windows Platform or UWP apps.
- When you add an application, you will be able to see it in a list on the Graphics Settings window. Choose the application you wish to configure, then click Options.
- Select your preferred GPU. Here are options you can choose:
- System default – The default GPU for all applications.
- Power saving – The low-power GPU usually available on Intel Graphics.
- High performance – The high-power GPU typically available in discrete graphics cards like NVIDIA and AMD.
- You should be able to see the precise GPUs used for each setting. If you have one GPU in your system, you will see its name under the Power Saving GPU and High Performance GPU options.
- Once you’re done, click Save. Remember to restart the computer for the changes to take effect.
How to Check Which GPU an Application is Using
If you want to check which GPU a game is using, follow the steps below:
- On your keyboard, press Ctrl+Alt+Del. This should open Task Manager.
- Make sure that you are on the Processes tab.
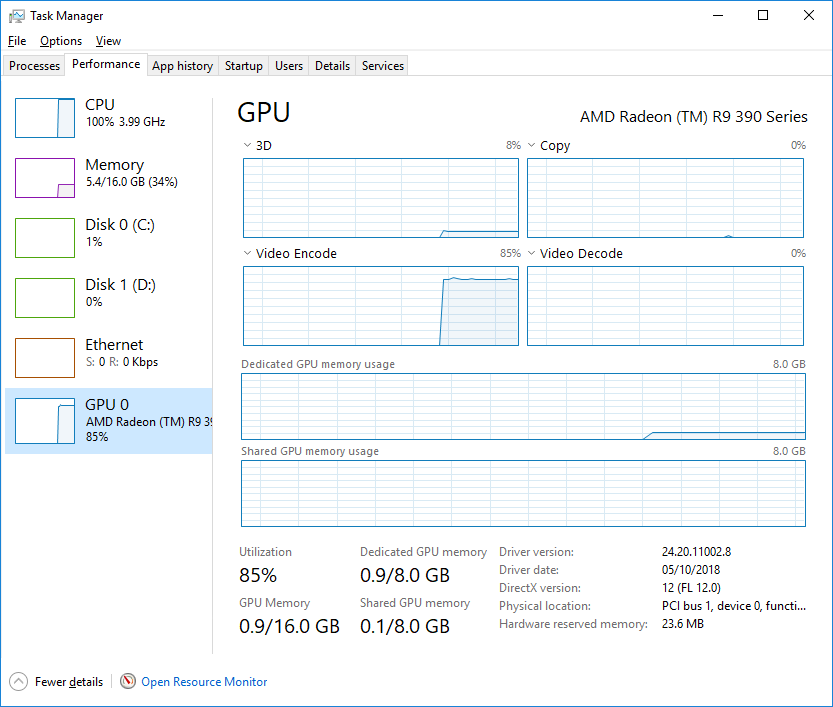
- Under the GPU Engine column, you will see which GPU number an application is using.
- Go to the Performance tab to see which GPU is associated with the number.
![]()
Pro Tip:
If you want to improve the performance and speed of your PC, we recommend using Auslogics BoostSpeed. It will identify junk files, speed-reducing issues, and causes of any system or application glitches or crashes. So, you can enjoy better video and audio quality while you’re playing your high-performance games or while you’re using GPU-heavy applications.
Do you need to clarify any instruction from this article?
Do not hesitate to ask questions in the comments below!


 Done! Great to see you among our subscribers!