
If your computer has Windows 10, its system saves the list of Wi-Fi networks you connect to, including their passphrases. The next time your device comes within the range of these saved networks, it will automatically connect to one of them. If you want to avoid this, you have to make Windows ‘forget’ the Wi-Fi networks it saved.
In Windows 7, the process is relatively simple. You can simply go to the Control Panel’s Network and Sharing Center and select Manage Wireless Networks. On the other hand, if you’re using Windows 8, you would have to go through Command Prompt just to remove saved networks. However, in Windows 10, there is a graphical interface that makes it easier to do this. Needless to say, it is easier to learn how to forget a Wi-Fi network on a Windows 10 PC.
How to Delete a Wireless Network Profile in Windows 10
When Microsoft developed the Fall Creators Update for Windows 10, they streamlined the process of removing a wireless network from a computer. This means that you would not have to go through the Control Panel or use the Settings app just to delete a saved Wi-Fi network. Here are the steps:
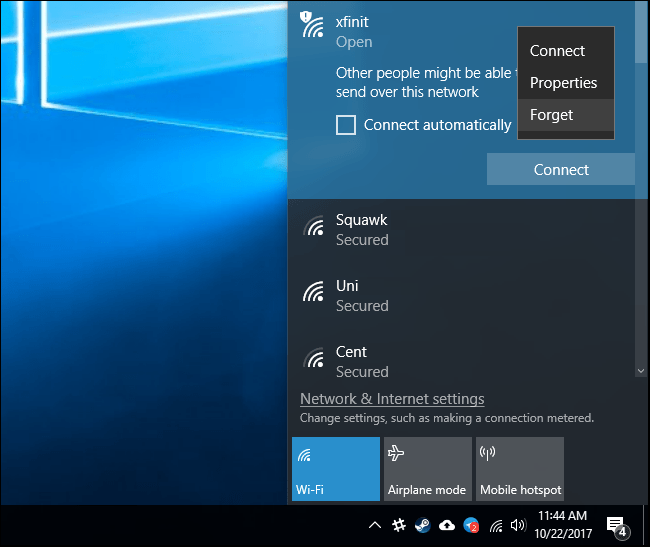
- Click the Network Connection icon your taskbar. You can find this on the lower-right corner of your screen.
- Right-click the name of the network you want to remove.
- Select Forget from the options.
Keep in mind that this will only work if you are near the Wi-Fi network. If you want to remove a Wi-Fi network that is out of your device’s range, you’d have to use the Settings app.
Using the Settings App to Remove a Saved Wi-Fi Network
If your Windows 10 device is far from the Wi-Fi network you want to remove, you can still get rid of it by using the new Settings app. Keep in mind that in the Network and Sharing Center, the Manage Wireless Networks function is no longer available. Here are the steps you have to follow:
- Click the Search icon on your taskbar.
- Type “settings” (no quotes), then hit Enter.
- Select Network & Internet, then click Wi-Fi from the left-pane menu.
- Click Manage Known Networks.
- Click the Wi-Fi network you wish to remove, then select Forget.

It is worth noting that you can easily find a specific network from the list by using the search, sort, and filtering options. Once you’ve removed a network, you will be prompted to submit its passphrase when you attempt to connect to it again.
However, before connecting to any type of network, make sure that your PC is protected from malicious attacks. As many know, when you are connecting to a public network, criminals can take advantage of this and hack into your computer. They can install malware and find their way to your sensitive information and bank accounts. That said, we recommend securing your PC, using Auslogics Anti-Malware.
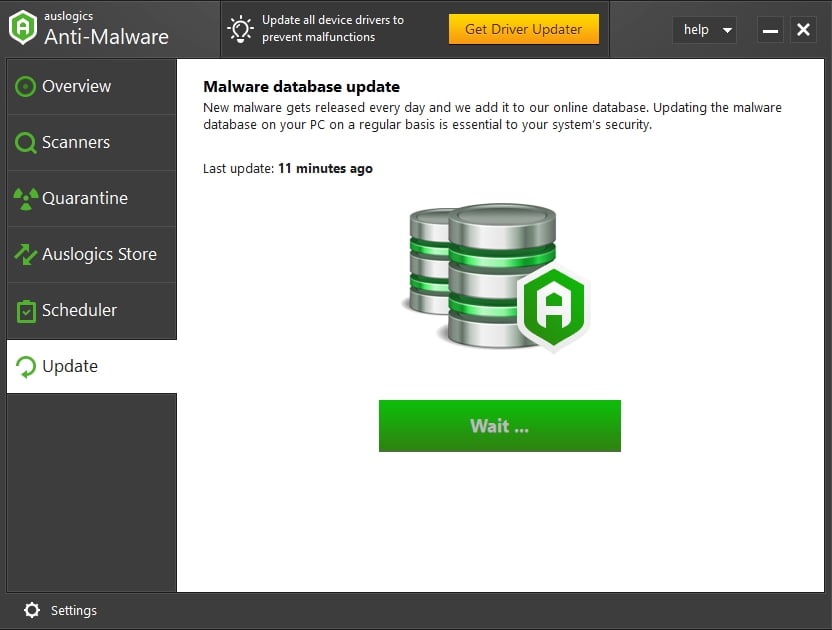
Whenever you connect to a wireless network, Auslogics Anti-Malware will protect your computer from malicious attacks and threats. What’s more, it is designed not to interfere with your main anti-virus, allowing you to get the optimum security you need.
Which method do you think is the easiest way to remove a saved Wi-Fi network?
Share your thoughts in the comments below!


 Done! Great to see you among our subscribers!