
Since its release in 2015, Windows 10 has grown popular, reaching over one billion users today. Microsoft tries to make it the best operating system by updating it often. However, these updates sometimes have errors that make it hard to perform some functions. One of the latest errors Windows 10 users experience nowadays is the “Device was not migrated due to partial or ambiguous match” error. If you’ve seen this on your device, then don’t stress out. Our definitive guide will discuss everything you need to know about this error, including how to fix it entirely. Let’s dive right in.
What does the “Device not migrated” error notification in Windows 10 mean?
When your Windows OS is updated, all your drivers migrate systematically to ensure the computer continues working smoothly. However, file corruption and incompatibility sometimes make one or several drivers fail to migrate properly, causing the error.
Here are some common reasons why the “Device was not migrated due to partial or ambiguous match” error occurs:
- You have installed two operating systems on the same computer.
- You had an older Windows version before upgrading to Windows 10.
- Crucial OS files are damaged and need repair.
- You’ve installed an incompatible driver.
- You have an unsupported peripheral device.
How to Check If This Error Exists
Unlike other errors you might’ve experienced before, this one does not appear on your screen. So, you must confirm its existence manually by following these steps:
- Open the Start menu’s search bar and type “Device manager.”
- Double-click on the section that contains the device that is having issues (for example, “Disk drives”), then right-click on the non-functional device (in this case, the disk drive) to access its properties.
- Click on the Events option, and you’ll see the “Device not migrated” error message.
At this point, you’re sure that your PC has this issue and needs fixing.
How to Remove the “Device not migrated” Error Message in Windows 10
After learning your device didn’t migrate all the drivers successfully, you need effective ways to fix that. Below are the best tactics we can recommend you try:
-
Plug the Device into a Different Port
This is an easy way to fix the “USB device could not be migrated” error because the USB port may be the cause. Therefore, try using another USB port to connect your device and see if that works.
Try the other methods in this article if that doesn’t help.
-
Update the Chipset Driver
A chipset driver is a critical driver type that helps your operating system to work efficiently with the motherboard. Installing a non-optimized driver can prevent the OS from detecting your hardware, hence causing issues. Fortunately, purchasing an updated chipset device can enable you to fix the “Device was not migrated” error.
You can also update this driver through the Device Manager by following these simple steps:
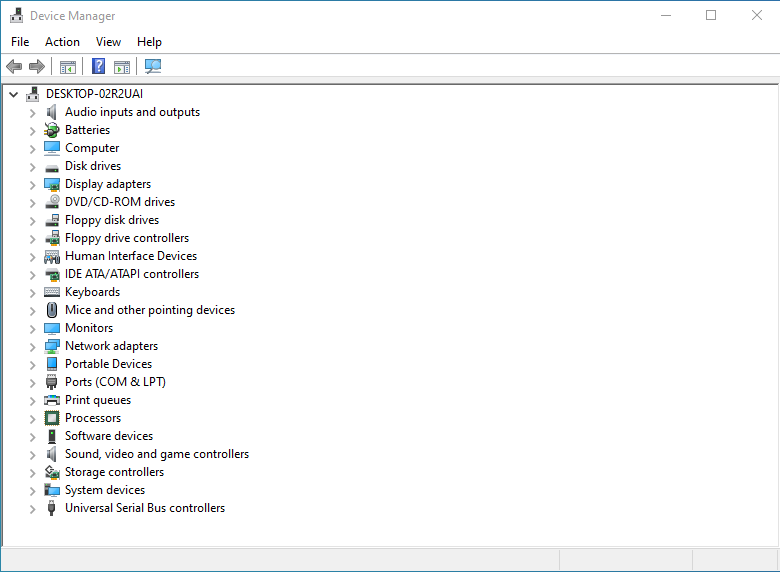
- Launch the Device Manager.
![Launch the Device Manager in Windows 10.]()
- Scroll down to “System devices,” right-click on your chipset device, then choose “Update driver.”
- Two options will appear. Click on the second one to browse to where you’ve saved your driver’s execution file.
- Now click on the “Browse” button and tick the “Include subfolders” checkbox to be able to select the exact location of the .exe file. Your device will search for the file automatically.
- Click on “Next,” and the chipset driver will be updated immediately.
- You can now restart your computer to apply the changes, and your “Device was not migrated” issue will probably be gone.
-
Reinstall/Update the Concerned Driver
After migrating from one OS to another, some drivers might not be compatible with the new home. Therefore, you must reinstall them to ensure they’re compatible. Follow these steps to reinstall the problematic driver:
- Open the Device Manager.
- Scroll to the device whose driver is having issues, right-click on it, then select “Uninstall device.”
After uninstalling the device, restart your computer to reinstall it and its driver afresh. The “Device was not migrated” error should be solved by now.
You can also update that driver by using Auslogics Driver Updater.
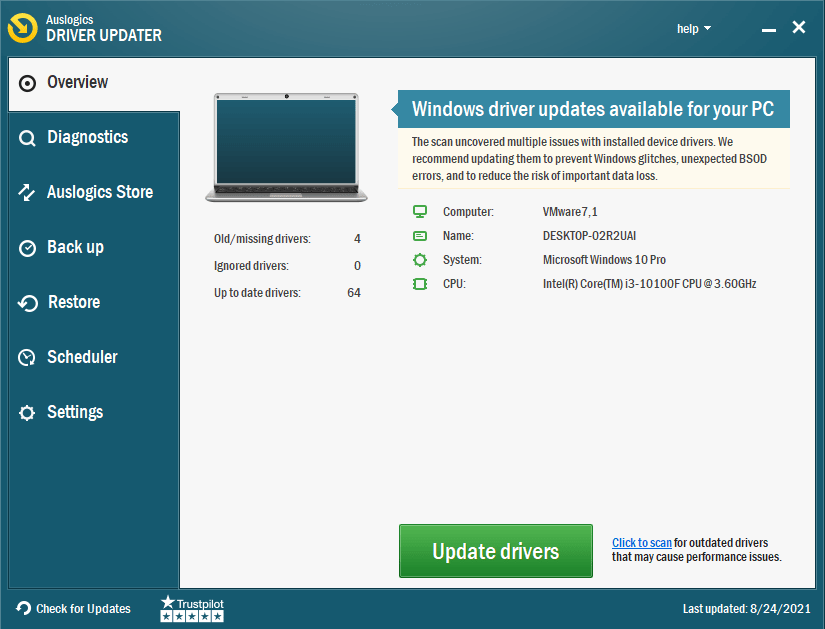
This tool provides excellence in scanning your PC, spotting the exact driver issues bothering you, and updating your drivers to their latest versions. The best thing about this tool is that it is fast and installs the recommended driver versions to ensure compatibility.
-
Check the System Files
Damaged system files on your device can also cause the “Device was not migrated” issue. Luckily, you can fix that with System File Checker. This tool comes with your OS, and it scans and restores any corrupted system files on your computer.
SFC collaborates with the Windows Resource Protection (WRP) feature to protect registry keys, folders, and vital system files.
You can use the Command Prompt (CMD) feature to identify and remove corrupted files and eliminate the “Device was not migrated due to partial or ambiguous match” error. Follow these steps to check for any corrupted files using CMD:
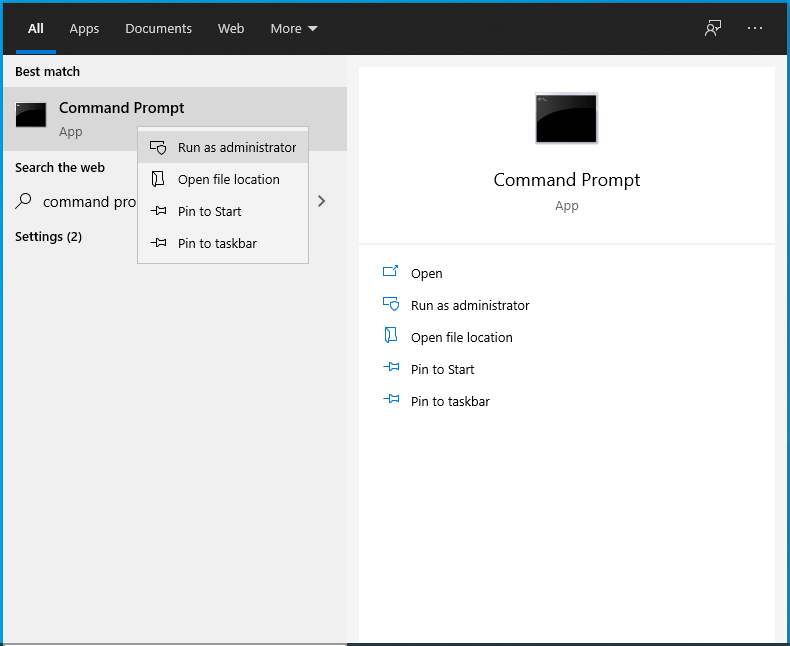
- Search for Command Prompt in the search bar, then select the “Run as administrator” option.
![Click "Run as administrator" to run cmd as an admin.]()
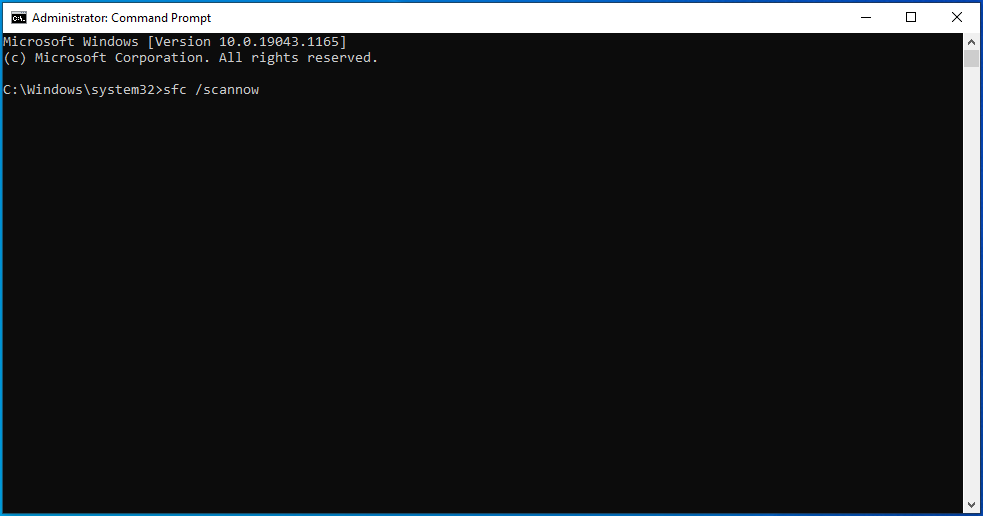
- Type the following command into the open window: sfc /scannow. Then press “Enter” to start scanning. Note the space after “sfc.”
![Enter sfc /scannow into cmd.]()
- Wait for a few moments.
Taking the steps outlined above should fix your problem, but if it doesn’t, then try the next solution.
-
Update Windows
Are you still wondering how to fix the “Device not migrated” error because all your attempts seem to fail? Consider updating your Windows 10. You might think you’ve updated every driver, only to discover your computer didn’t complete the process and the updates were left pending.
Updating Windows helps to solve this error because updates usually come with new features that could be what your computer needs. Here is how to check for Windows updates:
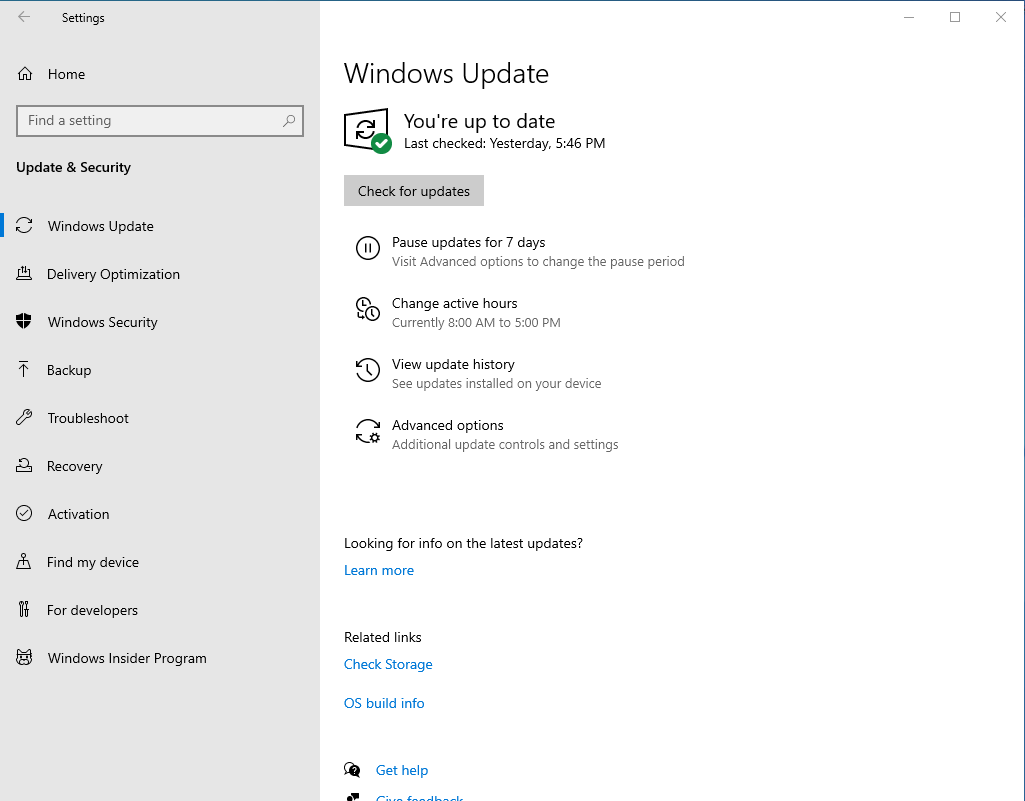
- Open “Settings,” then click “Update & Security.”
- Under “Windows Update,” select “Check for updates.”
![Select "Check for updates" to update your system.]()
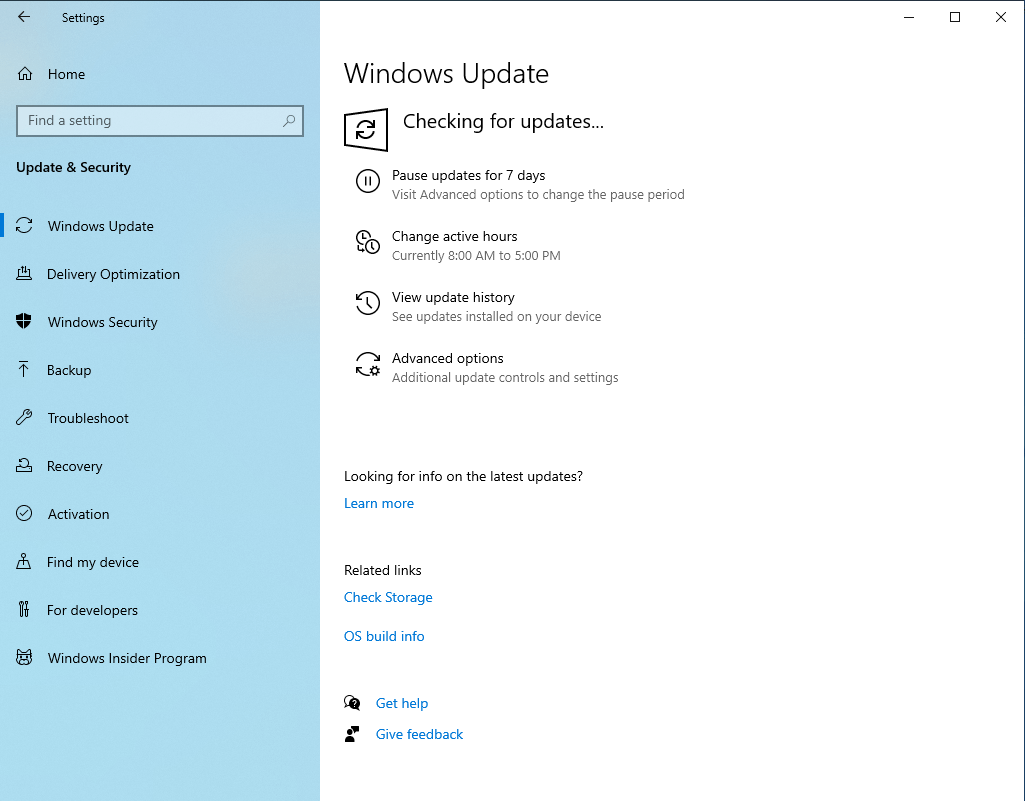
- Windows will check for any available updates you can install.
![Windows will install all available updates automatically.]()
Windows 10 also allows you to pause updates. So, there’s a chance you did so and forgot all about it, leaving yourself stuck with outdated drivers, thus causing the error.
-
Reset the BIOS
If your BIOS settings are not configured correctly, then the PnP driver won’t identify your computer accurately, causing the “Device was not migrated due to partial or ambiguous match” error.
The PnP (Plug and Play) feature is crucial because it allows Windows to work with drivers seamlessly. Therefore, you must ensure PnP’s connection with your hardware is perfect, which you can achieve by resetting the BIOS of your computer to its factory settings. See the steps below:
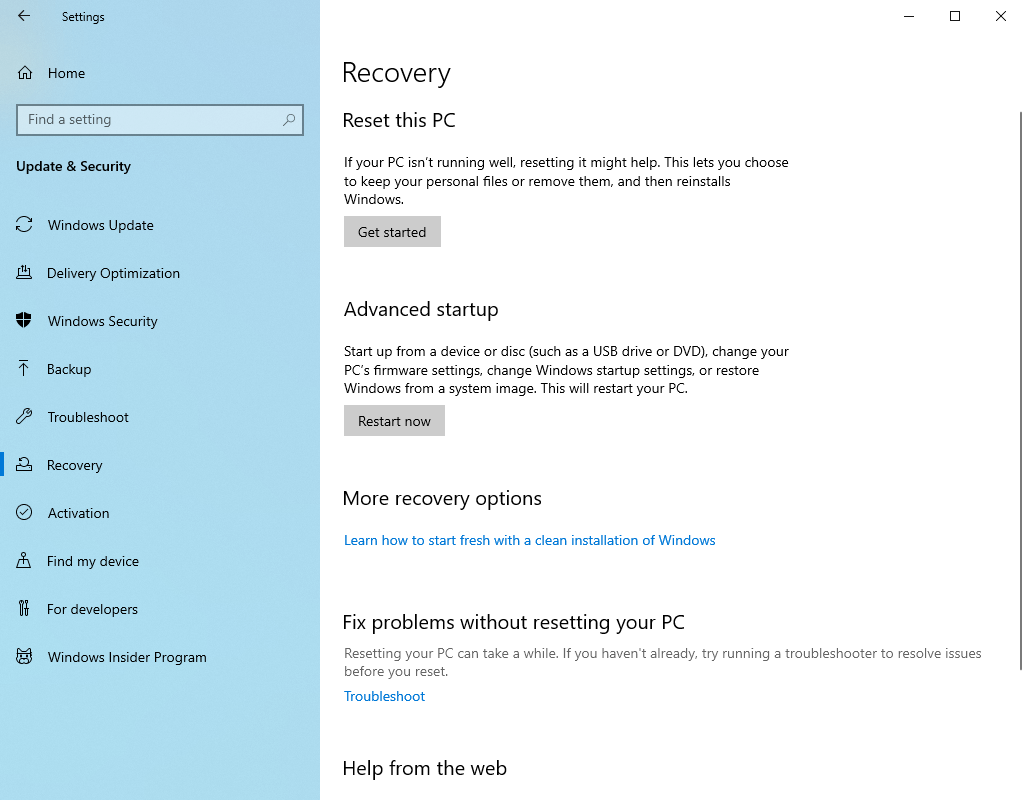
- Return to the “Update and Security” tab you visited earlier and click on “Recovery.”
- Under “Advanced Setup,” click “Restart now.”
![Click "Restart now" under "Advanced startup".]()
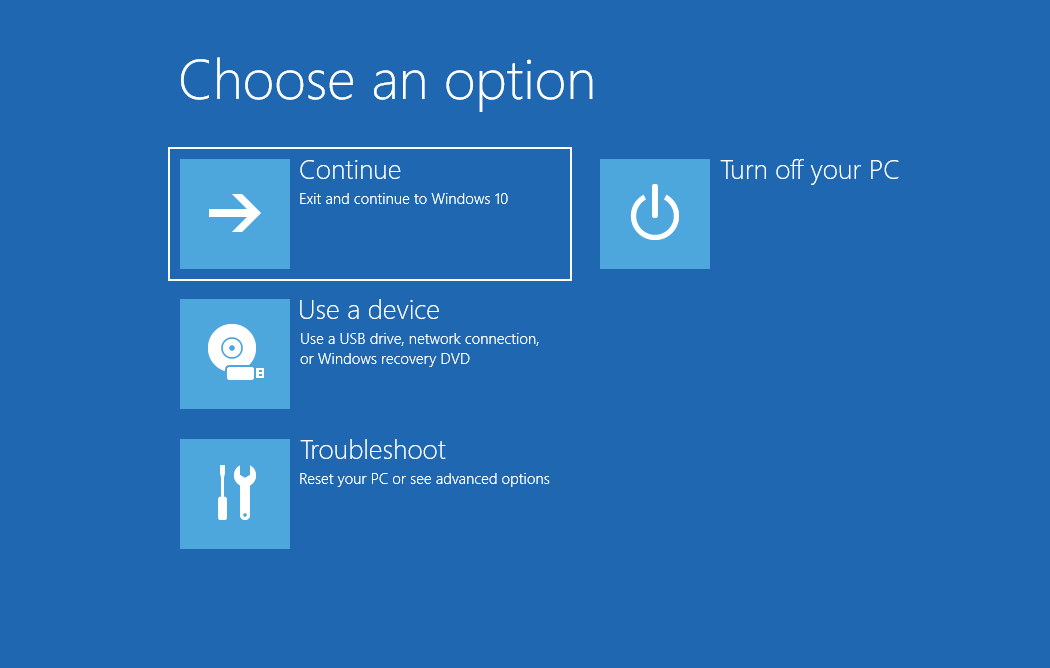
- Your computer will show a blue screen containing advanced troubleshooting options.
![A blue screen containing advanced troubleshooting options will appear.]()
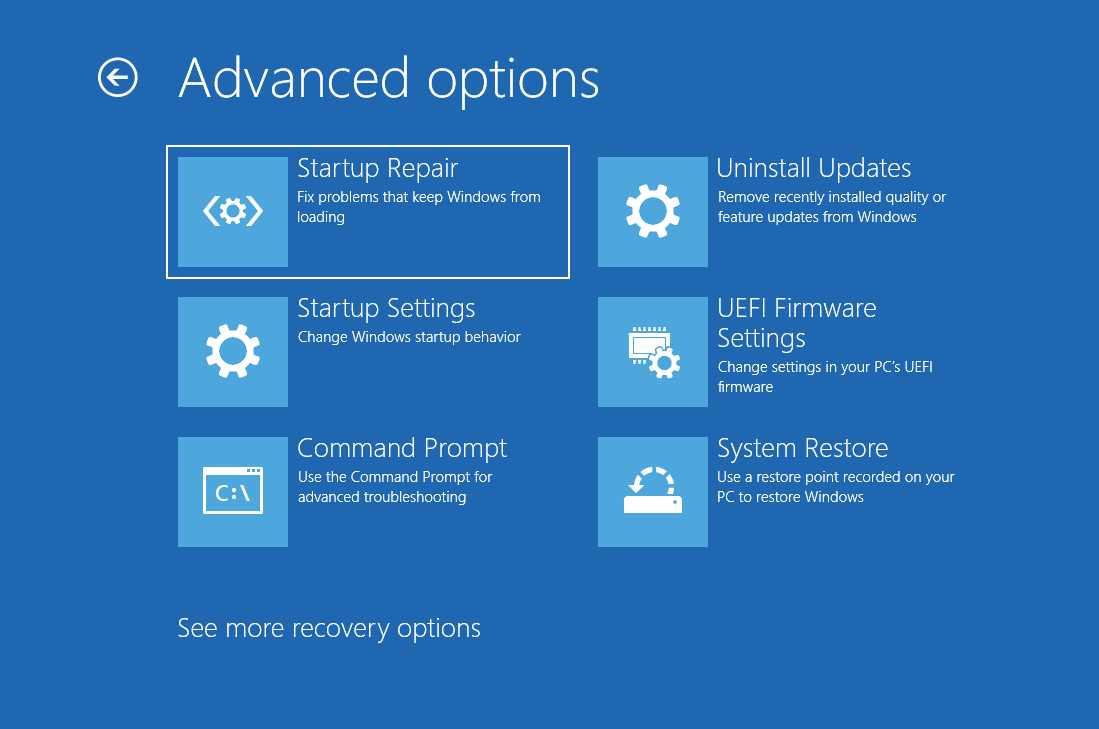
- Click on “Troubleshoot” and then hit “Advanced options.”
![The "Advanced options" screen will open.]() Select “UEFI Firmware Settings” and click “Restart.”
Select “UEFI Firmware Settings” and click “Restart.”![Click Restart to change your UEFI firmware settings.]()
 Select “UEFI Firmware Settings” and click “Restart.”
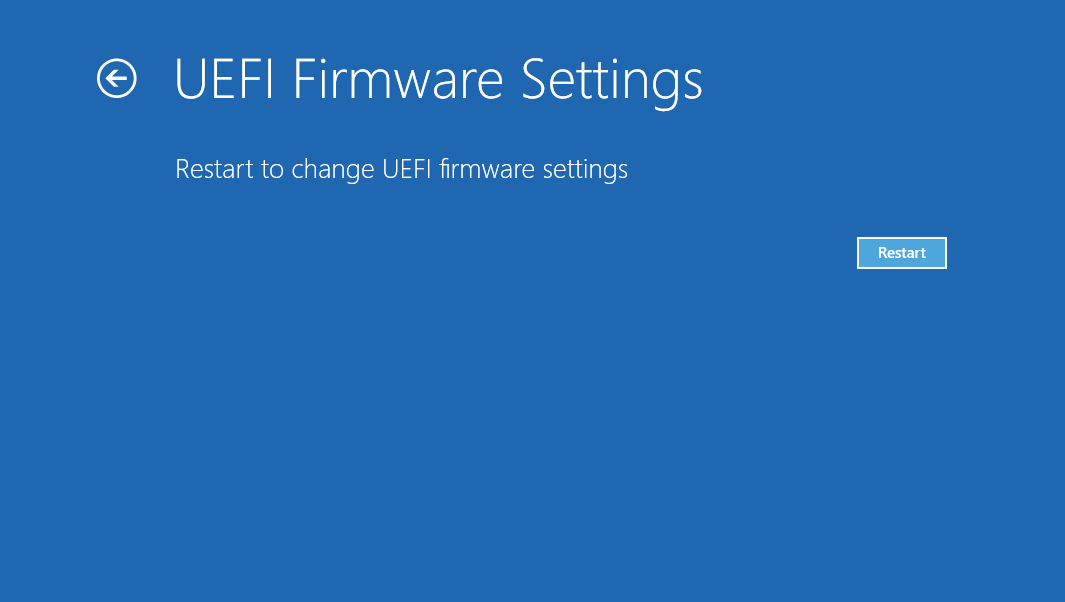
The interface you see when trying to reset BIOS might differ from that of other computers, but you should still see the “Reset” button. Therefore, always check different tabs, such as Security, Configuration, or Exit, for phrases like Load Default Options and Load Setup Defaults whenever you can’t find the Reset option. Confirm the reset to restore the default BIOS settings. Hopefully, you can now use your computer without worrying about the “Device was not migrated due to partial or ambiguous match” issue.
-
Use a Restore Point
Lastly, try using System Restore to solve the error. Do the following:
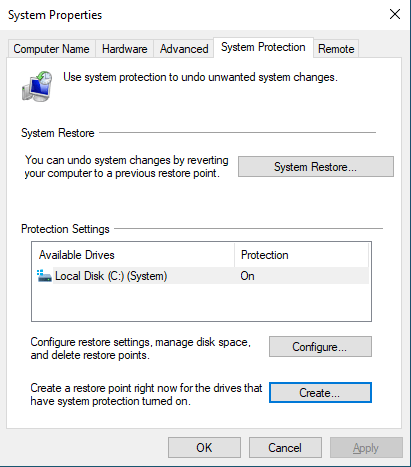
- Open the search bar and type “Restore Point.”
- Select “Create a Restore Point.”
- Click on “System Restore.”
![Select “System Restore.”]()
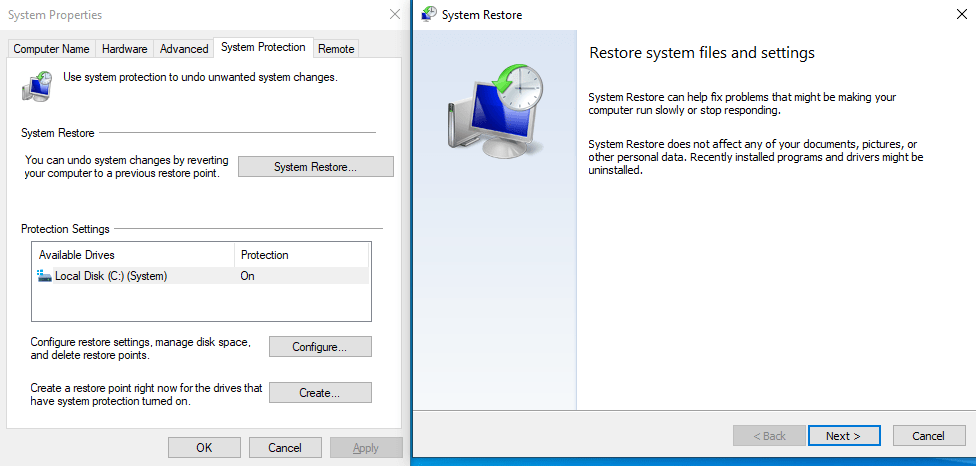
- Click the “Next” button.
![Click Next to proceed.]()
- Choose a Restore Point from a date before the last update.
- Click the “Finish” button.
- Wait for the process to complete, and the problem will be fixed.
If you are having issues migrating your computer drivers to Windows 10, then this guide will be a lifesaver. Our detailed article discusses how to get rid of the “Device not migrated” error in Windows 10, how to check if your PC has this issue, and also the best ways to fix it. Therefore, review these tips and then try them, and you’ll undoubtedly find one that will solve your problem entirely.


 Done! Great to see you among our subscribers!