
‘Control the things you can control’
Stephen King
We all know Skype is awesome. It has blazed a trail in global communication by enabling our calls and messages to flow unhindered across the world. Suffice it to say, skyping is now an important part of our daily lives, and it is almost indispensable when it comes to doing business.
All in all, Skype has done genuinely impressive work. But as of today, our well of compliments has run dry. Now it is time to dwell on one of the main Skype-related annoyances – the app’s persistent desire to remain active in the background on your Windows 10.
If you are going to deal with the issue in question, you might want to ask the following questions:
- Why does Skype keep running as a background process?
- Why would I want to stop Skype from running in the background?
- How can I stop Skype from running in the background of my system?
- How can I sign out of Skype?
- How to prevent Skype from starting at boot?
Fortunately, they are quite easy to answer:
‘Why does Skype keep running as a background process?’
The configuration of Skype forces the app to remain active and run in the background even when not in use. This ensures you are always available to receive incoming calls and messages when your computer is on.
‘Why would I want to stop Skype from running in the background?’
Being always reachable and ready to get in touch with your contacts is a pragmatic approach indeed. So, to be constantly connected to Skype might seem a fundamental necessity for both individuals and businesses. Regrettably, there is another side to the story: Skype is rather heavy on your CPU. Thus, you should not turn a blind eye to Skype running in the background of your PC – the app eats into your resources even when not in use. As a result, your computer may become slow and unresponsive, which is extremely dispiriting. That is why we recommend you to keep Skype active only if you really need it.
‘How can I stop Skype from running in the background of my system?’
Skype is a wayward app – wilful and headstrong. And ordering it about is not as easy as it seems. The app prefers to keep you signed in and to stay active in the background of your system, whether you like it or not.
Needless to say, you can keep Skype running for as long as you want – thanks to it, you will never miss an important call or message. But if you think that Skype should be entitled to a period of rest or if you do not want it to use up your PC’s resources, you might as well stop the app in question. That is quite a simple procedure – and yet it is not intuitive. Therefore, we hope you will find the following tips helpful.
And here are some ideas how to stop Skype from running in the background:
Check Which Skype Version You Have
Basically, there are 3 versions of Skype to choose from, and each of them is persistent in its own way:
- Skype Preview
- Skype Desktop app
- Skype for Business
Skype Preview
Skype Preview is a built-in app that comes as a part of your Windows 10.
To stop Skype Preview from running in the background of your system, follow these simple steps:
- Start -> Left-click on Skype Preview
- Skype Preview -> Left-click on your Profile icon -> Sign Out
After this manoeuvre, you will not find your Skype Preview app running in the background on your Windows 10.
Skype Desktop app
Skype Desktop is a traditional Skype application. To make use of this app, download it separately and sign in to it.
To prevent your Skype Desktop app from running in the background, do the following:
Task Bar -> Left-click on the Skype icon -> Quit Skype
or
System Tray icon -> Right-click on the Skype icon -> Quit
Nevertheless, your Skype Desktop app may start automatically next time you boot the PC.
Skype for Business
Skype for Business is a powerful collaboration tool. Nonetheless, you might not wish to keep it active all the time.
To stop Skype For Business from running in the background, try the following method:
System Tray icon -> Right-click on the Skype For Business icon -> Exit
Now Skype For Business won’t run continuously in the background.
To make sure Skype is no longer active, utilize your Task Manager:
Ctrl+Alt+Delete -> Task Manager -> Left-click on it -> Processes
Are there any entries beginning with the word ‘Skype’?
- If yes, click on them and end the tasks.
- If not, that means your Skype is not active at the moment.
Disable Other Unwanted Skype Processes
Remove ‘SkypeC2CAutoUpdateSvc.exeb’ and ‘SkypeC2CPNRSvc.exe’
If you think that your sluggish PC is too high a price to pay for always being on call, consider disabling unnecessary Skype processes.
What you should bear in mind is that Skype.exe is not the only Skype-related process that can run in the background on your Windows 10 and slow down your computer. If you open your Task Manager, you may come across ‘SkypeC2CAutoUpdateSvc.exe’ and ‘SkypeC2CPNRSvc.exe’ under the ‘Processes’ and ‘Details’ tabs.
We recommend you to remove unwanted Skype processes to boost your PC performance. This might mean SkypeC2CPNRSvc.exe and SkypeC2CAutoUpdateSvc.exe are not welcome on your Windows 10 computer anymore.
SkypeC2CAutoUpdateSvc.exe has its own name, which is Updates Skype Click to Call. It is located either in the ‘C:\Program Files (x86)\Skype\Toolbars\AutoUpdate\’ folder or at ‘C:\Program Files\Skype\Toolbars\AutoUpdate\’.
SkypeC2CPNRSvc.exe’s name is Phone Number Recognition (PNR) module. You can find it either in the ‘C:\Program Files (x86)\Skype\Toolbars\PNRSvc\’ folder or at ‘C:\Program Files\Skype\Toolbars’.
To disable SkypeC2CPNRSvc.exe, follow these steps:
- Windows logo key + R -> Type services.msc into the Run box -> Enter
- Search for Skype Click to Call PNR Service -> Double-click on it
- Open Services -> Skype Click to Call PNR Service properties -> Open the properties for c2cpnrsvc -> General
- Service Status -> Click Stop
- Startup type -> Choose Disabled from the drop-down list -> OK
And here is how to disable SkypeC2CAutoUpdateSvc.exe:
- Windows logo key + R -> Type services.msc into the Run box -> Enter
- Search for Skype Click to Call Updater -> Double-click on it
- Open Services -> Skype Click to Call Updater properties -> Open the properties for c2cautoupdatesvc -> General
- Service Status -> Click Stop
- Startup type -> Choose Disabled from the drop-down list -> OK
- Reboot your computer
Thanks to the steps above, neither SkypeC2CAutoUpdateSvc.exe nor SkypeC2CPNRSvc.exe will reappear.
Remove ‘Skypehost.exe’
Apart from SkypeC2CAutoUpdateSvc.exe and SkypeC2CPNRSvc.exe, you can be troubled by another persistent process running on your Windows 10 computer – Skypehost.exe. It powers Windows 10 Skype and Messaging + Skype. If you do not find those services necessary, you are free to get rid of Skypehost.exe. You can do that by either uninstalling Messaging + Skype or removing Skype.
Here is how to do that:
To uninstall Messaging + Skype, go this way:
- Start -> Settings -> System -> Apps & Features
- Messaging + Skype -> Click on it -> Uninstall
To remove Skype using the PowerShell, do the following:
- Windows logo key + X -> Search -> Type PowerShell into the Search box
- Ctrl + Shift + Enter -> Confirm the User Account Control prompt
- Type the following commands (press Enter after each line):
Get-AppxPackage *messaging* | Remove-AppxPackage
Get-AppxPackage *skypeapp* | Remove-AppxPackage
‘How can I sign out of Skype?’
Skype keeps you signed in by default, which is quite convenient – you do not have to provide your account details every time you launch the app. But if you find being signed into Skype all the time intolerable due to security concerns, feel free to sign out of the app.
Just follow these simple instructions:
To sign out of the Skype Preview app:
- Start Menu -> Skype Preview
- Left-click on your profile icon (the bottom left corner) -> Scroll down to the bottom of your account screen -> Sign out
To sign out of the Skype Desktop app:
Open your traditional Skype desktop application -> Click the Skype tab (the top-left corner) -> Sign out
To sign out of Skype for Business:
Launch Skype for Business -> Click the Show Menu arrow -> File -> Sign out
Next time you wish to run Skype, it will ask you to provide your Skype name and password – thus, do not let your login details slip your mind!
‘How to prevent Skype from starting at boot?’
If Skype is one of your startup programs, it starts automatically every time you boot your PC.
If you want to prohibit the Skype Desktop app from starting at boot, follow these steps:
- Open your Skype desktop application -> Tools -> Options
- Uncheck Start Skype when I start Windows -> Save
To prevent Skype Preview from starting automatically, sign out of the app – that will be enough:
- Start Button -> Skype Preview App -> Left-click on your profile icon (the bottom left corner)
- Scroll down to the bottom of your account screen -> Sign out
If you want to stop Skype for Business from starting automatically on your Win 10 PC, do the following:
- Start -> Skype for Business -> Sign in to your Skype for Business account (if you have not signed in yet)
- Search for the Wheel button -> Search for the little Down Arrow button next to it -> Left-click on the Down Arrow button -> Examine the drop-down menu -> Tools -> Options
- Examine the side menu -> Navigate to the Personal tab -> Uncheck Automatically start the app when I log on to Windows -> OK
Here is another way to stop Skype from being a part of your computer’s boot process:
- Windows logo key + R -> Type msconfig.exe into the Run box -> Enter
- System Configuration -> Go to the Startup tab -> Find the list of Windows Startup applications -> Search for Skype -> Uncheck it -> Apply -> OK
- Restart your computer
You can breathe easier now as intrusive Skype will not start at boot anymore.
Note:
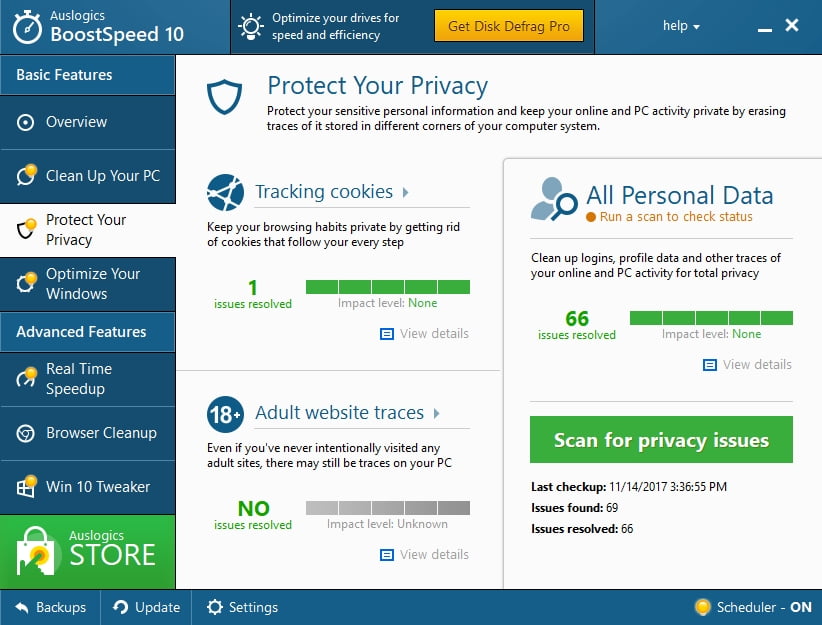
If your PC keeps being sluggish after you have stopped Skype from running in the background and starting at boot, your machine needs a thorough check-up. Unwanted processes, junk files, corrupt registry keys, and non-optimal settings are the issues you should deal with as soon as possible as they can make your PC intolerably slow. And it is up to you to decide whether to put a diagnostic scan of your PC entirely on your shoulders or not. For instance, you could use a special tool, e.g. Auslogics BoostSpeed, to perform a comprehensive check-up of your Win 10 and improve your computer’s performance.
We hope our tips have helped you take control of the things between you and Skype.
Do you have any ideas or questions regarding this issue?
We are looking forward to your comments!


 Done! Great to see you among our subscribers!
Thanks very much!