- Why Does Skype Error 1618 Crop Up?
- Skype 1618 Error Fixes
- 1. End the Microsoft Installer Process
- 2. Run Skype as an Administrator
- 3. Install Windows Updates
- 4. Edit Your Registry
- 5. Run a Full Malware Scan of Your System
- 6. Fix Your Drivers
- 7. Purge Your PC of Junk and Other Speed-Reducing Issues
- 8. Restart Windows Installer
- 9. Re-register Windows Installer Files
- 10. Change Group Policy Settings
- 11. Uninstall Skype Completely
- 12. Reinstall Your Windows

‘Multitasking means screwing up several things at once’
Author Unknown
Having its pros and cons, Skype is a must-have tool these days – we rely on it heavily to achieve effective communication, and the app tends to serve this purpose well.
But what if Skype installation fails thanks to the mysterious error 1618? Does this mean the good old app is forever beyond your reach?
Of course not. The problem in question can be easily resolved if you know what to do.
Why Does Skype Error 1618 Crop Up?
The issue in question appears when you are trying to perform several installs at once.
For example, if you can see the 1618 error code when installing Skype:
- you might have accidentally started Skype installation twice;
- another installation process is being executed at the same moment;
- your Windows 10 is installing updates.
Therefore, to keep the error message ‘Another installation is already in progress’ at bay, you should:
- be careful when installing programs;
- avoid parallel installations;
- wait for the current downloads/installations to complete before proceeding with another install.
If your Skype keeps having issues despite all the precautions above, move on to explore our solutions to the persistent 1618 error.
Skype 1618 Error Fixes
Here are our top 12 tips on how to eliminate the Skype 1618 installation problem:
- End the Microsoft Installer Process
- Run Skype as an Administrator
- Install Windows Updates
- Edit Your Registry
- Run a Full Malware Scan of Your System
- Fix Your Drivers
- Purge Your PC of Junk and Other Speed-Reducing Issues
- Restart Windows Installer
- Re-register Windows Installer Files
- Change Group Policy Settings
- Uninstall Skype Completely
- Reinstall Your Windows
You are welcome to choose the method you like most and follow the steps to fix the 1618 error.
Well, it is time to begin our journey. But first, you should perform a backup.
Indeed, we strongly recommend you to back up your personal files before launching an attack on the error in question.
As a precaution, use any of the following tools to your advantage:
- Portable backup devices (e.g. flash drives, compact disks, etc.)
- Cloud solutions (e.g. OneDrive, Dropbox, Google Drive, etc.)
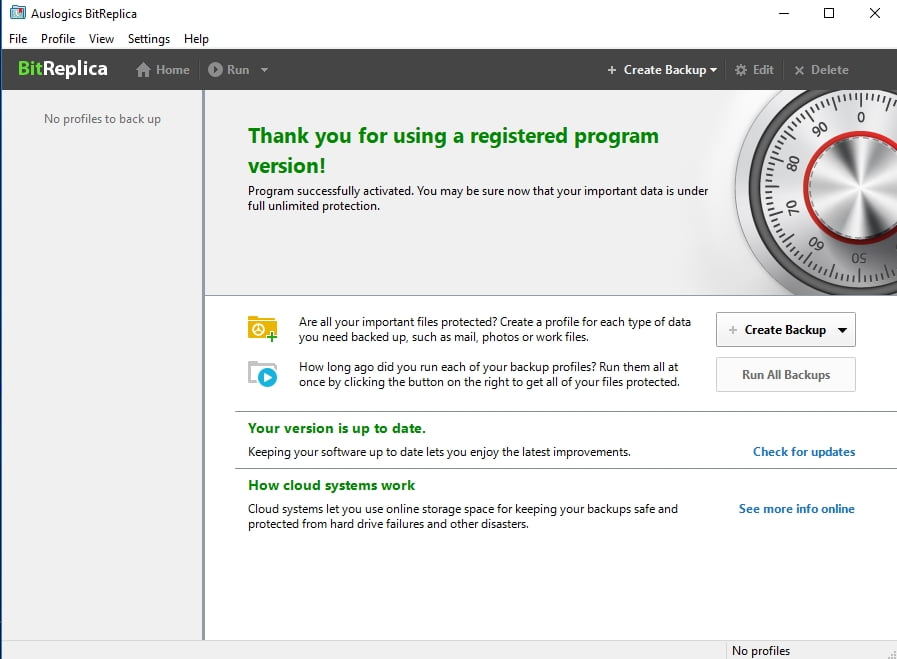
- Special backup software (e.g. Auslogics BitReplica)
Besides, we guess it would not hurt to create a system restore point:
- Windows logo key + S -> Type restore into the Search box -> Create a restore point
- System Properties -> Create -> Describe the restore point you want to create -> Create
You can always go back to it if things do not go as planned:
- Start -> Control Panel -> System and Security -> File History
- Recovery -> Open System Restore -> Next
- Select the restore point you want to return to-> Next -> Finish -> Yes
By the way, you can use the instructions above to roll back your PC to the latest working restore point – that will undo recent system changes. Try out this manoeuvre as it is reported to be capable of fixing the 1618 Skype error.
1. End the Microsoft Installer Process
To tell the truth, a little patience is required when it comes to installing programs on your computer: for example, you are supposed to proceed with a Skype install only when no other installation processes are being executed. However, we understand you might need to use the app without any delay. In such a case, you will have to end the msiexec.exe process manually.
For this purpose, use Windows Task Manager:
- Ctrl+Alt+Del -> Task Manager
- Processes -> select the MSIEXEC.EXE process -> Click End Process
- Install Skype
Has the issue been resolved? If not, hurry up to give the following method a try.
2. Run Skype as an Administrator
If the error 1618 prevents Skype installation from being a success, you can try the following workaround:
Skype setup file -> Right-click on it -> Run as administrator
Did it work?
If you still encounter the ‘Another installation is already in progress’ message, keep working your way down.
3. Install Windows Updates
If your PC is acting weird (which includes generating the 1618 installation error), your system might need updating.
Make use of the built-in Windows Update feature:
- Windows logo key + I -> Update and Security -> Check for updates
- Let the available updates come through
- Wait for the installation process to complete
- Restart your PC
Now try to install Skype on your computer. If the frustrating 1618 error code is still here, consider tweaking your Windows registry.
4. Edit Your Registry
Whatever it takes, be extremely careful when editing your registry – even a minor mistake can damage your system and cause your PC to go haywire.
Therefore, we strongly recommend you to back up your registry before editing it:
- Windows logo key + R -> Type regedit.exe into the Run box-> Enter
- Registry Editor -> Select the registry keys and/or subkeys you want to back up -> File > Export ->Choose the location and name for the backup file -> Save
Now you can perform the necessary changes:
- Windows logo key + R -> Type ‘regedit’ into the Run box
- Navigate to HKEY_LOCAL_MACHINE\Software\Microsoft\Windows\CurrentVersion\Installer\
- Find and delete PendingFileRenameOperations
- Move to HKEY_LOCAL_MACHINE\SOFTWARE\Microsoft\Updates
- Search for the UpdateExeVolatile entry -> Double-click on it -> Set it to 0
That is it.
If the Skype installation issue persists, proceed to the following method.
If you feel there is something wrong with your system after the registry tweaks, restore the Windows Registry:
- Windows logo key + R -> Type ‘regedit.exe’ into the Run box-> Enter -> Registry Editor
- File -> Import -> Import Registry File -> Locate the necessary backup file -> Open
5. Run a Full Malware Scan of Your System
The error code 1618 can be a symptom of a malware infection. Thus, do not hesitate to conduct a full system scan. Your main goal is to detect the malicious intruders and banish them from your PC.
For this purpose, you can use:
Windows Defender
Windows Defender is a built-in security solution that can be of immense help in tackling malware issues and protecting your system.
To run a full system scan with Windows Defender, do the following:
Settings -> Update & Security -> Windows Defender -> Open Windows Defender -> Full
Your main antivirus solution
If you use a third-party antivirus as a main security solution, let it have a go at beating malicious software.
A special anti-malware tool
Looking for an ultimate triumph? If so, make sure your main antivirus has scanned every nook and cranny of your Windows 10 – even a tiny omission can result in a serious damage.
The problem is, some malicious threats are cunning enough to steal a march on your antivirus. Fortunately, it has steadfast allies that are always ready to help it out: for example, Auslogics Anti-Malware will be delighted to annihilate the threats your main security solution has missed.
6. Fix Your Drivers
Driver issues are brilliant at wreaking havoc on your computer. For instance, they can easily turn Skype installation into a nightmare. Therefore, mending your drivers might eliminate the annoying 1618 error code and give the green light to a successful Skype install.
In this regard, you can:
Use Driver Verifier to track down the misbehaving drivers
Start menu -> Type verifier -> Enter
Make use of Device Manager
Win + X -> Device Manager -> Locate your devices and update / reinstall their drivers
Troubleshoot your drivers manually
If you wish to have everything under control, feel free to update your drivers by yourself. To do so, visit your manufacturers’ websites, download the latest drivers for your device models and install them on your computer.
Use special software to fix all your drivers
Updating your drivers one by one can be rather a tedious business. You can save your time by using a special tool, e.g. Auslogics Driver Updater, to fix them all in one click.
7. Purge Your PC of Junk and Other Speed-Reducing Issues
If you wish to enjoy Skype calls, make sure your PC is not messy before installing the app. Otherwise, you may run into rather dispiriting installation issues.
Here is what you can do to clean your machine up:
Remove temporary setup files
Temporary setup files that certain apps place on your PC can cause Skype installation to fail.
To delete them, go this way:
- Windows logo key + R -> Type ‘temp’ into the Run box-> Enter
- Delete everything from the Temp folder
- Go to C:\Windows\Temp -> Delete everything from this folder
Run Disk Cleanup
A messy hard drive is another possible reason for installation failures.
To declutter your disk, utilize the built-in Disk Cleanup solution:
- Win + R -> Type ‘cleanmgr’ into the Run box -> Enter -> Disk Cleanup
- Disk Cleanup for (C:) -> Clean up system files -> Select the items you do not need -> OK
Run System File Checker
You might be unable to install Skype due to corrupt or missing system files on your computer. Lucky for you, Windows 10 provides for the possibility of fixing them automatically.
What you need is to run System File Checker:
- Start -> Enter Command Prompt -> right-click Command Prompt -> select Run as administrator -> Enter DISM.exe /Online /Cleanup-image /Restorehealth -> Enter sfc /scannow
- Wait for the system scan to finish -> Reboot your computer
Use a special diagnostic tool
There are lots of issues that can spoil your PC’s performance in general and Skype installation in particular.
Among them are:
- junk files (e.g. leftover update files, unneeded cache, unused error logs, temporary system and user files, etc.)
- corrupt keys and invalid entries in the Windows registry
- non-optimal Windows settings
You can resolve them manually or use a special solution, such as Auslogics BoostSpeed, to do that in a fast and safe way.
If using the tips above has not helped you eliminate the error 1618, now is the time to deal with the Windows Installer service.
8. Restart Windows Installer
Reportedly, Windows Installer can be the main culprit of the Skype 1618 crisis.
In such a case, disabling and enabling the Windows Installer service is an effective fix:
- Windows logo key + R -> Type ‘services.msc’ into the Run box-> Enter
- Search for the Windows Installer service -> Double-click on it -> Properties
- Startup type -> Disabled -> Save changes
- Restart your computer
- Windows logo key + R -> Type ‘services.msc’ into the Run box-> Enter
- Startup type -> Manual -> Save changes
- Restart your computer
Can you install Skype on your PC now?
If not, here is another trick related to Windows Installer.
9. Re-register Windows Installer Files
If restarting Windows Installer has been to no avail, try re-registering its files.
Here is how to do that:
- Windows logo key + X -> Command Prompt (Admin)
- Insert the following:
msiexec /unregister
msiexec /regserver - Wait for the commands to execute
- Close Command Prompt
- Reboot your computer
- Try to install Skype
No luck so far? No worries, the next fix may turn out to be really helpful.
10. Change Group Policy Settings
Changing your group policy settings may prove an effective solution to the Skype error 1618.
To perform the changes in question, follow the instructions below:
- Windows logo key + R -> Type ‘gpedit.msc’ into the Run box -> OK
- Computer Configuration -> Windows Settings -> Security Settings -> Local Policies -> User Rights Assignment
- Debug programs -> Double-click on this option
- Locate the Administrators account on the list -> If it is absent, click Add User or Group and the Admin account
- Apply -> OK
11. Uninstall Skype Completely
If Skype has ever been present on your PC, chances are the app has not been uninstalled completely: some leftover files may still remain in your system. They are supposed to be removed – otherwise, the installation of your new Skype is set up for failure.
To uninstall Skype completely, perform the following edits:
- Windows logo key + R -> Type regedit.exe into the Run box-> Enter -> Registry Editor
- Edit -> Find -> Type Skype into the Find box -> Find Next
- Right-click on the search results -> Delete them
12. Reinstall Your Windows
Reinstalling your Windows 10 is a great opportunity to start from scratch: actually, bugs are supposed to give your system a wide berth after that procedure.
Nonetheless, a clean install of your Windows 10 is a kind of escapade that might end in tears – the drama is, it causes your personal files to disappear for good. Thus, make sure you have backed up your important data to avoid painful losses.
We hope there is nothing that can prevent you from installing Skype on your PC now.
Do you have any ideas or questions regarding this issue?
We are looking forward to your comments!


 Done! Great to see you among our subscribers!