
‘Change occurs in direct proportion to dissatisfaction’
Douglas Horton
We cannot fail to mention that Skype has a strong reputation and is well respected among its users. However, one can hardly disregard the fact that the app has too many Achilles’ heels. And the issue ‘The content of this message is unsupported’ is one of the biggest Skype frustrations.
The problem in question crops up when you initiate a Skype video call. After about a minute, the error ‘The content of this message is unsupported’ causes your call to fail in a most abrupt way. Your chat functionality, meanwhile, is OK. Needless to say, you are not – some nuisances can take the wind out of anyone’s sales. That is why we will leave no stone unturned to help you.
Check out our top 5 ‘The Content of This Message Is Unsupported’ fixes:
- Update Your Skype
- Check for Windows Updates
- Uninstall and Reinstall Your Skype
- Switch to the Classic Skype App
- Update Your Drivers
So, let’s reclaim your Skype video chats together:
1. Update Your Skype
Whether you like it or not, Skype is very insistent on getting updates. Refusing to comply with its demands has proven a bad strategy: the app becomes rebellious and starts acting weird. The issue we refer to as ‘The Content of This Message Is Unsupported’ is a case in point.
To make things right, you can:
- download the latest Skype version from its official website and install it on your PC;
- search the Windows Store for available Skype updates;
- update your classic Skype for desktop: Skype -> Help -> Check for Updates (There you can either Update Classic Skype or Try the new Skype – the choice is yours).
2. Check for Windows Updates
Bear in mind that it is extremely important to keep your Windows 10 up to date. Otherwise, you may run into multiple issues, including Skype crashes and failures.
Make use of the built-in Windows Update feature:
- Windows logo key + I -> Update and Security -> Check for updates
- Download the available updates and wait for the installation process to complete
- Reboot your PC
Check on your Skype app now.
3. Uninstall and Reinstall Your Skype
If you see too much of ‘The Content of This Message Is Unsupported’, your Skype might be having issues. Uninstall and reinstall the app to bring hearty video calls back into your life.
To start with, back up your Skype history:
- Windows logo key + R -> Type %appdata%\skype into the Run box -> OK
- Copy the My Skype Received Files folder and the ‘Your Skype Name’ folder and move them to another place on your PC
You can retrieve your Skype history later:
- Close your Skype app -> Windows logo key + R -> Type %appdata%\skype into the Run box-> OK
- Put the ‘My Skype Received Files’ folder and the ‘Your Skype Name’ folder into this folder
To uninstall Skype from your PC, do the following:
- Windows logo key + R -> Type ‘appwiz.cpl’ into the Run box
- Programs and features -> Skype -> Right-click on it -> Uninstall/Change -> Uninstall the app
- Go to C:\Program Files -> Find the Skype folder and the SkypePM folder -> Delete them
You might need to uninstall Skype completely before reinstalling it on your computer. This scenario suggests editing the Windows registry, which is quite risky – a tiny error can cause your system to go unstable and lead to a big drama.
Therefore, it would be wise of you to create a system restore point:
- Windows logo key + S -> Type ‘restore’ into the Search box -> Create a restore point
- System Properties -> Create -> Describe the restore point -> Create
If something does not go as planned, you can restore your system to an earlier point:
- Start -> Control Panel -> System and Security -> File History
- Recovery -> Open System Restore -> Next
Besides, we strongly recommend you to back up your registry:
- Windows logo key + R -> Type ‘regedit.exe’ into the Run box-> Enter
- Registry Editor -> Select the registry keys and/or subkeys you wish to back up -> File > Export -> Choose the location and the name for the backup file -> Save
Here is how you can restore your registry if something goes wrong:
- Windows logo key + R -> Type regedit.exe into the Run box-> Enter -> Registry Editor
- File -> Import -> Import Registry File -> Locate the necessary backup file -> Open
Another safety precaution is to ensure that your personal files are properly backed up.
For this purpose, you can make use of:
- portable storage devices (e.g. compact disks, flash drives, external hard drives, etc.)
- cloud drives (e.g. OneDrive, Google Drive, Dropbox, etc.)
- backup software (e.g. Auslogics BitReplica)
The time has come to erase the Skype entries from your registry:
- Windows logo key + R -> Type regedit.exe into the Run box-> Enter -> Registry Editor
- Edit -> Find -> Type Skype into the Find box -> Find Next
- Right-click on the search results -> Delete them
Now you can download the latest version of Skype (explore its official website or the Windows store) and install it on your machine.
4. Switch to the Classic Skype App
More and more Windows 10 users report that downloading and installing the classic Skype app is the easiest fix for the ‘The Content of This Message Is Unsupported’ problem. For what it is worth, we recommend you to follow this piece of advice. Although the new Skype looks very stylish and has lots of exciting features to offer, the traditional app might be your only option.
We are perfectly aware that the classic Skype for Windows Desktop is way heavier on resources and never fails to enrage its users with the notorious ad banner. And yet the opportunity to perform successful video calls makes the torture worth it.
Thus, go the official Skype web page and download the classic version of Skype.
5. Update Your Drivers
Bad drivers are by no means a problem to turn a blind eye to: they can mess your system up and lead to multiple mishaps. For instance, out-of-date drivers can bring about the error ‘The Content of This Message Is Unsupported’ and turn your Skype video calls into a nightmare.
In such a case, it is advisable to update obsolete drivers straight away.
You can always choose to deal with your drivers by yourself: update them one by one using the latest versions from your vendors’ official websites.
And here are some tools to help you out in case you do not have enough time for manual troubleshooting:
Driver Verifier
Driver Verifier is particularly gifted in the art of tracking misbehaving drivers:
Start menu -> Type verifier -> Enter -> Follow the prompts
Device Manager
Device Manager will do its best to resolve your driver issues:
Win + X -> Device Manager -> Locate your devices -> Right-click on them -> Update their drivers
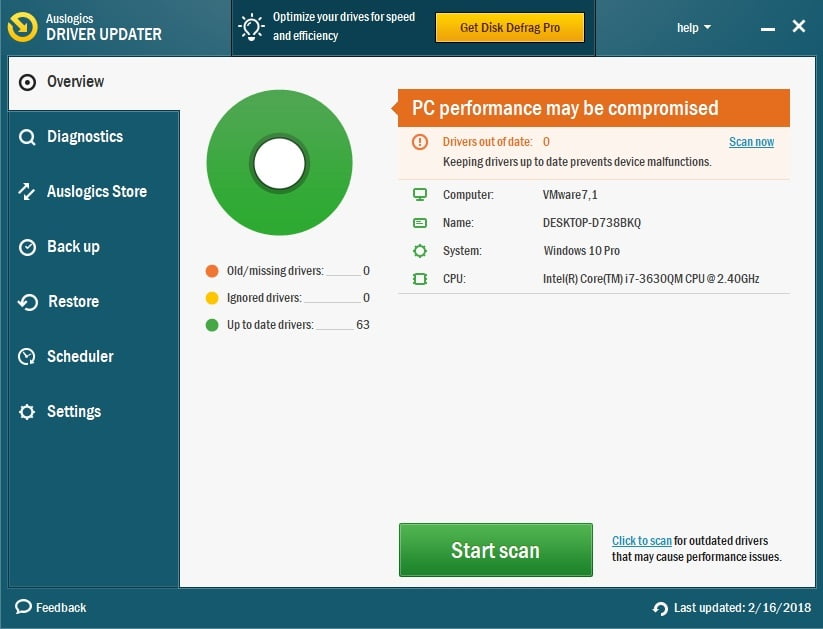
Driver Updater
This tool presents an opportunity to update all your drivers in one click. Here is where you can find it: Auslogics Driver Updater.
We hope all your video calls are a success now.
Do you have any ideas or questions regarding this issue?
We are looking forward to your comments!Needless to say, you are not – some nuisances can take the wind out of anyone’s sales. That is why we will leave no stone unturned to help you.


 Done! Great to see you among our subscribers!