
On the October 13 Patch Tuesday, Microsoft announced some changes to the way Windows verifies driver software. These changes triggered some driver errors on Windows 10 PCs, such as the “Windows can’t verify the publisher of this driver software” error, which appears when installing third-party drivers.
Microsoft said that it would block a driver if Windows couldn’t verify the publisher or if the driver lacked a signature. Apart from the “Windows can’t verify the publisher of this driver software” error, users might also get the “No signature was present in the subject” error message.
Microsoft explains that the issue occurs due to an “improperly formatted catalog identified during validation by Windows. Starting with this release, Windows will require the validity of DER format encoded Public-Key Cryptography Standards (PKCS) #7 content in catalog files. Catalog files must be signed per section 11.6 of describing DER-encoding for SET OF members in X.690”
Due to the increasing number of cases of malware attacks and data breaches, Microsoft wants to protect users by ensuring software verification is carried out first before installing anything from insecure sources.
Microsoft suggests that Windows 10 users who run into this error should try contacting the driver vendor or device manufacturer (OEM) and ask for an updated driver version to fix the issue. If, for some reason, you can’t get the help you need, here are a few workarounds that might work.
How to Fix “Windows Can’t Verify the Publisher of This Driver Software” in Windows 10
Fix 1: Disable Integrity Checks and Enable Test Signing Mode
Windows 10 machines using 64-bit versions of the OS have the “Driver enforcement signature” feature, which checks all the drivers before they are installed. With the recent updates, Microsoft is making it much harder to install unsigned drivers. Note that this is for a good reason, which is to prevent the unintentional installation of rootkits. Rootkits are the worst form of malware since they are embedded in the kernel.
The kernel controls everything on a Windows machine, and it is the first Windows component to boot when you press the power button. So, imagine the damage it can cause if it’s infected with malware. By ensuring that only official drivers with verified signatures are installed, Windows prevents such an ugly scenario from happening.
However, you can bypass this enforcement by disabling integrity checks and enabling the Test Signing Mode, which essentially disables the Driver Signature Enforcement feature.
You can do so via the Command Prompt or the “Advanced boot options” menu:
Option 1: Using the Command Prompt
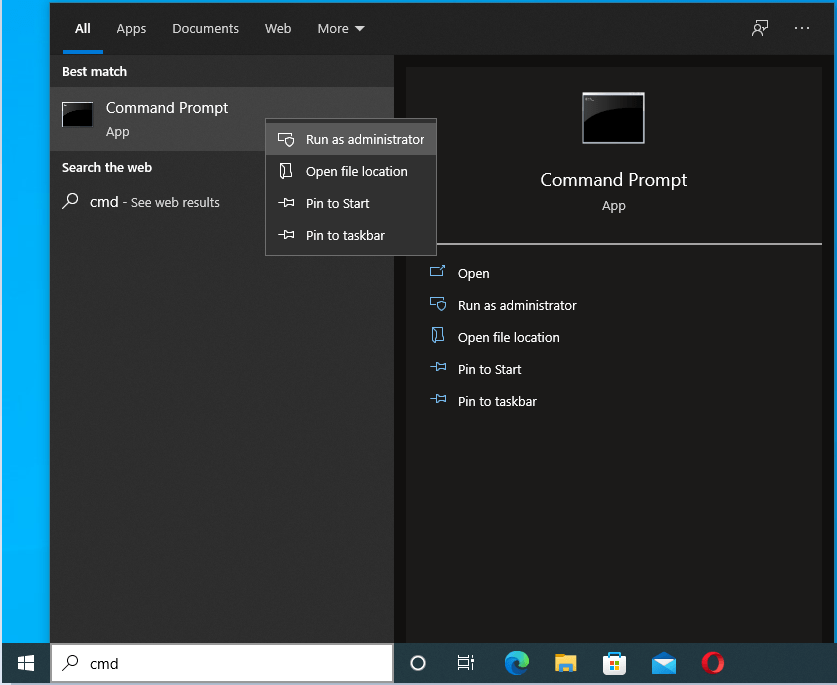
- First, you need to run the Command Prompt in admin mode. To do so, open Search by pressing the Windows logo key + S keyboard shortcut. Type in cmd and select “Run as administrator” in the right pane.
![Run the Command Prompt as an administrator.]()
- Once the Command Prompt opens, type or paste the following commands and press Enter after each line:
bcdedit.exe -set load options DISABLE_INTEGRITY_CHECKS
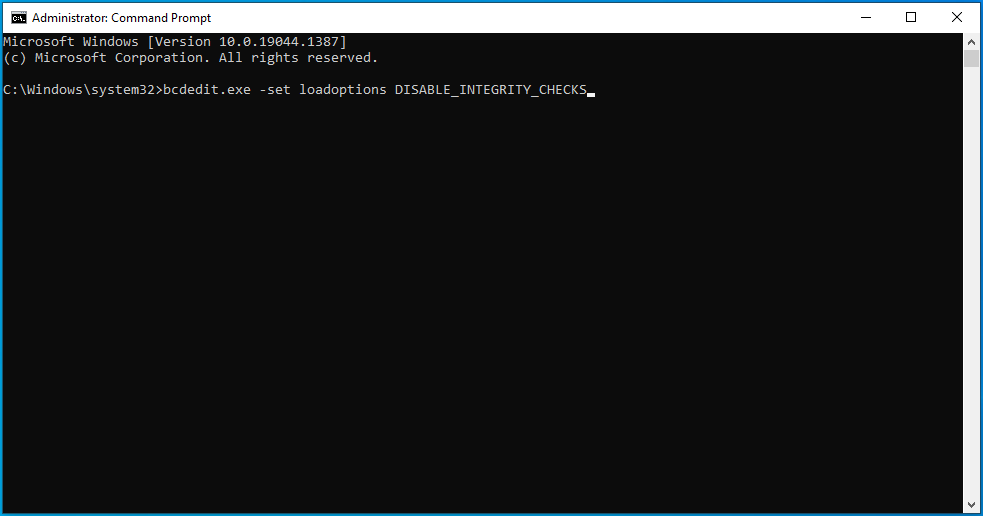
bcdedit.exe -set TESTSIGNING ON
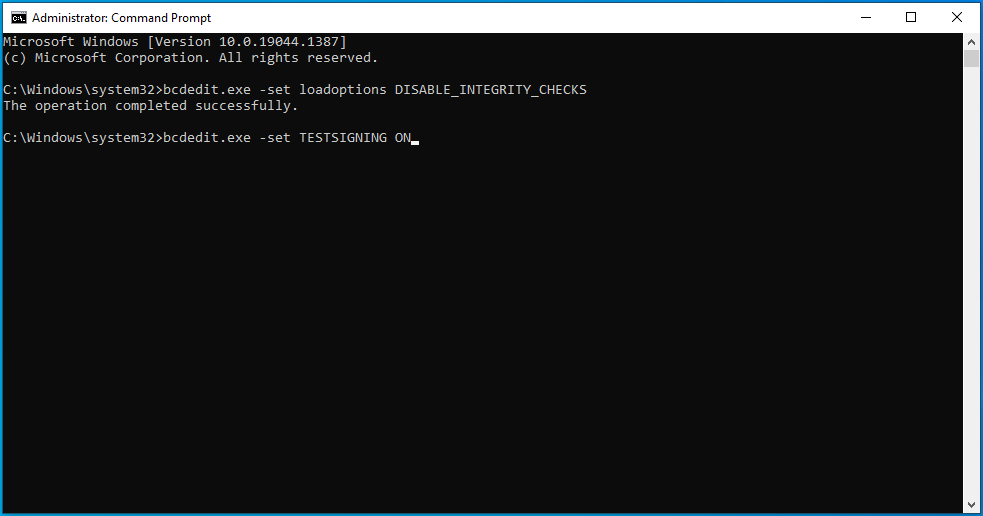
- Wait for the commands to execute, and once they do, restart your computer to effect the changes.
![Wait for the commands to execute.]()
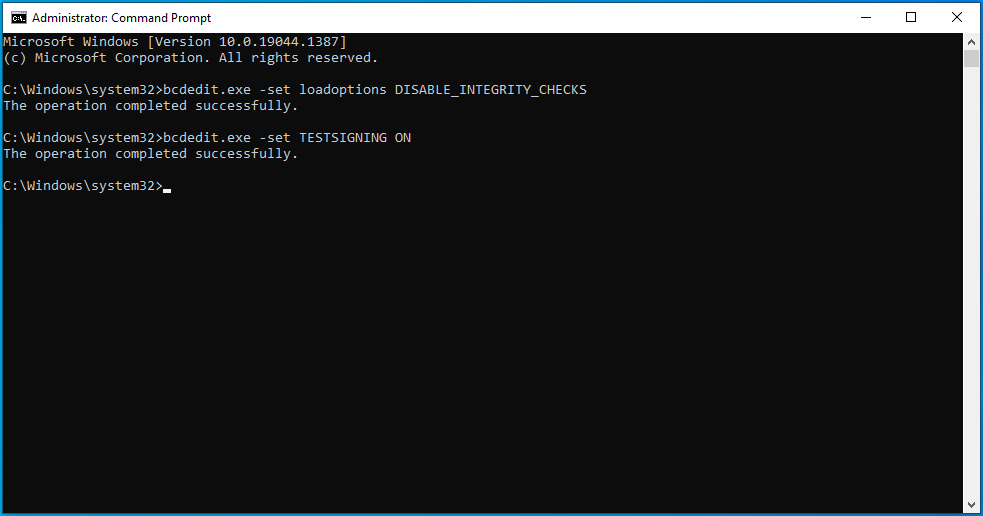
Now, try installing the drivers again to see if Windows will prevent the installation of the drivers.
Option 2: Using the Advanced Boot Options Menu
This option lets you disable Driver Signature Enforcement via the Advanced Boot Options menu. It’s worth mentioning here that this isn’t a permanent solution. The next time you restart your Windows 10 device, Driver Signature Enforcement will be enabled.
Here is how to proceed:
- You must first get your PC to the Advanced Boot Options menu. You can do so by clicking the “Power” button and then, while holding down the “Shift” key, clicking “Restart”.
- You can also use the “Settings” app. Press the Windows logo key + I shortcut, go to Update & Security.
![Navigate to Update & Security.]()
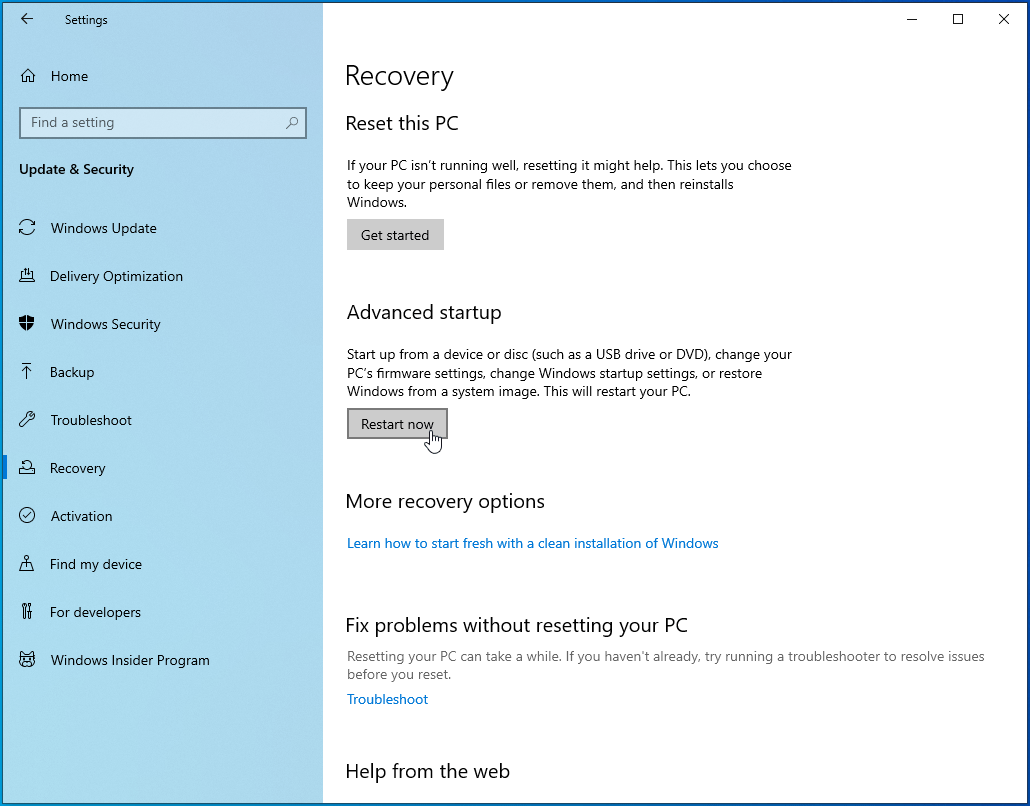
- Open Recovery, and click on the “Restart now” button under “Advanced startup” in the right pane.
![Click Restart now under Advanced startup.]()
- Your computer will restart, and on the “Choose an option” screen, select “Troubleshoot”.
![Click Troubleshoot under Choose an option.]()
- Next, click on Advanced options.
![Select Advanced options.]()
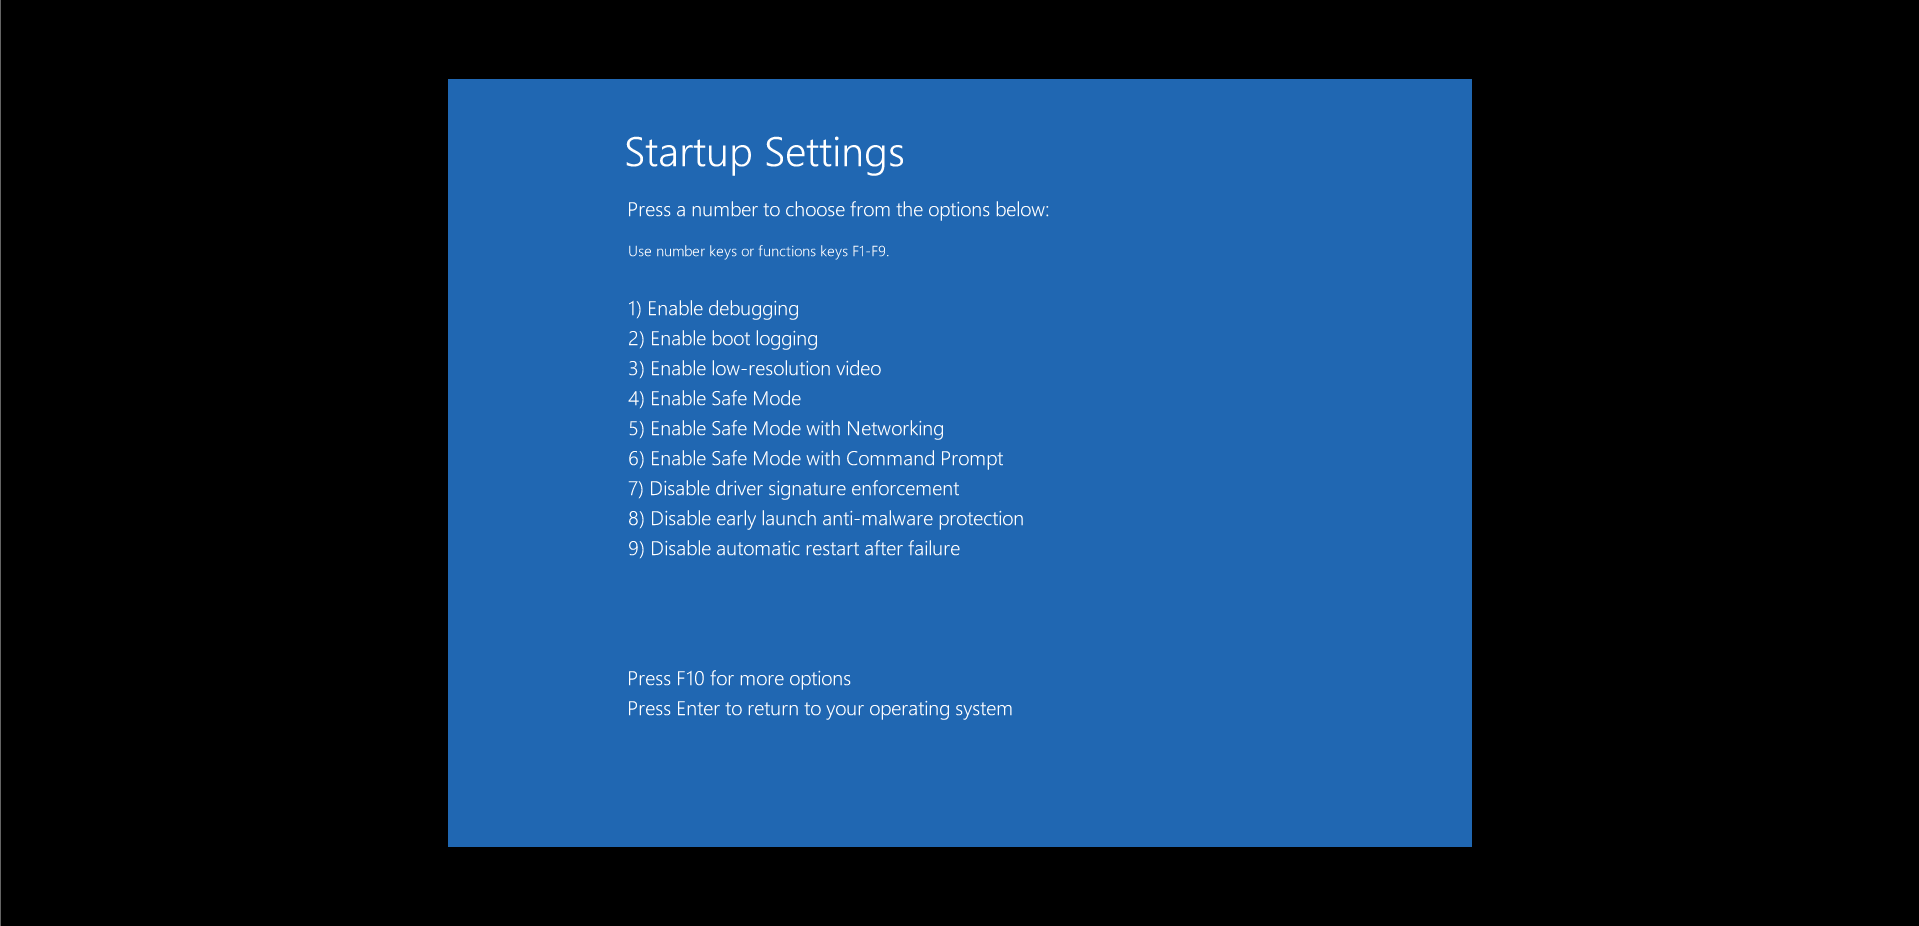
- Click Startup Settings.
![Select Startup Settings.]()
- Click Restart.
![Click on Restart on the Startup Settings screen.]()
- Once the PC restarts, select number “7” or press the “F7” key on your keyboard to disable Driver Signature Enforcement.
![Disable driver signature enforcement.]()


You should now be able to install your driver without running into the “Windows can’t verify the publisher of this driver software” error notification.
Fix 2: Disable Driver Signing Via the Windows Registry
Modifying the registry is risky, and you should only proceed if you’re comfortable making the changes outlined here. Note that a slight mistake can cause irreparable damage to your operating system. That’s why we always recommend that you first back up your registry so that you can undo the changes if you run into registry errors.
Here is how to proceed:
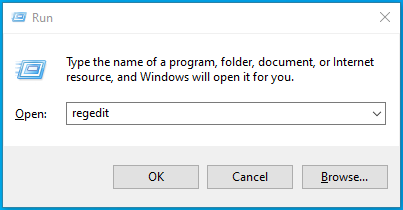
- Press the Windows logo key + R shortcut, type regedit into the “Run” box, and press “Enter”.
![Type regedit into Run.]()
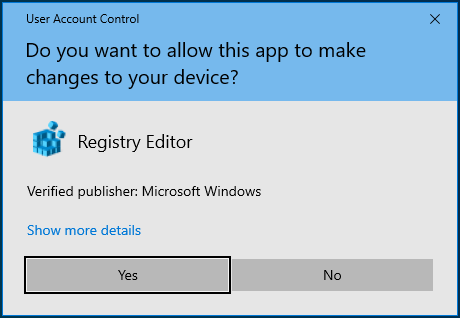
- Click “Yes” on the UAC prompt.
![]()
- Once the Registry Editor window opens, navigate the path below:
Computer\HKEY_LOCAL_MACHINE\SOFTWARE\Microsoft\Driver Signing
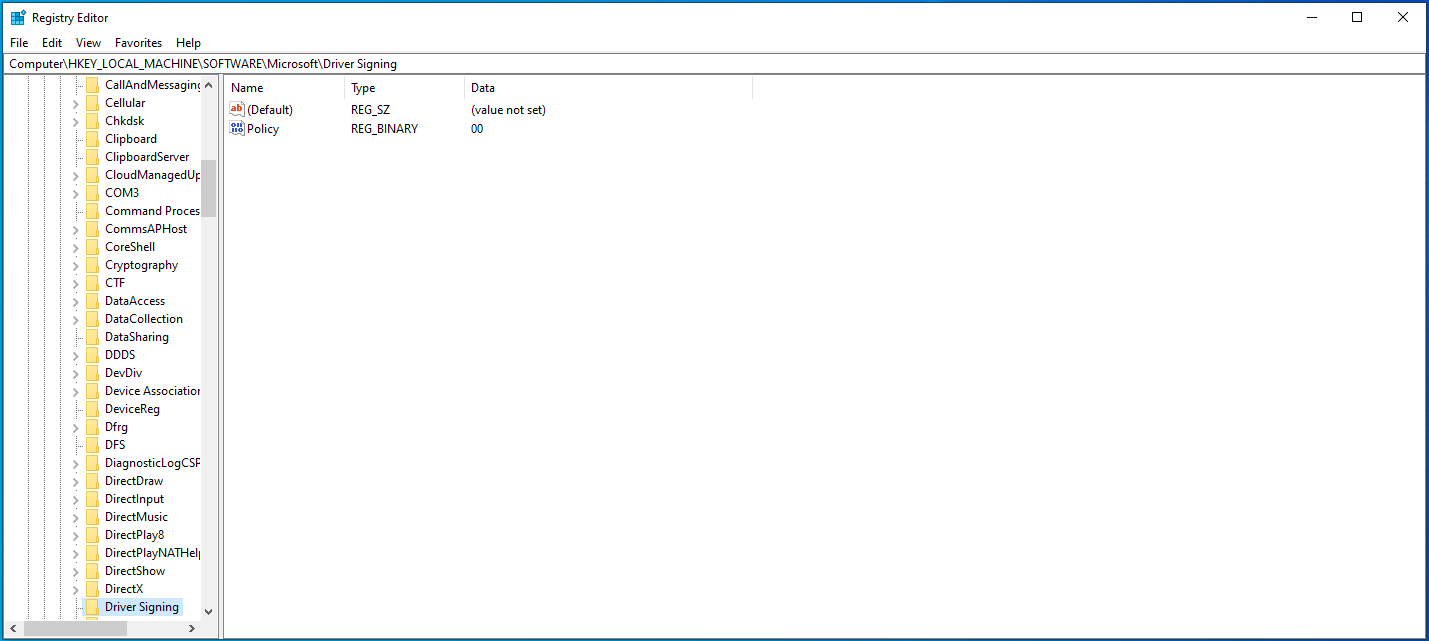
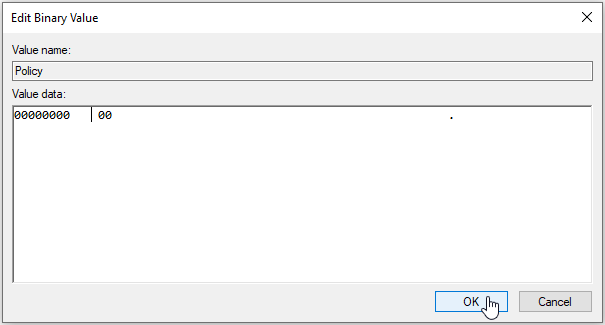
- Double-click on the “Policy” option and set its value to “00”.
![]()
- Click “OK” and restart the system.
![Click OK to save the data change.]()

Go ahead and check if you can now install the drivers.
Fix 3: Configure Windows to Ignore Code Signing for Device Drivers
You can configure Windows to ignore code signing for device drivers using the Group Policy Editor. Here are the steps to follow:
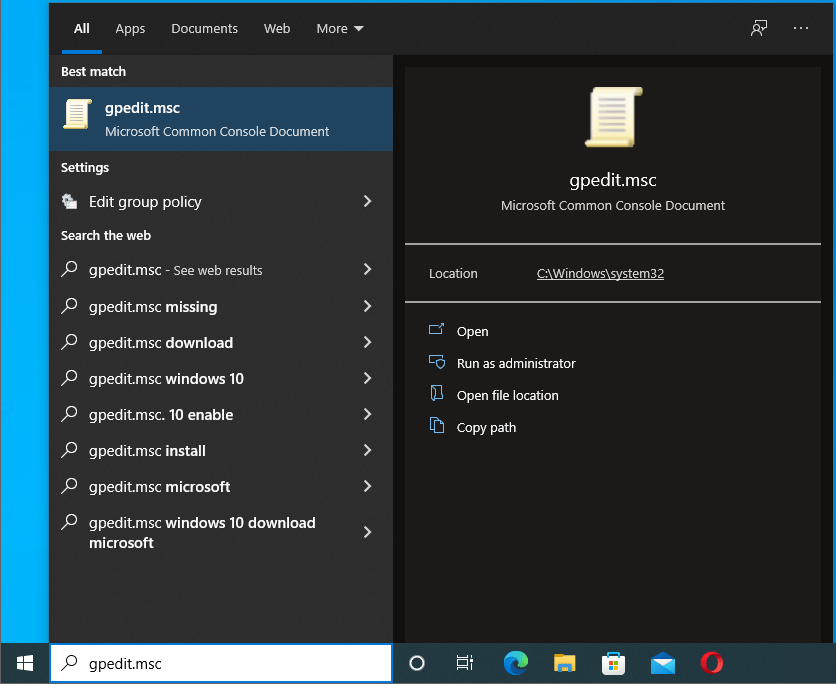
- Go to your “Start” menu, type in gpedit.msc and hit “Enter”.
![Open gpedit.msc via Search.]()
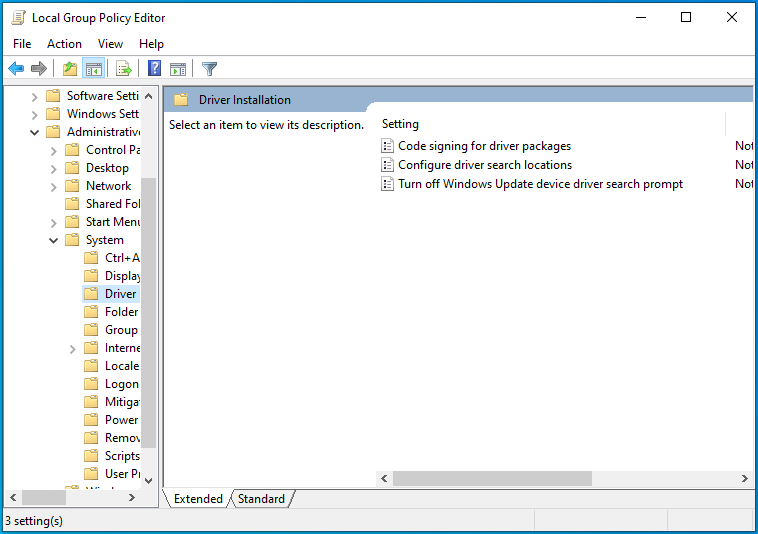
- Go to User Configuration > Administrative Templates > System > Driver Installation.
![Click User Configuration > Administrative Templates > System > Driver Installation.]()
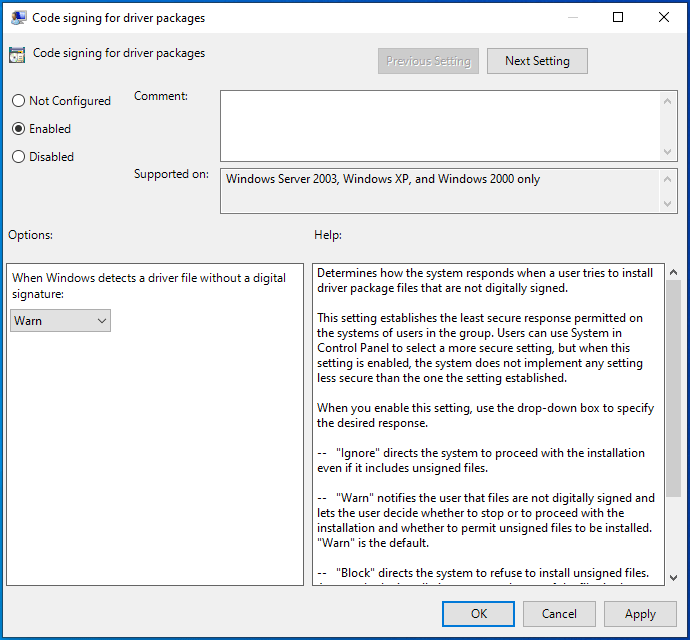
- On the right pane, find and double-click “Code signing for driver packages”.
![Open “Code signing for driver packages”.]()
- Click the “Enabled” radio button to enable this option.
![Enable code signing.]()
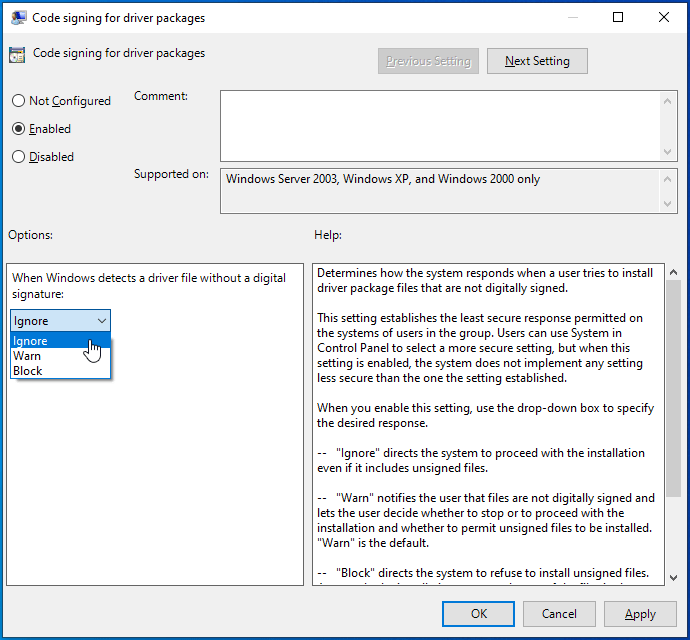
- Now, from the drop-down list under “Options:”, select “Ignore”.
![Select Ignore under Options.]()
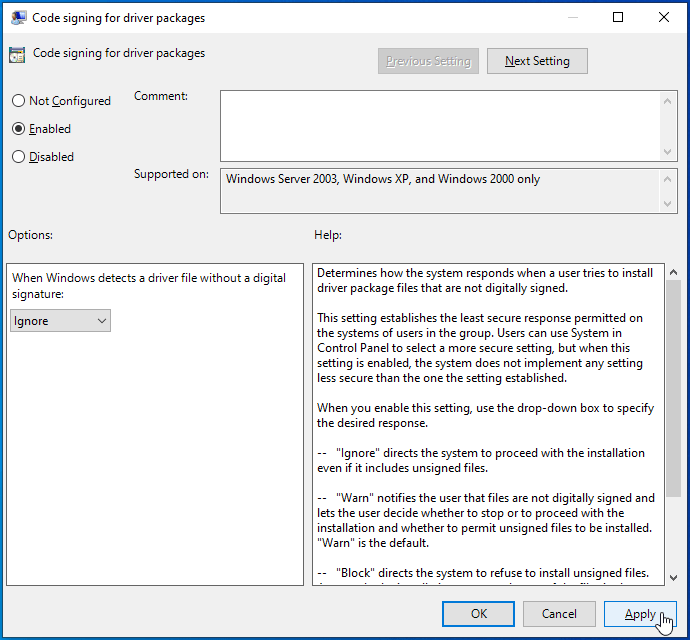
- Click Apply > OK.
![Click Apply and OK to save the code signing changes.]()
- Restart Windows and check if the “Windows can’t verify the publisher of this driver software” error message is still bothering you.

Fix 4: Update Your Device Drivers
Another sure fix that you could try is to update your device drivers. We mentioned earlier that you can contact your driver vendor to help you sort out the issue. However, your attempts might go unanswered, or you might not get the assistance you needed.
The good news is that you can do everything from the comfort of your home by using reliable driver updating software like Auslogics Driver Updater. This application is fast, safe, and designed to automatically detect and update all outdated device drivers. Once you install it, the program will first scan your Windows 10 machine to determine the operating system that you’re running and the currently installed device drivers.
Once it completes performing diagnostics, Driver Updater displays a detailed report of the driver issues affecting your PC. It gives you the option to update all of the outdated drivers at once with a click of a button, or you can update each driver individually in order of priority.

Auslogics Driver Updater ensures that only the latest official driver versions that are compatible with your system are installed on your PC. These drivers are verified, which means you won’t get the “Windows can’t verify the publisher of this driver software” error.
Did any of the solutions in this post resolve your problem? Let us know by commenting below.


 Done! Great to see you among our subscribers!