- What Is the Windows 10 Error Code 0x800f0984?
- How to Get Rid of the Error Code 0x800f0984 When Updating Windows 10
- Fix 1: Use the Windows Update Troubleshooter
- Fix 2: Run the DISM and SFC Tools
- Fix 3: Perform a Clean Boot
- Fix 4: Delete the Contents of the SoftwareDistribution Folder
- Fix 5: Perform a System Restore
- Fix 6: Remove the Problematic Windows Update
- Fix 7: Reset Your PC
- Optimize Your PC’s Performance

Are you looking for information on how to resolve the Windows 10 Update error code 0x800f0984? We are here to help.
Many Windows users are running into this Windows Update error, which is preventing them from accessing their systems. According to several users, the Windows Update error 0x800f0984 occurred after installing the recent KB5001330 update for Windows 10 version 20H2 and 2004. It’s the same error users encountered when trying to install Windows 10 Cumulative Update KB5000842.
The KB5001330 update was a mandatory download intended to patch the problems caused by the previous update, including the long-running problems with printers. In this article, we’ll show you how to fix the Windows 10 Update error code 0x800f0984.
What Is the Windows 10 Error Code 0x800f0984?
The Windows Update service simplifies the entire process of updating your Windows PC. Usually, the updating process is automatic, meaning Windows automatically downloads and installs any available updates to your PC. These updates improve certain functionalities and security features to protect your computer from threats.
The Windows Update error code 0x800f0984 occurs when trying to install updates. The error code means “PSFX_E_MATCHING_BINARY_MISSING (Matching component directory exists but binary missing)”.
Some users on Reddit were furious when their update process got stuck at 20%, then again at 73%, then at 100%, and then finally failed.
So, what’s causing the Windows Update error code 0x800f0984? Well, if the Windows Update service fails to function correctly, you’ll likely run into issues trying to install updates. Additionally, the error code 0x800f0984 could be a result of corrupted system files. This may occur due to software conflicts.
In other cases, your antivirus program could be blocking the files from getting installed on your computer. If so, try temporarily disabling your antivirus software and check if the updates go through.
The good news is that there are fixes that you can apply to resolve the Windows 10 Update error code 0x800f0984.
How to Get Rid of the Error Code 0x800f0984 When Updating Windows 10
Fix 1: Use the Windows Update Troubleshooter
Windows machines come with in-built troubleshooters that help to detect problems and fix them automatically. The Windows Update troubleshooter will scan for and repair any update-related issues on your computer.
Here’s how to use the troubleshooter:
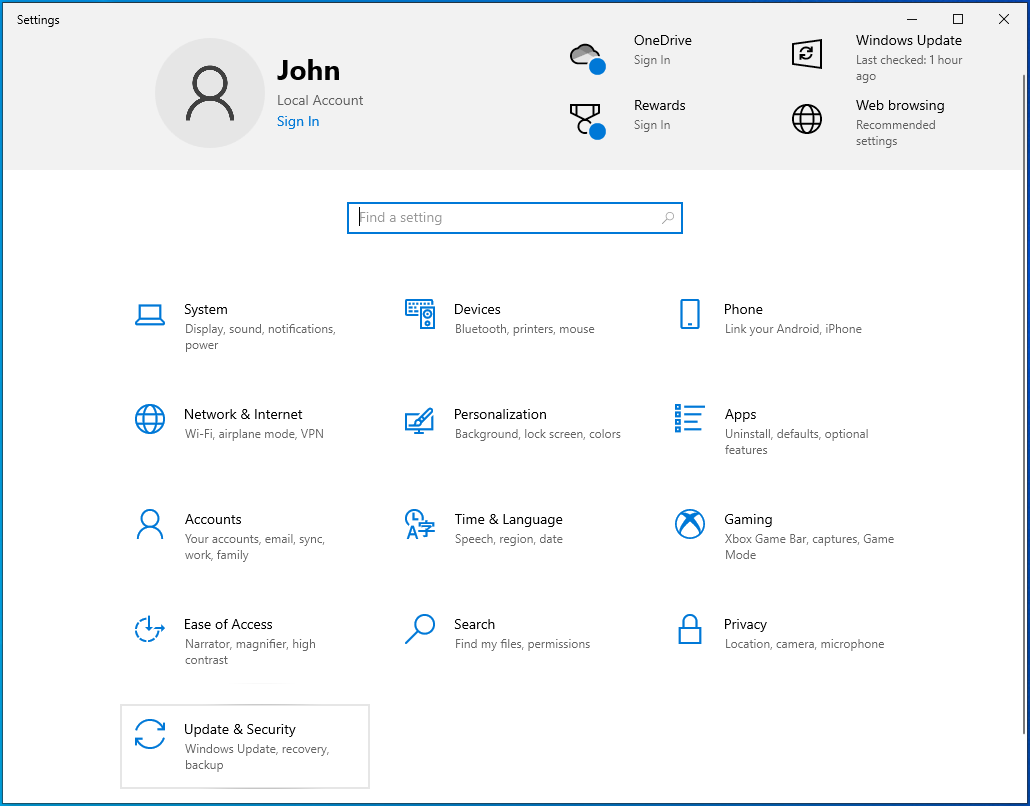
- Open your Settings app (Win + I).
![Open your Settings app.]()
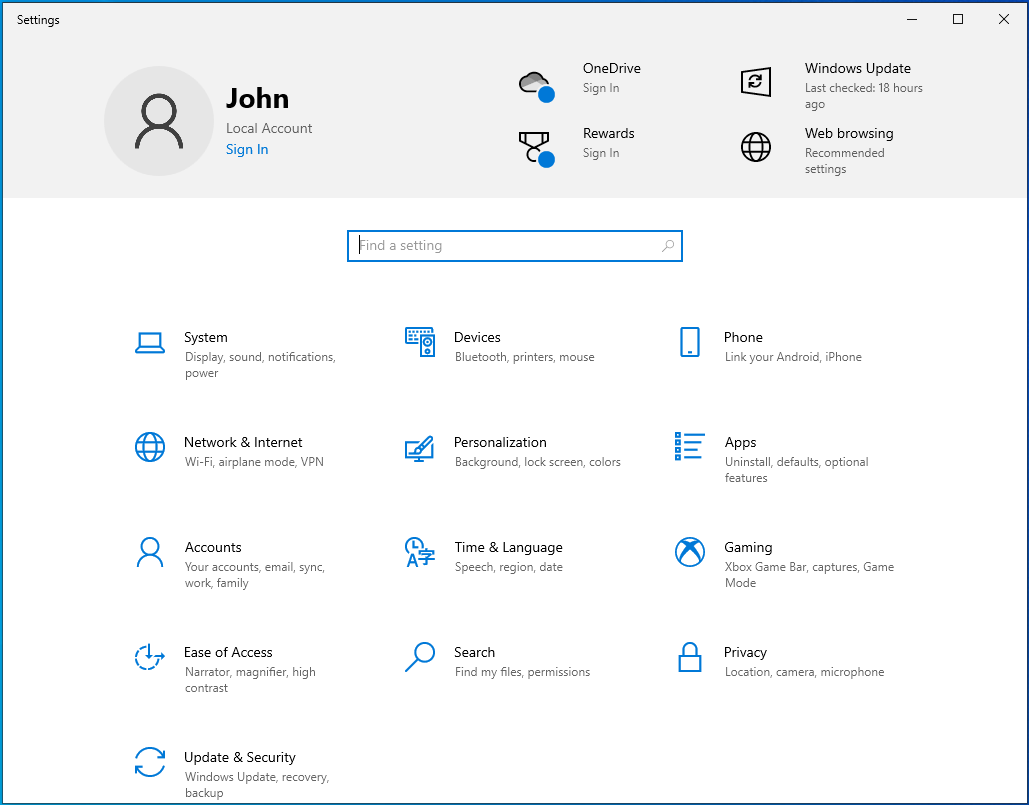
- Go to Update & Security.
![Open Update & Security]()
- Select Troubleshoot.
![Navigate to Troubleshoot.]()
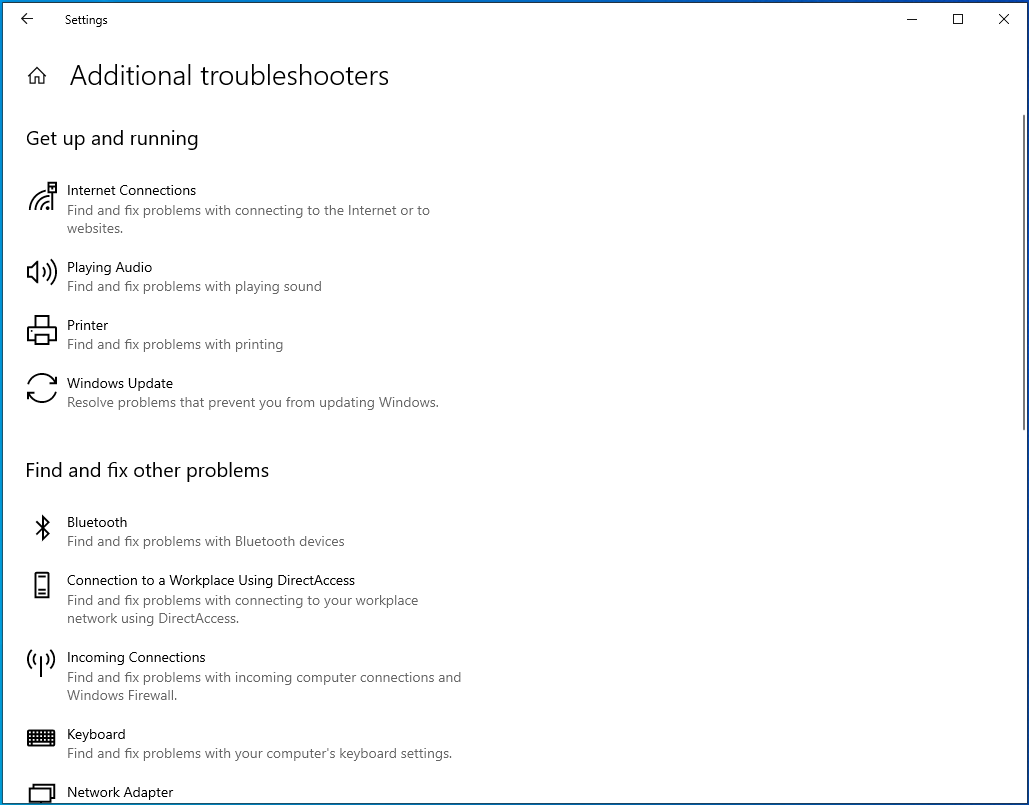
- Navigate to the “Additional troubleshooters” link on the right sidebar and select it.
![Navigate the Additional troubleshooters section.]()
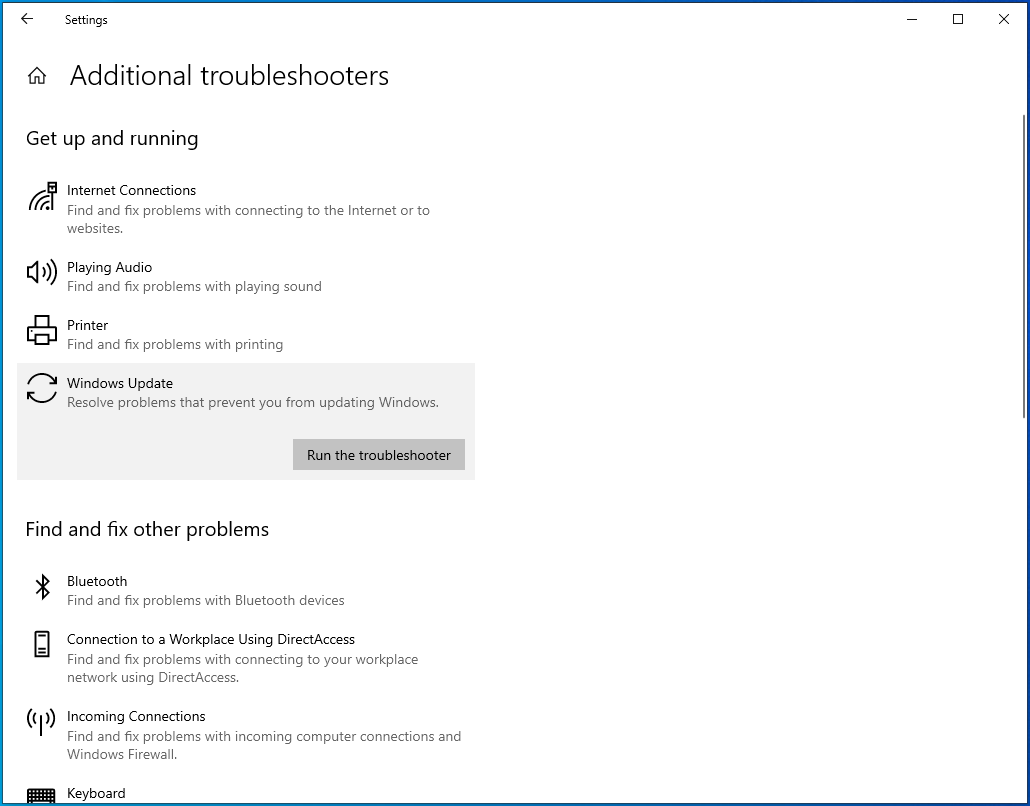
- On the next page, find the “Windows Update” option, left-click on it once, and click on “Run the troubleshooter”.
![Go to Windows Update and select Run the troubleshooter.]()
- Follow the on-screen instructions to try and resolve the Windows Update error code 0x800f0984.
- Let the process run uninterrupted, and restart your PC once it completes.

Fix 2: Run the DISM and SFC Tools
The DISM (Deployment Image Servicing and Management) tool is a Windows built-in utility that helps to repair and replace corrupt Windows images. The SFC (System File Checker) tool, on the other hand, is a Windows utility that scans and restores corrupted Windows system files. These tools come in handy when faced with various PC problems, like failed Windows updates.
We’ll start by running an SFC scan to resolve any corruption in the system files. Here’s how to run SFC:
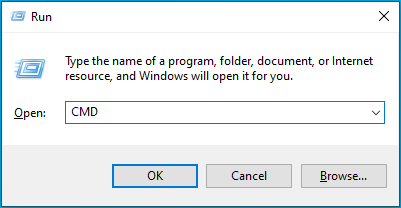
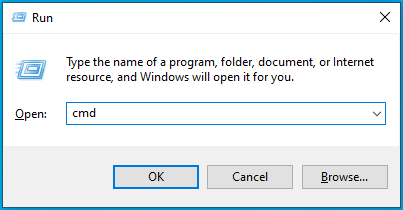
- Launch an elevated command prompt. To do that, press the Win + R keyboard shortcut, type CMD into the “Run” dialog box, and press the Ctrl + Shift + Enter keyboard shortcut.
![Type CMD into the Run app.]()
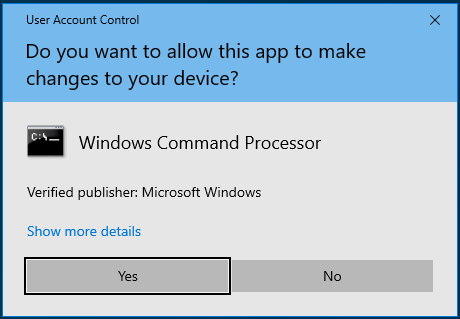
- Click “Yes” if you get a UAC prompt.
![]()
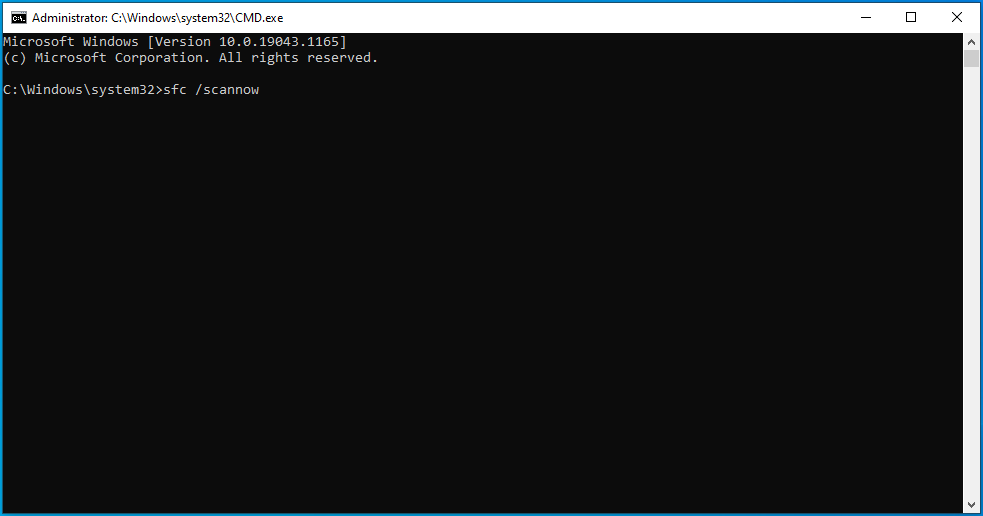
- Once the “Administrator Command Prompt” window comes up, type or paste the command sfc /scannow and press “Enter”.
![Paste the command sfc /scannow into cmd.]()
- The SFC tool will run for a while, attempting to fix corrupted system files by replacing them with good copies.
![Wait until the sfc scan is over.]()
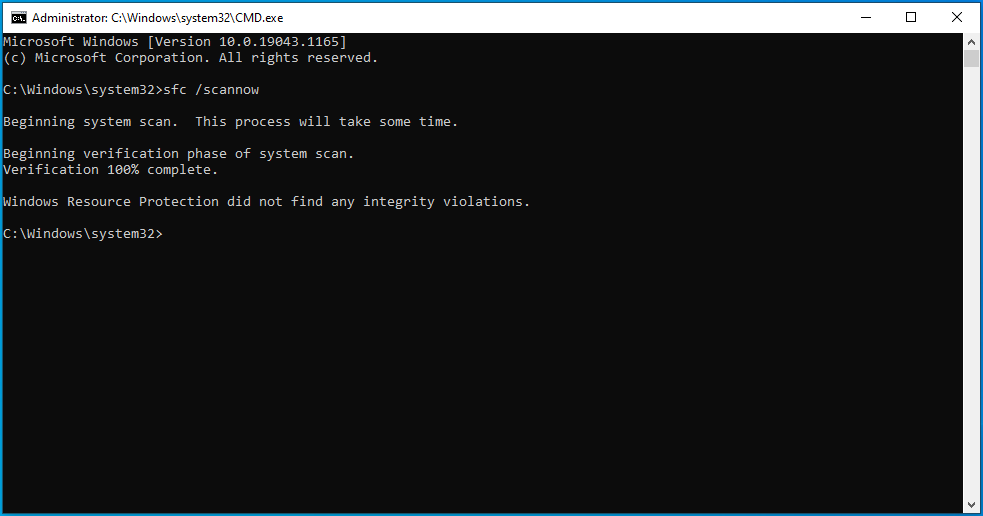
Once the process completes successfully, restart your computer and check if the issue has been resolved.
If you run into the “Windows Resource Protection could not start the repair service” error message, the Windows Modules Installer service could be disabled. To check this and enable it if need be, follow the instructions below:
- Press the Windows logo on your keyboard, type “Services” (without quotes), and hit “Enter”.
- In the “Services” window, locate the Windows Modules Installer service and double-click on it.
- Under “Startup type”, set it to “Manual” and click on Apply > OK.
- Now, go back to the command prompt and execute the sfc / scannow command.
If the SFC tool doesn’t find any errors, try repairing Windows 10 image files using the DISM tool. Here’s the procedure:
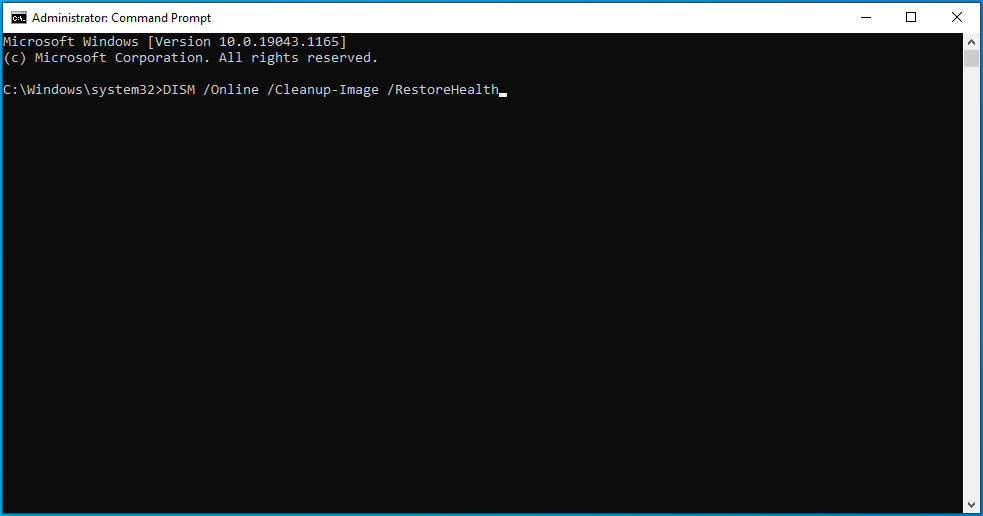
- Open an elevated command prompt as outlined above and execute the following command: DISM/ Online/ Cleanup-Image/ RestoreHealth.
![Run DISM/ Online/ Cleanup-Image/ RestoreHealth.]()
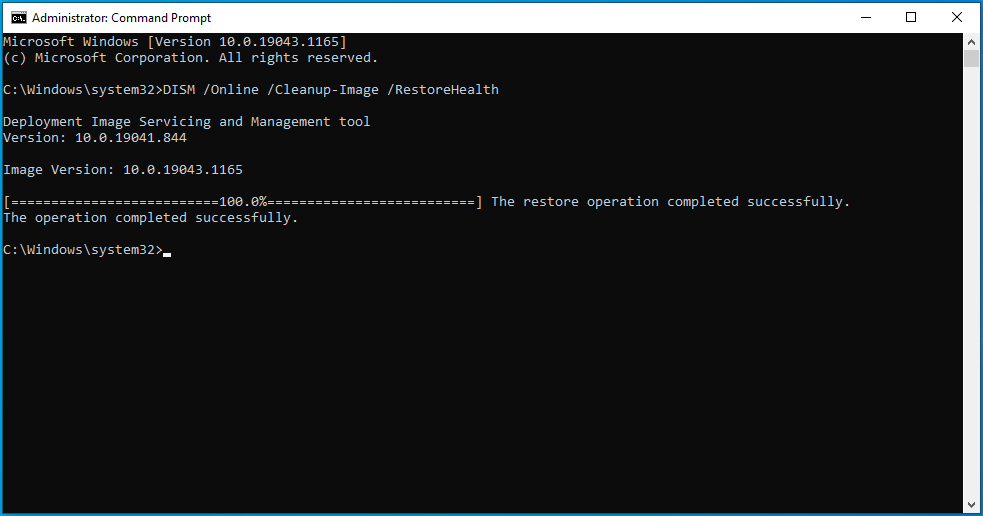
- This process may take a while depending on the level of corruption. Therefore, wait patiently while the tool is repairing corrupt Windows image files.
![Wait while the tool is repairing corrupt Windows image files.]()
- After it’s done, restart your computer and try installing Windows updates.
Fix 3: Perform a Clean Boot
Performing a clean boot makes it easier to identify if there are any software conflicts on your PC. If no errors occur in this state, then it means the issue is caused by external factors. In a clean boot environment, your PC starts with a minimal set of drivers and startup programs. This may help get rid of software conflicts that may occur when you install a third-party application in Windows.
To perform a clean boot, follow these instructions:
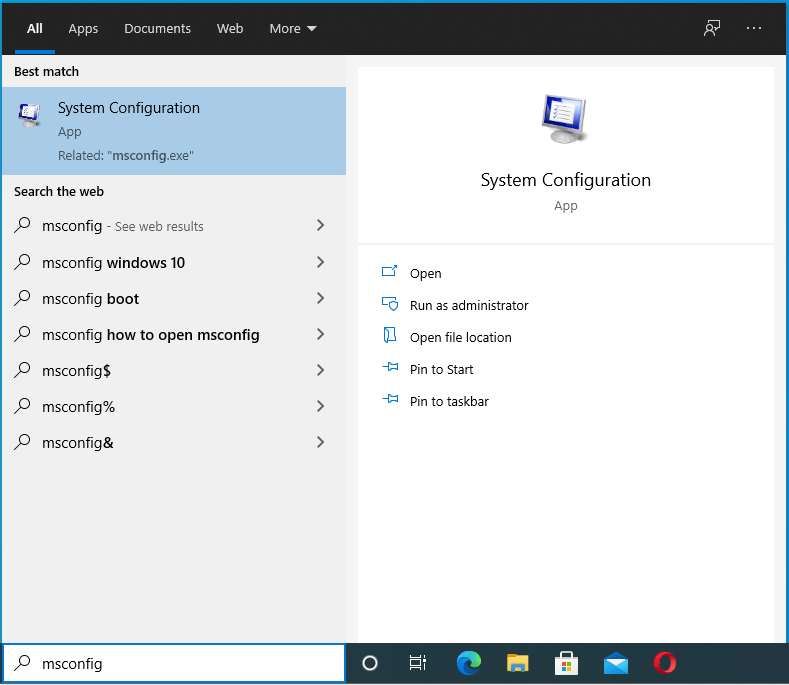
- Press the Windows logo on your keyboard, type msconfig into the Windows Search box, and hit “Enter” to launch System Configuration.
![Type msconfig into Windows Search.]()
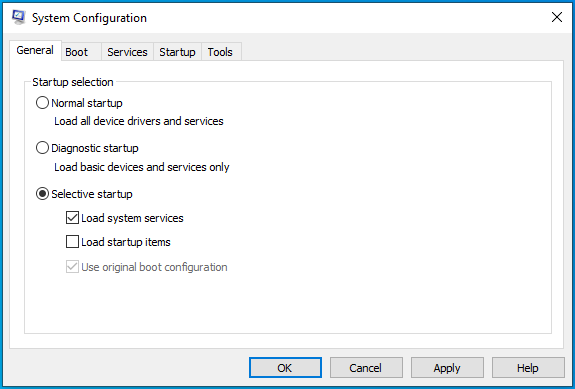
- Under the “General” tab, uncheck the “Load startup items” box, but leave the “Load system services” and “Use original boot configuration” options checked.
![Uncheck the “Load startup items” box.]()
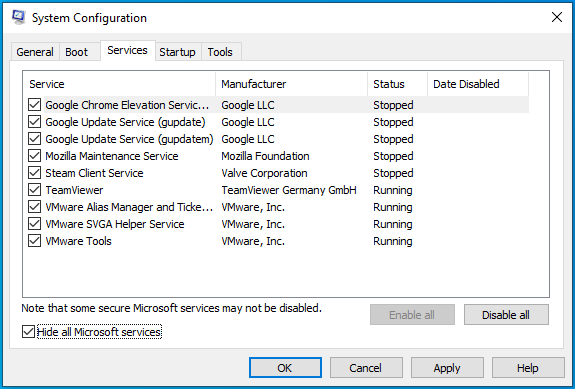
- Go to the “Services” tab and click on the “Hide all Microsoft services” checkbox.
![Check “Hide all Microsoft services”.]()
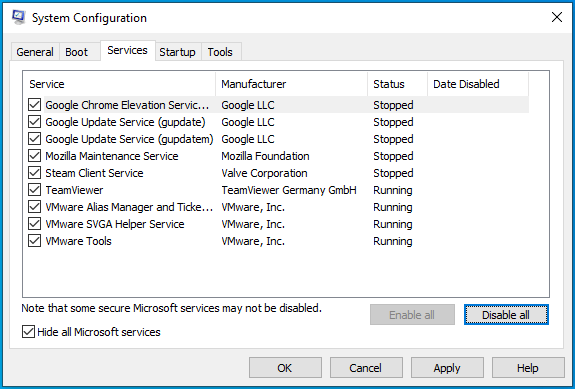
- Click the “Disable all” button. This disables all non-Microsoft services.
![]()
- Next, under the “Startup” tab, click on “Open Task Manager” and disable all items set to start up when you boot the computer. Once you’re done, exit the Task Manager and go back to the System Configuration window.
- Click on Apply > OK and restart your PC.
If all goes well, then one of your third-party applications is to blame for the Windows Update error code 0x800f0984. To find the culprit, enable the applications one by one and restart your PC every time you do so.
Once you find the culprit, consider removing it from your machine or leave it disabled. To go back to the normal Windows environment, simply undo the changes you performed while following the steps from the list above.
Fix 4: Delete the Contents of the SoftwareDistribution Folder
The SoftwareDistribution folder is where Windows Update files are temporarily stored. These files are needed to install new updates that keep your device secure and the latest improvements.
The folder is maintained by the Windows Update Agent (WUAgent) and normally shouldn’t be deleted. However, when faced with issues while trying to install Windows updates, clearing this folder may be the best option.
Windows will redownload all the required files or recreate the folder and redownload all the necessary components. If you don’t want to clear the folder and simply want to test if its contents are preventing the updates from being applied, you can rename it using the following steps:
- Run an elevated command prompt. To do that, press the Win + R shortcut, type cmd into the text box, and press the Ctrl + Shift + Enter combination.
![Run cmd through the Run box.]()
- Click “Yes” if you get a UAC prompt.
![Click Yes to pass the UAC request.]()
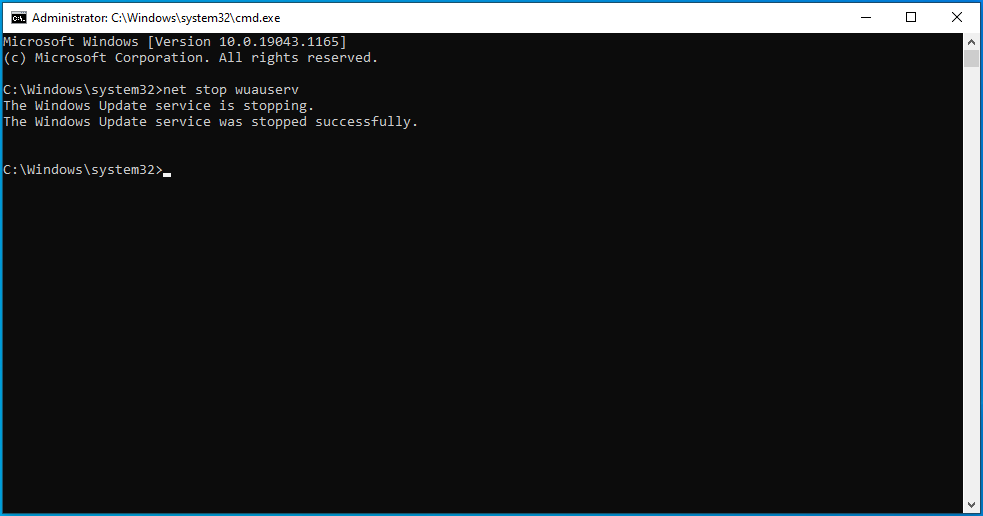
- In the Command Prompt window with administrator rights, type the command net stop wuauserv and press “Enter”. This will stop the Windows Update service.
![Enter the command net stop wuauserv and press “Enter”.]()
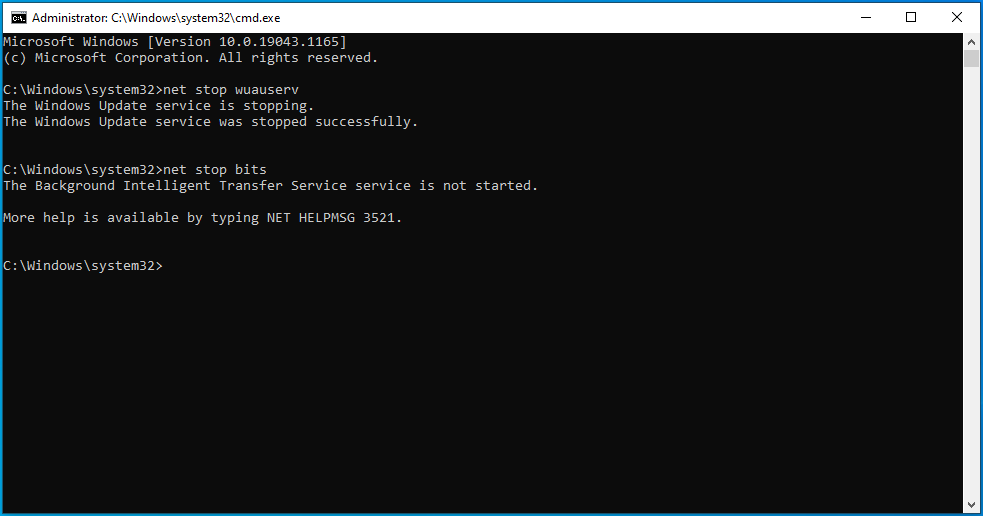
- Next, you’ll need to stop the Background Intelligent Transfer Service by executing the command: net stop bits.
![Enter net stop bits.]()
- Now, enter the command rename %windir%\SoftwareDistribution SoftwareDistribution.bak to rename the folder. If the command doesn’t go through the first time, repeat Steps 3 and 4 above and try renaming the folder again.
- If you manage to rename the folder, restart the services you stopped earlier. To do that, execute the following commands one after the other:
- net start wuauserv
- net start bits
Renaming the SoftwareDistribution folder will trigger Windows to recreate it and redownload all the required components. If you see that the Windows Update error code 0x800f0984 is triggered by that, the best course of action is to clear the SoftwareDistribution folder.
Here are the steps:
- Press the Windows logo key and search for Command Prompt. Be sure to run it as an administrator.
- In the elevated command prompt window, type or paste the following commands one after the other and press “Enter” after each action:
- net stop wuauserv
- net stop bits
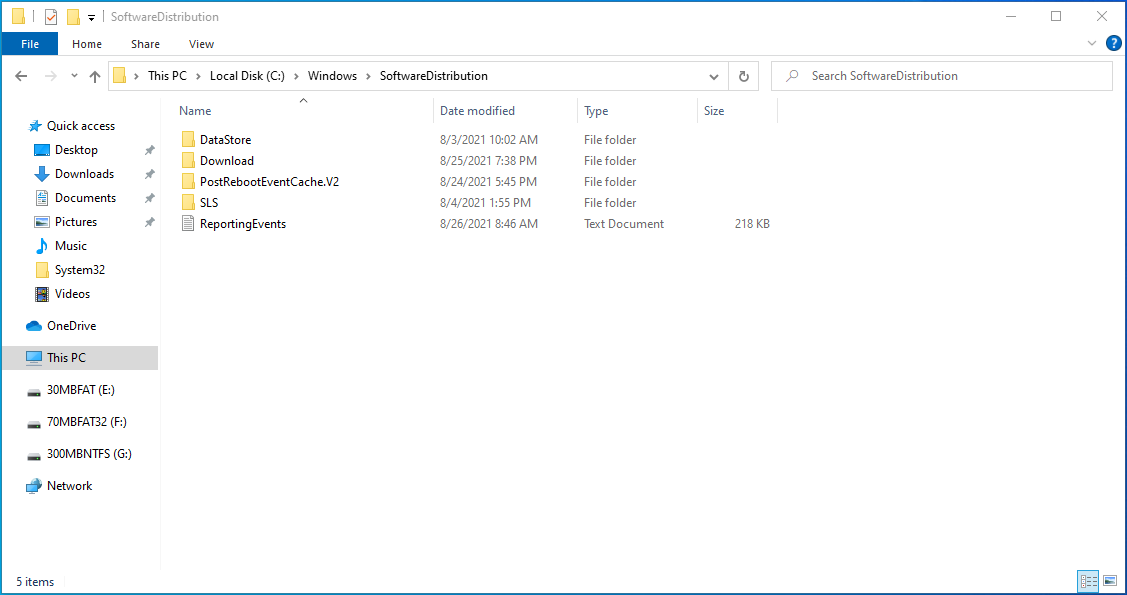
- Next, open File Explorer by pressing the Win + E shortcut and navigate to the C:\Windows\SoftwareDistribution\ folder. Alternatively, open the “Run” window using the Win + R keyboard shortcut, type or paste the path C:\Windows\SoftwareDistribution\ and press “OK”.
![Open C:\Windows\SoftwareDistribution\ and press “OK”.]()
- In this folder, select all the contents using the Ctrl + A shortcut and hit the “Delete” key. If you run into problems deleting the items, restart your PC and try again.
- Once done, launch the Command Prompt with elevated rights as shown above and execute the following commands one after the other:
- net start wuauserv
- net start bits
Once you finish applying these steps, Windows will reconfigure the folder and redownload all the necessary components.
Fix 5: Perform a System Restore
The System Restore feature is useful in situations where you run into PC errors but can’t find the source of the problem. You see, your Windows system creates system restore points periodically, and this can come in handy when trying to resolve PC issues.
System Restore takes your computer back to a state before the error first occurred. For this step to be successful, it’s crucial to recall when you first encountered the error.
To perform a system restore, follow these guidelines:
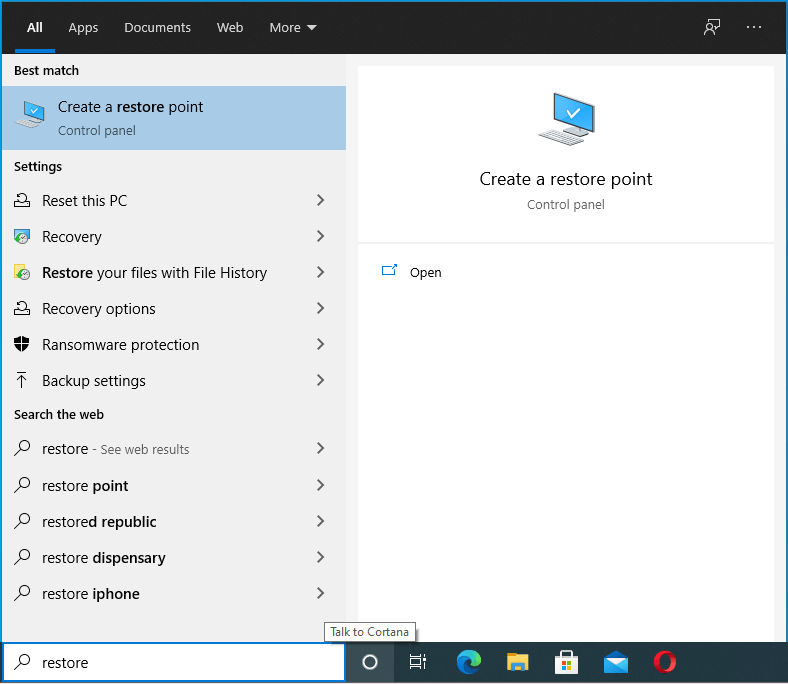
- Go to your “Start” menu, type “Restore” (without quotes) and select “Create a restore point”.
![Type “Restore” into Search and click “Create a restore point”.]()
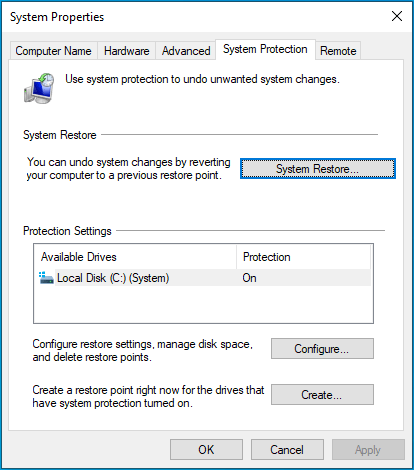
- Click on the “System Restore” button and then select “Next”.
![Click “System Restore” to proceed.]()
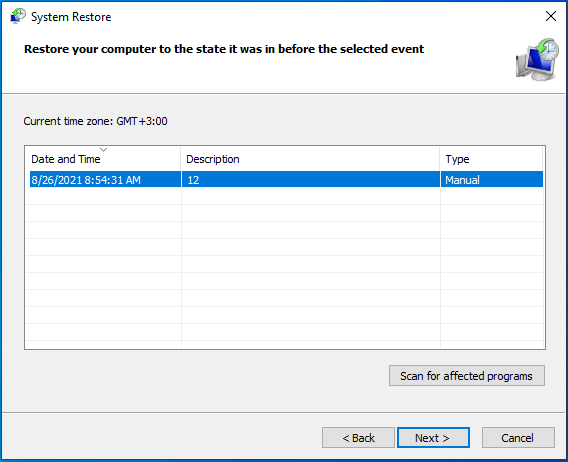
- Find the most appropriate restore point from the list. If you can’t find the relevant restore point, click on the “Show more restore points” option.
![Select a restore point.]()
- Once you find the restore point you need, select it and click on “Next”.
![Click Next after selecting a restore point.]()
- Confirm everything on the next page, and if satisfied with the selection you made, click on the “Finish” button.

Keep in mind that for your system to be restored, your PC will need to restart. So, be sure to save all your work before proceeding. Restoring the system should get rid of the error code 0x800f0984 when updating Windows 10.
Fix 6: Remove the Problematic Windows Update
As noted, users encountered the Windows Update error code 0x800f0984 after installing the KB5001330 update. You can try uninstalling it to check if the error goes away.
Here’s how:
- Press the Win + I keyboard shortcut.
![Use the Win + I keyboard shortcut.]()
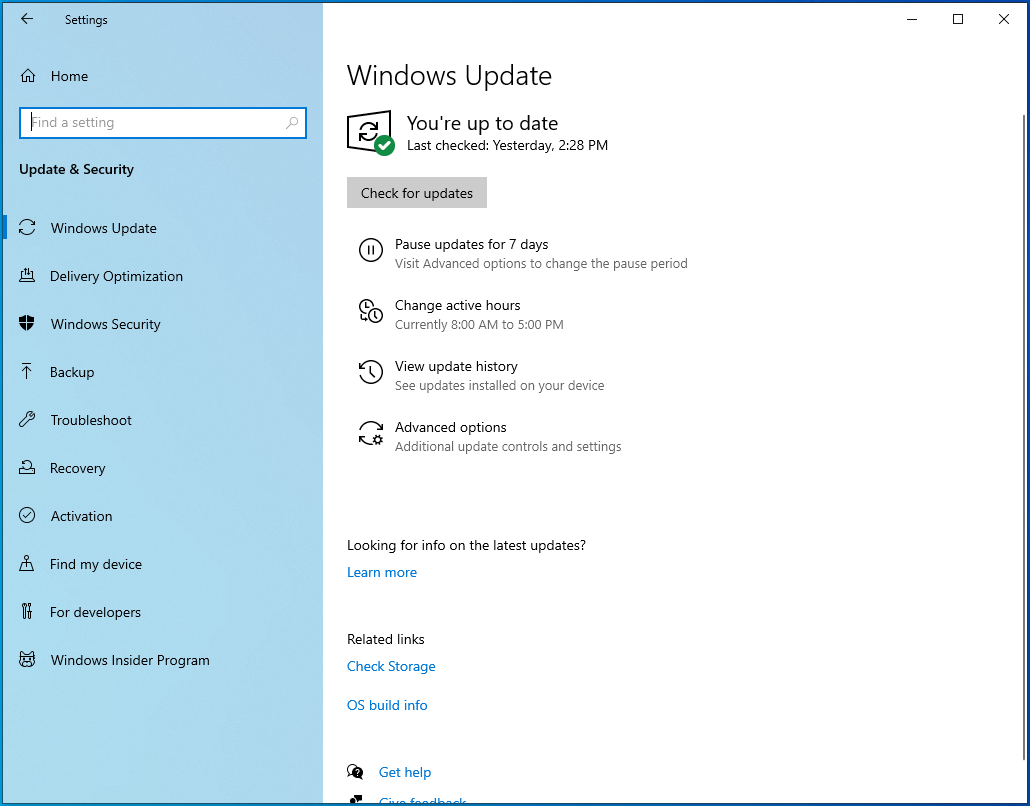
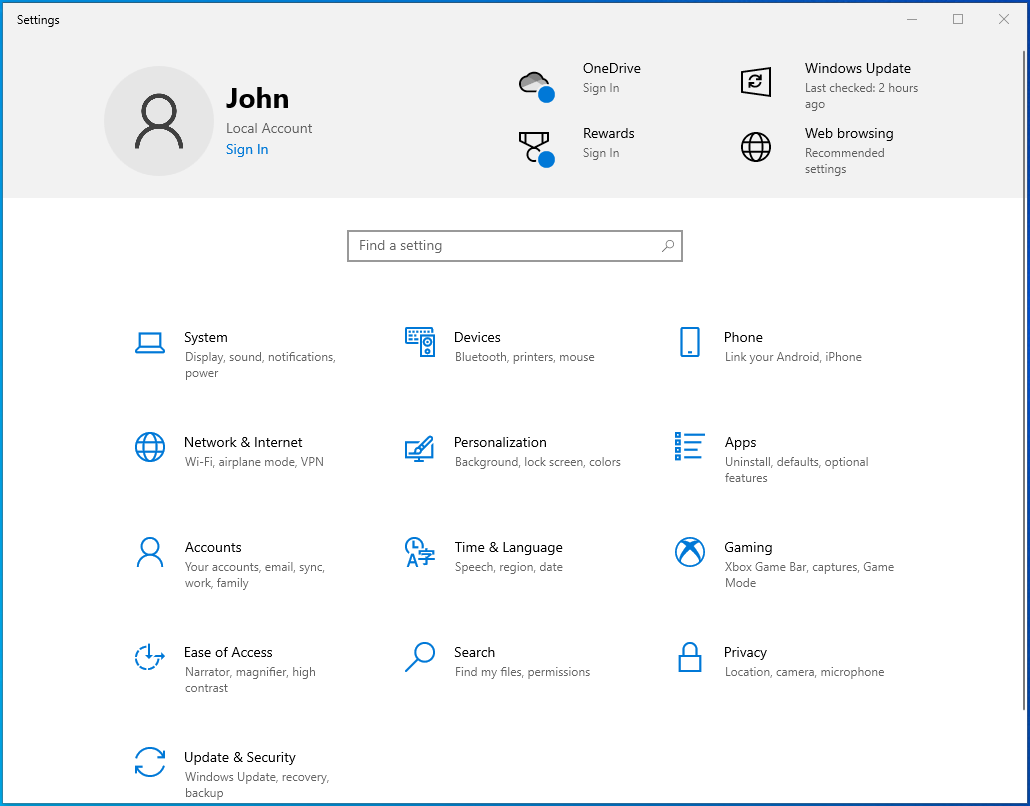
- Open Update & Security > Windows Update.
![Run the Windows Update service.]()
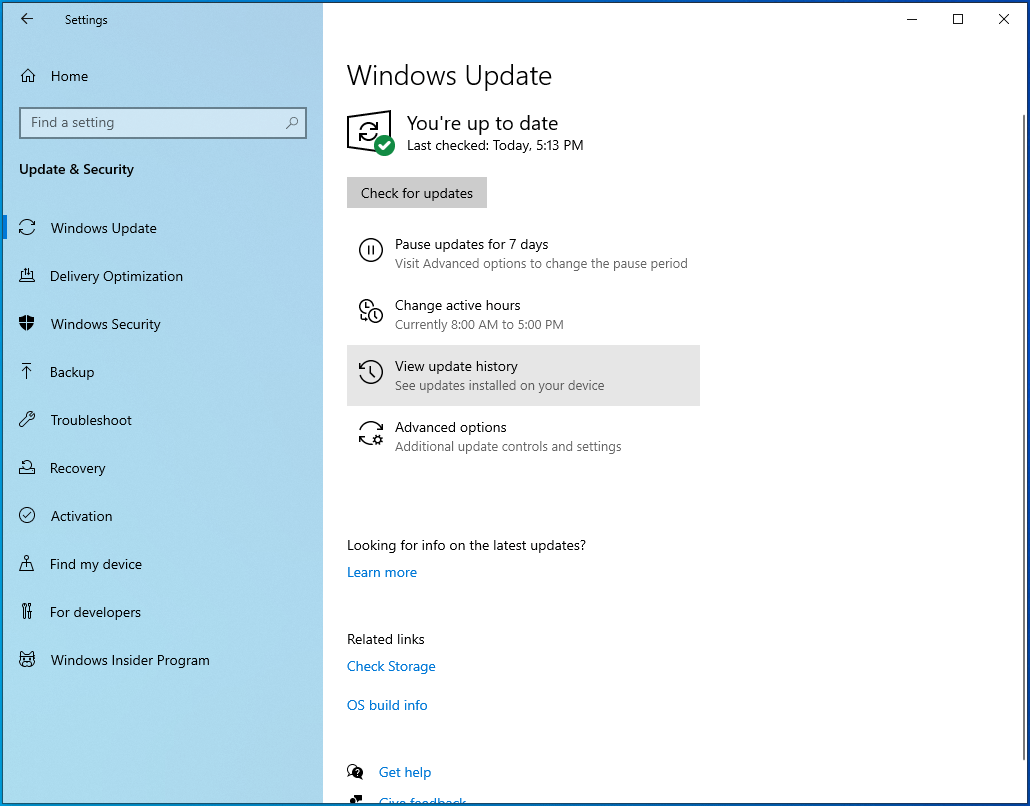
- Click on the “View update history” option in the right sidebar and select “Uninstall updates”. This action takes you to the “Installed updates” page in the Control Panel.
![Click “View update history”.]()
- Search for the KB5001330 update, select it and click on “Uninstall”.

If it’s the update that triggered the system malfunction, then removing it should fix the problem.
Fix 7: Reset Your PC
If nothing seems to work, you can choose to reset your PC. What this process does is reinstall Windows, giving your machine a new breath of life. You can reset your PC via several methods, the easiest one being from “Settings”.
Here is how to proceed:
- Go to “Start”.
![Open the Start menu in Windows 10.]()
- Click on the gear icon to launch the “Settings” app.
![Click on the gear icon to run Settings.]()
- Select Update & Security.
![Navigate to Update & Security.]()
- Navigate to Recovery.
![Go to Recovery.]()
- “Reset this PC” should be the first option. Click on the “Get started” button and select one of the options presented to you. If you choose to keep your files, Windows will be reinstalled, but your files will remain intact. All the apps and drivers you installed will be removed, and the configured settings will be reset to the factory defaults. If you choose to remove everything, Windows will be reinstalled, and everything else, including your personal files, apps, drivers, and settings, will be removed.

If you can’t get to your desktop, follow the instructions below:
- Restart your PC. If the PC is stuck or frozen on the update screen, hold down the power button to force it to shut down and then power it up. On the sign-in screen, press the Shift key while you click on the “Power” button. Your PC will restart into WinRE (Windows Recovery Environment).
- On the “Choose an options” page, click on Troubleshoot > Reset this PC, and choose one of the options in Step 2 above.
Resetting your PC should fix the Windows 10 Update error code 0x800f0984, and all the updates should install without any further issues.
Optimize Your PC’s Performance
At the end of the day, it’s advisable to keep your PC optimized. The thing is, every time you do something on your PC, whether it’s installing a program, using Word, or deleting applications, you leave behind a trail of files. These junk PC files accumulate over time and may start affecting your system.
Since it’s not easy to track all these changes and delete the files each time you use your computer, we recommend taking advantage of a PC optimization tool like Auslogics BoostSpeed. Not only does the program clean junk files, but it also scans the entire system, tweaking your settings to enhance system performance.
BoostSpeed gives you access to a variety of useful features that help boost your Windows PC. Among them are tools to clean your registry, remove unnecessary applications, defragment your drives, get rid of file duplicates, tweak internet settings, and delete traces of your activity to protect your privacy.
The entire process is automated, meaning with a single click of a button, the tool performs all the hard work for you. To ensure continuous smooth performance, there is an option to schedule automatic system maintenance at a frequency of your choosing. This will keep your Windows system slim, clean, and always functioning at peak levels. Don’t let slow PC performance slow you down – speed up your PC with Auslogics BoostSpeed.


 Done! Great to see you among our subscribers!