- What Is the Error 0x800f0986 in Windows 10?
- How to Fix the Windows 10 Update Error 0x800f0986
- Solution 1: Run the Windows Update Troubleshooter
- Solution 2: Check If the Windows Update Service Is Running
- Solution 3: Clear the SoftwareDistribution Folder
- Solution 4: Reset the Windows Update Components
- Solution 5: Repair Corrupt System Files Using the SFC and DISM Tools
- Solution 6: Try Installing Updates Manually
- Solution 7: Perform an In-Place Upgrade
- Tune Your PC for Optimal Performance

Windows 10 works quite differently from the previous versions of the Windows OS, especially when it comes to updates. The system requires regular updates to keep functioning properly. Microsoft releases updates on the second Tuesday of each month to fix bugs, add new features and introduce security improvements.
Usually, the update process is automatic, meaning Windows 10 searches for updates and automatically installs them whenever they are available. However, the process can sometimes be flawed, and it’s not uncommon to see Windows users complain about failed updates on online forums.
The Windows 10 Update error 0x800f0986 is one such issue. In this post, we show you how to resolve the update error 0x800f0986 on your Windows 10 PC.
What Is the Error 0x800f0986 in Windows 10?
Lately, quite a number of Windows users have been experiencing issues trying to update their Windows 10 systems. The updates fail with the update error 0x800f0986. The problem occurs when users are trying to update the OS, especially those running Windows 10 version 1909. Retrying the process results in the same error.
The error message reads in full:
“There were problems installing some updates, but we’ll try again later.
2020-03 Cumulative Update for Windows 10 versions 1909 for x64-based Systems (KB4551762) – Error 0x800f0986.”
The real cause of the error is not exactly known, but corrupt system files and Windows Update components are mainly to blame.
As frustrating as this scenario can be, you don’t need to panic. We have the solutions to help you fix the problem.
How to Fix the Windows 10 Update Error 0x800f0986
Solution 1: Run the Windows Update Troubleshooter
Given that you can’t pinpoint the cause of the error, running the Windows Update troubleshooter could prove useful.
Here’s how to run it:
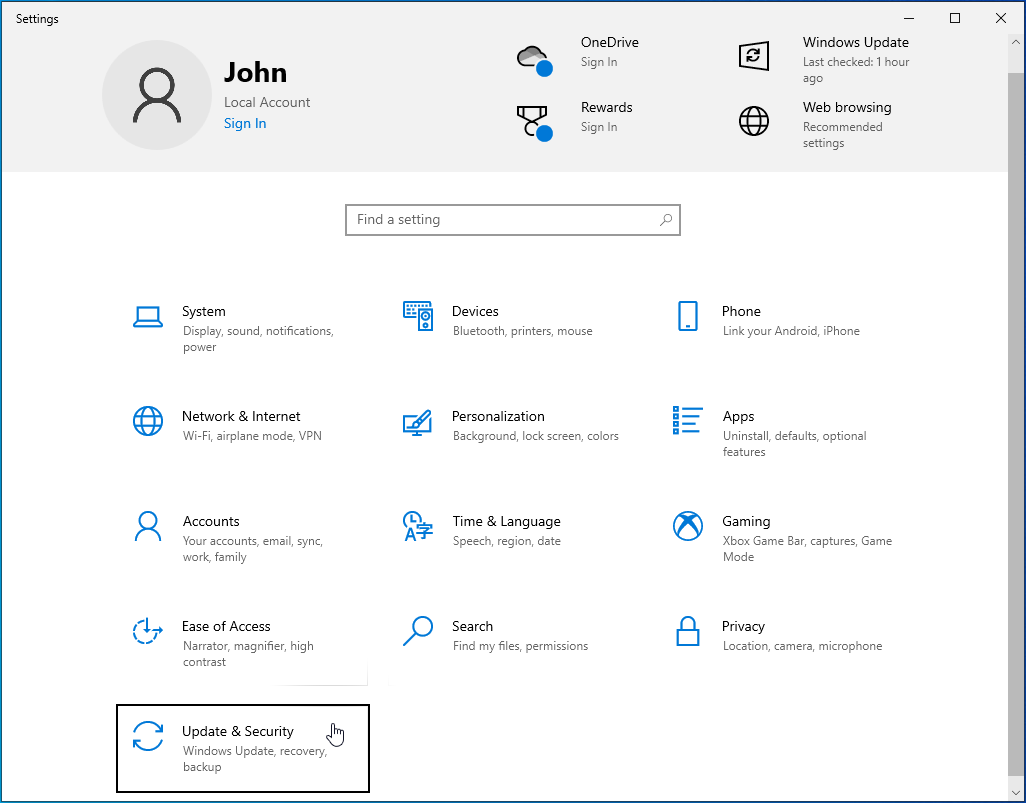
- Press the Windows logo on your keyboard and select the cogwheel (gear icon) to launch the Windows Settings app.
- Locate the “Update & Security” section, and click on it to display more settings.
![Open “Update & Security”.]()
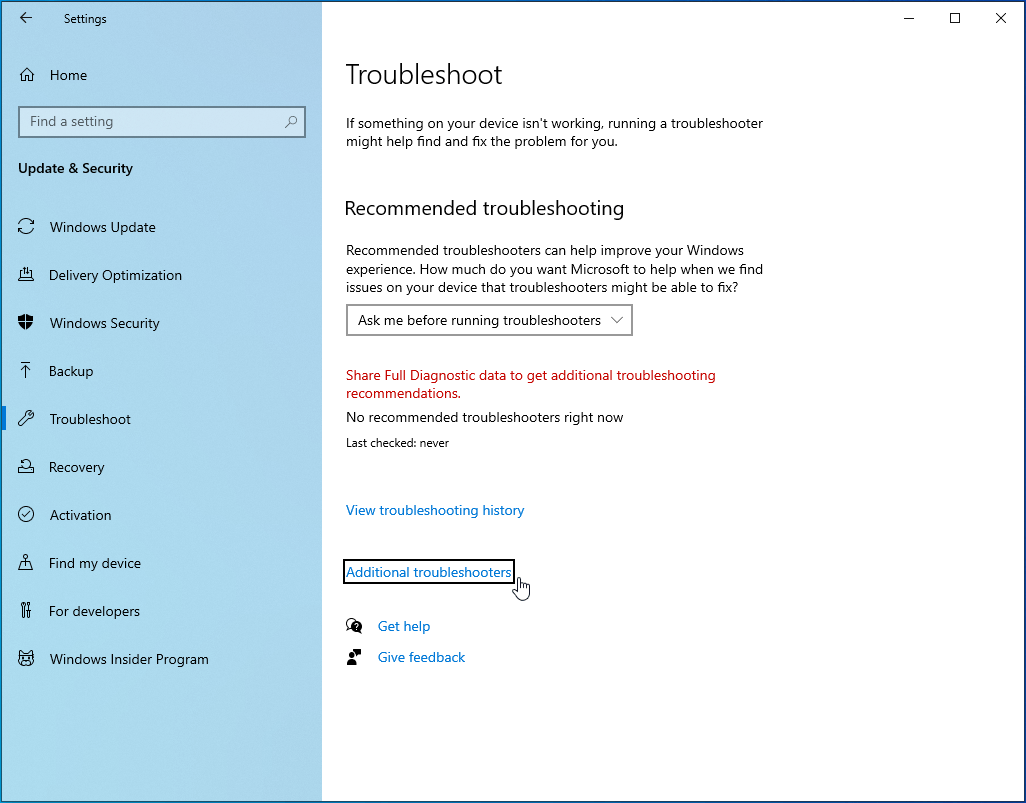
- Search for the “Troubleshoot” tab in the left pane and select “Additional troubleshooters” in the right sidebar.
![Click “Additional troubleshooters”.]()
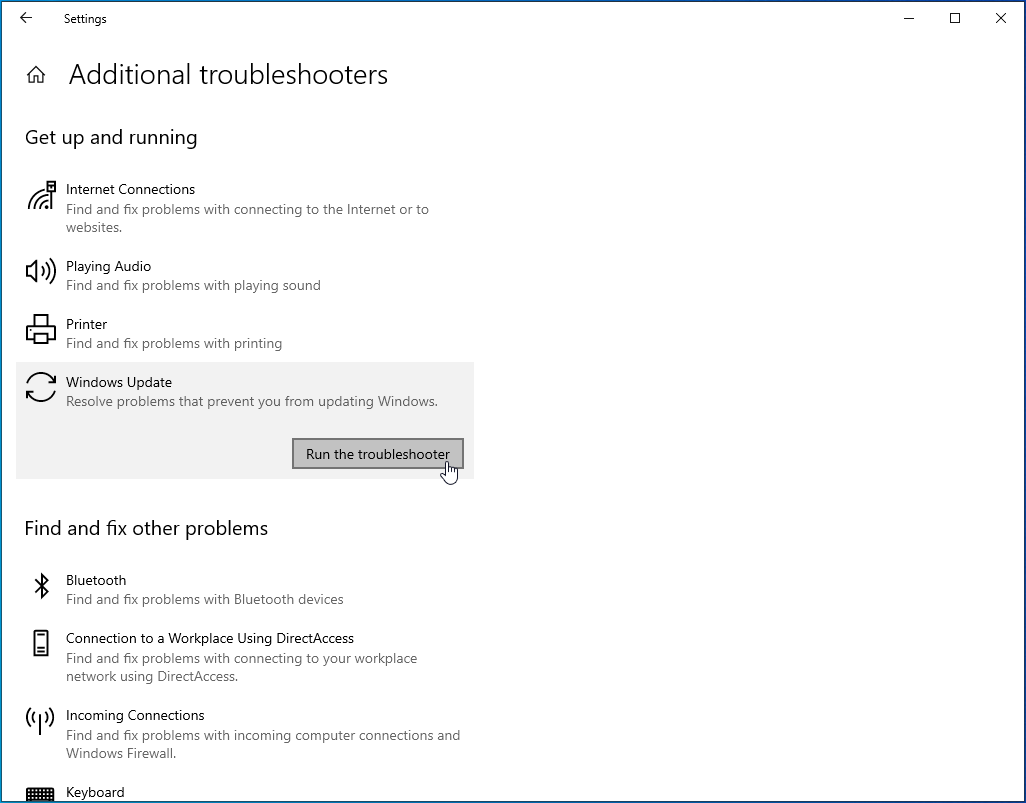
- On the “Additional troubleshooters” page, navigate to the “Windows Update” option, select it and click on “Run the troubleshooter”.
![Click on “Run the troubleshooter”.]()
- If the troubleshooter finds issues, it will attempt to automatically fix them. Be sure to implement any suggestions recommended. Once done, restart your PC to apply the changes you made.
Solution 2: Check If the Windows Update Service Is Running
The Windows Update service is responsible for facilitating the detection, download, and installation of Windows updates and other programs. The service must be running for automatic updates to work.
Therefore, it’s crucial to check if the service is enabled and activate it if it isn’t. Here’s how:
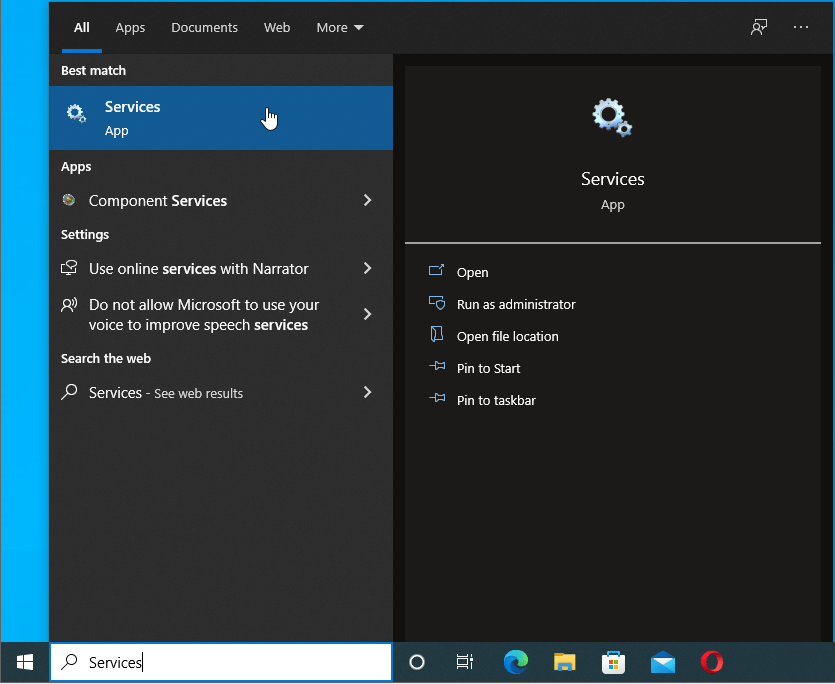
- Press the Win + R shortcut on your keyboard, type msc into the “Run” dialog box, and hit “Enter”. Alternatively, press the Windows logo key, type “Services” (without quotes), and press “Enter”.
![Open Services.]()
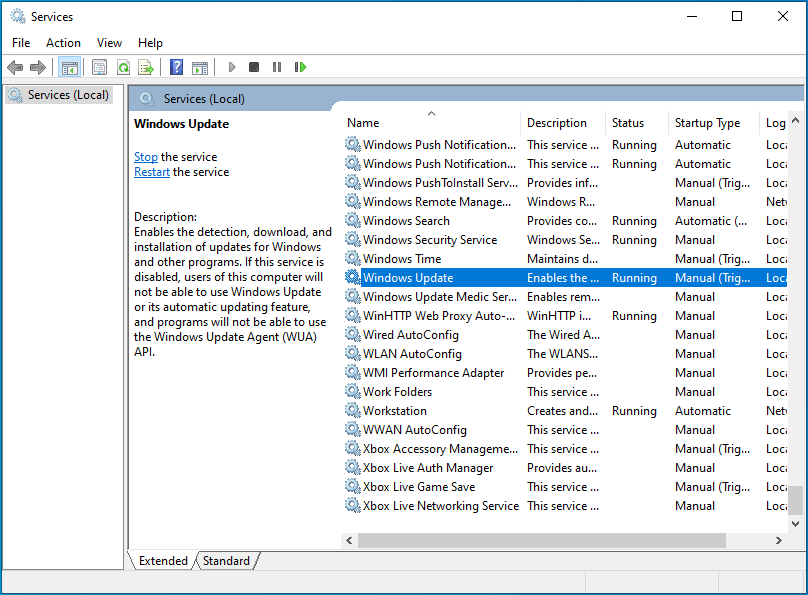
- In the “Services” window, navigate to “Windows Update” and double-click on it to open its “Properties” window.
![Navigate to “Windows Update".]()
- Under the “General” tab, check if “Service status” says “Stopped”. If so, click the “Startup type:” drop-down list and select “Automatic”.
![Go to the “General” tab.]()
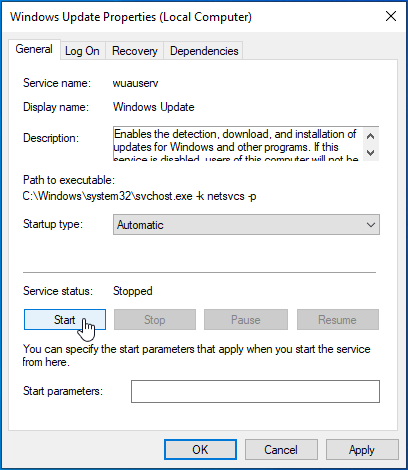
- Click on the “Start” button under the “Service status” section.
![Click on the “Start” button under the “Service status” section.]()
- Click Apply > OK, and exit all windows.
![Click OK.]()

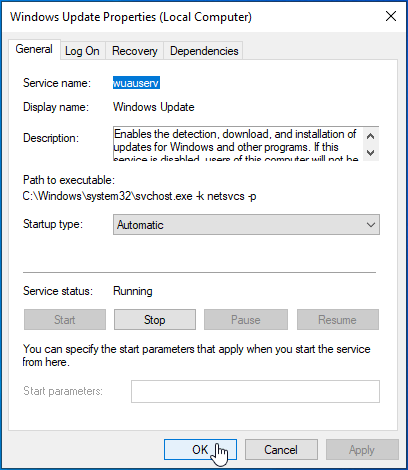
With the Windows Update service now running, check if the updates will install without throwing the error 0x800f0986.
Solution 3: Clear the SoftwareDistribution Folder
The SoftwareDistribution folder is a crucial Windows Update component. Its main function is to temporarily store files needed to install new updates, and it’s maintained by the Windows Update Agent (WUAgent).
Under normal circumstances, the folder should be left alone. However, when faced with issues while trying to install Windows updates, flushing the contents of this folder has been known to help fix them.
Keep in mind that clearing the SoftwareDistribution folder deletes your Windows Update history. For this reason, the next time you run Windows Update, it will take longer than usual for the first time.
However, this is a necessary step if you can’t get the updates to install on your PC. After all, Windows 10 will repopulate all the necessary files in the folder.
Here are the steps to clear the contents of the SoftwareDistribution folder:
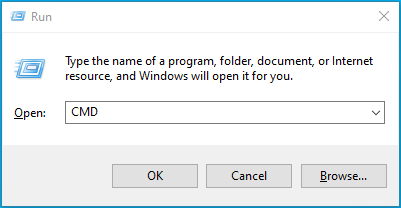
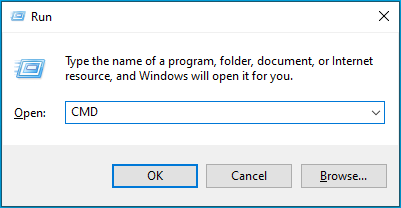
- You first need to run the Command Prompt as an admin. To do that, press the Win + R keyboard shortcut, type CMD into the “Run” box, and hit the Ctrl + Shift + Enter combo.
![Launch CMD.]()
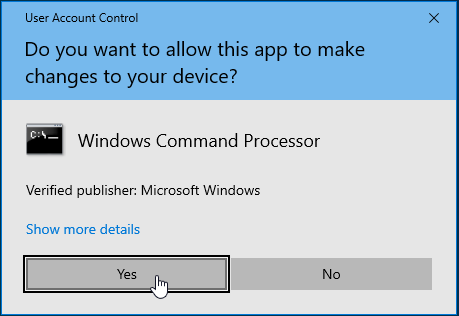
- Click “Yes” in the User Account Control window to launch an elevated Command Prompt.
![Click “Yes” in the User Account Control window.]()
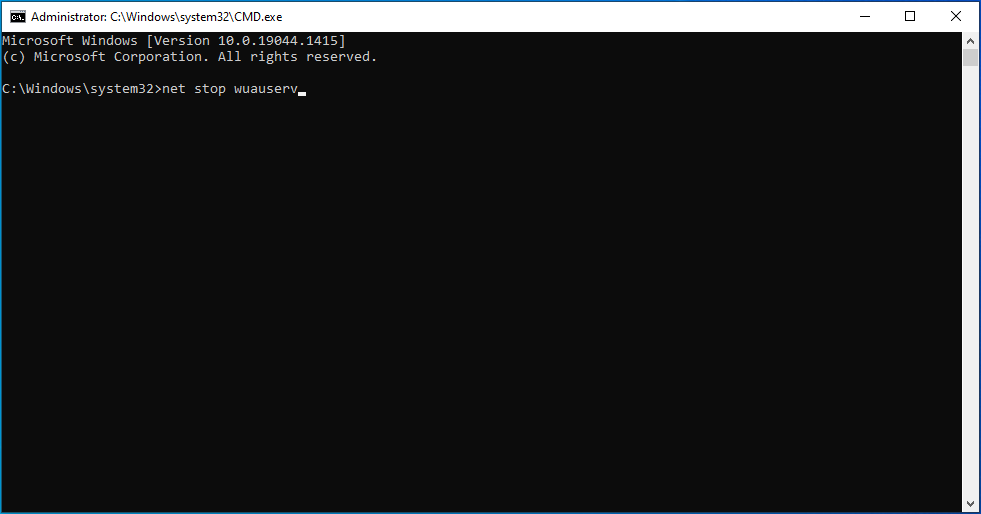
- Next, type the command net stop wuauserv and press “Enter” to stop the Windows Update Service.
![Enter net stop wuauserv.]()
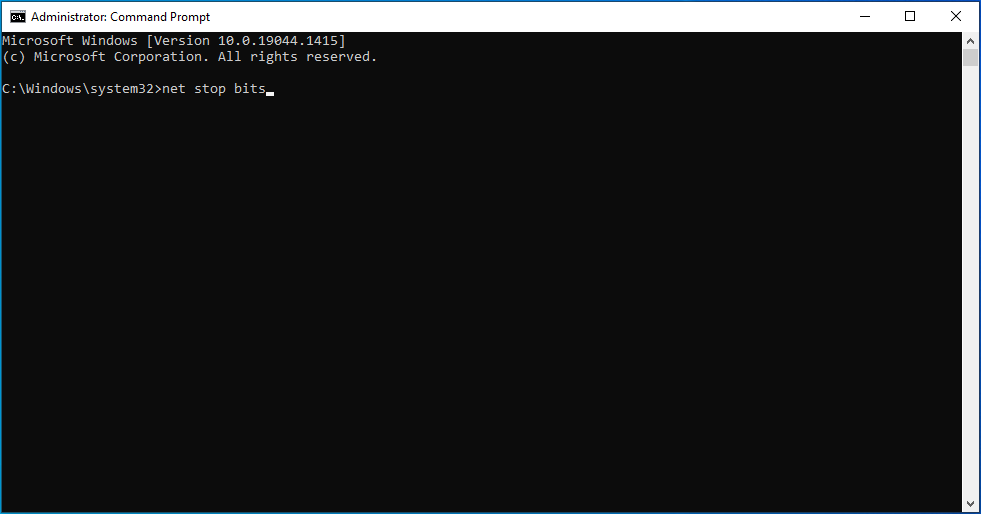
- Type the command net stop bits and press “Enter” to stop the Background Intelligent Transfer Service.
![Enter net stop bits.]()
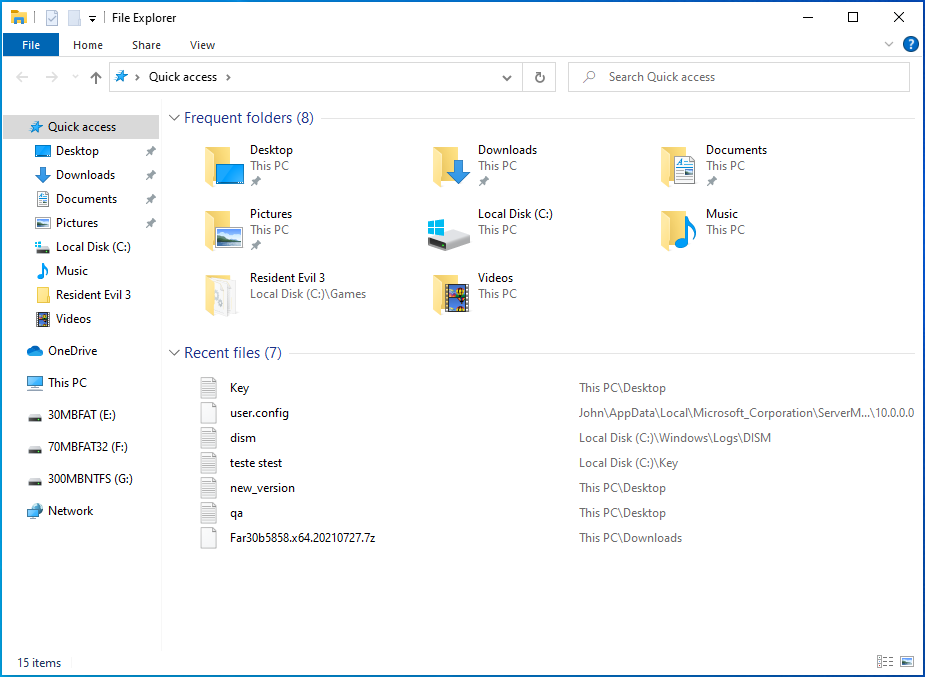
- Now, use the Win + E shortcut to open File Explorer.
![Open File Explorer.]()
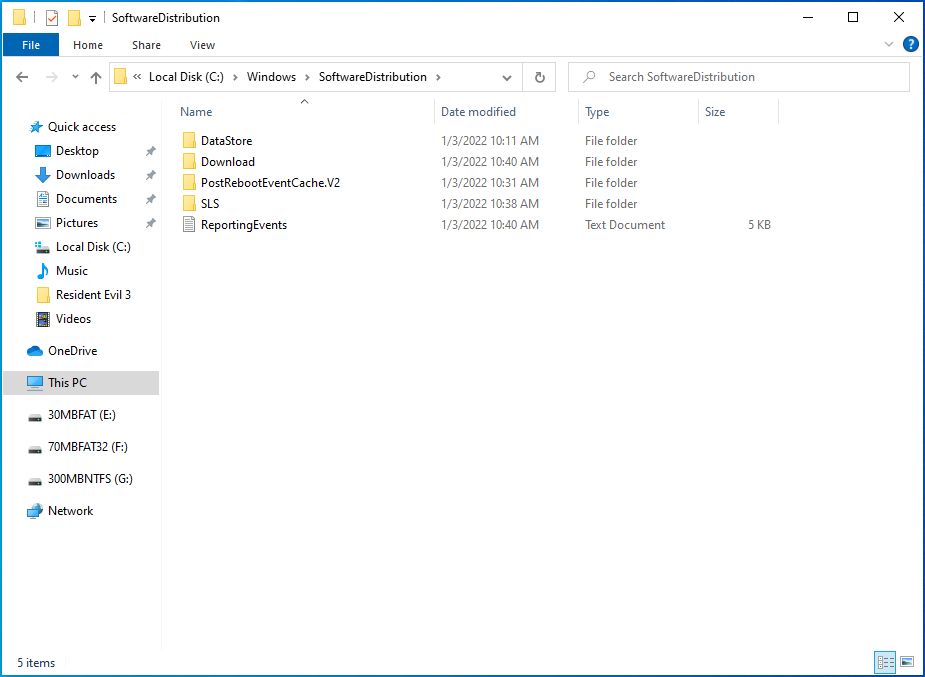
- Go to the location of the “SoftwareDistribution” folder, which is usually in C:\Windows\SoftwareDistribution.
![Open the “SoftwareDistribution” folder.]()
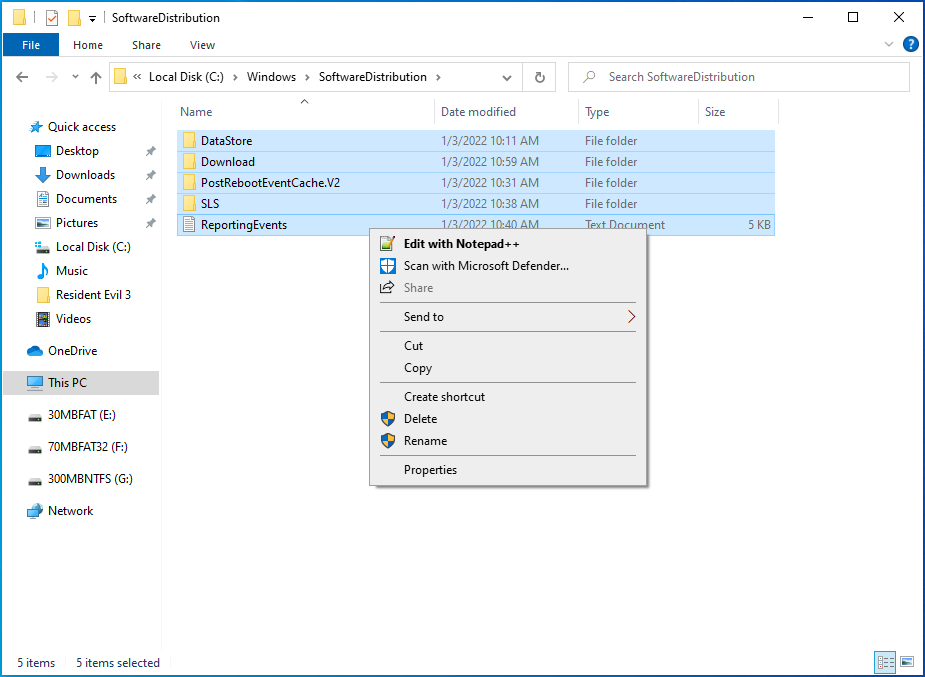
- Select everything (use the Ctrl + A shortcut), and hit the “Delete” button. Be sure to empty the contents of the Recycle Bin to completely remove these files from your computer. If you’re having trouble clearing the folder, some of the files may be in use. Try rebooting your system to see if you can delete them.
![Delete all the contents of the folder.]()
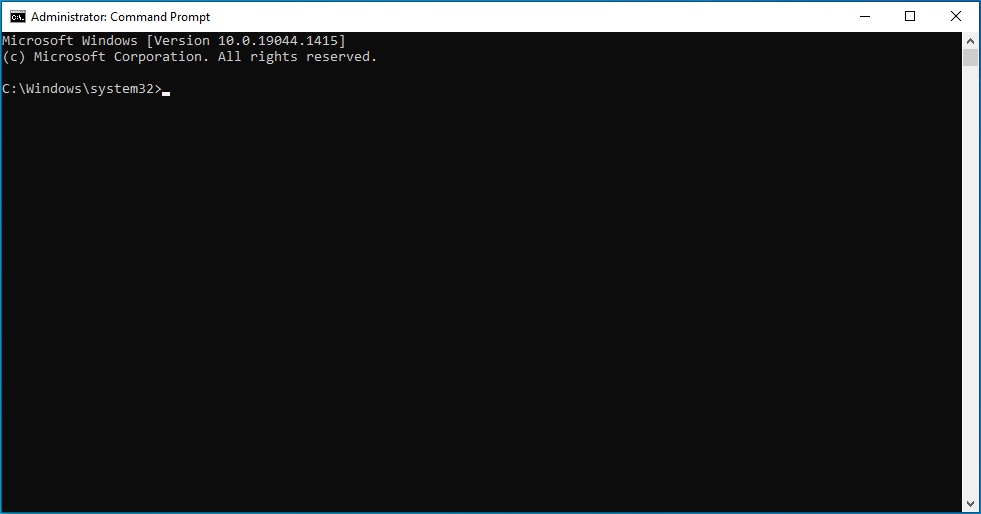
- Launch the Command Prompt with admin rights as outlined above.
![Launch the Command Prompt.]()
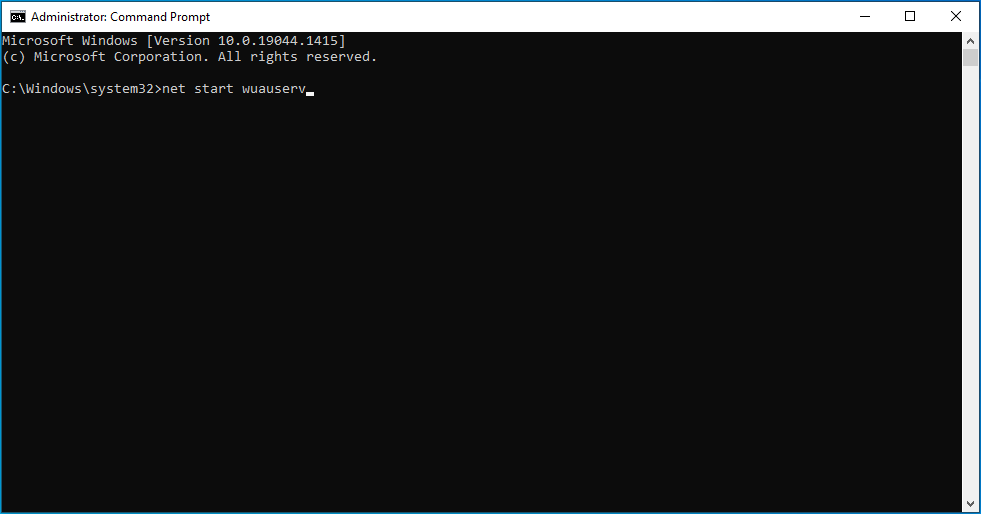
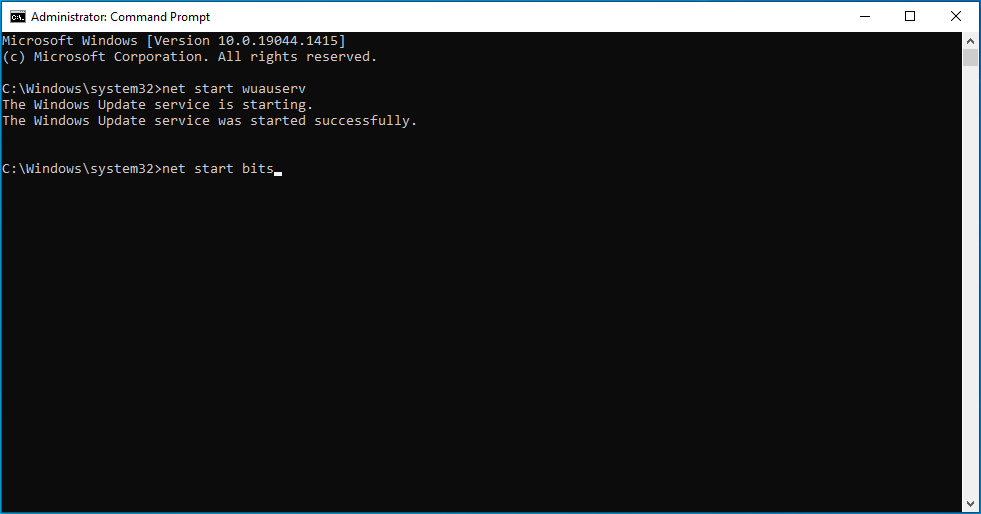
- Type the command net start wuauserv and hit “Enter” to start the Windows Update Service.
![Enter net start wuauserv.]()
- Type the command net start bits and press “Enter” to start the Background Intelligent Transfer Service.
![Enter net start bits.]()
Once you’re done, Windows 10 will repopulate the folder afresh. Now try running Windows Update to see if you’ll still run into the update error 0x800f0986.
Solution 4: Reset the Windows Update Components
We mentioned that corrupt Windows Update Components may cause the update error 0x800f0986 in Windows 10. Resetting these components may resolve the issue.
Be sure to create a system restore point first in case something goes wrong.
- Launch an elevated Command Prompt. To do so, press the Win + R keyboard shortcut, type CMD into the “Run” dialog box, and hit the Ctrl + Shift + Enter shortcut at once.
![Enter CMD into Run.]()
- Click “Yes” in the UAC window.
![Click “Yes” in the UAC window.]()
- In the Command Prompt window, execute the following commands one by one, pressing “Enter” after each command:

- net stop wuauserv
![Enter net stop wuauserv.]()
- net stop cryptSvc
![Enter net stop cryptSvc.]()
- net stop bits
![Enter net stop bits.]()
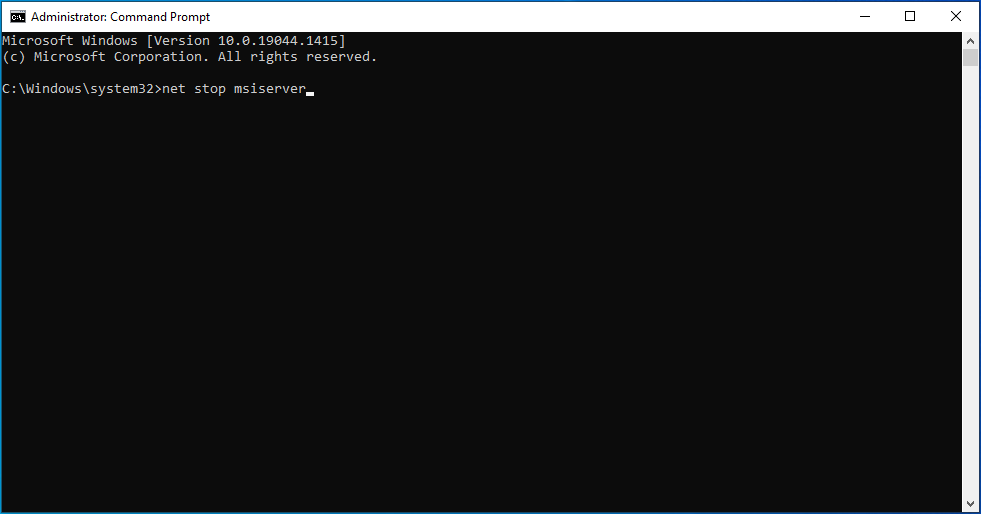
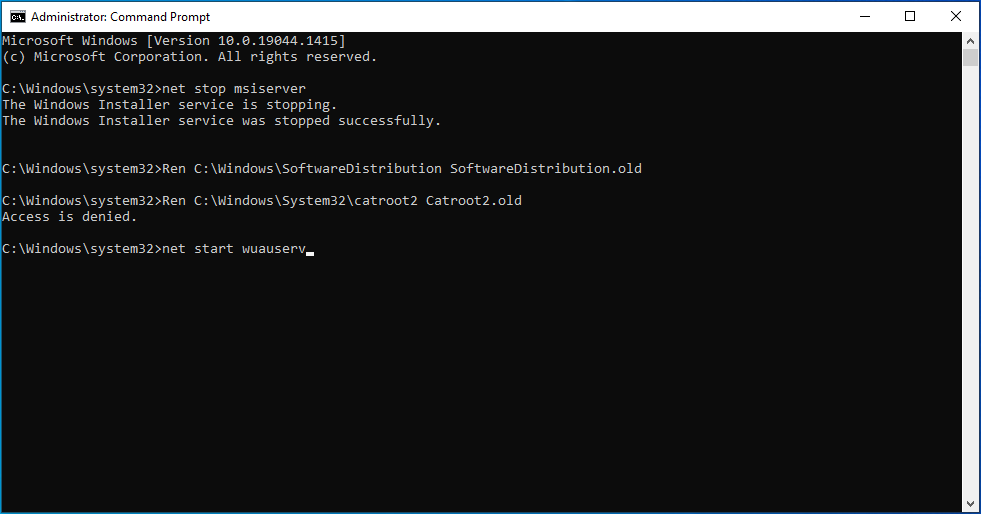
- net stop msiserver
![net-stop-msiserver]()
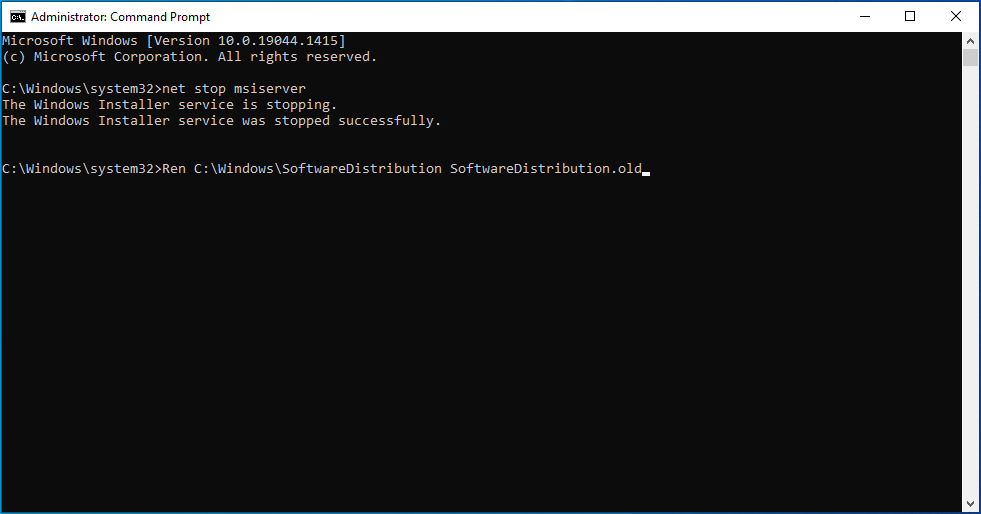
- Ren C:\Windows\SoftwareDistribution SoftwareDistribution.old
![Enter Ren C:\Windows\SoftwareDistribution SoftwareDistribution.old.]()
- Ren C:\Windows\System32\catroot2 Catroot2.old
![Enter Ren C:\Windows\System32\catroot2 Catroot2.old.]()
- net start wuauserv
- net start cryptSvc
- net start bits
- net start msiserver


- Exit the Command Prompt and check if the Windows Update error 0x800f0986 is resolved.
Solution 5: Repair Corrupt System Files Using the SFC and DISM Tools
Corrupt system files could be causing the error 0x800f0986 on your PC. Luckily, Windows 10 comes with useful tools to help with that. The System File Checker (SFC) and Deployment Image Servicing and Management (DISM) tools are used to repair Windows corruption issues. Here is what you should do:
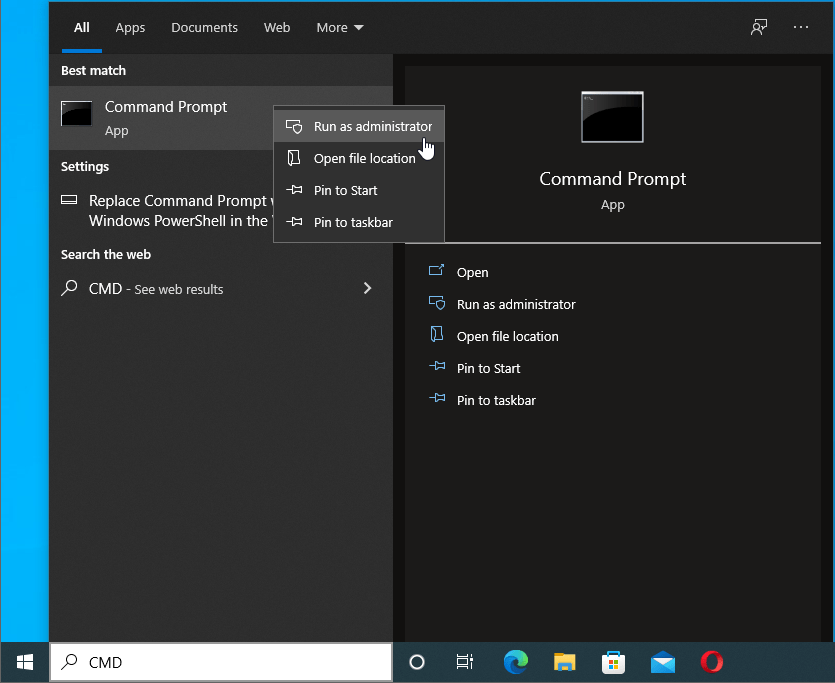
- We’ll start by performing an SFC scan to repair corrupt system files. To do that, press the Windows logo key, type CMD, and select “Run as administrator”.
![Type CMD and select “Run as administrator”.]()
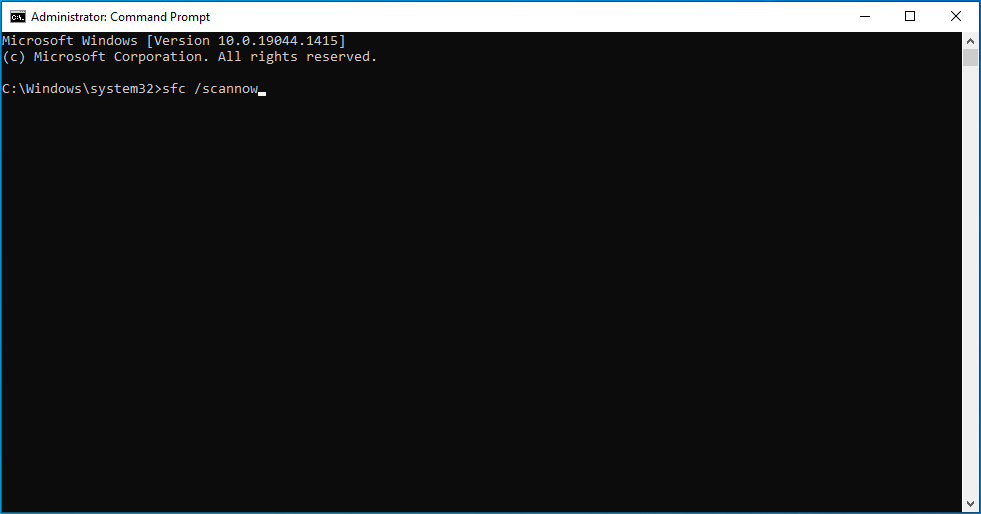
- Type sfc /scannow, press “Enter” and wait for the scan to finish.
![Type sfc /scannow.]()
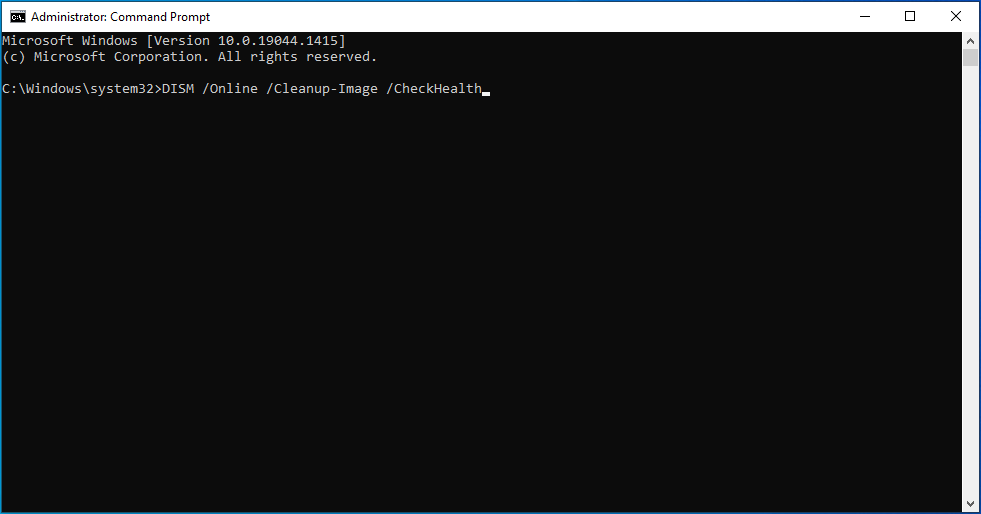
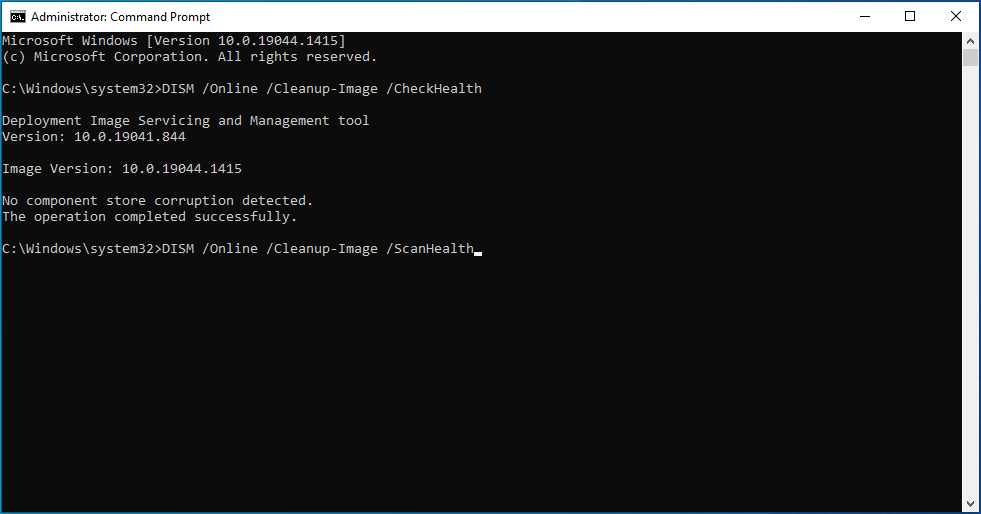
- Then run the DISM tool to repair the Windows image. In the same Command Prompt window, type the commands below and press “Enter” after each one:
- DISM /Online /Cleanup-Image /CheckHealth
![Enter DISM /Online /Cleanup-Image /CheckHealth.]()
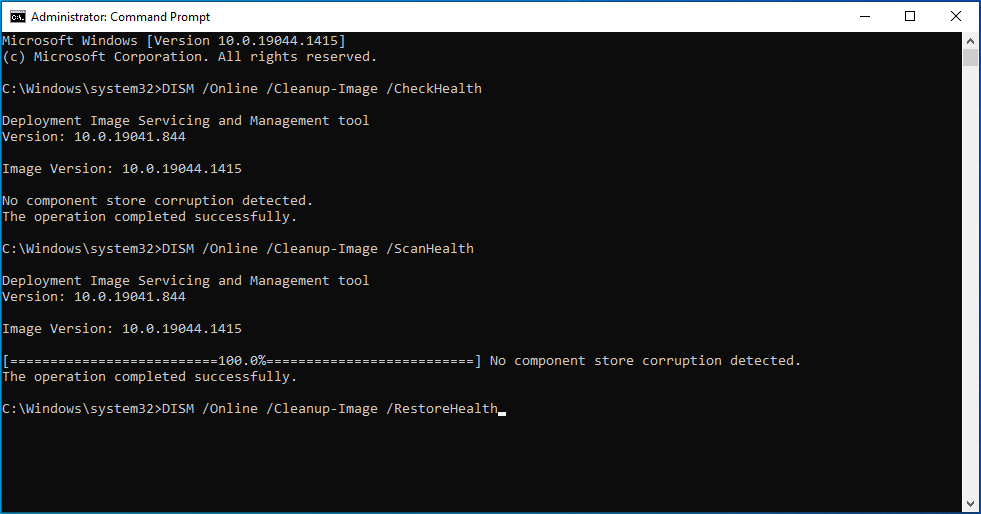
- DISM /Online /Cleanup-Image /ScanHealth
![Enter DISM /Online /Cleanup-Image /ScanHealth.]()
- DISM /Online /Cleanup-Image /RestoreHealth
![Enter DISM /Online /Cleanup-Image /RestoreHealth.]()
- DISM /Online /Cleanup-Image /CheckHealth
- Once done, restart your PC to check if the update error has been resolved.
Solution 6: Try Installing Updates Manually
While Windows 10 installs updates automatically, sometimes you may have to install them manually, especially if it fails several times with the error code 0x800f0986. Here are the steps to follow:
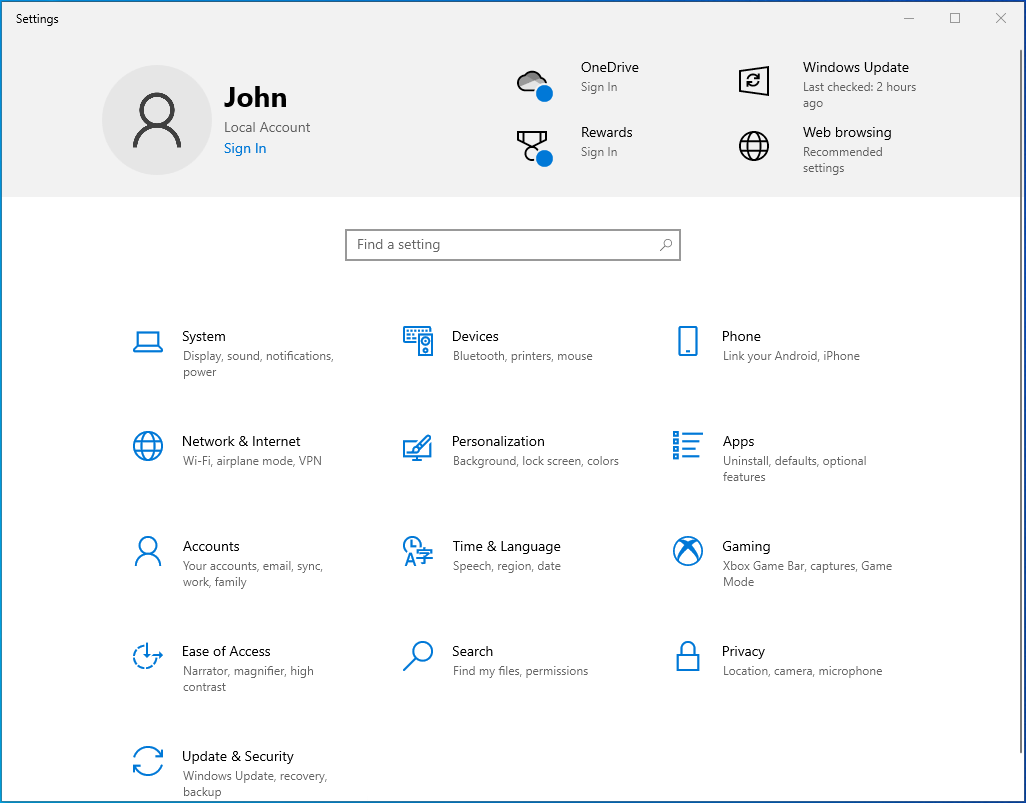
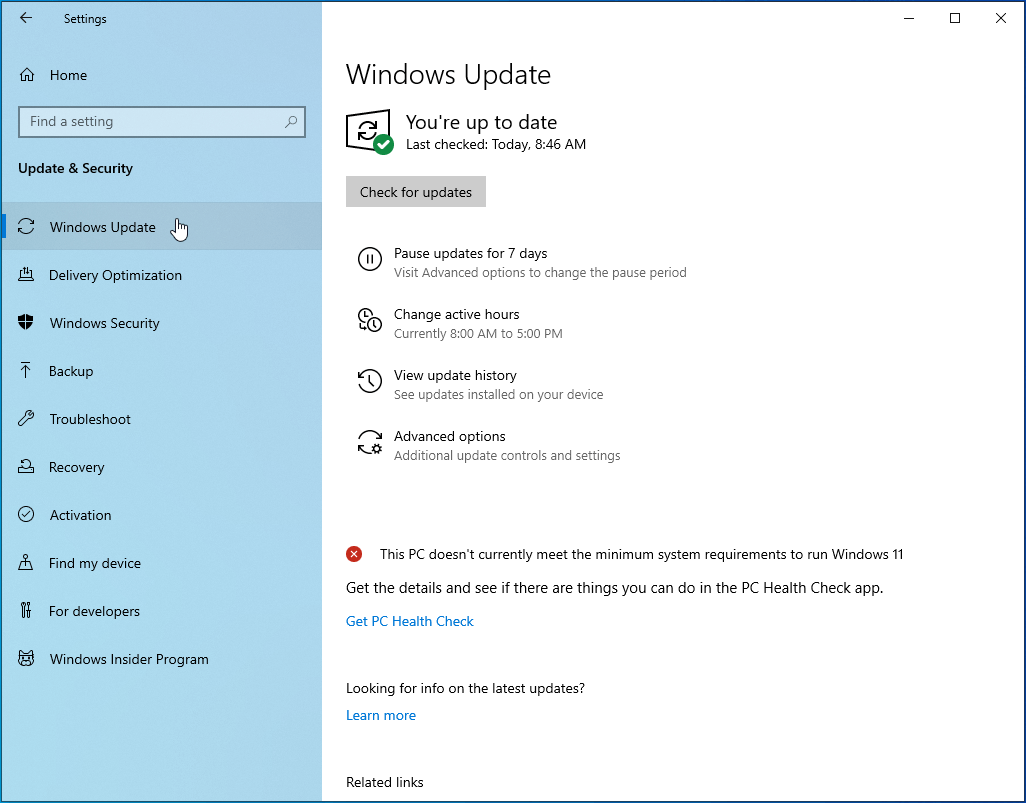
- Open the Windows Settings app using the Win + I keyboard shortcut and go to Update & Security > Windows Update.
![]()
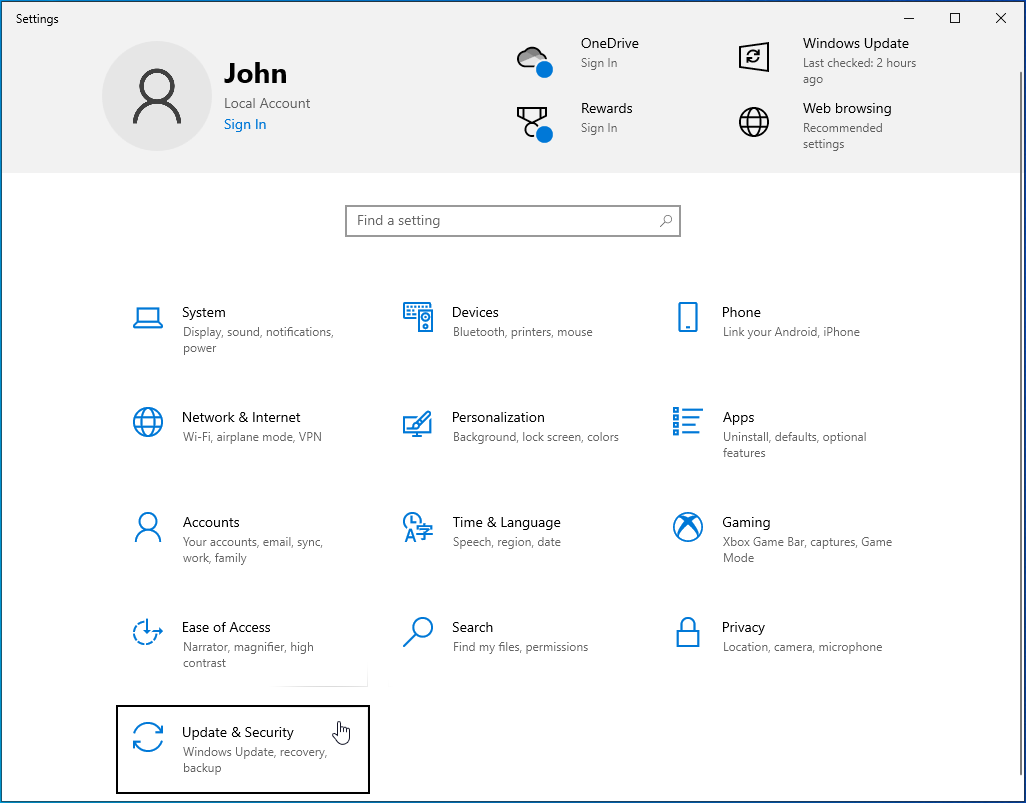
- Go to Update & Security.
![Go to Update & Security.]()
- Click Windows Update.
![Click Windows Update.]()
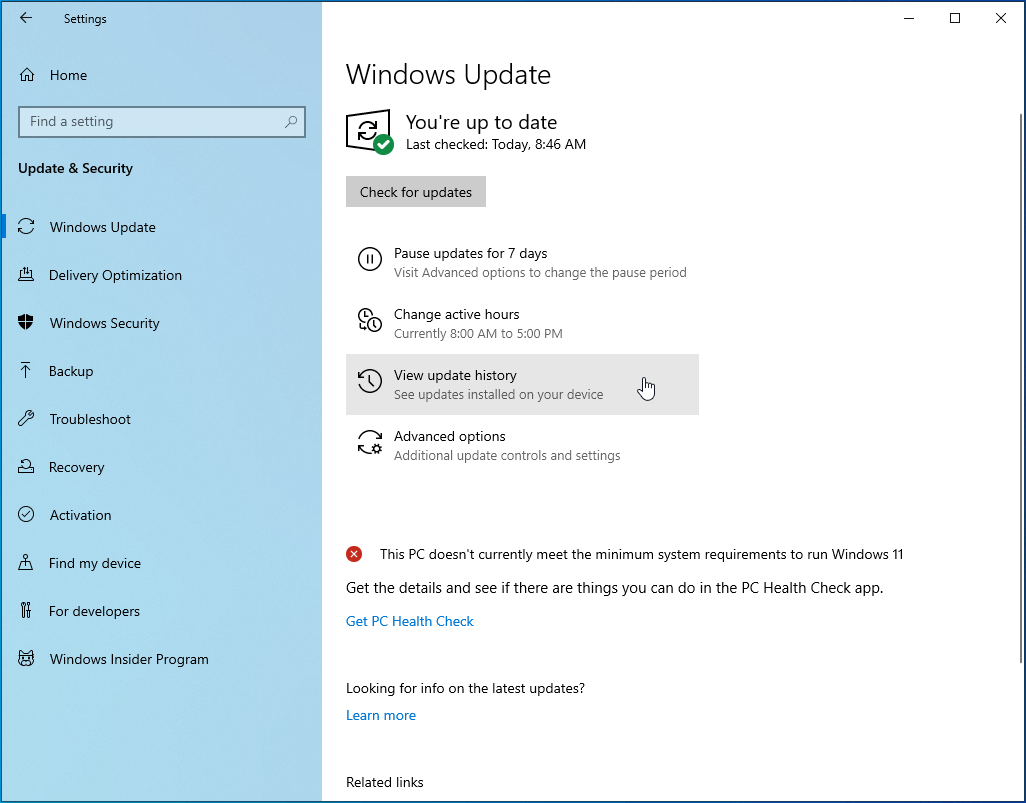
- On the right sidebar, locate the “View update history” option and select it.
![Click “View update history”.]()
- This page lists all the updates that were installed successfully and those that failed.
![Check installed updates.]()
- Note down the KB number, like KB4551762, next to the update showing the error code 0x800f0986.
- Next, visit the Microsoft Update Catalogon Microsoft’s official website, and type or paste the KB number into the search box and click “Search”.
- From the results, select the correct KB that’s compatible with your OS and follow the on-screen instructions.
- Once the update has been installed, restart your computer.

The Windows Update error 0x800f0986 should not reappear. If it does, you may have to run an in-place upgrade.
Solution 7: Perform an In-Place Upgrade
You can resolve the Windows Update error using the Windows Media Creation tool. For the process to be successful, be sure to disable the secure boot in your system’s BIOS. Additionally, your system must have enough space available (at least 20GB).
Here are the steps to follow:
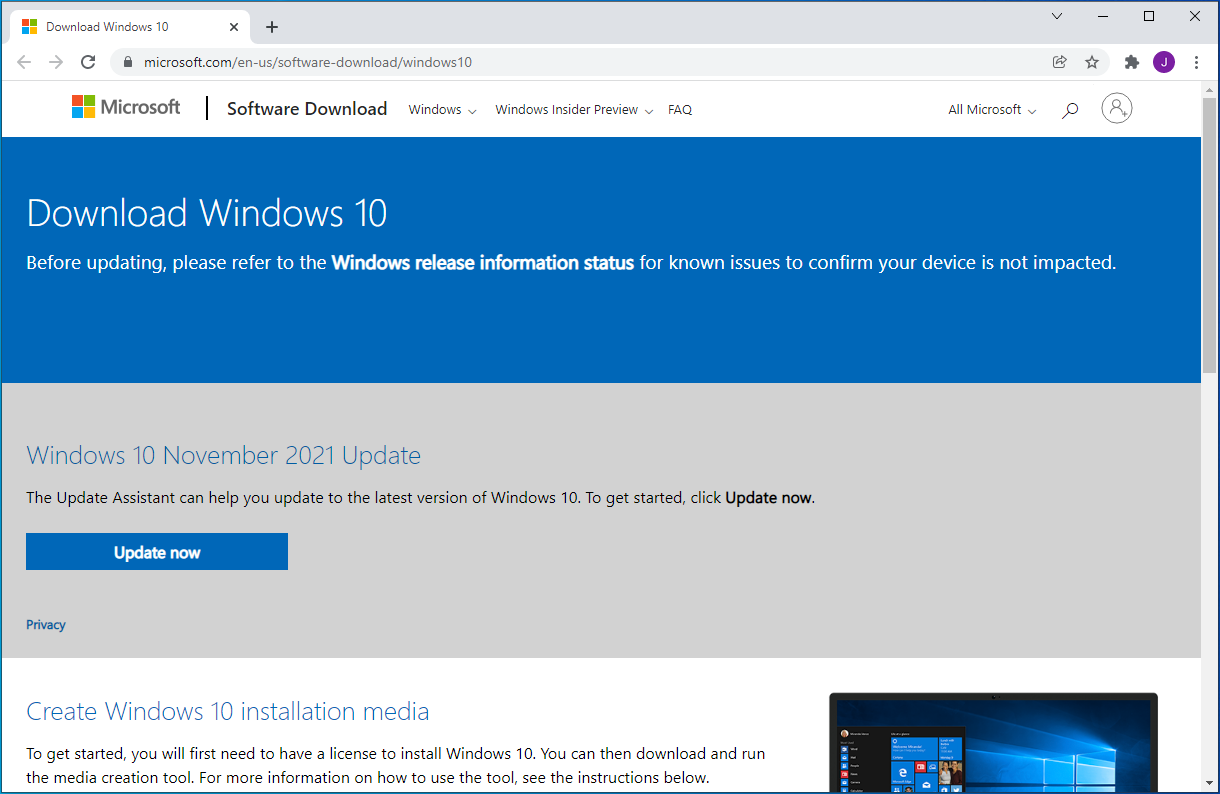
- Launch your browser and open the Windows Media Creation tool download page.
![Open the Windows Media Creation tool download page.]()
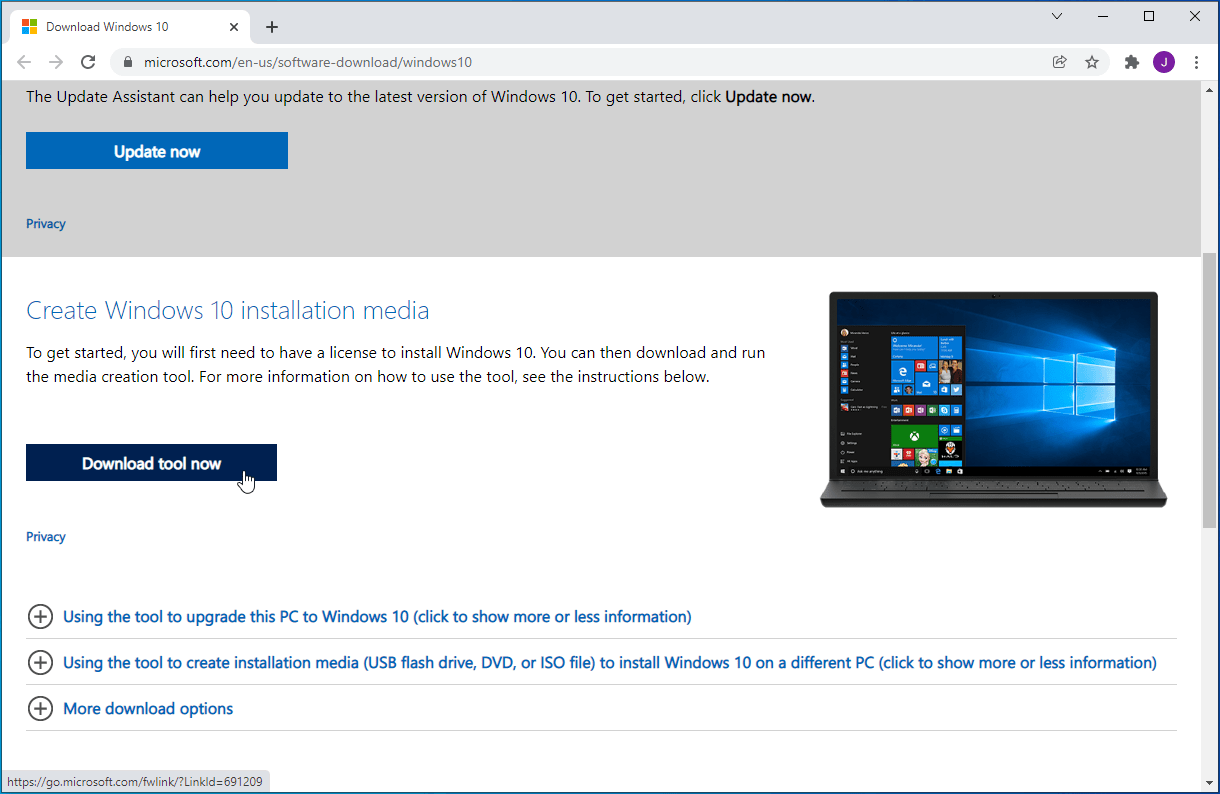
- Scroll to the “Create Windows 10 installation media” section and click the “Download tool now” button.
![Click the “Download tool now” button.]()
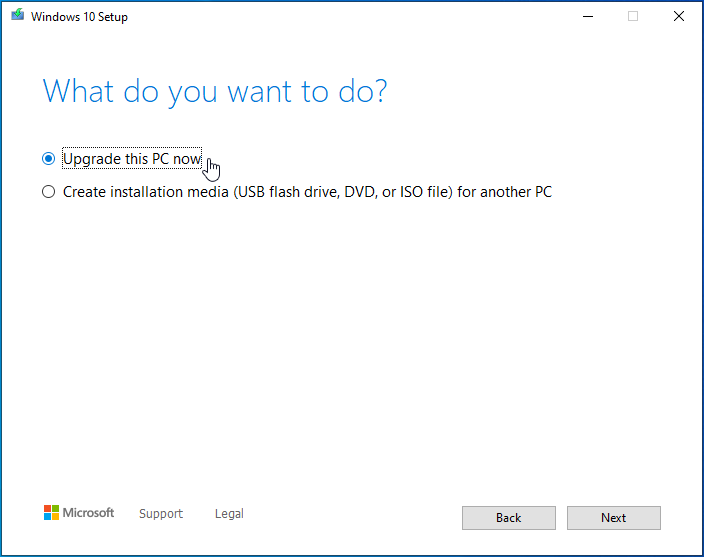
- Once downloaded, double-click the installer and choose “Upgrade this PC now”.
![Choose “Upgrade this PC now”.]()
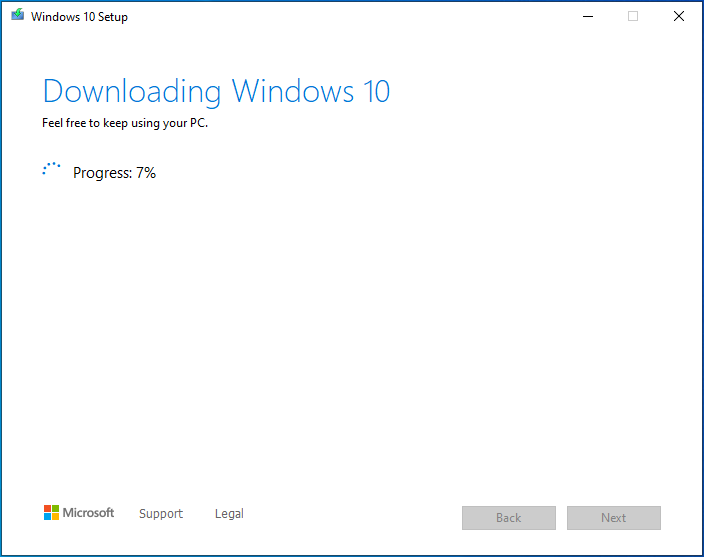
- Click “Next”, and your OS should download and install the latest version of Windows 10.
![Windows should be downloaded.]()
- Restart your system once the upgrade completes successfully.
Tune Your PC for Optimal Performance
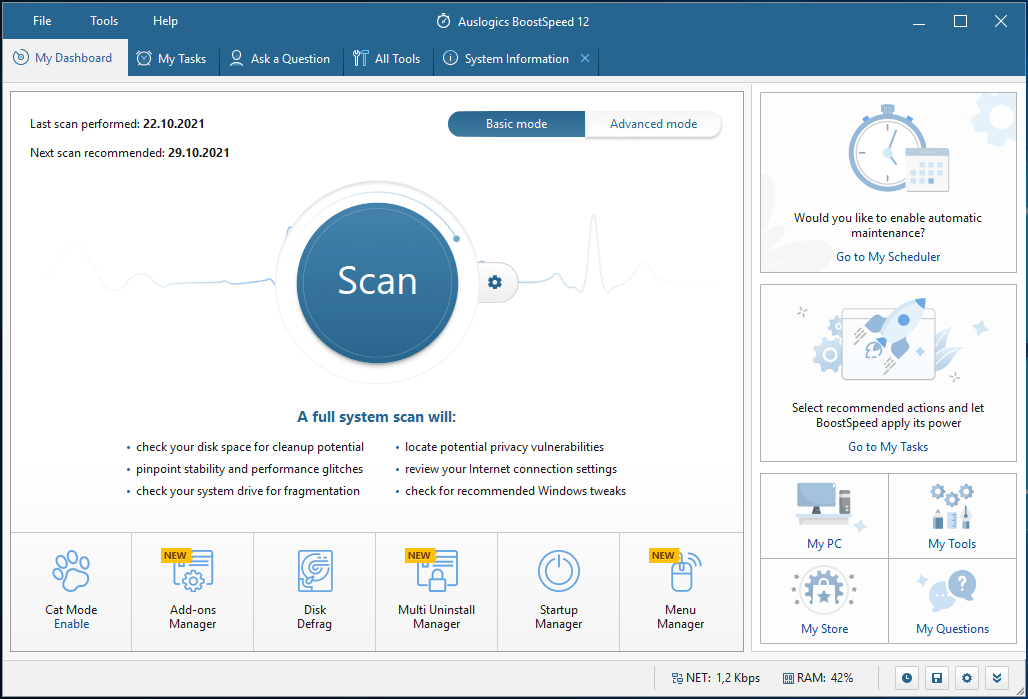
Occasionally, you may encounter a system error on your Windows PC. While this is expected, you don’t have to endure frequent errors. With a PC optimizer like Auslogics BoostSpeed, you can rest easy knowing that your system is being taken care of.
The program offers more than a dozen PC optimization tools to help tweak and boost your PC’s performance. From removing unnecessary programs and file duplicates to cleaning out PC junk and fixing your registry, you can trust the software to get the job done safely.
Probably, the Windows Update error 0x800f0986 is caused by speed-reducing issues on your system or faulty internet settings. Or, perhaps the accumulated junk files are corrupt and interfering with certain core system functionalities.
BoostSpeed is easy to use, and it takes just a few clicks to resolve such problems with it. You’ll be guided every step of the way with easy-to-understand instructions, and you can use any of its tools to restore system stability and improve performance.
That’s it! We hope you have been able to resolve the update error 0x800f0986 on your Windows 10 computer. For further assistance, don’t hesitate to reach out to us by commenting below.


 Done! Great to see you among our subscribers!